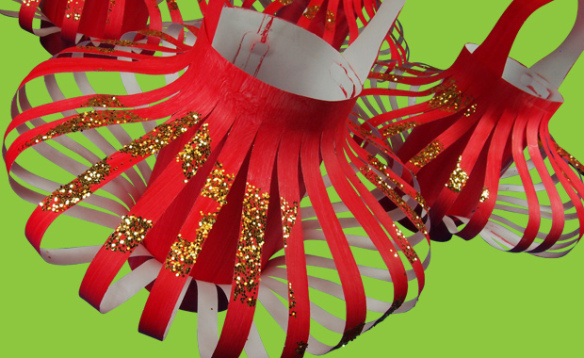
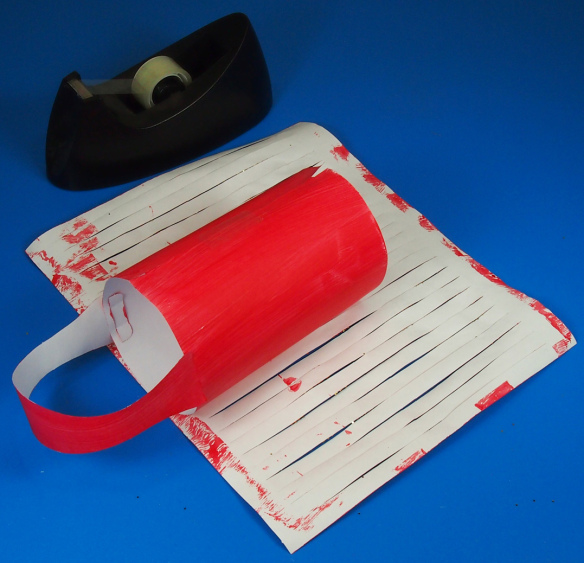
Get ready for Chinese New Year! Learn how to create lanterns can help students work with form and color to create these awesome, decorative projects. We’ll show you the step by step process using our R22021 Color-In Chinese Lanterns and our R55009 Shape Sponges!
Age: 5+
Duration: 20 minutes
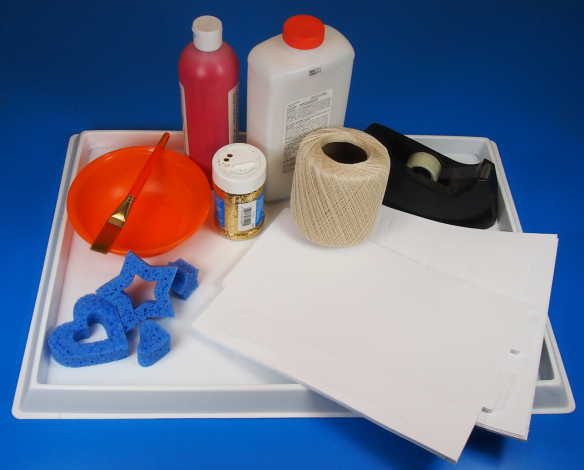
You’ll Need:
• R22021 Color-In Chinese Lanterns
• Paint
• Glue
• Glitter (if desired)
• Paint tray
• Paint bowl
• Paint brush
• String
• Tape
It’s a good idea to use newspapers to contain glitter!
Each of the Chinese Lantern projects comes with 3 pieces: a large square with lines cut into it, a medium rectangle and a wavy-looking long piece.
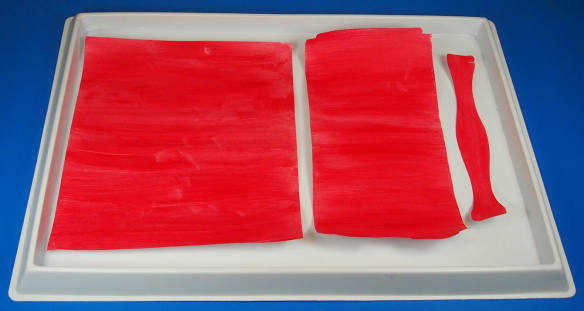 Set each piece inside your paint tray. Paint all 3 pieces in a flat color. If needed, paint on two or three layers. When you are satisfied with the strength of the paint color, set aside to dry.
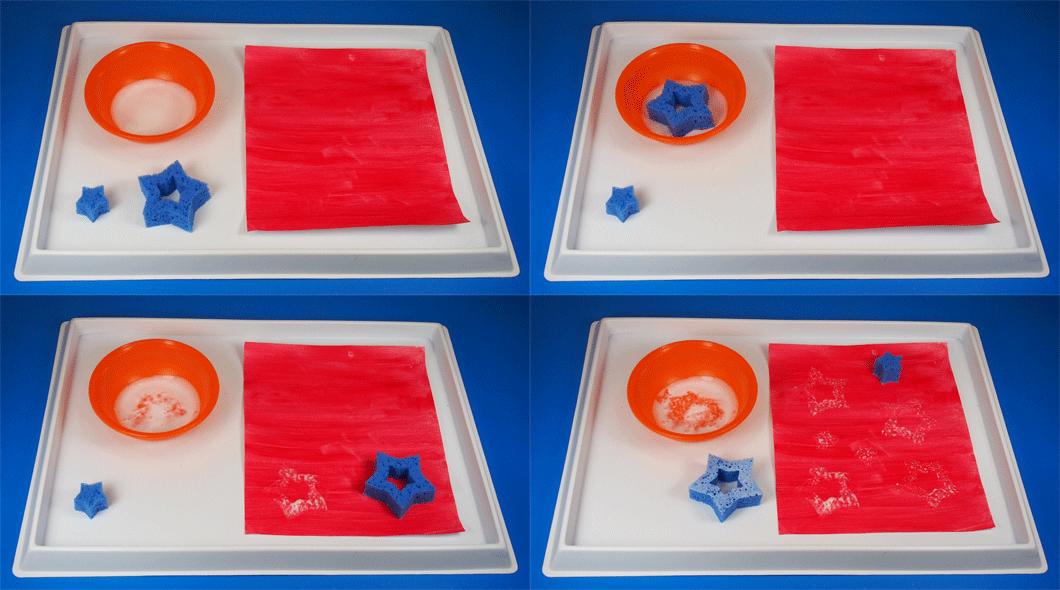 Once the large square piece is completely dry, get ready to decorate it! Fill a plastic bowl with a bit of white glue. Select a favorite sponge shape and dip one side into the glue. Carefully stamp the sponge shape 4-6 times across the square lantern piece.
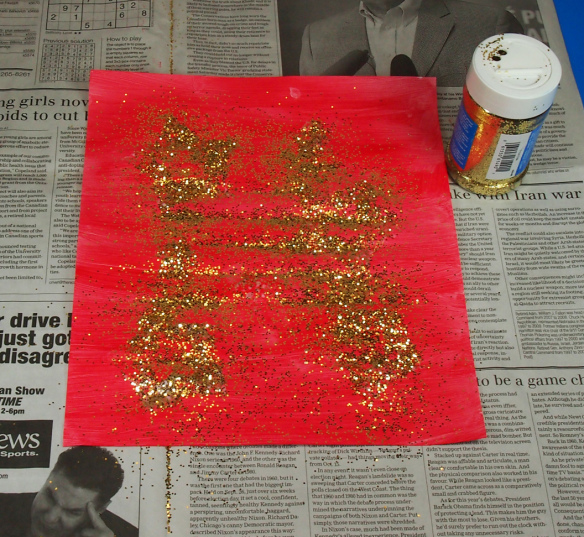 Make sure you do this step quickly, before the glue dries! Place the square piece onto newspaper. Sprinkle gold glitter glue completely on top of the stamped glue areas.
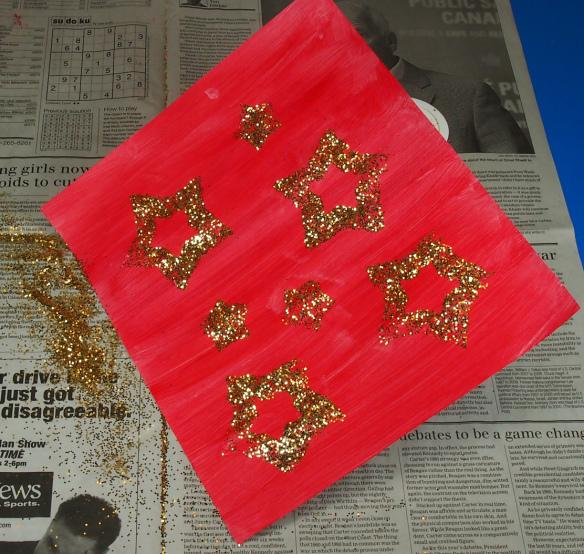 When the glue and glitter have dried, gently lift up one edge of the square piece and shake off the excess. Only the parts where the glitter met the glue will remain on the square piece. This creates a lovely surprise for students! Tip: Try to separate the die-cut lines if they are stuck together from the paint/glue.
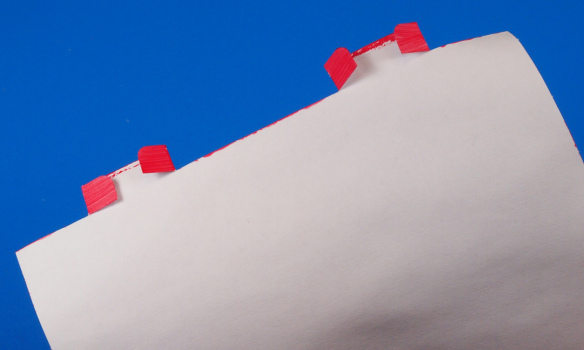
Now it’s time to switch back to the medium rectangle piece. There are two tabs at the top and of the rectangle piece. On the bottom are two slots. Flip over the piece and locate the tabs. Grab the sides of the tabs and fold them into the center.
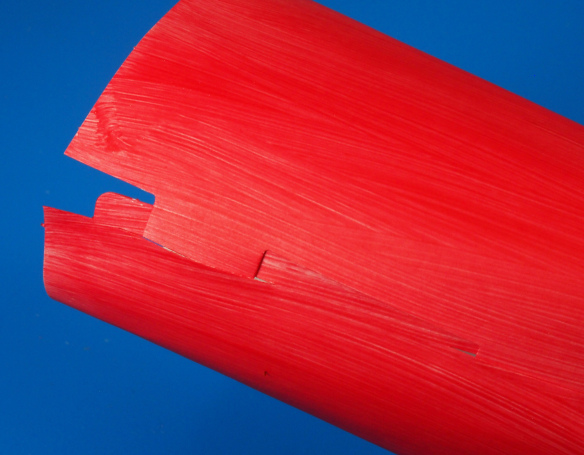 Roll the rectangle piece into a tube. To secure the tube, slide the folded tabs into the slots.
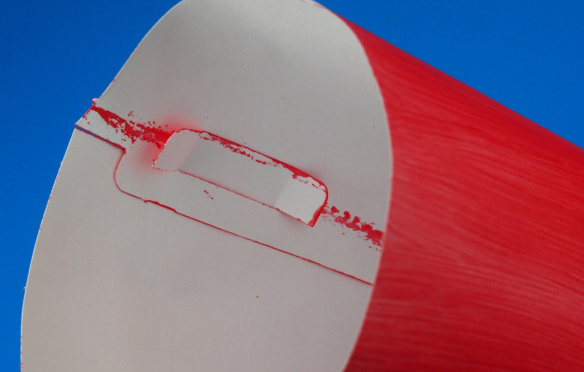 Reach inside the tube and unfold the tabs to “lock” in place.
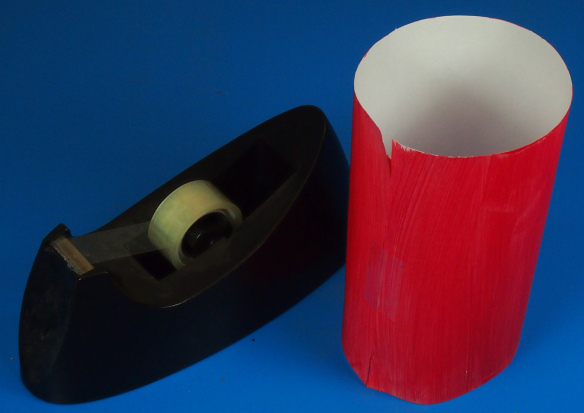 You can reinforce the tube with a bit of tape!
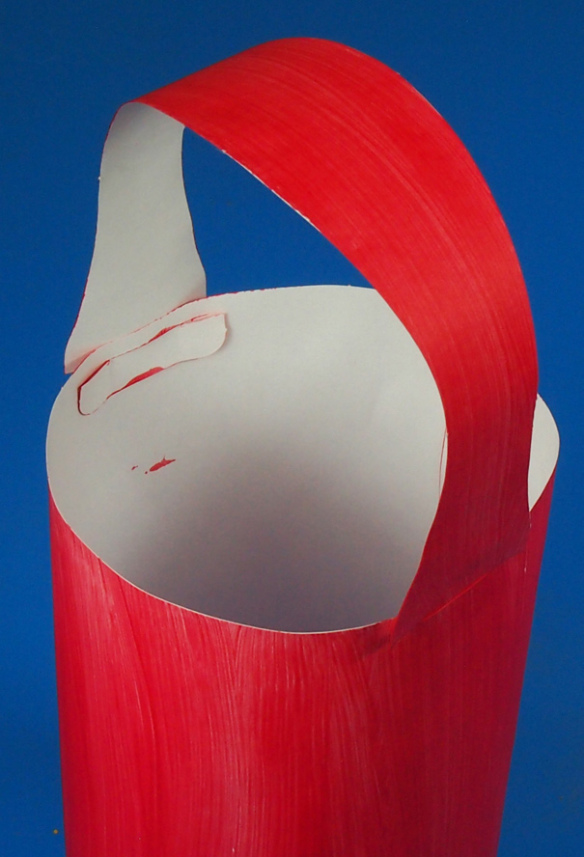 Now it’s time to attach the handle. That’s what the long wavy piece is for! Locate the two slots along the top edge of the tube and slide the ends of the handle through.
This will create a little basket-like project. Lay your glitter-stamped square piece face down so that the unpainted side is facing up. Align the top edge of the basket tube with the top edge of the square piece.
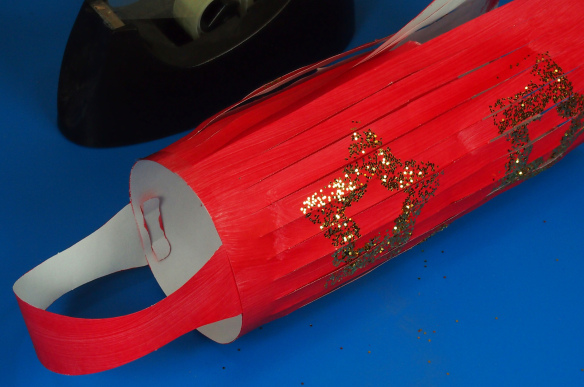 Wrap the glitter-stamped piece all around the tube and secure the edges together with tape.
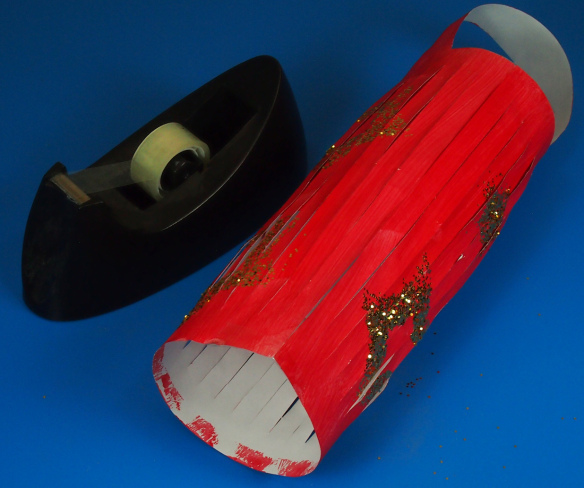 Now, flip the lantern over. To create the bowl effect, you need to match the bottom edge of the square piece with the bottom edge of the inner tube. This will cause the strips to fan out.
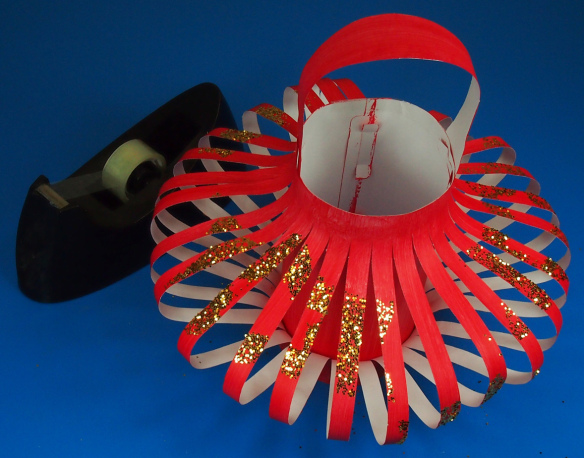 Tape the bottom edges together.
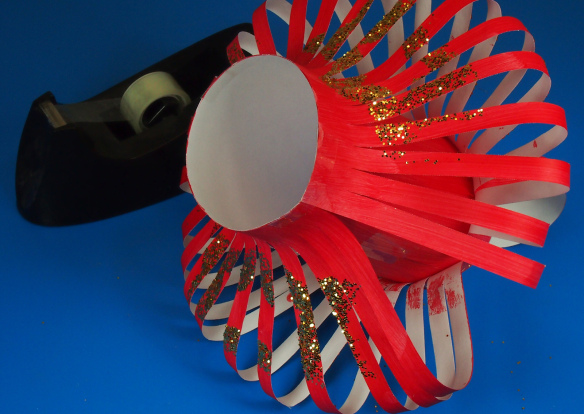 If needed, separate and fan out the individual strips.
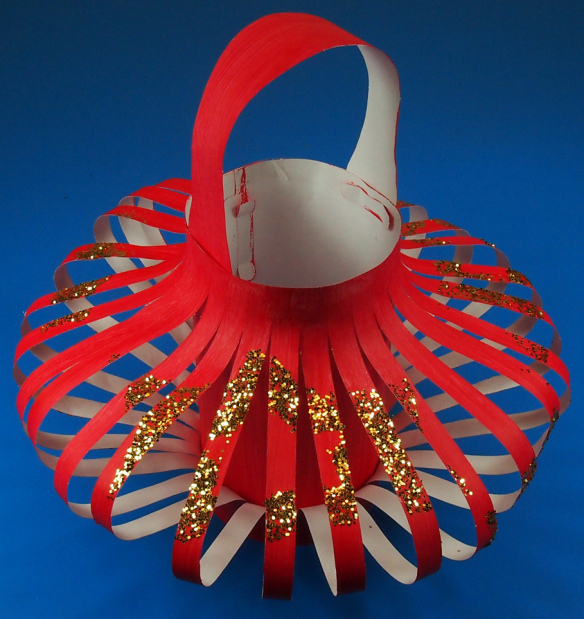 A beautiful, glittery take-home gift or, use string to hang the lanterns together from the classroom ceiling.
Thanks for stopping by to view this post! If you would like to share some of your or your students’ projects, send photos of your work to subscriber@roylco.ca! Thanks for visiting and check back soon!
