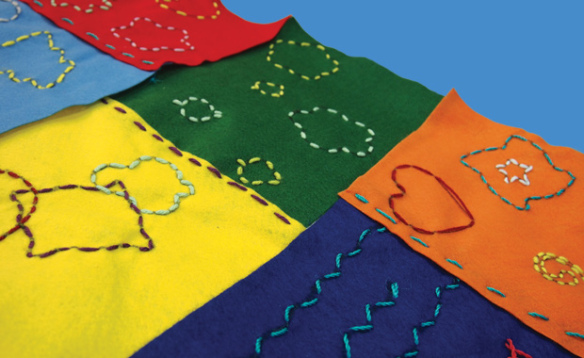
Explore different fine motor techniques such as sewing and tracing with this BIG classroom project! Combine everyone’s artwork into one. Trace recognizable basic shapes using our Fine Motor Skills Stencils and learn a basic sewing method safely with our Plastic Lacing Needles. Check out more about the tutorial below!
Age: 4+
Duration: 20-30 minutes
You’ll Need:
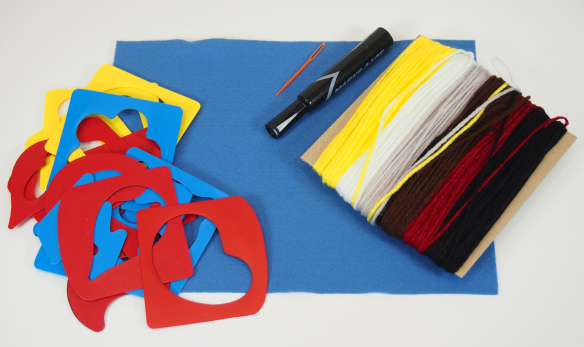
• R5601 Plastic Lacing Needles
• R58620 Fine Motor Skills Silly Stencils
• Felt
• Yarn
• Marker
• Scissors
The best part about our Plastic Lacing Needles is that they are rounded at the tip, which means that they are safe and easy to use with a variety of soft fabrics.
You don’t need much material for this project. The goal of this activity is to encourage students to develop their fine motor skills while creating artwork that’s a part of a larger art piece: a classroom quilt!
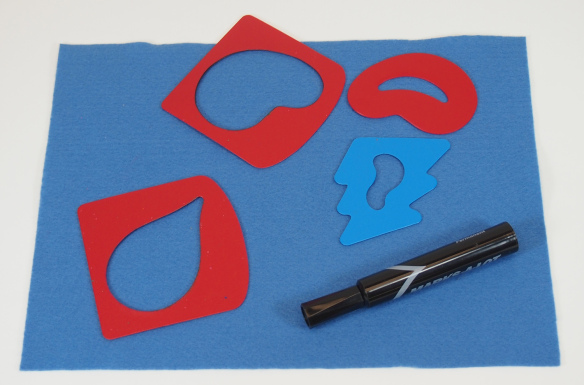
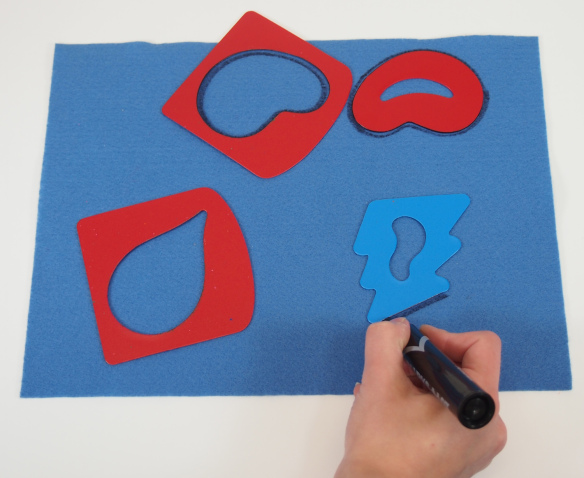
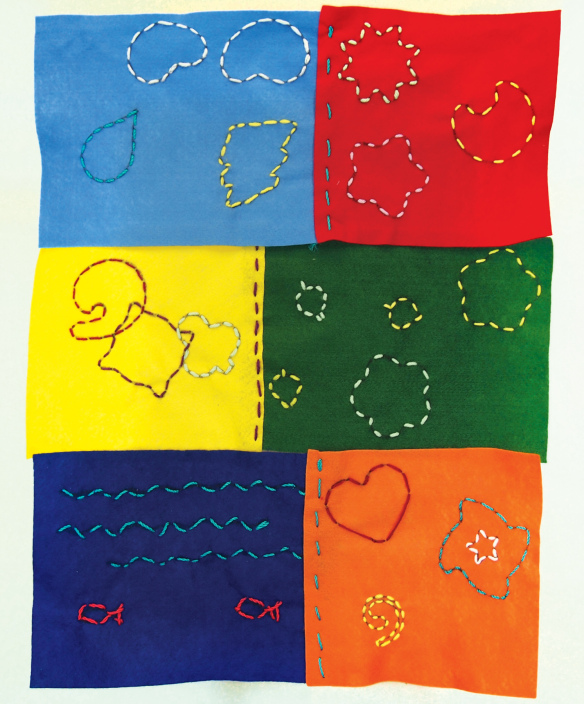
Provide your students with a variety of felt colors. Guide them to think about the scenes or shapes they want to trace onto their felt piece. In the photo above, I’ve decided to make a stormy scene using our raindrop, thunderbolt and bean-shaped stencils to make the clouds! Younger students can trace basic shapes in the stencils kit, such as squares and circles, if they wish.
You will need to use markers to trace out the shapes. Using pencil will catch onto the felt threads and won’t create an imprint. If you would like students to practice their tracing before transferring their skills onto the felt piece, provide them with scrap paper to trace onto.
The Fine Motor Skills Silly Stencils are designed to help graduate your students from tracing basic shapes and objects to more complex designs. Yellow colored stencils in this set represent easier shapes to trace, such as triangles, squares and circles. Red stencils represent medium difficulty while the blue stencils feature the most complicated designs. You will see that in the following images, I’ve used mostly red and blue stencils. These are best to use when making “scenes” out of the images.
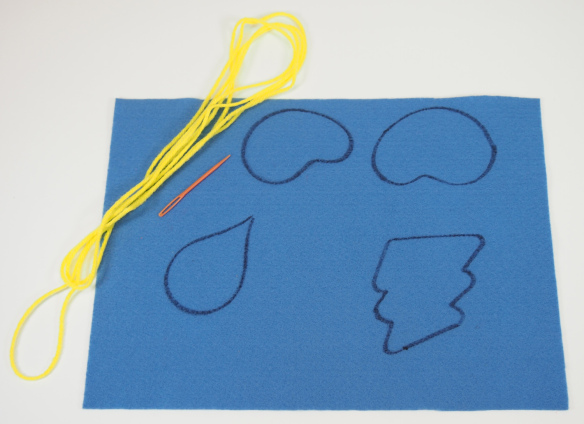
Once you have traced out the images, get your Lacing Needle and yarn ready! You will use the traced images as guides for sewing.
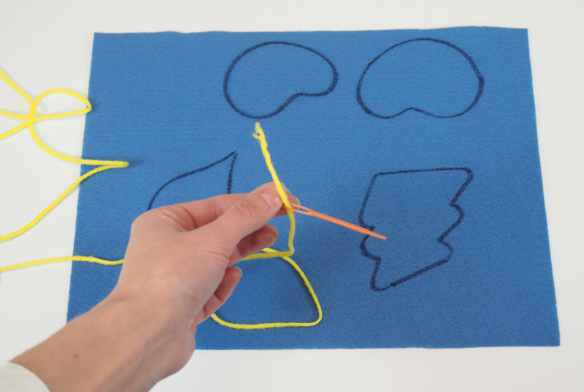
Widen the eye of the Lacing Needle to thread the yarn through.
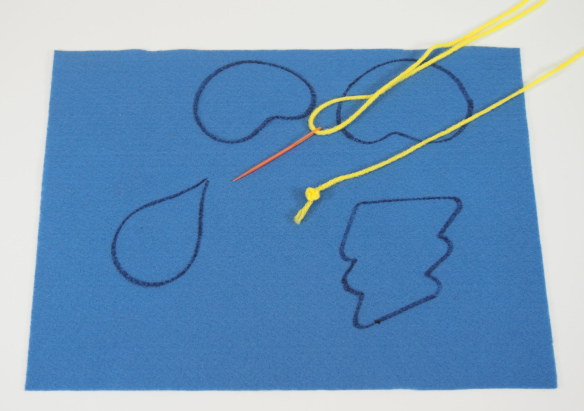
Make a rough estimate of how much yarn you will need for each traced part. Tie a knot at the very end of the length of yarn. Show your students how this will prevent the yarn from slipping through the felt when making a stitch.
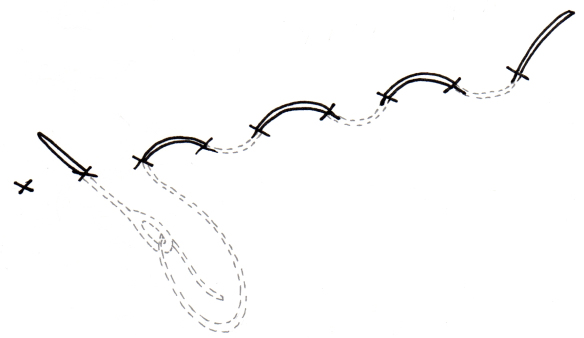
Here’s an image of a basic stitch that I’m using in this project:
This kind of stitch is called a running stitch. This means that you slide the needle and thread over and under the fabric in one continuous direction.
There are a variety of other stitches you can use to sew up the traced shapes! You can get older students to experiment with these types of stitches.
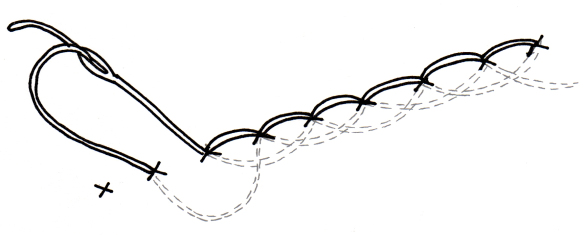
BACKSTITCH: The backstitch is made by sliding the needle and thread over and under but instead of continuing the stitch forward, the needle and thread are pulled back into the previous hole before continuing forward. This stitch helps to secure the two pieces of fabric in place, or to repair a bad stitch.
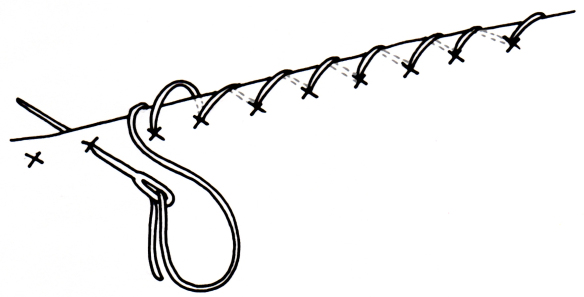
OVERCAST STITCH: You can use the above stitch to combine students’ felt projects together into one quilt-like wall mural. The overcast stitch is a series of stitched loops. Instead of passing the needle and thread straight to the next hole, the needle and thread are looped around the edge of the fabric and brought through the next hole on the underside of the fabric.
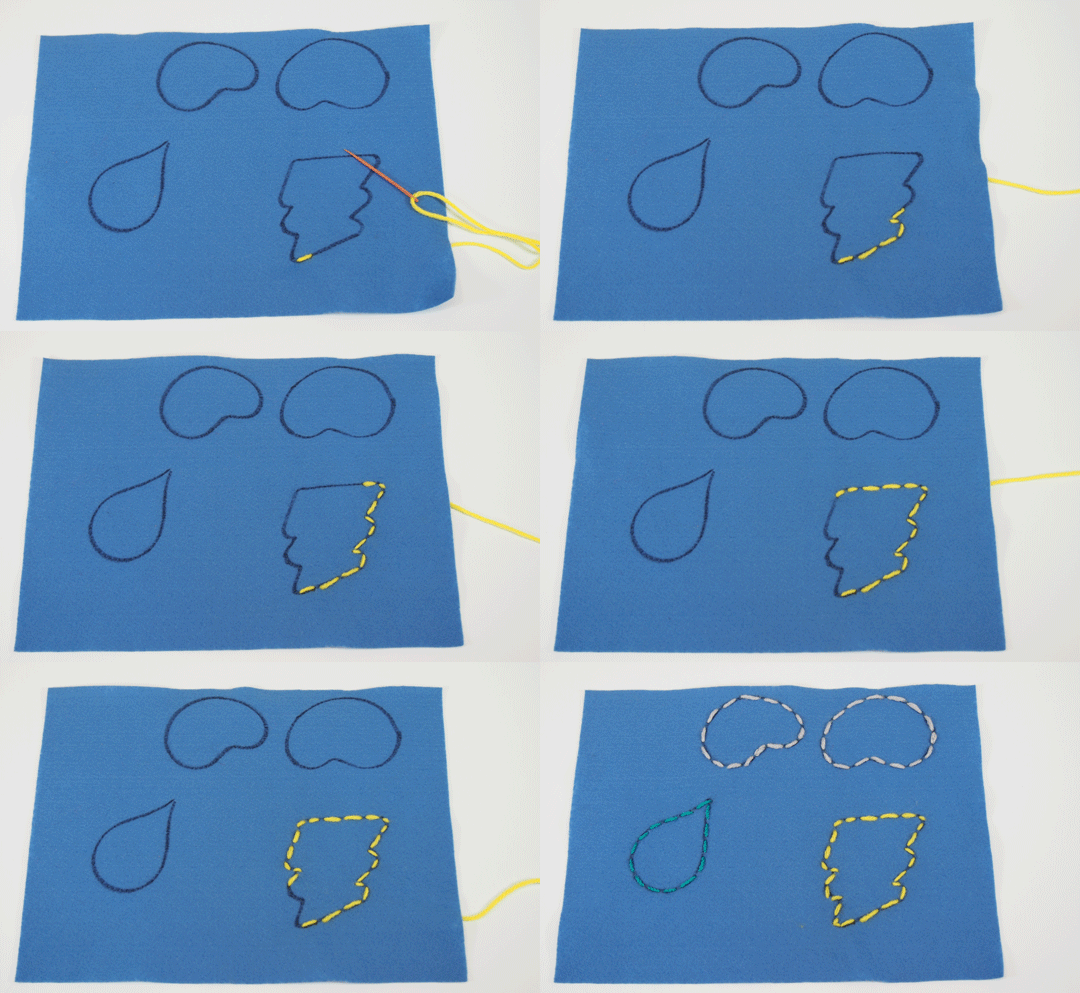 Using the running stitch, I’ve followed the lines traced out from my chosen stencils. I was also conscious about the color of the yarn I’m using. There are a total of 3 different yarn colors I used to outline the various shapes. You can see in the animation above what it looks like to gradually complete the shape.
Tip: The felt may be a bit stiff in some places, so you’ll need to maneuver the Lacing Needle through. The best technique to do is twist the point of the needle a little bit to the left then to the right to loosen the felt threads.
Once your students’ stitched pieces are complete, attach them together into a large-scale quilt or tapestry mural! You can either tape the pieces together with scotch tape or sew them with thread.
Thanks for viewing this post! Like us and subscribe to the blog for crafty updates every Monday, Wednesday and Friday!
