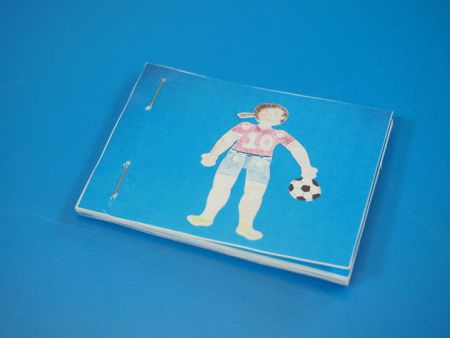
Now’s the time to bring your vision to life! In order to shoot your animation, you will either need a camera or a tablet with animation software. In this activity, we will be using the stills from our camera to make an animated flipbook!
Age: 6+
Duration: 20-30 minutes
Learning Objectives: Create an animated flipbook using simple materials. Use fine motor skills in “flipping” the book to create a visual animated clip.
You’ll Need:
- R10210 Action Shapes: People
- Pencil crayons or markers
- Tripod
- Camera
- Scissors
- Printer
- Optional: Animation Software

Children can decorate and color in a large-size sheet of paper to use as a backdrop for your Action Shapes characters. Use poster or Bristol board for this. Place your backdrop on a flat surface such as a desk or easel.
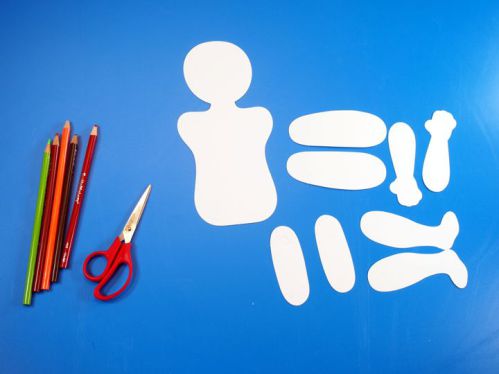
As I’ve demonstrated before in our Action Shapes post, there are several pieces that join together to create the swiveling motion of the character.
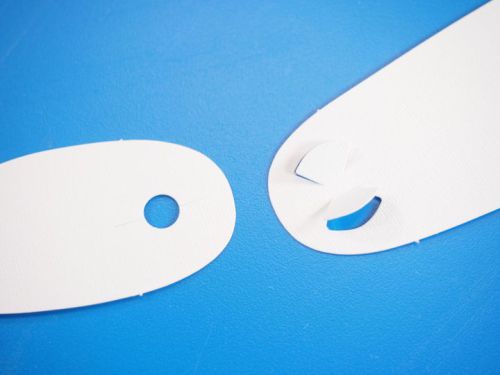
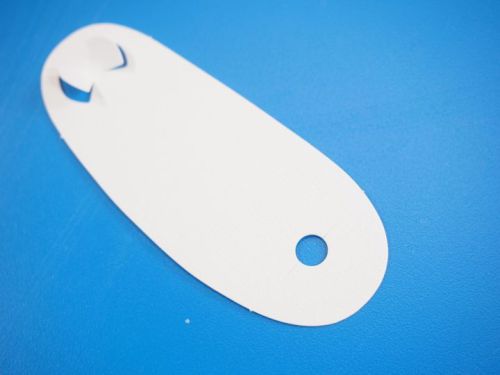
Each limb has a pair of fins and a hole for sliding the fins through.
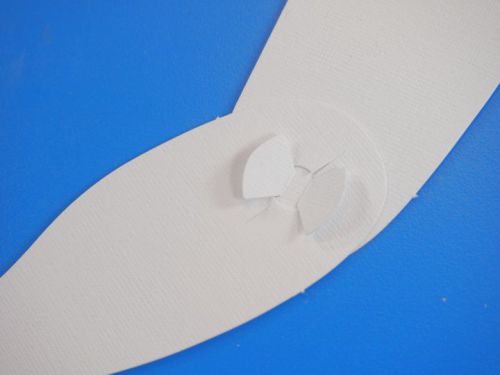
Here’s what the junction looks like when combined. Flatten out the fins to secure.
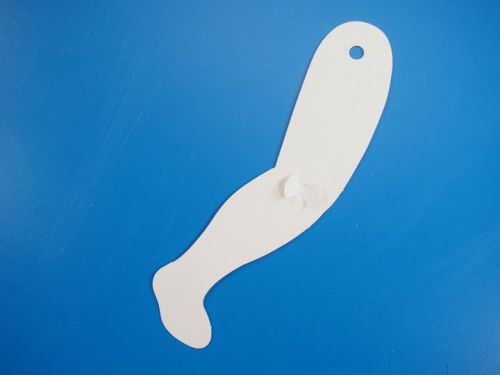
Now you’re ready to assemble your full action shape!
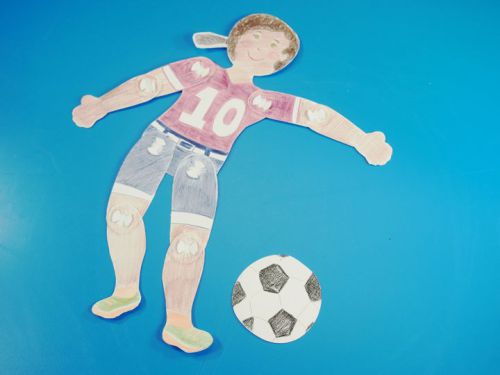
Color in your Action Shape character with pencil crayons or markers! Create custom props out of scrap card paper that you can use in your animation. for this character, we’ve added a ponytail to the side of the Action Shape’s head and decorated a soccer ball to use as a prop in our film. Check out our process below!
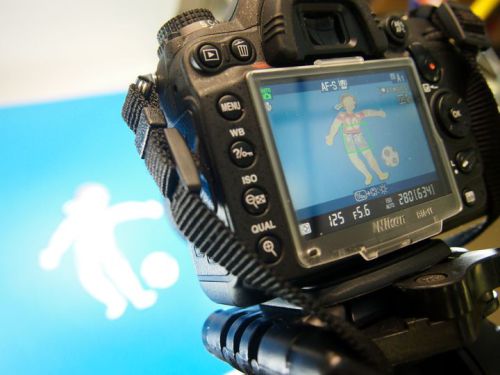
You will need a tripod to properly hold your camera. These can be easily adjusted for height and angle, so you can set it at one point and simply press the shutter button to take as many photos as needed. This will help keep the frames consistent. Note: Be careful you don’t trip over the tripod legs! If you are using a tablet, place the backdrop on a desk and use modular wire shelves to prop the tablet directly on top of the artwork, like it will be grabbing a bird’s eye view. Modular shelves can be found at your nearest department store in the organization aisle. Adjust so that the viewfinder is able to clearly see through the wire mesh.
Use your storyboard as a reference to set up the Action Shapes character. What is your Action Shape’s first pose? Once you have set up the Action Shapes character, take a shot! Go back to your Action Shapes character and slightly move one or two limbs. Take another shot. As you go back and forth between adjusting your character and taking a photo with your camera, you will need to keep in mind that each shot shows one part of an entire action. You need to make all the shots “flow” together so that the starting point of an action smoothly reaches the end.
There are several free-to-use software (called ‘freeware’) online that can string these images together for you into an animation. Simply upload your photos and select them all to get combined into the animation. Most of these software programs will require that your photos be in JPEG format. The final animation will be converted into a GIF, which is a file type that strings multiple pictures together to make a mini video!
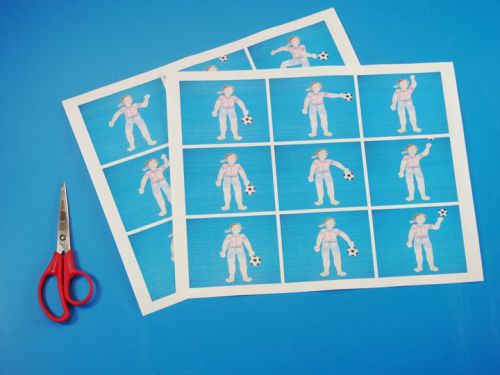
Alternatively, you can “flip” your animation into a flipbook! Select all the images in your folder and select them to print wallet-size onto regular 8.5 x 11” (21.5 x 28 cm) paper.
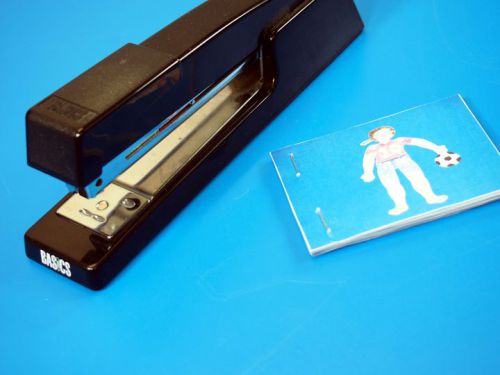
Cut out all the small pictures and stack them in the appropriate order. Staple them all together on the side opposite where you will flip through them.
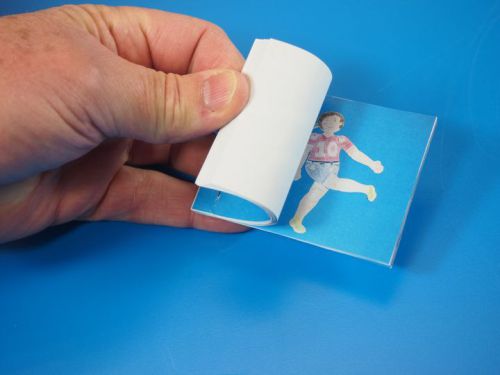
When finished, hold the stapled side in one hand while flipping consecutively through the pages. As you flip through the pictures, they will string together like a frames in a movie!

Happy filming!

Like us on Facebook, Share this post with your friends, or Subscribe to this blog today to receive original craft project updates every week!
