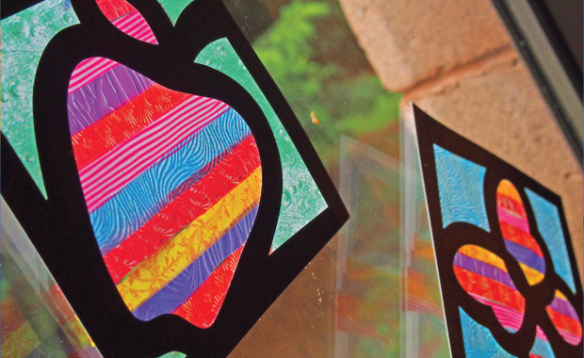
Take your stained glass images to a whole new level! Instead of cutting out larger pieces of transparent paper, use a more economical approach that helps students develop their fine motor skills.
Age: 5+
Duration: 15-20 minutes
Learning Objectives:
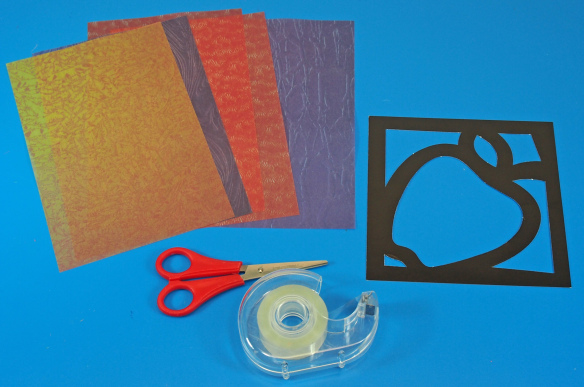
You’ll Need:
• R52074 Junior Stained Glass Frames
• Scissors
• Glue
• Pencil
• Ruler
You can choose any stained glass frames from our collection, but the Junior Frames have larger surfaces to cover, making this striped technique much more effective.
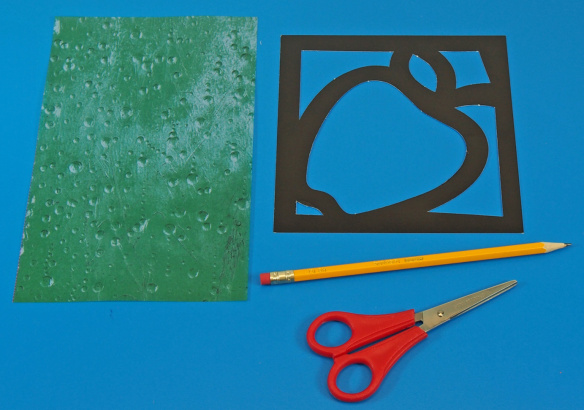
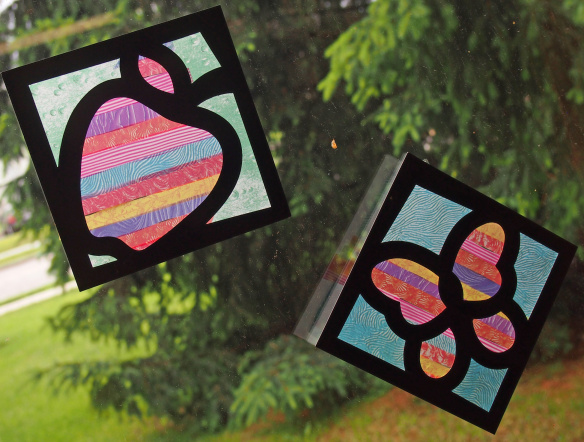
Choose a sheet of transparency paper. Our Stained Glass Paper is designed to illuminate its colors when near a light source. Normally, stained glass frames are hung on windows so that sunlight can illuminate the colors in the artwork.
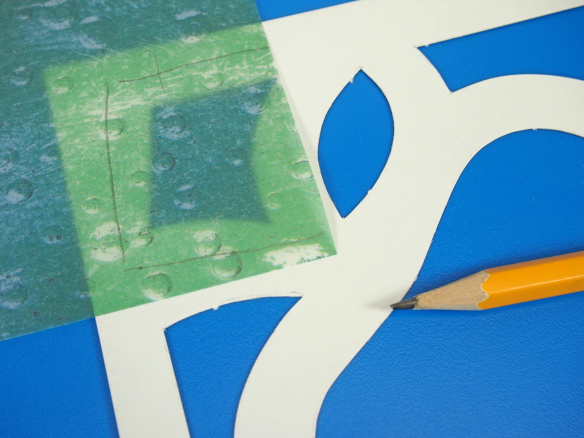
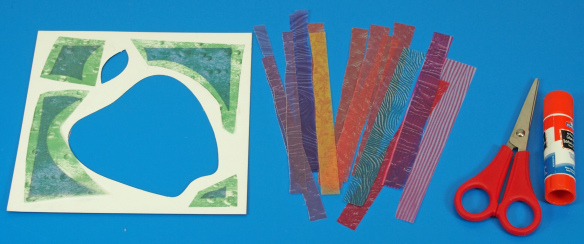
Our Junior Stained Glass Frames feature a bit of background space around the sides of the subject. To fill up the space, flip the Stained Glass Frames upside down. Cover one of the openings with a sheet of transparency paper (flip the frame over to double-check the appearance of the sheet), then trace around the opening, leaving a bit of a space to allow you to glue it down.
Cut out and glue down the background sheets. Next, take a few assorted sheets of transparency paper and cut them into strips that run along the longer side of the sheets. You can mix and match as many sheets as you like. This is a great exercise for building scissor skills as students have to exercise patience and carefulness as they cut out each of the strips. You can even get them to draw ruler guidelines so they can visualize where they need to cut along.
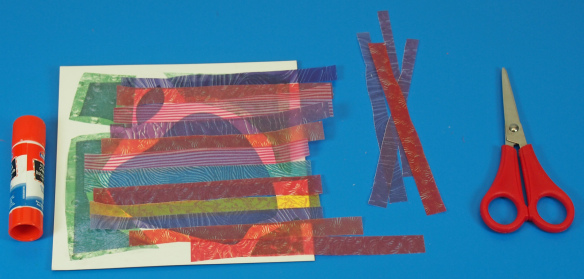
Rub a bit of glue around the border of the stained glass image. Lay the strips of transparency paper across the frame, pressing down to adhere the strips to the glue. You can position the strips horizontally, vertically or diagonally. Just be sure to follow the same pattern all the way through the entire frame.
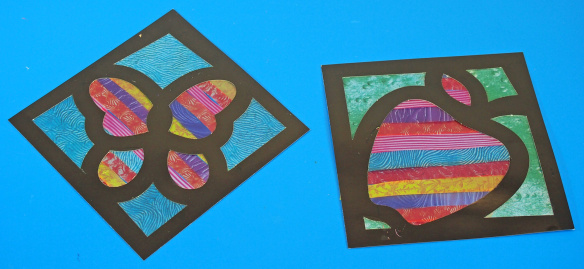
To finish your designs, cut off any excess strips that overlap with other parts of the stained glass frame. When you flip the Stained Glass Frames right side up, you will see that the main parts of the frame have been striped, while the background is a solid color. This produces a neat effect that students will love to see!
Check it out! Although this exercise is a little complex, it gives students the chance to see how an alternative technique to regular stained glass projects produces a really cool end result!
Like us on Facebook, Share this post with your friends, or Subscribe to this blog today to receive original craft project updates every Monday, Wednesday and Thursday!
