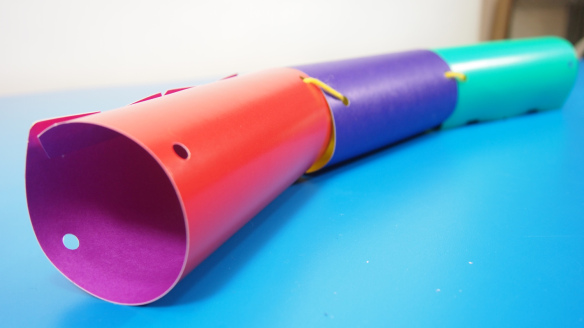
 Sssssssss! Here’s a great project you can adapt for larger groups of students–make an awesome tube snake. This is one of the many projects we’ve got lined up this year for Tube Crafts! Age: 4+
Duration: 15-20 minutes
Learning Objectives: Use fine motor skills to roll up colorful tubes. Great group activity! Multiple groups can contribute to building the snake.
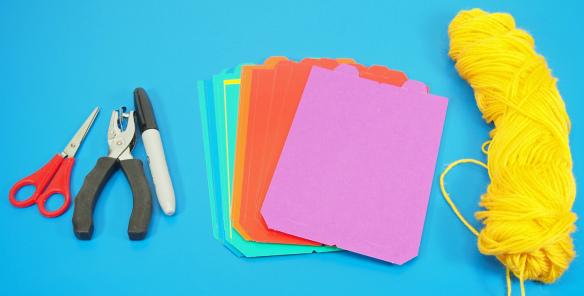
You’ll Need:
• Hole punch
• Permanent marker
• Ribbon
• Scissors
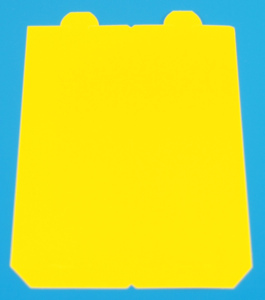
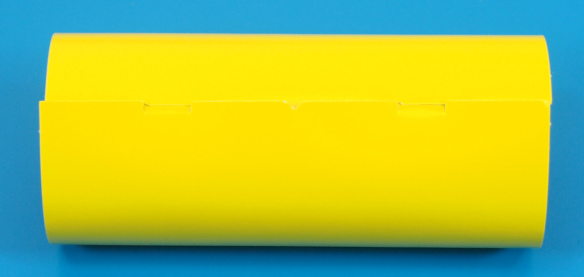
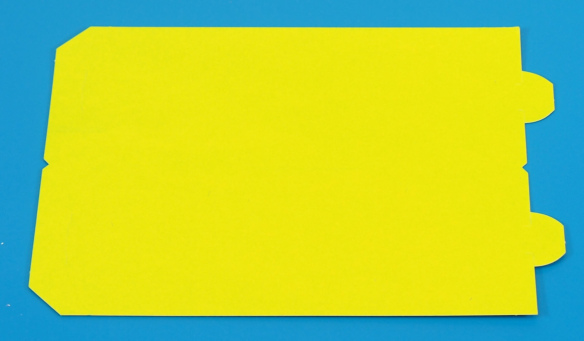
A full classpack of Tube Crafts is great for a variety of different projects. The flat sheets are printed with a color on each side. One one edge, the Tube Craft sheet features two tabs that fit into the slots on the other edge.
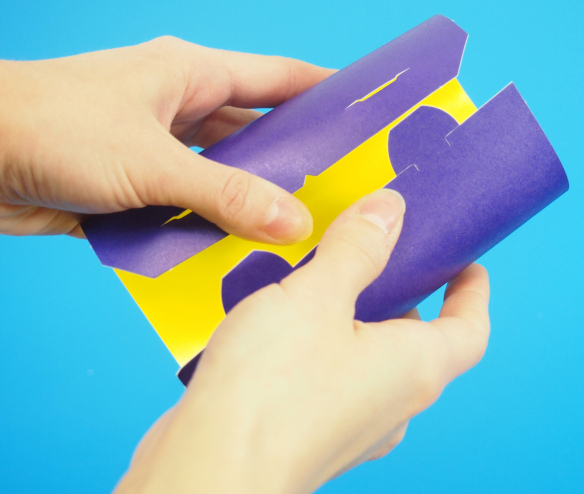
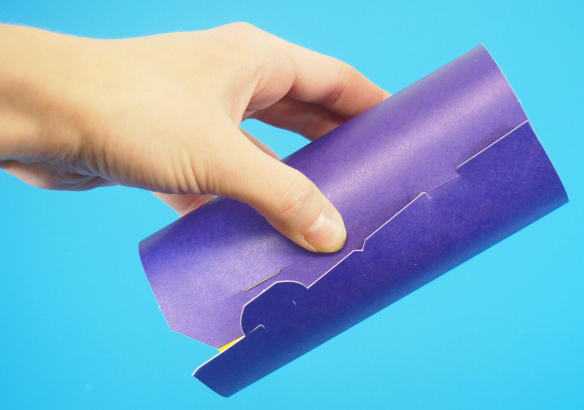
Roll the flat sheet into a tube and push the tabs into the slots.
You can see how I’ve left the bottom tab out so you can see where it fits into the slot. To make it easier to work with, you can try to press one side of the tab into the slot, then press the opposite side in.
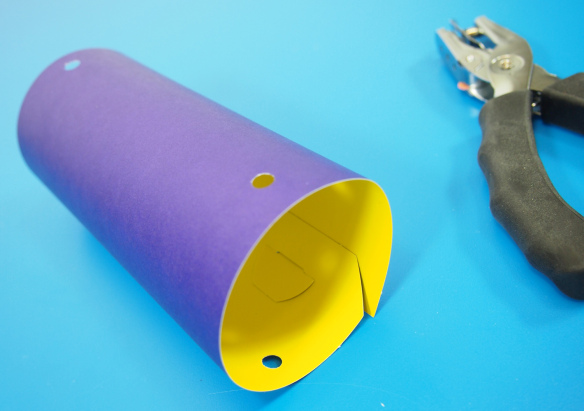
Once you have made a tube, punch two holes across from each other on either end. This will allow you to connect the different tubes together.
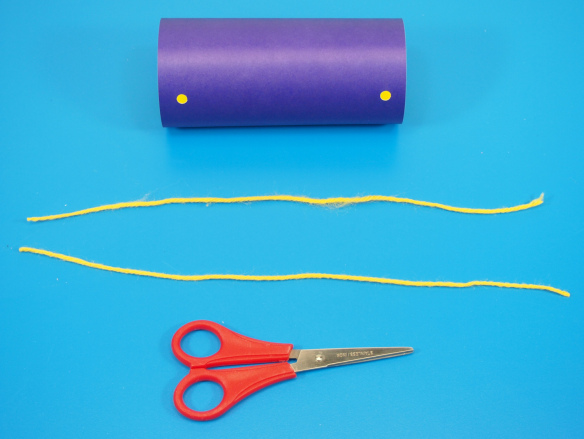
Cut two lengths of yarn.
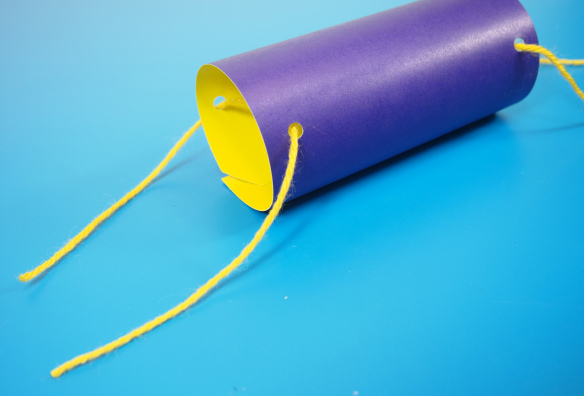
Thread a length of yarn through each of the holes in the tube.
Thread the ends of the yarn to adjoining tubes. Secure the tubes together with a knot at each end.
To make the tail for the snake, make a tube.
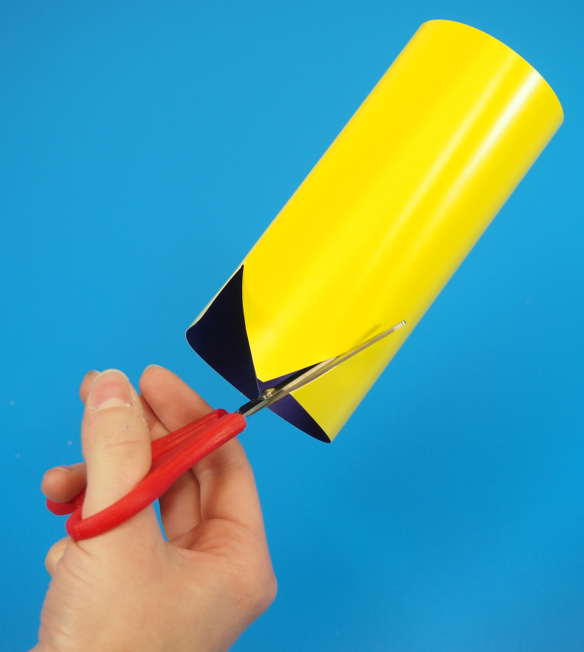
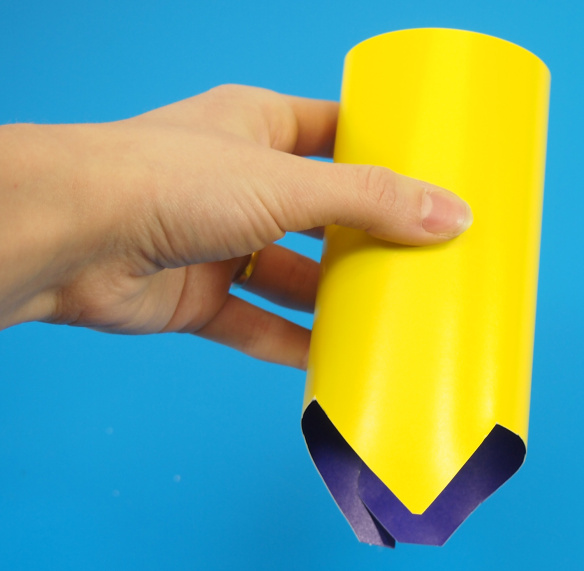
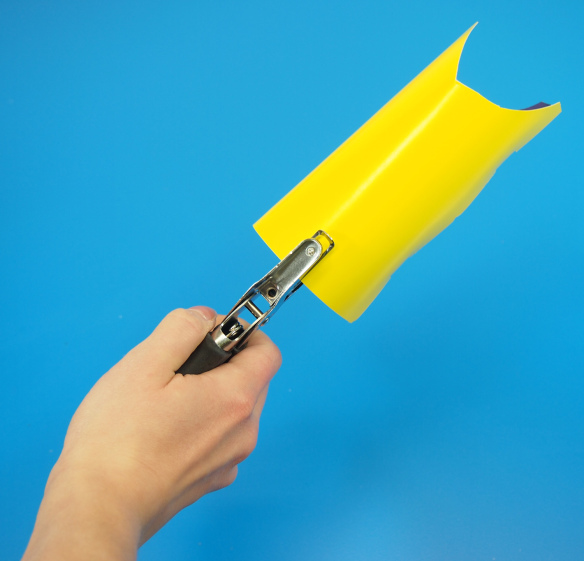
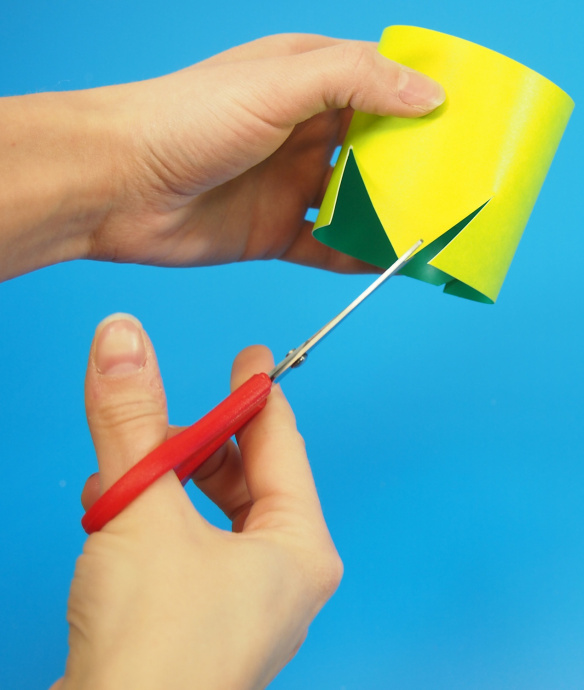
At one end of the tube, start out by cutting a V-shape.
Continue cutting out along the side of the tube until you reach the opposite side.
Hole punch the opposite sides of the tube.
Start with another flat sheet from the Tube Crafts kit.
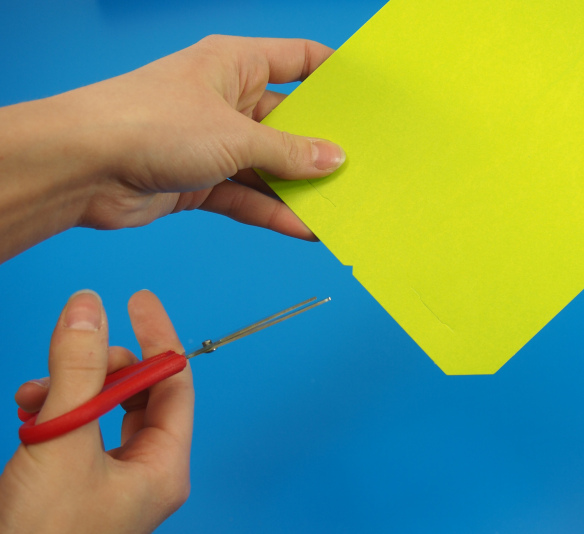
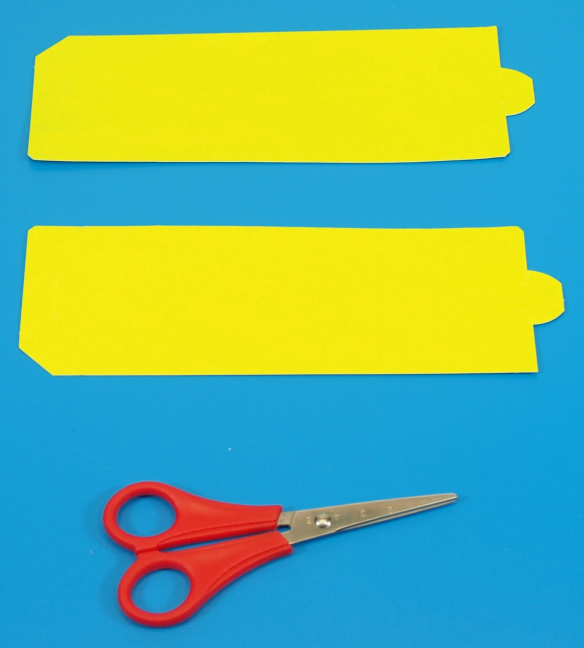
Another great feature of our Tube Crafts is that we’ve added a notch halfway through the edge of the sheet. This allows you to cut the tube in half before assembling. This way you can make smaller tubes! In this next step, we will use the smaller tube to make the snake’s head.
Cut straight across the flat sheet using the notches as a guide.
Roll up and secure the tube with the tab and slot.
Cut the same V-shaped notch out of the small tube, just as you did for the snake’s tail.
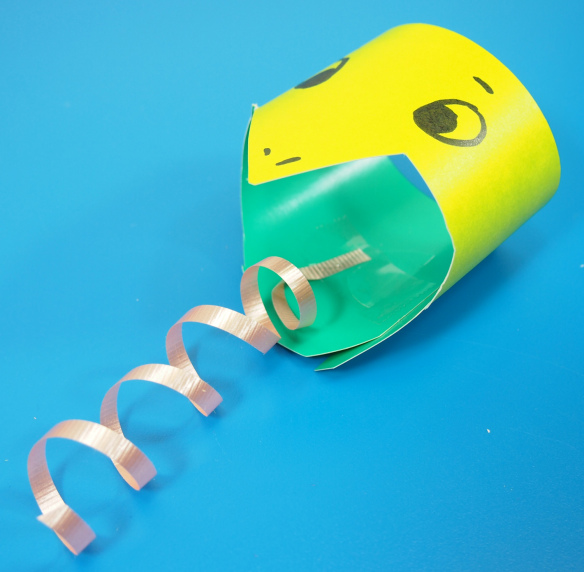
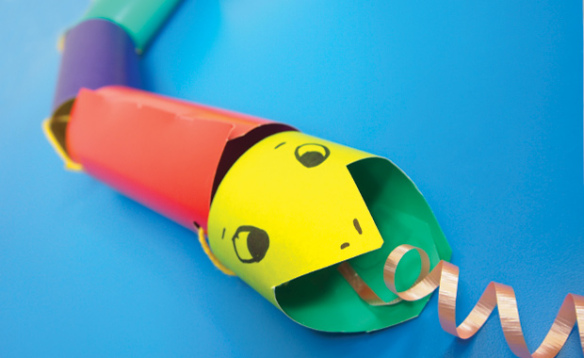
Once you are finished making the head, use permanent marker to add details such as the eyes and nostril to the snake’s head. You can’t forget about the tongue! To make the tongue, tape on a length of pink ribbon! Drag the edge of a pair of scissors across the ribbon to curl it into a spiral. Alternatively, use a strip of felt and cut out a V from the bottom to make it a forked tongue.
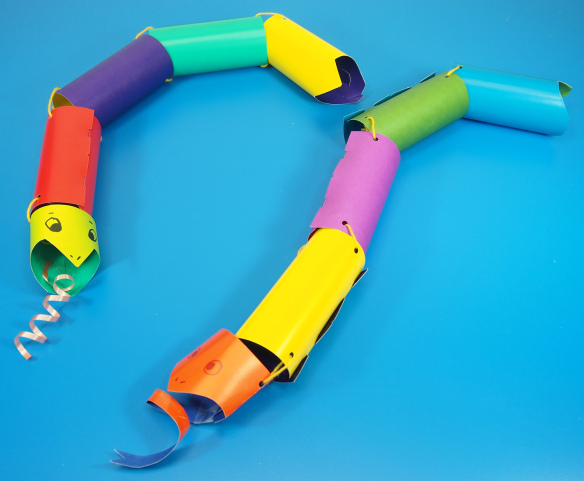
Here’s a look at what the finished snakes look like. You can give one snake project to each group of students in your classroom or encourage everyone to contribute to one giant snake project!
Like us on Facebook, Share this post with your friends, or Subscribe to this blog today to receive original craft project updates every Monday, Wednesday and Thursday!
