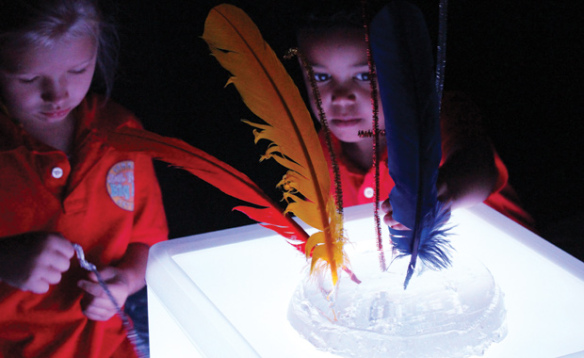
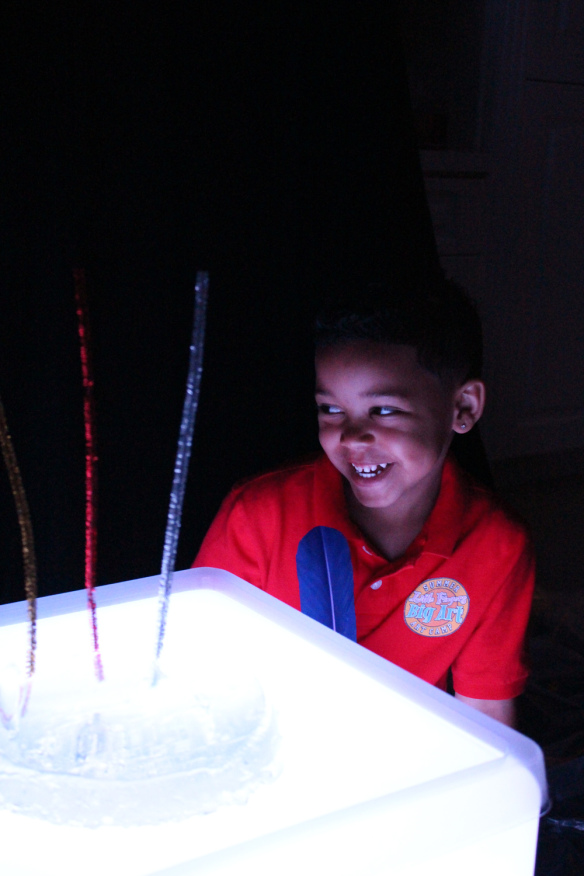
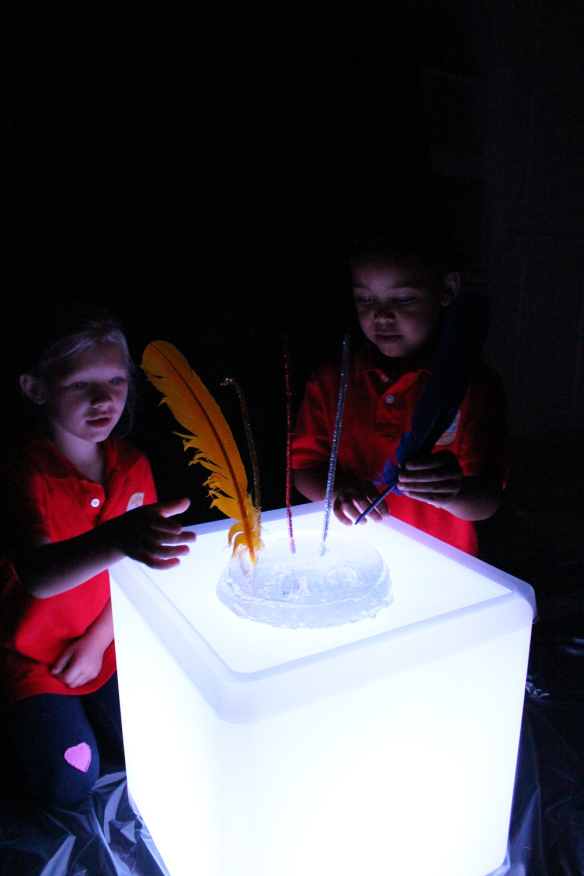
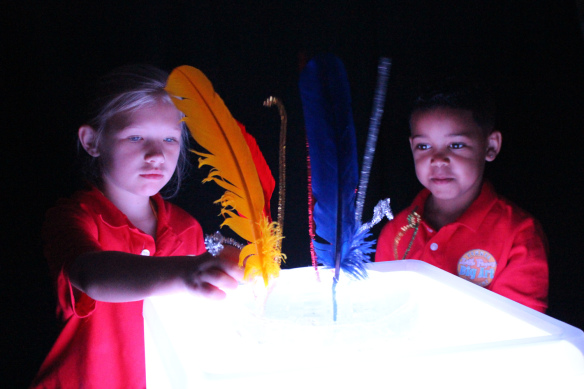
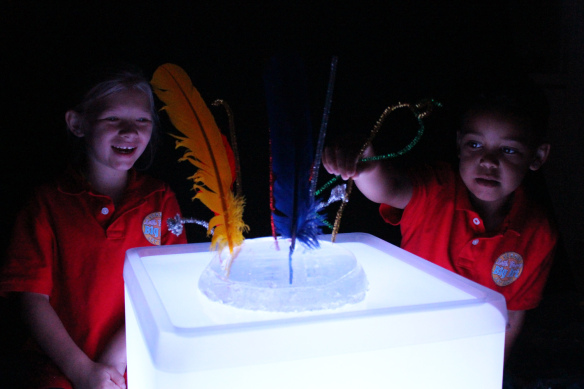
Kids love experimenting with new and weird materials. No wonder, then, that we had the perfect opportunity to play with giant gelatine blocks over the Light Cube–the kids were so intrigued! Using feathers to decorate the gelatine was an added fine motor activity that you can incorporate in your own gelatine block play! We detail more about this process below.
Gelatine blocks are great because they are transparent, meaning that they are clear enough to be seen through. Some gel blocks can be thicker depending on how you mix up the quantities (we will discuss more about how to make your own gel block below!) This is a great opportunity for teachers to talk about the differences between opaque (not see-through), translucent (somewhat see-through) and transparent (see-through) objects!
The gel block has great texture and movement too! On the Light Cube, it looks even better because it glows with the light underneath.
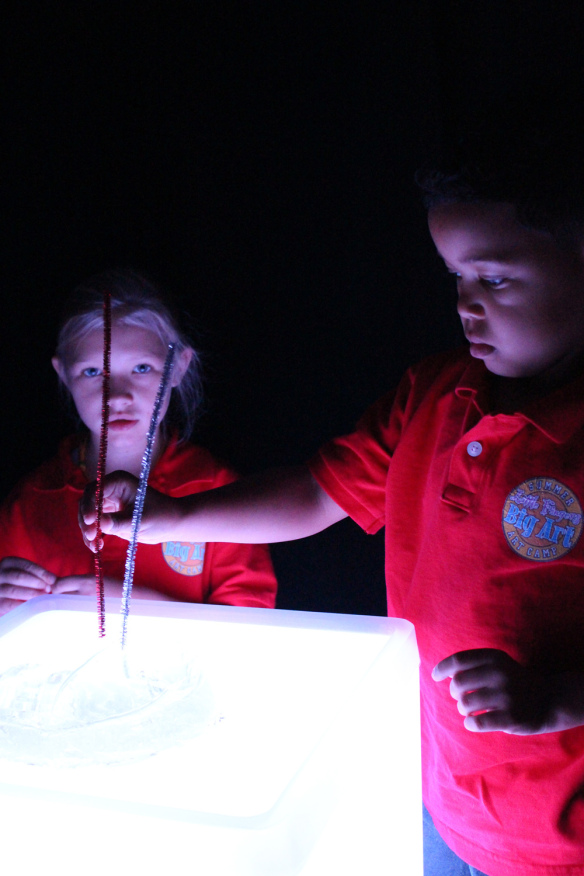
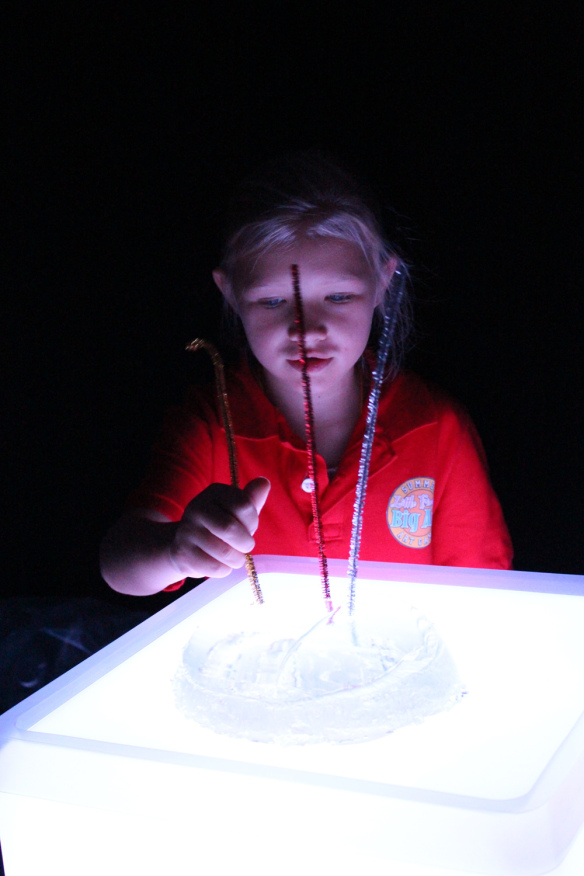
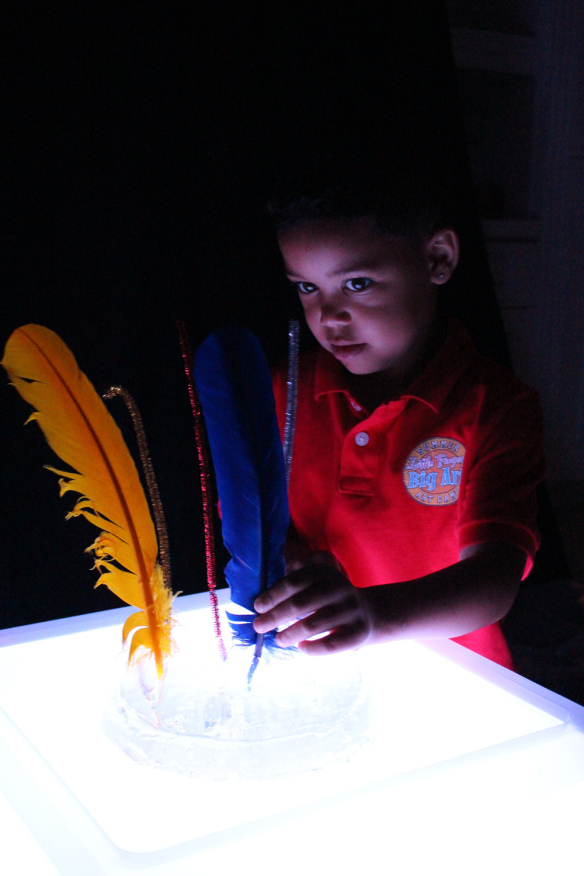
We asked the campers to “decorate” the gel block with fancy additions such as pipe cleaners and feathers. We used shimmering, glittery pipe cleaners to help bounce the light around even more.
Both campers were really excited to see that the gel block acted like a stand for the feathers and pipe cleaners. It was soft enough to press the materials through but also firm enough to keep the materials in their spots without letting them tip over!
Since we had the Light Cube set to a white glow, it made the colors of the feathers pop out! Look at the contrast between the yellow and the blue. These are complementary colors, meaning that they are placed directly across one another on the color wheel. Another cool lesson for students: learning about color groups!
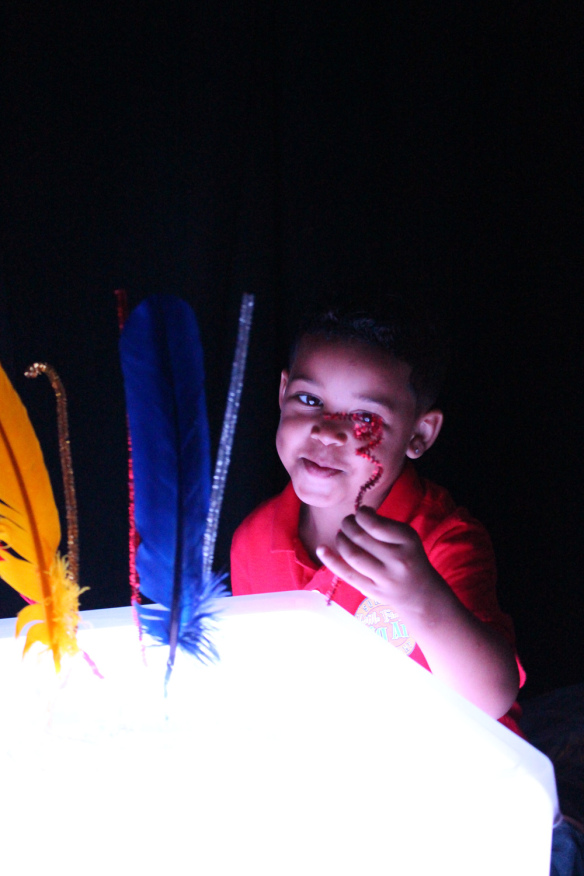
Once we got started, it was hard to stop! Fabian here decided to curl one of the pipe cleaners into a spiral shape and jut it into the gel block for fun.
To make your gelatine block just like ours you will need the following:
• Knox® Gelatine (find a box of packets at any baking supplies or supermarket near you!)
• Heat-safe bowl or large mold, depending on your preference
• Hot or boiling water
• Cold water
• Measuring cup
• Baby oil
• Whisk
First, measure the cup capacity of the mold you are using. Simply use a measuring cup to keep track of how much water you use to fill the mold. Once you have a definite number, divide it in half. One half of the water cup capacity will need to be boiled while the rest will need to cool in the fridge. You can pour out half of the water into a kettle or sauce pan and heat it up until boiling. For every cup of water used to fill the mold, you will need to use 1 package of the Knox® Gelatine powder. While you are waiting for the water to boil, spread some baby oil onto the mold. This will help loosen the gelatine out of the mold when it is set. Pour the hot/boiled water into the mold and mix in with the gelatine powder using the whisk. When the gelatine is fully mixed into the water and there are no remaining clumps, pour in the remaining half of the water that was cooling in the fridge. Stir the mixture with the whisk. Place the gelatine mold into the fridge to set for 3 hours or leave overnight.
In the morning, pop out the gelatine mold. You can use a long spatula to ease the block out of the mold. Flip the mold over to set it on top of a tray. Place the tray onto the Light Cube and turn on the white glow to get started on your own neat sensory-fine motor play activity!
We love the campers’ priceless reactions to the activity–they spent more time on it than we’d planned!
Like us on Facebook, Share this post with your friends, or Subscribe to this blog today to receive original craft project updates every Monday, Wednesday and Thursday!
