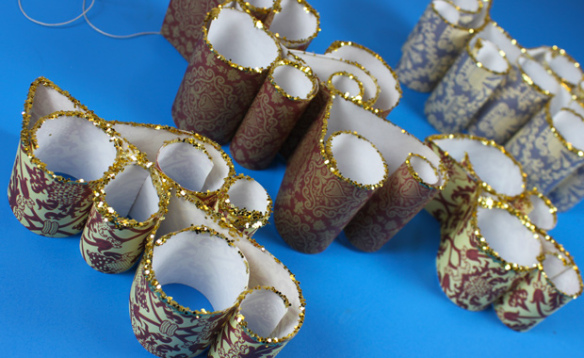
 Add a fancy touch to your Christmas tree or include it in your holiday classroom decorations. The glitter can be a bit messy to work with, but in this craft, your students won’t have to get their hands in it! Super simple and stunning–that’s what we like!
Age: 5+
Duration: 15-20 minutes
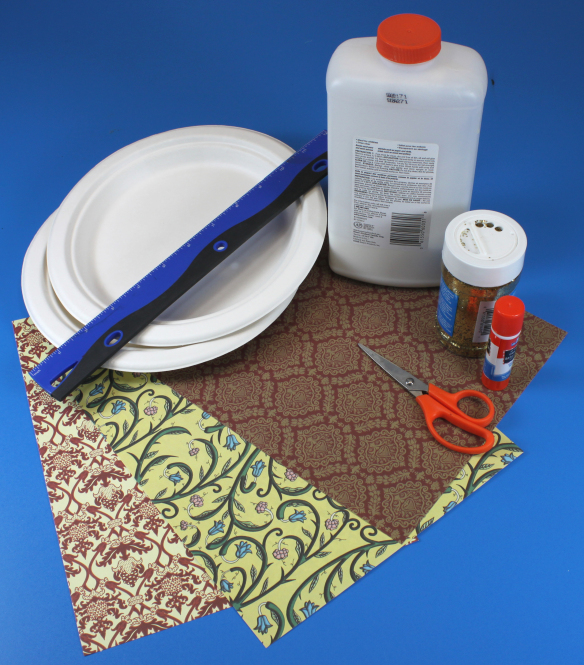
You’ll Need:
• R15305 Renaissance Era Paper
• Glitter
• Scissors
• Glue
• Paper plates
• Ruler
You can use any one of our decorative papers to customize your own flourish ornament. When you’re done making the ornaments, send us a picture of how they look like on your Christmas tree!
 Paper plates will come in handy when adding glitter to your flourish ornament!
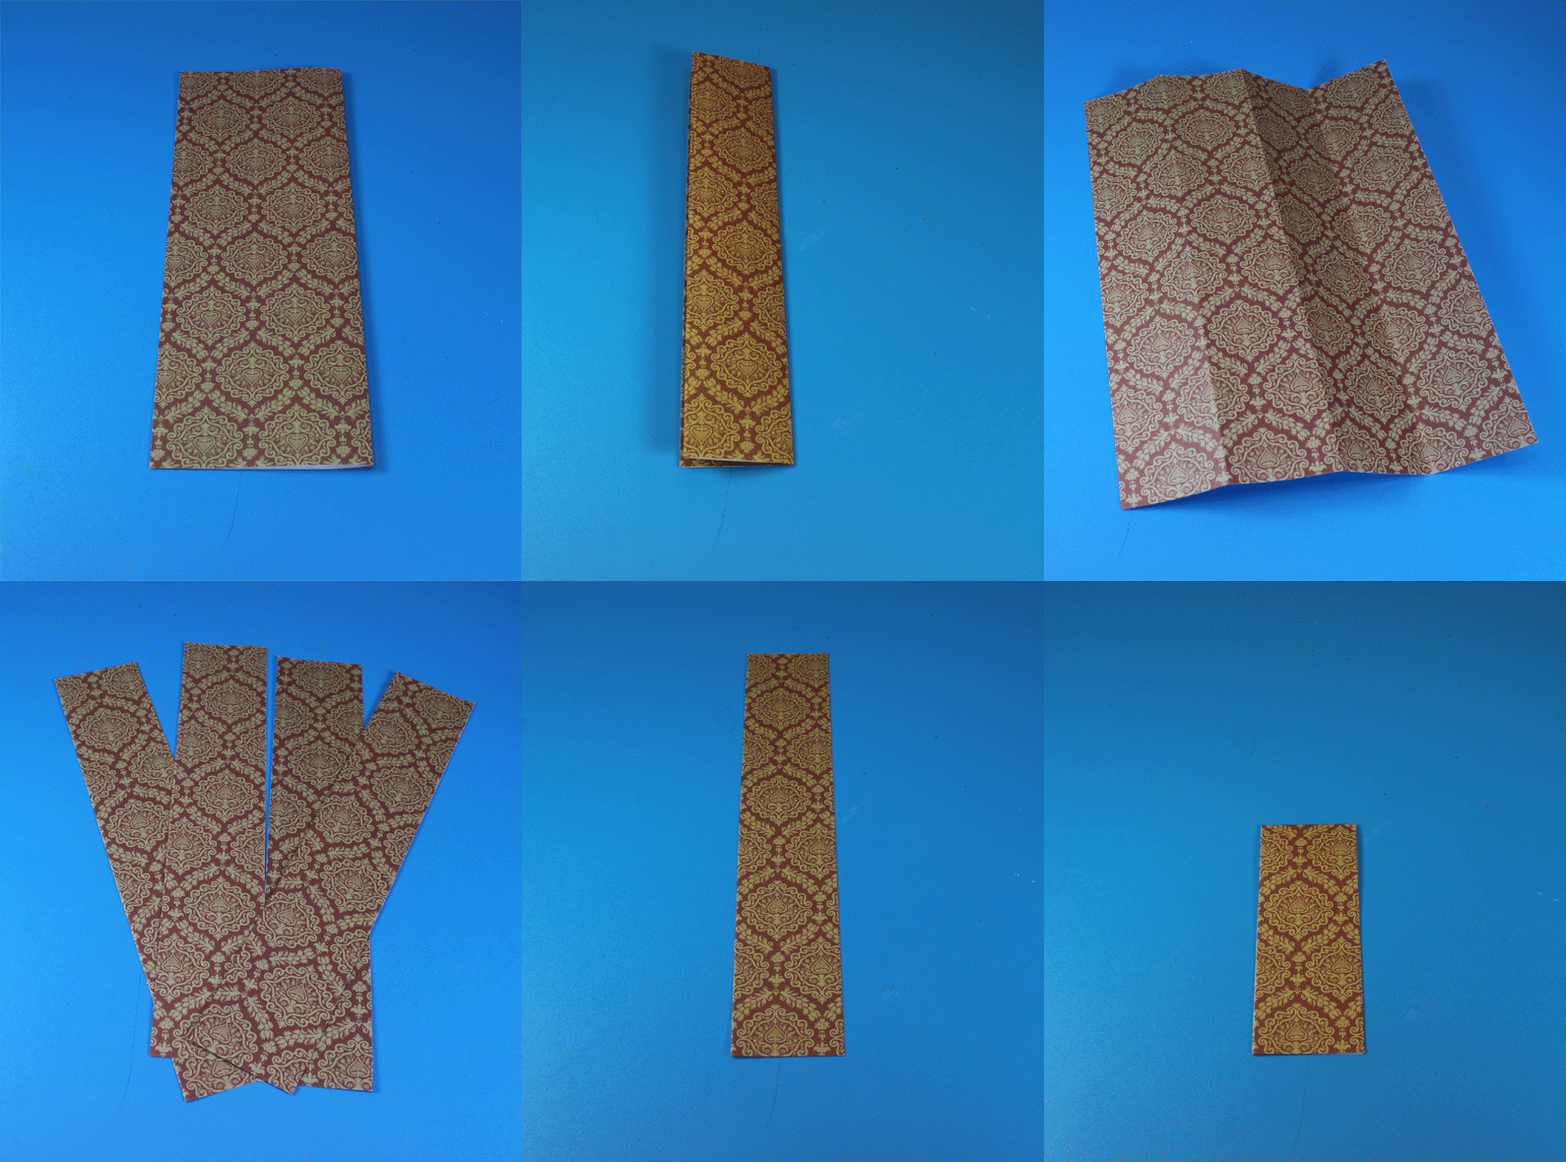 First, fold your paper lengthwise in half, then fold once again. Unfold your paper, to reveal three fold lines in total. Cut along the fold lines to separate the paper into four equal strips.
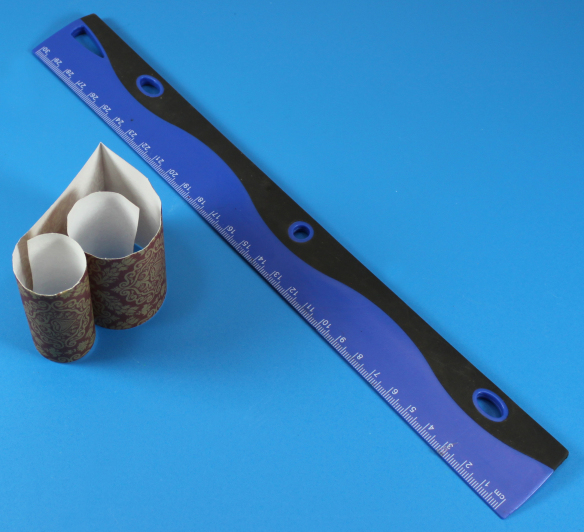 To make the curls on your flourish ornament, fold one strip of paper in half. Press the edge of a ruler to the underside (unprinted part) of one half of the paper strip. Stabilize the top of the paper with your thumb and pull the ruler with your thumb over the remaining length of the paper strip. This will curl the paper inwards.
Repeat for the opposite side of the paper strip.
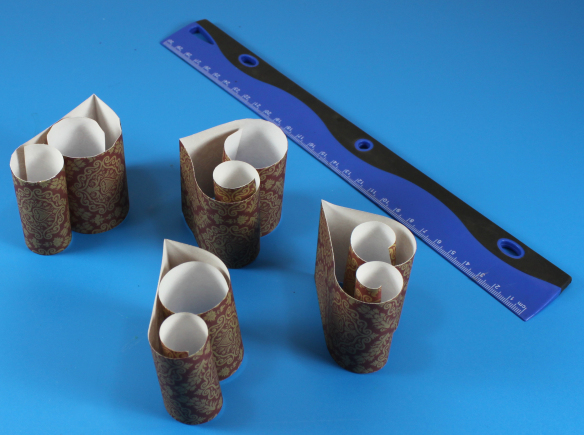 Do the same for the remainder of the paper strips.
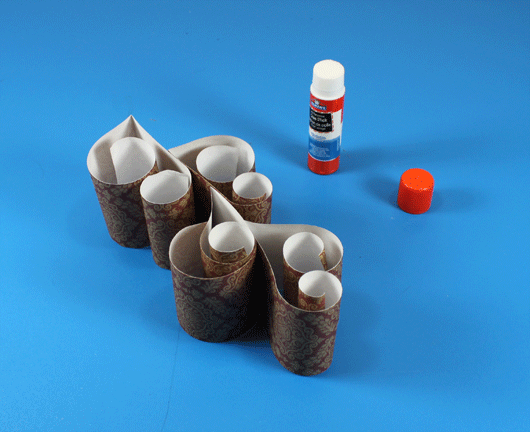 Next, glue the edges of your paper curls together. Join the edges together and fan the curls outwards from the center.
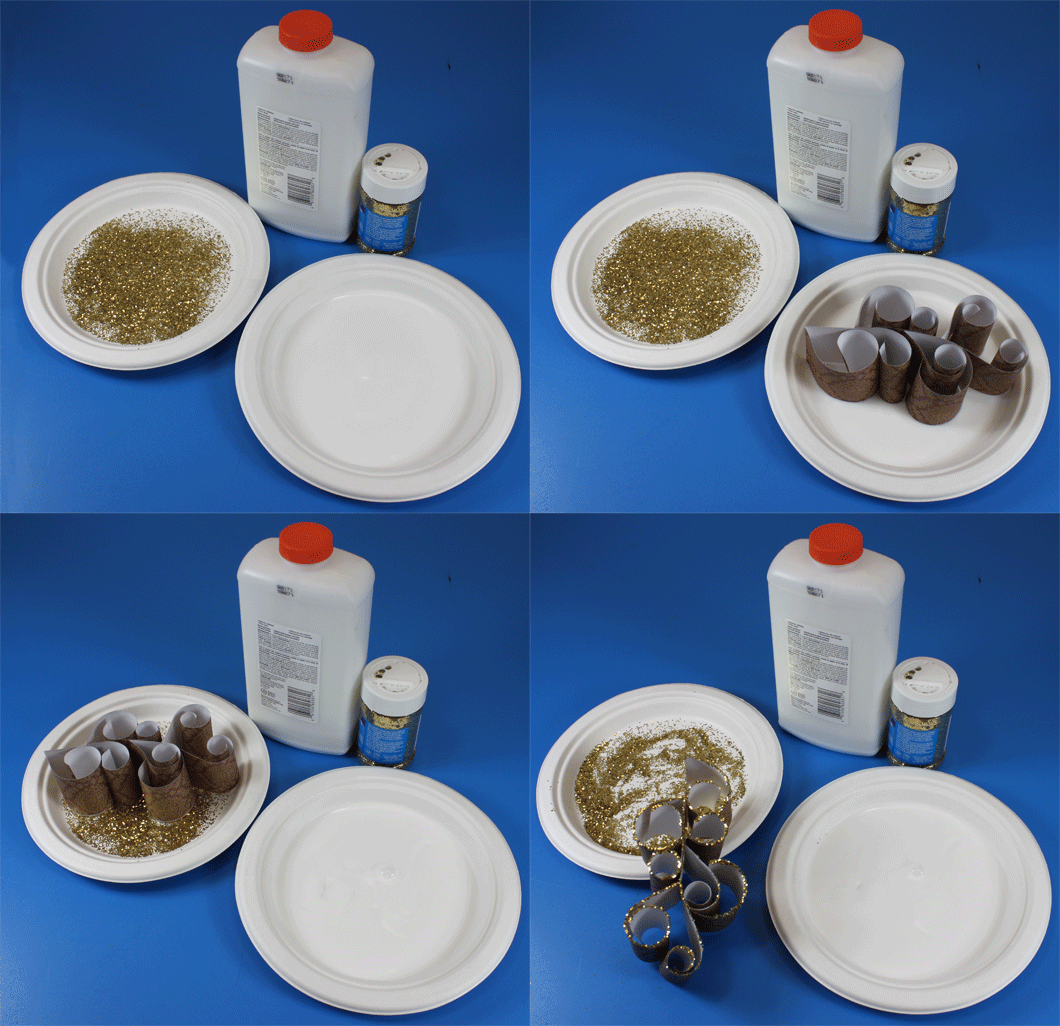 Fill the bottom of one paper plate with glue. Fill the bottom of a second paper plate with glitter. Dip one side of the flourish ornament in the glue. Lift, then dip the same side down into the glitter. Remove and set aside to dry.
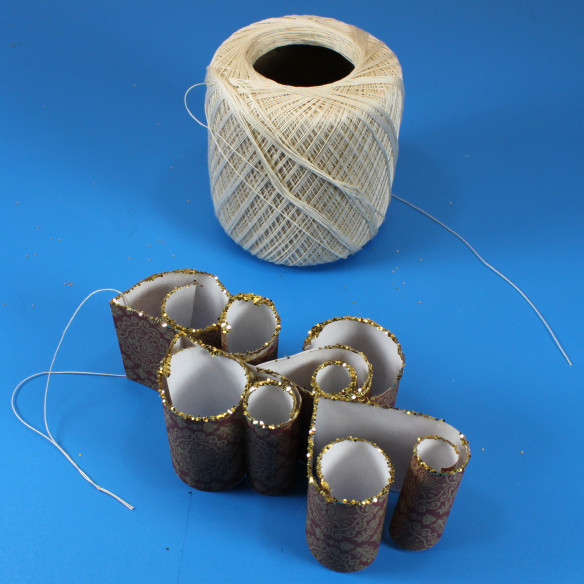 Thread a length of string through the top of the flourish ornament and tie a knot at the opposite end. Now it’s ready to hang!
Thanks for checking out our Christmas countdown posts for this week! Stay tuned next week for more crafty holiday projects! Email us your projects to subscriber@roylco.ca. Looking forward to hearing from you!
