Scissor Skills Paper makes it easy to introduce scissor use to young children! We gave our crafters at the Roylco Summer Art Camp our Scissor Skills Paper to create their projects from. One of our crafters had a great idea to turn the feathers into a headband hat! Check out her process below!
There are three features to the feathers, besides being so colorful! The easiest feathers feature simple sloped lines that help students first gain control of the scissors as they cut. The feathers are printed with a small scissor indicators to show students where to start cutting. The intermediate feathers feature curvy lines to increase students’ control of scissor movement. The most challenging feathers consist of zig-zag lines for expert use!
Start off gradually by first showing students how to hold the paper in one hand while cutting with the other. We’ve got some great scissor and fine motor muscle exercise tips in our guide for the Scissor Skills Paper. Begin cutting the easiest feathers first. Progress to the more difficult feathers when students are more comfortable with their cuttings skills.
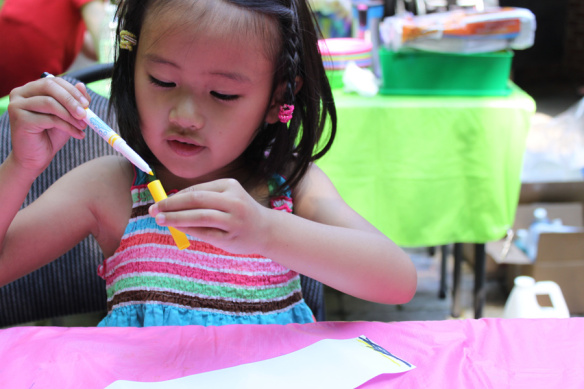
We provided our camper with a strip of blank paper to decorate. She used markers to draw a succession of lines on the paper.
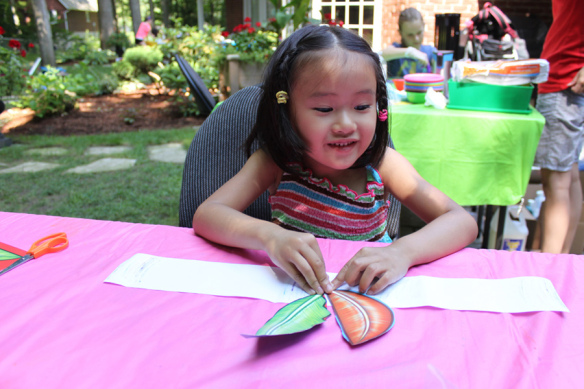
Our camper placed the feathers along the strip of paper and glued down the corners.
We secured the edges of the strip of paper to make the hat fit! What a great idea!
 Show us how your students used the Scissor Skills Paper in other projects! Send us your photos and artwork to subscriber@roylco.ca to be featured in an upcoming post. We’d love to hear from you!


