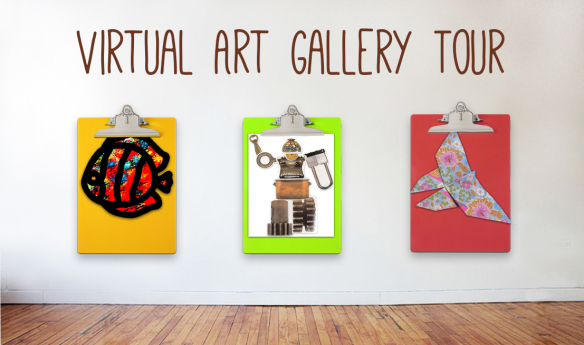
Welcome to the Little Fingers Big Art gallery wrap-up! Today, we’re going to take a trip down memory lane and revisit some of our favorite crafts of the past year. PLUS: I’ll show you a unique way to display your students’ artwork in the classroom!
I’ve taken our favorite top ten crafts and compiled them below in honor of Little Finger Big Art blog’s first year on the blogosphere! Just click on any of the images below to get linked directly to the craft post.
TIP: To display your students’ artwork, purchase colorful clipboards from any Dollar store! Use one clipboard per student. Hang the clipboards from a wall. If you are unable to drill nails into walls, consider placing adhesive hooks to the walls and hanging the clipboards off those. You can buy adhesive hooks at any department store nearby you!
When children have finished a piece of art, they can clip their art up to their individual clipboard. Send old artwork home with students to add newer artwork to the clipboard art gallery! Children can update their clipboard galleries anytime they finish a 2D illustration.
View our top-ten favorites below!
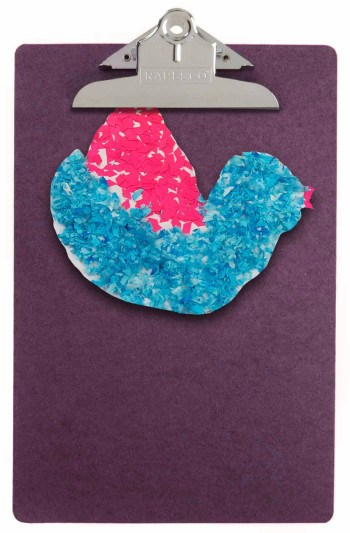
Colorful collage materials add texture and brightness to the beautiful bird designs. Find templates for the bird designs here: Bird Template 1 and Bird Template 2. Each student can make their own unique bird and add it to the overall classroom display of birds! Find out here!
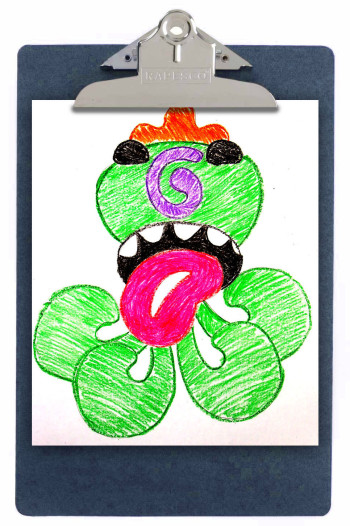
2. SILLY STENCILS FRIENDLY MONSTERS
Grab a handful of Silly Stencils and arrange them to make your very own friendly monster! Any of the stencils can be used as eyes, noses, mouths, legs, bodies and more. Great for exercising dexterity and building image association skills: find out more here!
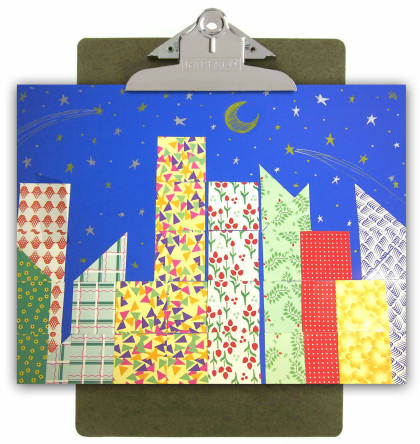
Arrange beautiful patterned mosaics to make a gorgeous night scene! Use metallic gold and silver gel pens to add detail to the night sky. Learn more about this project here!
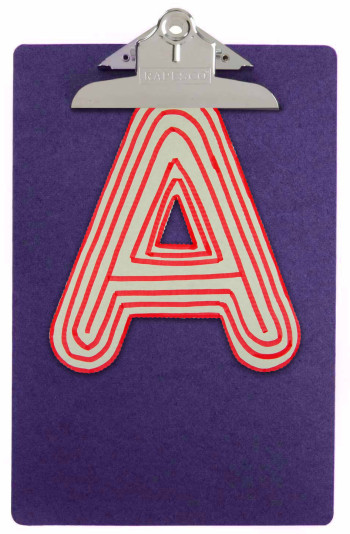
Use our Chipboard Letters to learn about uppercase letters. A great tracing activity that helps encourage image retention through repetition. Try it out!
5. ROLLY SCROLLY JAPANESE CALLIGRAPHY ART
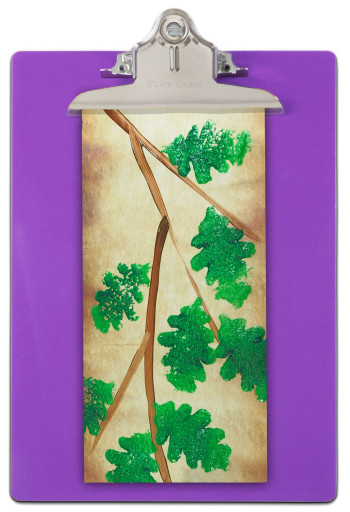
Use simple brushstrokes to illustrate branches. Add detail with our Leaf Sponges! See the full tutorial here!
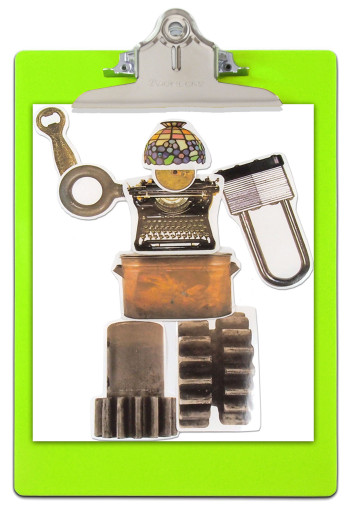
Learn how to put together our Elements Collage pieces to make jivin’ robots! Get inspired to make your own using our instructions. Check it out here!
7. CRAYON SHAVING STAINED GLASS
Use crayon melts to create a beautiful stained glass material for our Stained Glass Frames. A great way to recycle old crayon stubs! View the full tutorial!
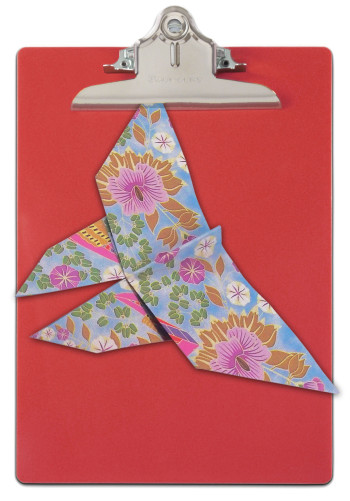
Stuck trying to make sense of valley folds or inside reverse folds? Don’t stress another minute! Check out our detailed YouTube videos that show you precisely how to make a bird, frog, butterfly, boat, crane and fish! We use our R15208 Really Big Origami Paper so you can see every step along the way.
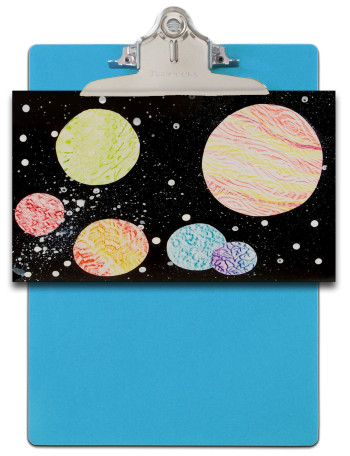
Our R5841 Optical Illusion Rubbing Plates were used to add interesting effects to planet cutouts. Paired with a cotton swab-brushed background, these planets look stellar! Take a trip to this space-inspired post!
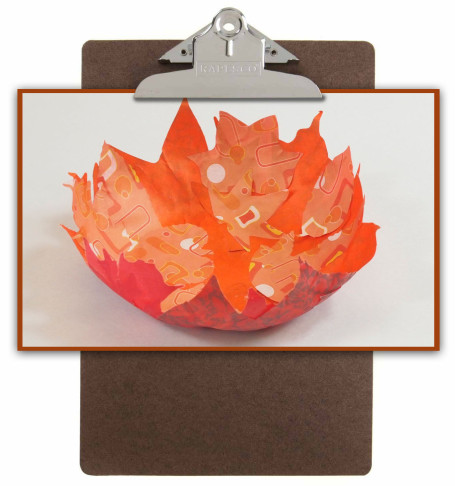
10. PAPER MACHE BOWL
A happy accident this was! I used a bit of glue with our R15335 Spring and Autumn Leaves and draped them over a plastic bowl to make this colorful creation. Learn more about this project here!
Thanks for checking out our gallery! We’d love to see some of your artwork! Send us your ideas or photos of projects inspired by our crafts! Send all emails to subscriber@roylco.ca for a chance to be featured in an upcoming blog post.
