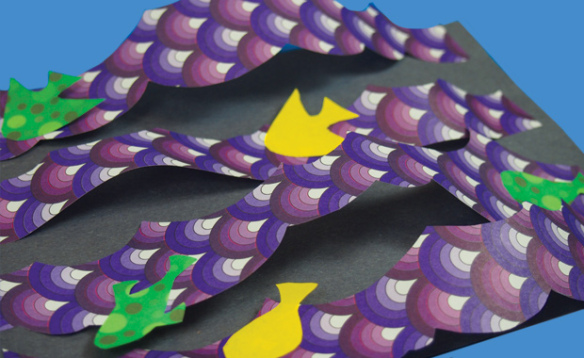
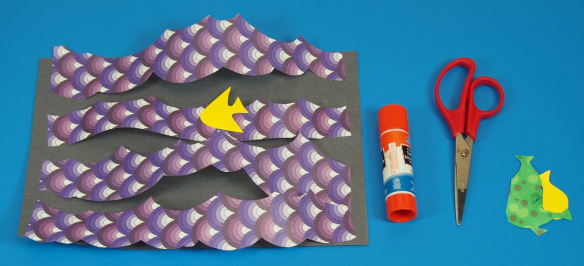
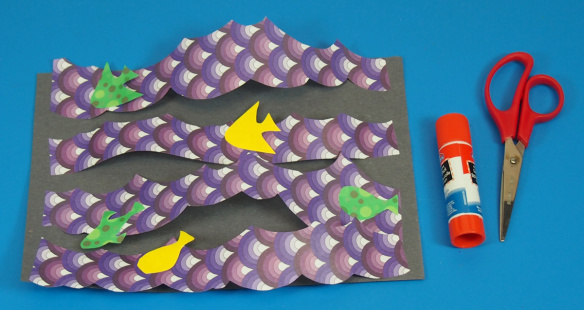
Following our ocean theme for this week, I’ve put together a little craft that incorporates our decorative papers into a fun and vivid cut and paste activity! Find out how to make your own ocean scenes below!
Age: 6+
Duration: 15-20 minutes
Learning Objectives: Exercise fine motor skills through cutting wave shapes. Focus scissor skills while cutting out fine details in various shapes. Turn 2D shapes into 3D images. Combine a flat base color with decorative paper to simulate the appearance of ocean waves. Combine colors together. Learn how to space elements apart to express dimension.
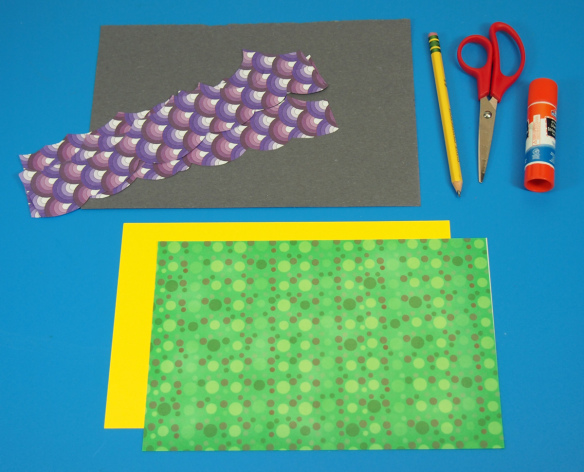
You’ll Need:
• R15203 Decorative Hues Paper
• Construction paper, 9 x 12″
• Glue
• Scissors
• Pencil
This craft is definitely one of our easier ones. There are less materials to use in this activity, so the final product is simple but effective. Kids will love playing around with the 3D waves to make their fish characters appear as if they are swimming!
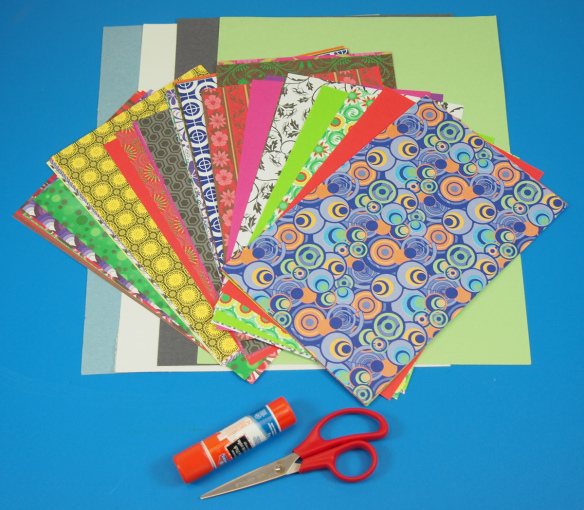 Here’s a selection of the various Decorative Hues Papers you can use, along with some suggested backdrops for your ocean scenes. Blue is definitely a go-to color, but you may not have 30 sheets of blue construction paper easily available.
Other colors to use are: white, black, green, or even (not pictured here) purple! White goes well against light blue or greenish waves. Black can be used to depict a night-time ocean scene. Green works well with blue or white waves. Purple can be used for a deep-sea scene. Grab some references online to see what kinds of color combinations work with different ocean scenes.
 I’m going to show you how a difficult color–such as black–can be incorporated into an ocean scene.
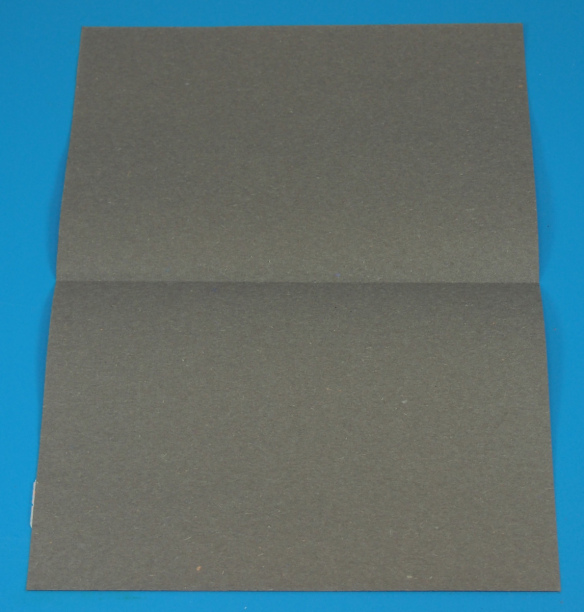 Most construction paper sheets come in 9 x 12″ configurations. For this activity, you will only need half of the sheet, so two students can use one color and create different waves effects. Fold the sheet of paper in half.
 Use the folded line to cut or tear your sheet in half. You should have a sheet size of 9 x 6″.
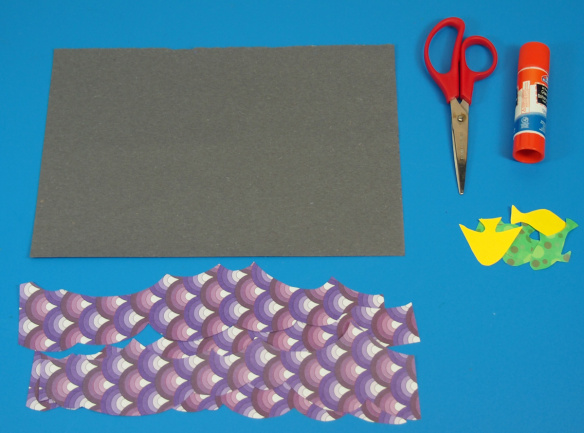
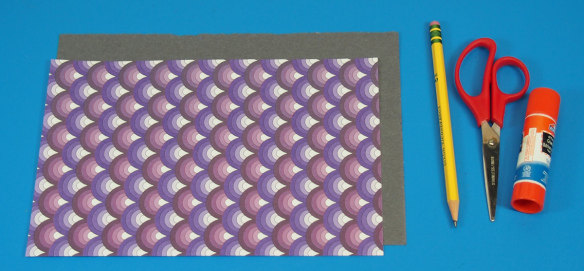 I’ve selected a pretty wave-like pattern from the Decorative Hues paper. Notice I’ve used a sheet that’s predominantly purple. This makes it appear as if the reflection of the water is casting a purplish hue.
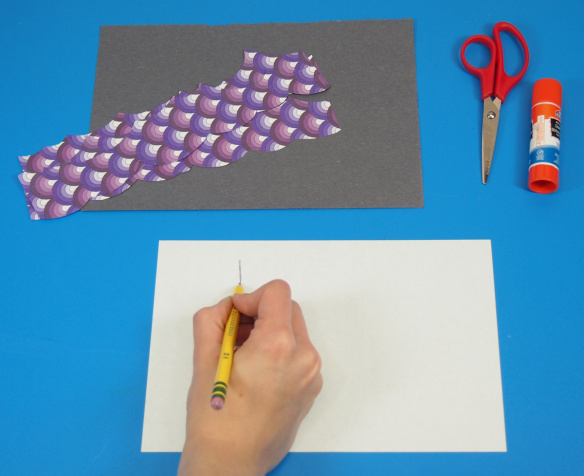
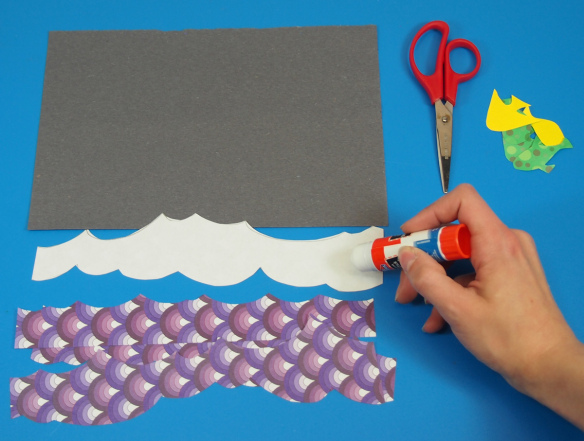
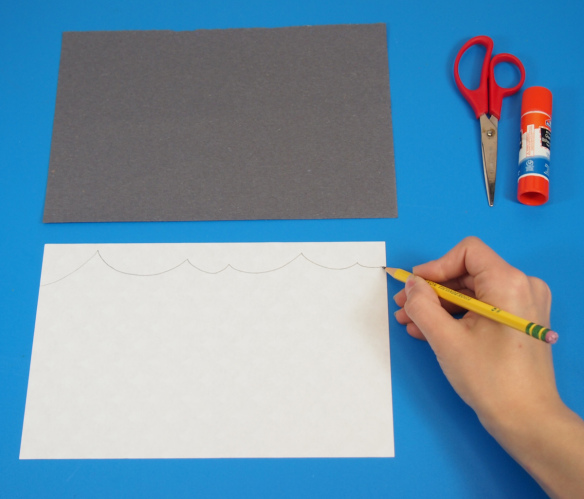 Flip your wave paper over and draw a line with peaks across the length of the sheet. You can get students to practice drawing wave lines on scrap paper before drawing them on the Decorative Hues paper.
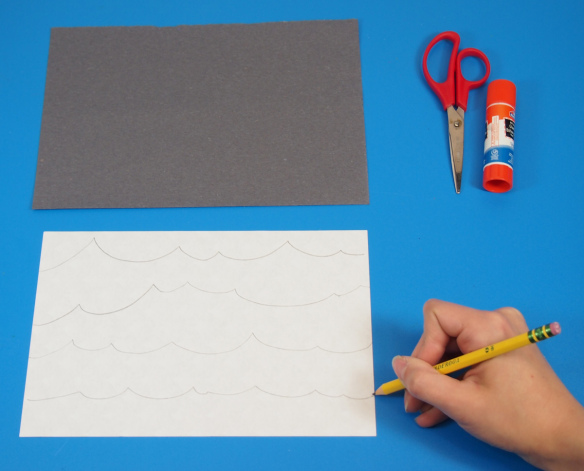 You can fit about 3-4 wave lines on the back of the Decorative Hues sheet. Keep the spacing relatively equal, but you can do thinner lines if you wish.
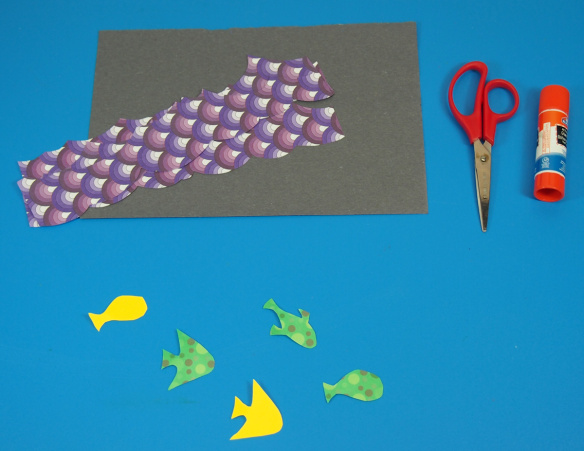
Cut each of the wave lines out from the paper. Discard the part above the first line you drew. Next, select two fun colors for the fish shapes. Fish are relatively small so you can cut the sheets in half and distribute among students.
Fish Drawing Lesson!
Click on any of the following subheadings to learn how to draw:
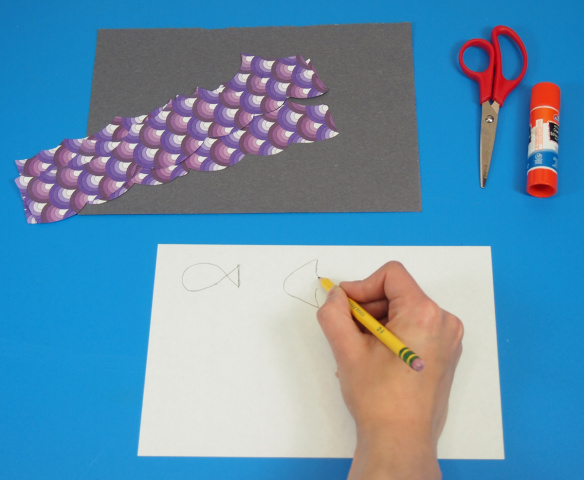
Draw a basic fish shape with two basic shapes: a triangle for the tail and an oval for the body.
Start by drawing a small line.
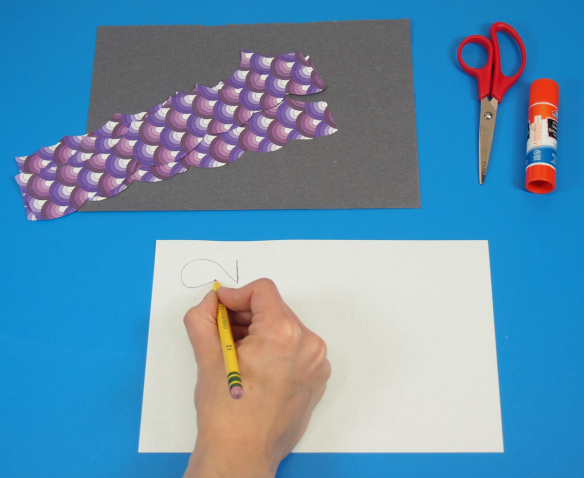 From the bottom of the line, draw a large oval shape.
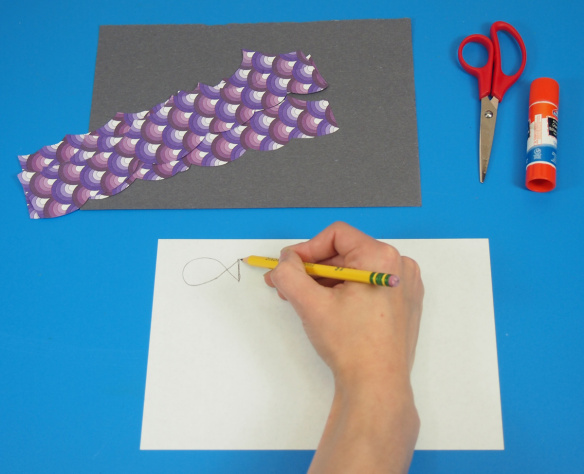 Complete the oval by crossing over and connecting it to the top of the line.
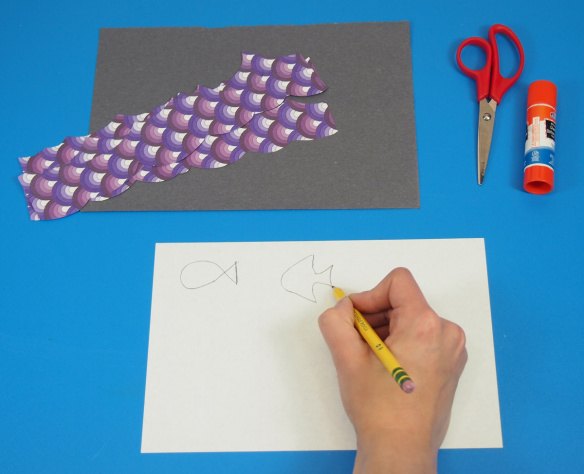
This fish look a little more exotic, but is made up of two triangles: a large triangle for the body and a small triangle for the tail.
First draw a large rounded triangle shape. Leave the line open so it can connect to the tail.
Finish the fish shape off with a smaller triangle for the tail.
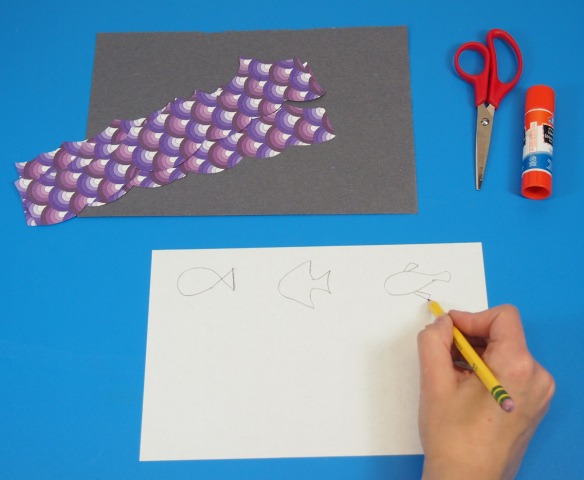
This fish design is a little more complex. It is based after the top view of a koi fish, so it requires a little more curve to the basic shapes. There are a lot of ovals and rounded triangles used in this fish shape. Older students can use reference drawings of other fish to make their designs.
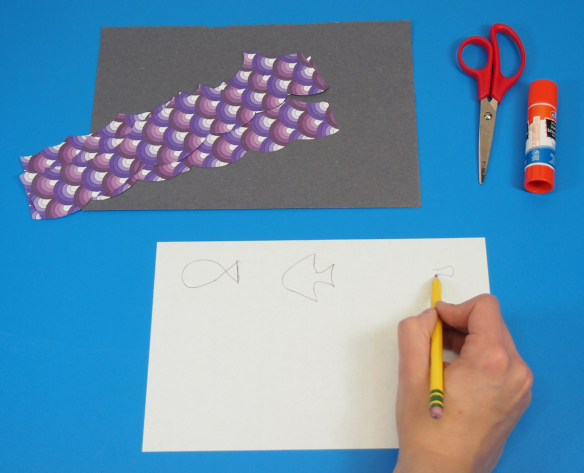 Draw a loose tear-drop shape for the tail.
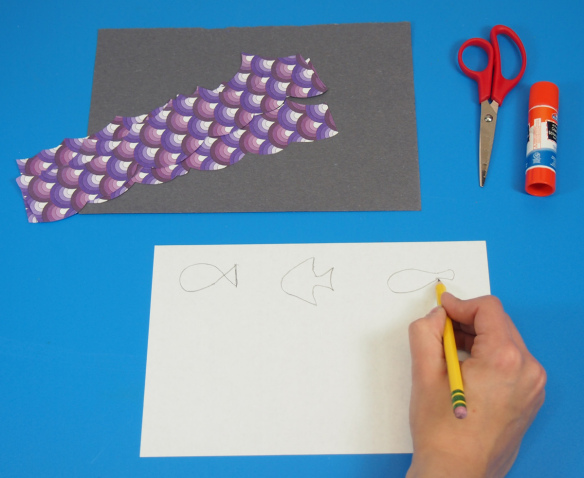 Connect the tail to a large oval body.
Add small triangles for fins.
Cut out all the fish shapes. Thanks to the versatile design, it’s easy to flip the fish to face any direction.
Now let’s get ready to assemble the 3D ocean scene!
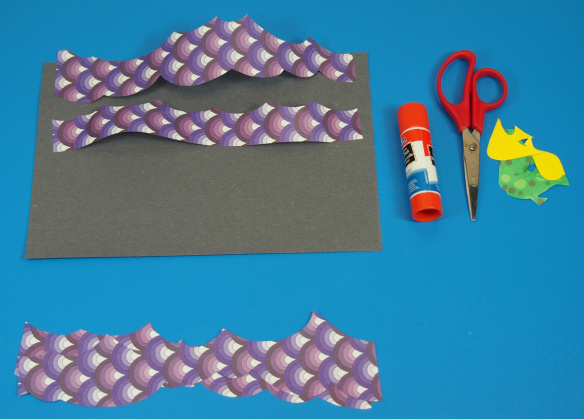
Flip over the first wave pattern you wish to use. Dab a bit of glue on either end of the strip.
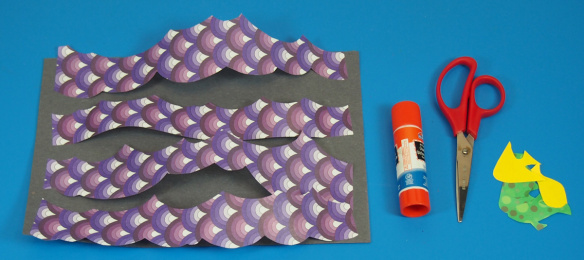
Slightly curl in the wave strip as you glue it down onto the background. Slide the edges of the wave strip about 1/4″ away from the edge of the background. This will lift up the sheet off the background to create a wave effect. Space each of the wave strips apart as you glue them down.
Hang loose and get ready to add in the fish!
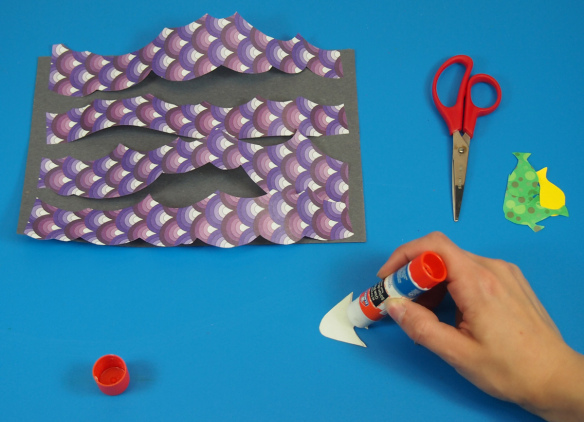 Dab glue onto the back of the fish shape.
And glue your fish onto one of the wave strips.
Fill up the entire scene with fish figures! Now they all look like they’re surfing the waves!
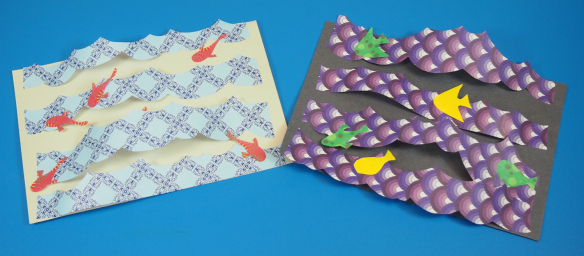
Here’s a look at what else you can do with different combinations of Decorative Hues paper! The scene on the left depicts a series of koi fish on light blue waves. The scene looks like it’s fresh out of a painting!
 Thanks for checking out this post! Like us on Facebook, Share this post with your friends, or Subscribe to this blog today to receive original craft project updates every Monday, Wednesday and Friday!
