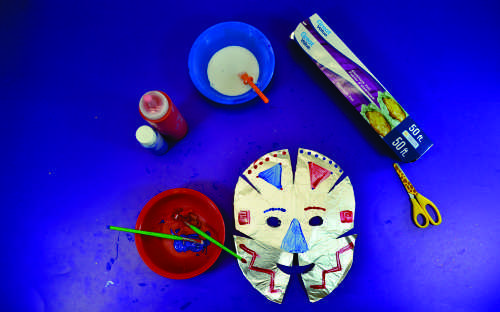
This beautiful artwork mixes science and nature to produce something beautiful!
Age: 4+
Duration: 10 minutes (not including drying time)
Learning Outcomes: Explore color diffusion, wax resist, and practice fine motor skills.
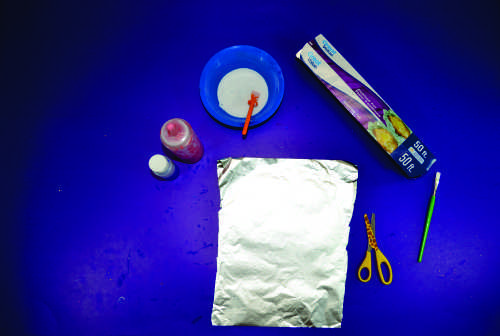
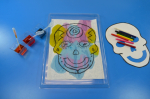
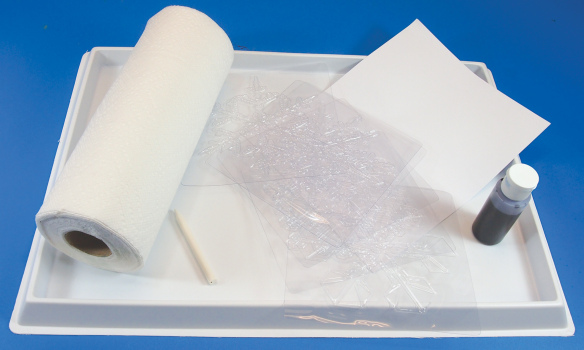
You’ll Need:
- R5815 Leaf Rubbing Plates
- R15213 Color Diffusing Sheets
- R22041 Economy Fun Frames
- R54460 Squiggle Pipettes
- Liquid Watercolor paint (or food coloring)
- Markers
- Crayons

Start by choosing your favorite leaf stencil, a fun frame, some watercolor colors, and grab a sheet of color diffusing paper!
The leaf stencils are small, so I like to use just 1/4 of a sheet per wax-resist project. Start by cutting your sheet of color diffusing paper into four.
Next, place your rubbing plate underneath your quarter sheet of paper, and rub with the long side of a crayon.

For the next step, remove the rubbing plate, and make sure your color diffusing paper is on a tray. Using the pipettes, sprinkle liquid watercolor over your sheet. Then let the sheet dry. For more ideas about color diffusing paper projects, click any of these links. For an explanation as to why this works, check out this post!
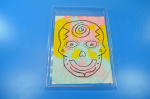
While the sheet is drying, decorate your frame!
When your frame is ready and your wax-resist rubbing dry, tape your rubbing to the back of your frame to complete this beautiful art!
This craft will ONLY work with crayons, because wax is water-resistant, and will show up even after the paper has been saturated with watercolor paint. Don’t worry if when you make this craft your crayon appears to disappear when you add the liquid watercolor. It will reappear as the paint dries!

Thanks for checking out this post! Like us on Facebook, Share this post with your friends, or Subscribe to this blog today to receive original craft project updates every Monday, Wednesday and Friday!

![]()

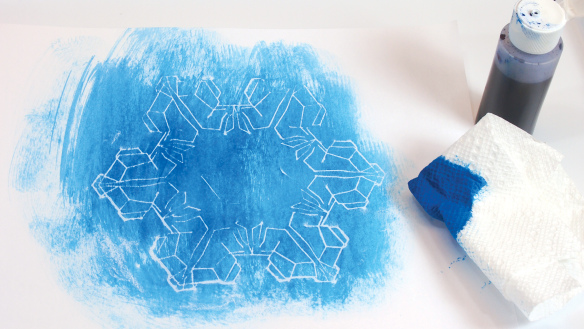
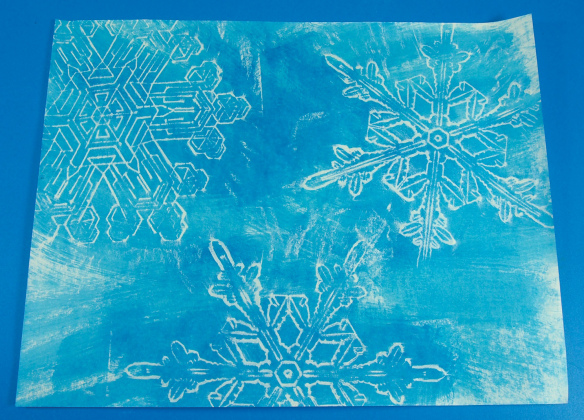
 The paint tray is essential for keeping work-spaces clean while spreading paint onto the paper.
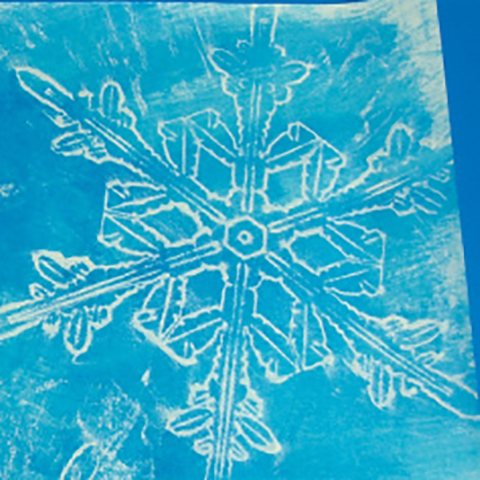
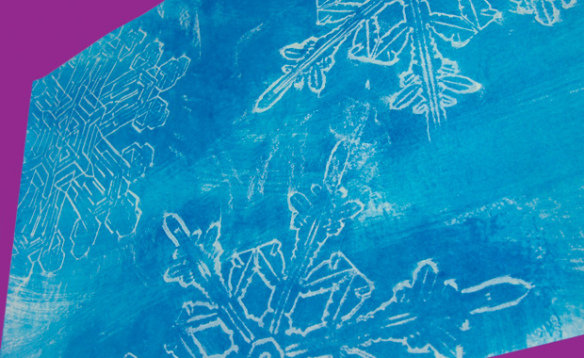
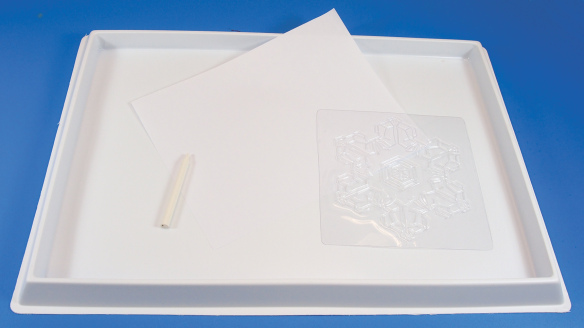 Place one of the Snowflake Rubbing Plates underneath the white paper. Tip: Tape the edges of the Snowflake Rubbing Plate to the paint tray to keep it from moving about. This will be important for the next step.
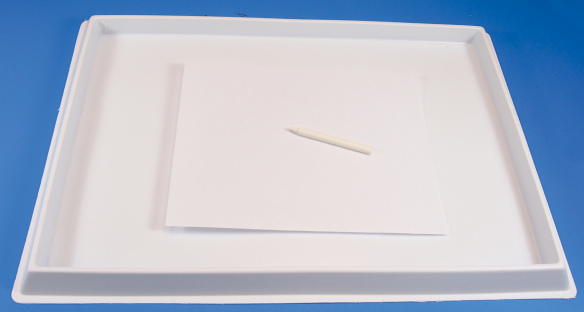 Rub the white crayon across the surface of the paper. Make sure the rubbing plate stays in one spot while you rub the page with the crayon.