Terrific Tree Paper Braided Bookmarks

OLYMPUS DIGITAL CAMERA

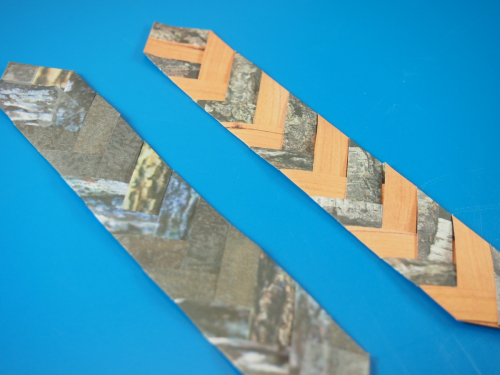
Make a woven wood Bookmark! Great for teaching children to follow instructions and use fine motor skills in folding.

Age: 5+

Duration: 10 minutes

Learning Objectives: Cut and fold paper to encourage fine motor skill development. Create bookmarks for literacy. Incorporate tree facts into activity; Terrific Tree Paper features an image of tree bark on the front and wood grain on the back. Investigate different types of trees through the provided prints. Create art from nature.

OLYMPUS DIGITAL CAMERA

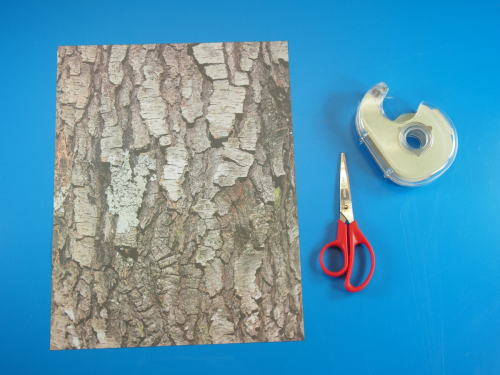
You’ll Need:

Line-07

OLYMPUS DIGITAL CAMERA

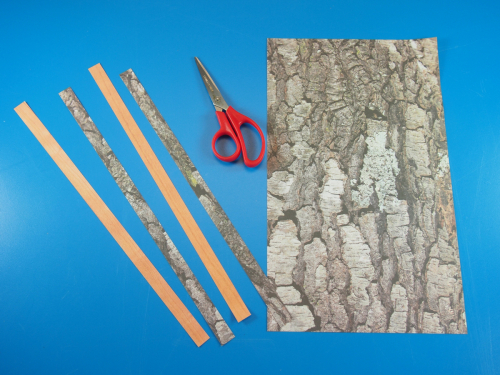
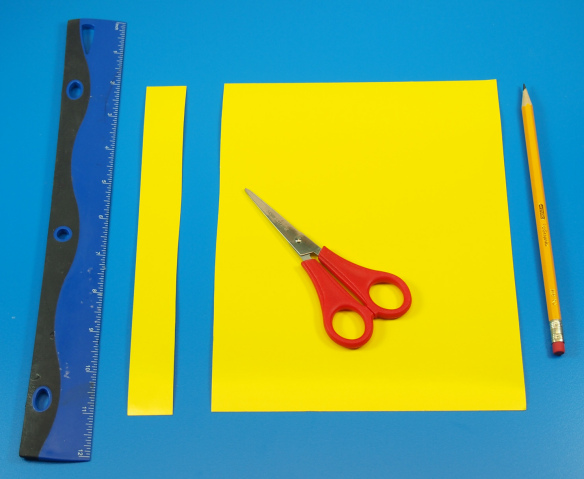
Cut Terrific Tree Paper into ½” x 11” strips.

OLYMPUS DIGITAL CAMERA

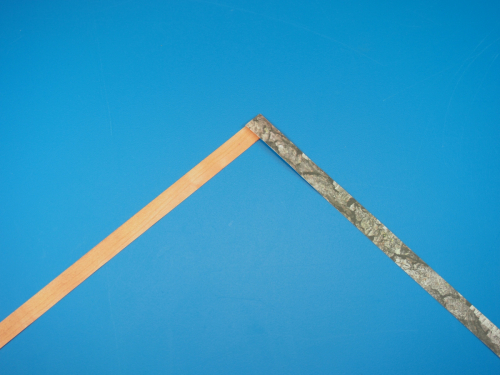
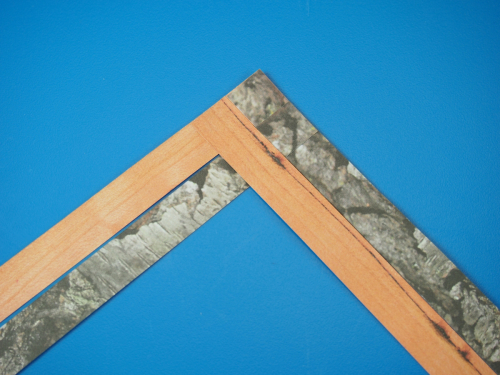
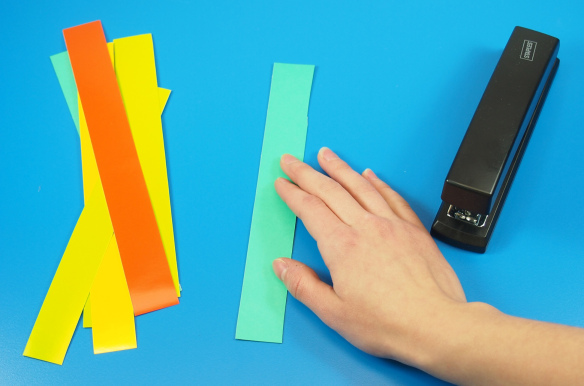
Glue two strips together at the corner.

OLYMPUS DIGITAL CAMERA

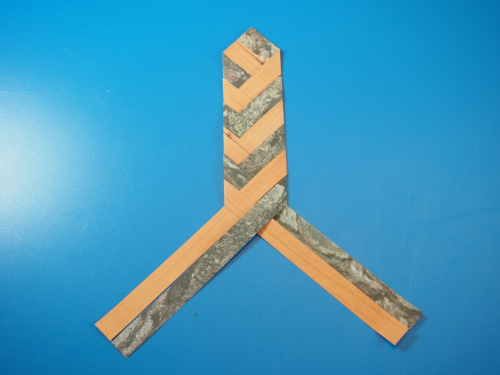
Glue two more strips on top the first strips but directly underneath.

OLYMPUS DIGITAL CAMERA

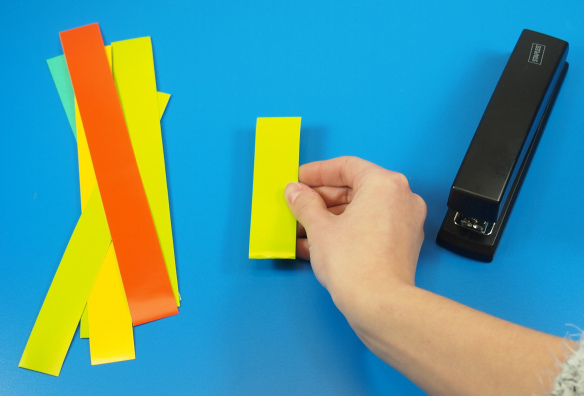
Fold each strip, in order from left to right, across the others.

OLYMPUS DIGITAL CAMERA

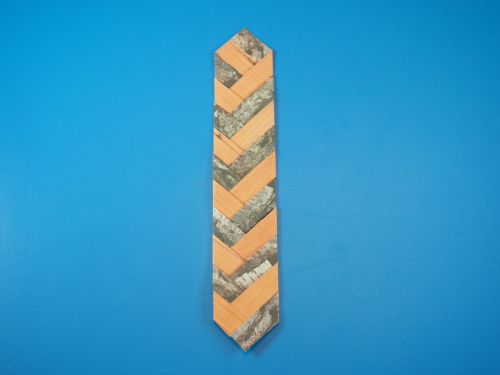
Keep folding until you near the end of the strips.

OLYMPUS DIGITAL CAMERA
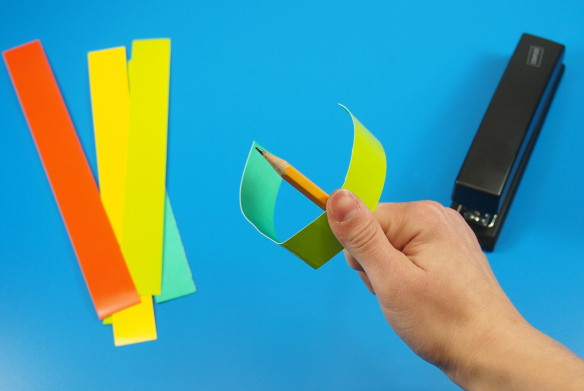
Glue the ends together and trim the excess to form the final angle.

OLYMPUS DIGITAL CAMERA

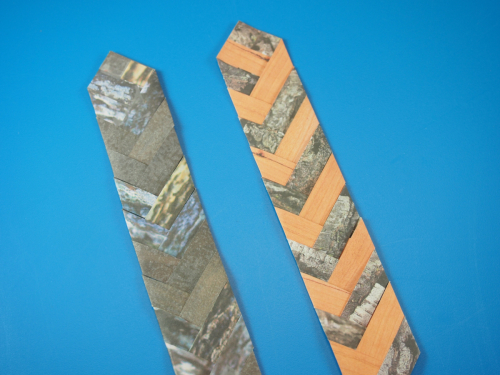
Extra tip: Alternate the pattern by making the first two strips the grain side of the wood and the second two strips the bark side.

Line-08

Like us on FacebookShare this post with your friends, or Subscribe to this blog today to receive original craft project updates every week!

Welcome Back to the New Year!

top ten list feature image

Now that we’ve rung in the New Year, we are excited to share our ideas with you over the next little while. Stay tuned for blog posts in a range of subjects, using tools that you already have in your classroom!

We hope that you’ve enjoyed a year of posts from Little Fingers Big Art. Here’s a recap of 10 of our favorite posts:

1.IMG_0139

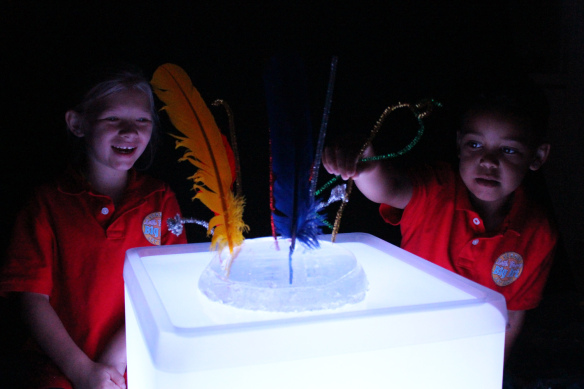
Use jelly on the Light Cube for a great sensory activity!

2.2015-02-25-FeatureImage

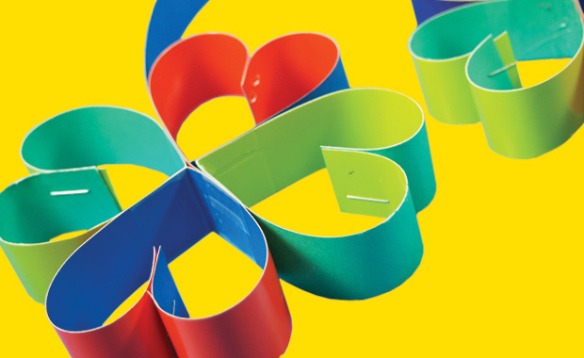
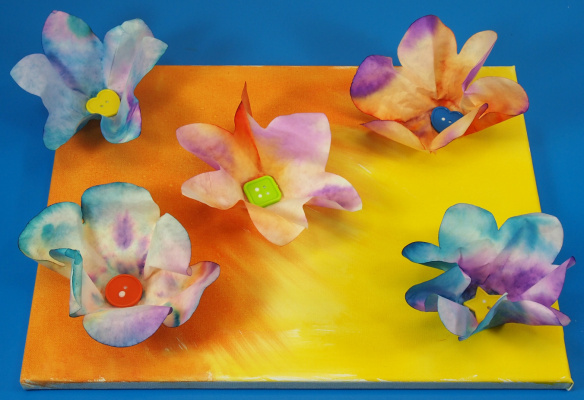
Make lucky four leaf clovers for St. Patrick’s Day, coming up in March!

3.

P1016562

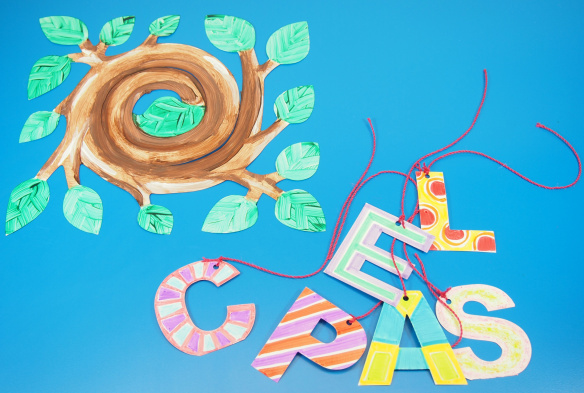
Combine letters in a Word Mobile to generate literacy creativity in students!

4.

Image-04

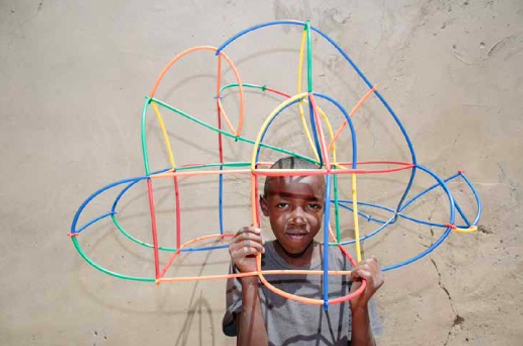
Guest post from Rebecca Milling about the wonderful creations made with our Straws and Connectors at St. Jerome’s Children’s Home in Nakuru, Kenya.

5.

P1016903

Check out this neat step-by-step tutorial on how to make 3D wall art!

6.

IMG_0811

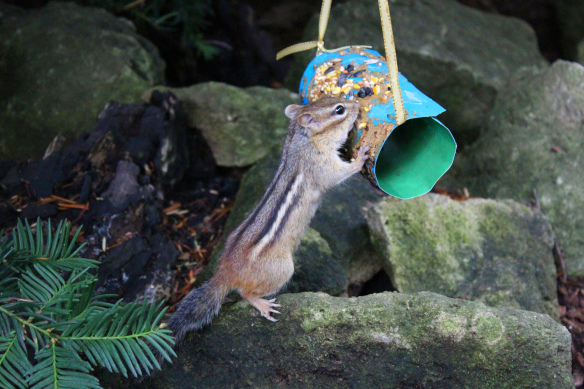
Use our Tube Crafts to make a birdfeeder… or critterfeeder!

7.

P1016967

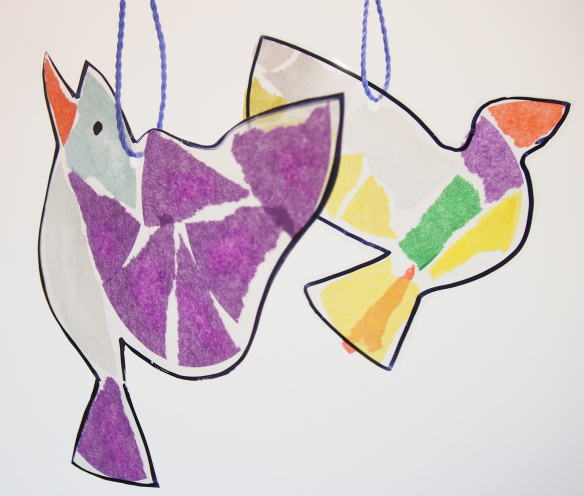
Make beautiful tissue paper birds–a great fine motor skills activity!

8.

Animation

Check out our awesome Action Shapes People! Customizable action figures that your students can use for stop-motion animation projects!

9.

Collage-a-Saurus-FeatureImage

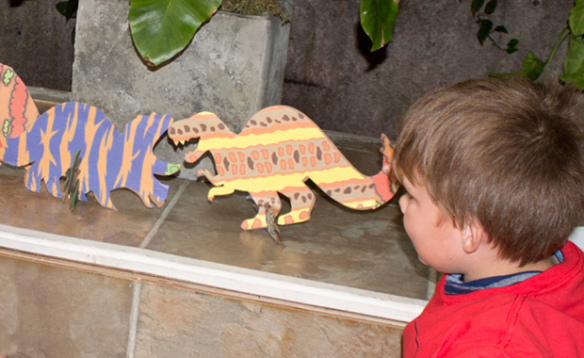
Imagine what dinosaurs really looked like with our Collage-A-Saurus and Dinosaur Paper Sheets!

10.

OLYMPUS DIGITAL CAMERA

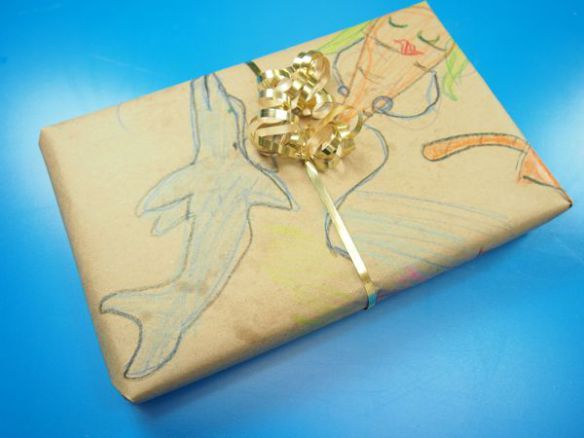
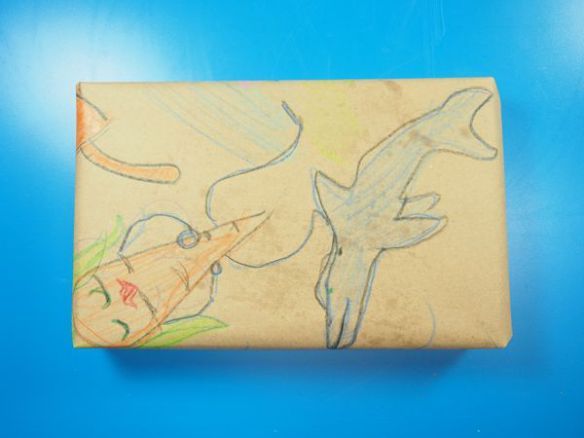
Turn old doodle paper into wrapping paper for someone’s birthday or for Christmas time!

These are our top ten for the year! Share your favorite post online with your friends.

Leave us a comment to let us know what kinds of posts you would like to see more of!

Line-09

Like us on FacebookShare this post with your friends, or Subscribe to this blog today to receive original craft project updates every week!

Repurposed Brown Paper Art (Christmas Edition)

IMG_7757

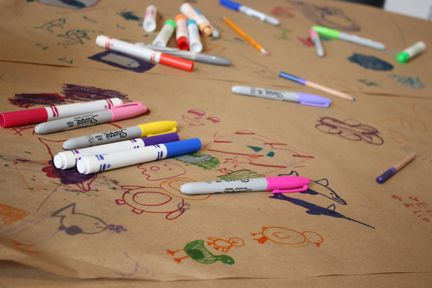
We always hear about great ways to get kids thinking creatively, while doing some sort of double duty. By this, I mean putting down brown packing paper onto tables to protect the surfaces, while giving kids the ability to draw or doodle to their hearts’ content! Well… what do you do with that paper after it’s all done? Read on for more, but a word of advice: DON’T throw it away!!

Age: 3+

Duration: 15 minutes

Learning Objectives: Create artistic talent, generate creative thinking skills. Repurpose old art in a new and fun way.

You’ll Need:

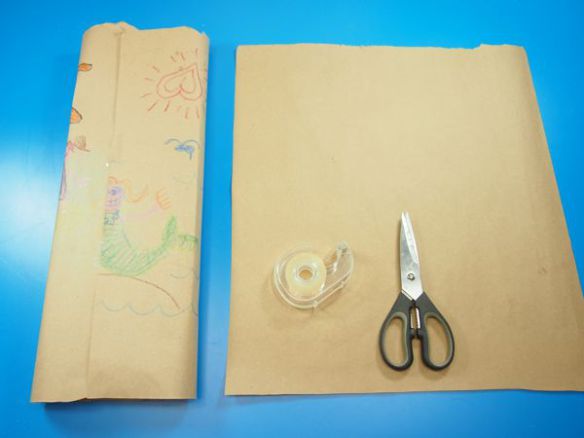
  • Brown Wrapping Paper
  • Markers/pencil crayons/crayons/pens
  • Tape
  • Scissors
  • Ribbon

Line-03

Click to view slideshow.

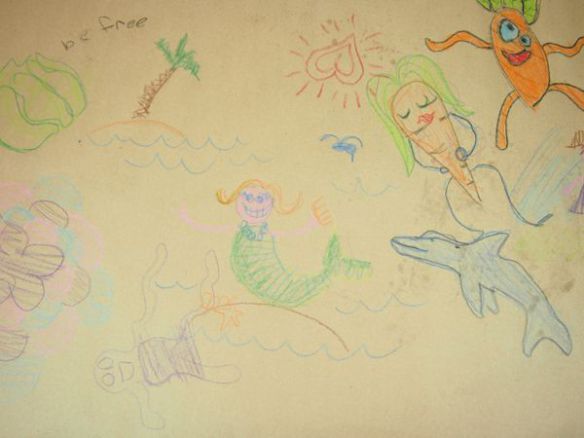
Over the years, we’ve worked with children at various art camps and picked up a few pointers along the way. One of our good educator friends gave us this hint: cover up workspaces with brown wrapping paper. Get the students to doodle when they are bored or need some creative stimulation. It’s always good to have a canvas available at all times!

But what do you do with it when it’s all filled up?

P1010379

Remove the brown drawing paper off the table and cut the best artwork out into large rectangles (about a meter or yard wide, depending on how big the previous workspace was).

OLYMPUS DIGITAL CAMERA

Flip the rectangle sheet over. Place a boxed item such as a new toy or a small keepsake into the center of the wrapping paper.

OLYMPUS DIGITAL CAMERA

Fold in the long sides. Cut off any of the excess and tape the two edges in place. Fold down the sides as you would for wrapping a gift and cut off any other excess. Tape the sides closed.

OLYMPUS DIGITAL CAMERA

This is what you’ll be left with after you flip it right side up.

OLYMPUS DIGITAL CAMERA

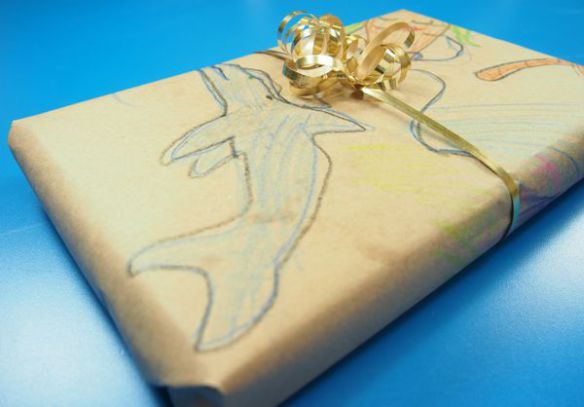
To give your wrapped present extra special flair, add on a gold ribbon or bow. Tie it in the center and curl the ribbon with scissors.

OLYMPUS DIGITAL CAMERA

A great way to spread Christmas or birthday cheer any time of year!

Line-14

Like us on FacebookShare this post with your friends, or Subscribe to this blog today to receive original craft project updates every week!

Getting Creative with our 60170 Constructa Clips Creative Animal Set!

DSCF8281

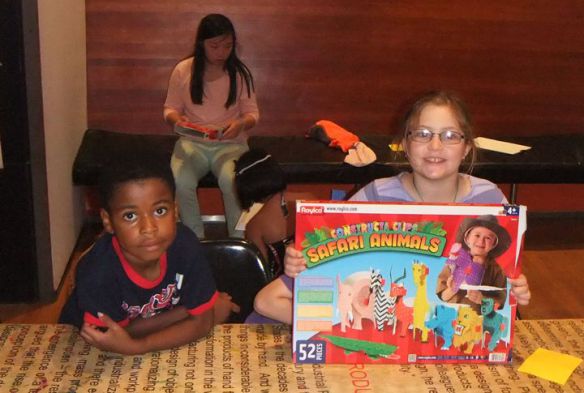
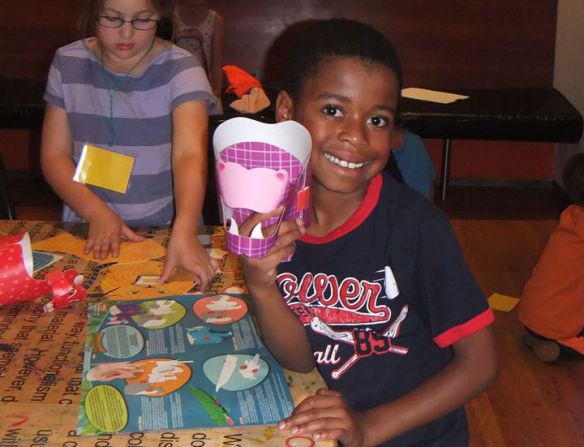
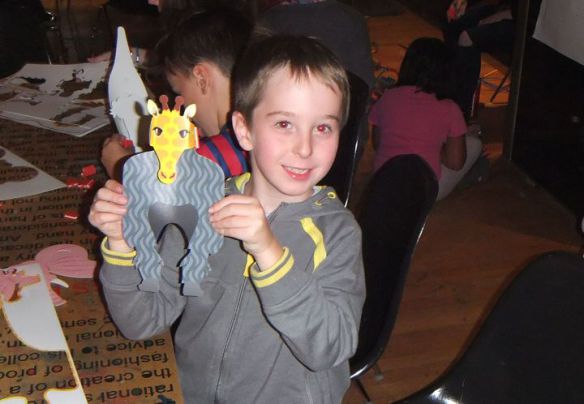
A few years ago, we spent the day at the Design Exchange Museum in Toronto putting together a few activities with the kids. One of those activities was our R60170 Constructa Clips Safari Animals set, also known as our Creative Animal Set! Check out what the campers made!

DSCF8288

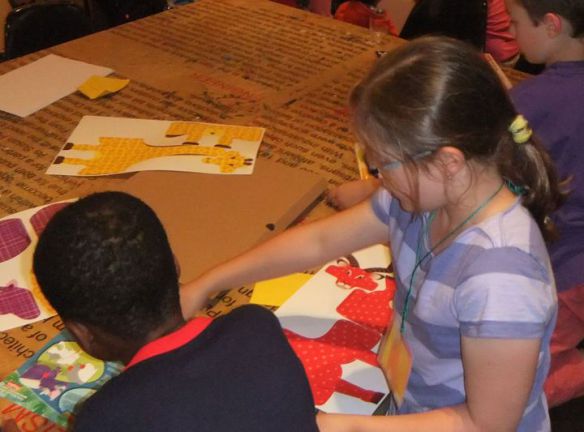
Campers popped out the pieces of the Safari Animals kit, then started assembling them with the provided Constructa Clips. This is a great little kit for kids who love to tinker with their creations.

DSCF8313

They were working away like Santa’s elves to make the coolest little toys!

DSCF8299

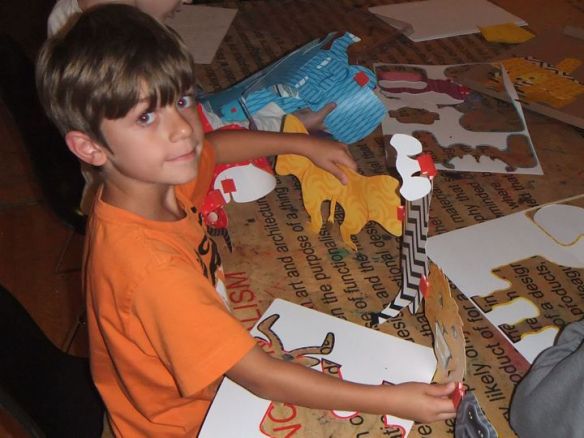
We’ve included full-color instructions to help you put together the unique toys. Experiment a little and see what kinds of combinations your students come up with…

DSCF8314

Like this one! Go wild with your designs and have hours of fun this holiday season with a kit that’s bound to be a hit in your classroom.

Line-09

Like us on FacebookShare this post with your friends, or Subscribe to this blog today to receive original craft project updates every week!

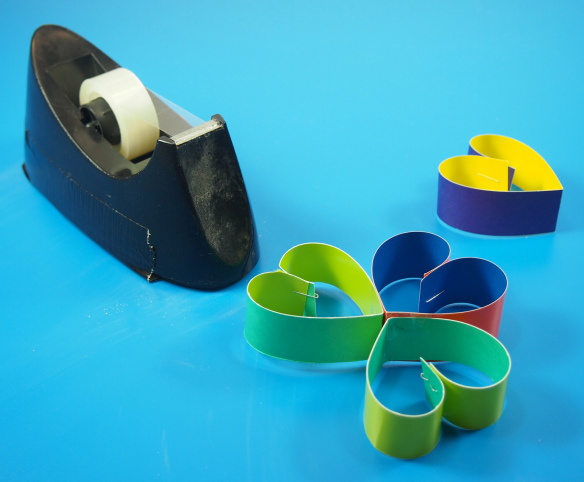
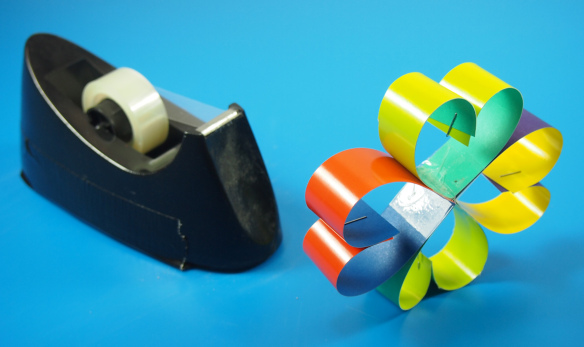
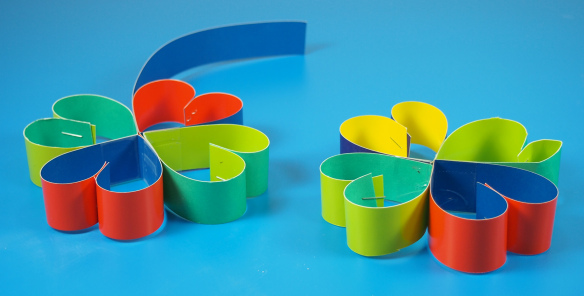
Four Leaf Clovers

2015-02-25-FeatureImage

Make your own lucky charm just in time for St. Patrick’s Day!

Age: 5+

Duration: 10 minutes

Learning Objectives: Learn basic cut and fold techniques. Use ruler to measure a certain width for each strip in the lucky charm. Talk about the history of Saint Patrick’s Day. Learn about color combinations through unique Double Color Card sheets!

P1016430

You’ll Need:

R22052 Double Color Card Sheets

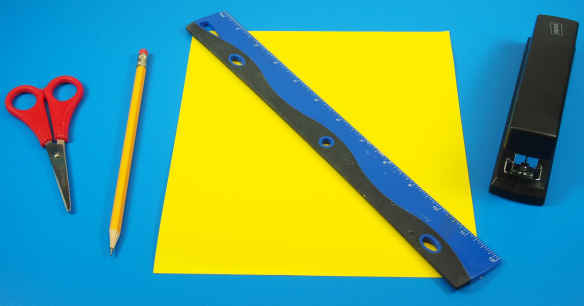
• Stapler

• Tape

• Scissors

• Ruler

• Pencil

• Optional: Thread or ribbon

Line-01

P1016434

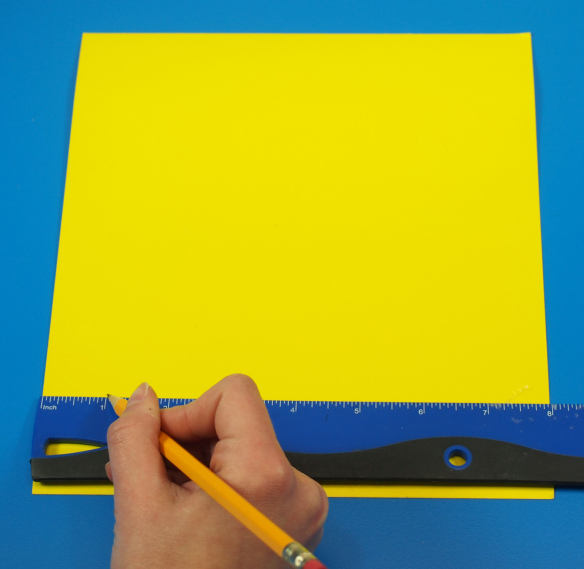
Select your sheet of Double Color cardstock. You will first need to make a set of card strips. Start by measuring 1″ (2.5 cm) away from the edge of the Double Color Card Sheet. You can choose either side of the Double Color Card to determine the length of each strip (the cards are 8 x 9″ or 20 x 23 cm).

Make a mark at the inch point at the bottom of the sheet. Move the ruler to the top of the sheet and mark another point. Use the points to draw a straight line from top to bottom.

P1016439

Follow the line with a pair of scissors to cut out the first strip! Repeat the previous steps three more times.

P1016442

You can see that I’ve cut out a bunch of different colors! I want to make my four leaf clover as exciting as possible.

P1016445

Fold a strip of paper in half.

P1016447

To form the curve of the clover leaves, use a pencil to curl the insides starting from the point upwards.

P1016454

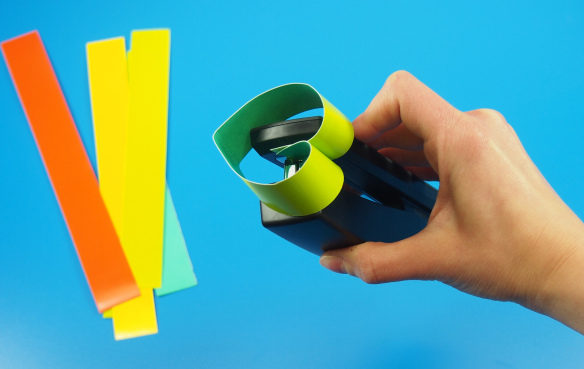
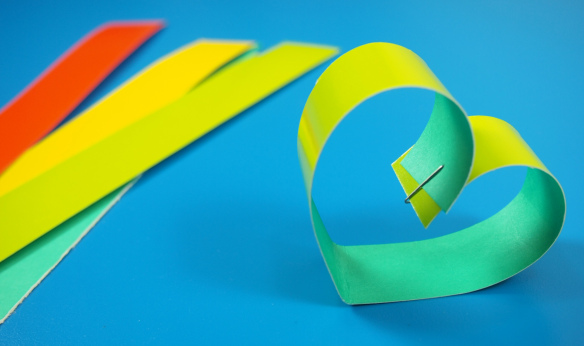
Overlap the two ends of the curves together to form a heart shape. Secure the two sides together with a stapler or use tape.

P1016458

The double color feature of the heart looks beautiful just as is! You could make plenty of hearts like these to decorate for Valentine’s Day! In fact, we’ve used a variation of this craft to make our Heart Wreath… go check it out at this link!

P1016460

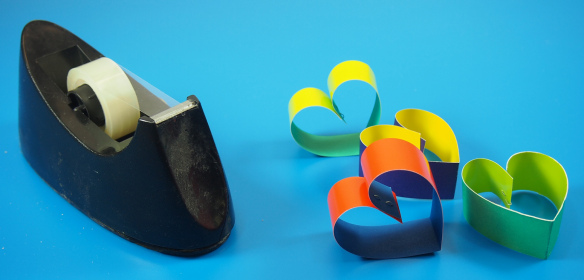
Repeat the same steps to turn the rest of the paper strips into mini hearts!

P1016463

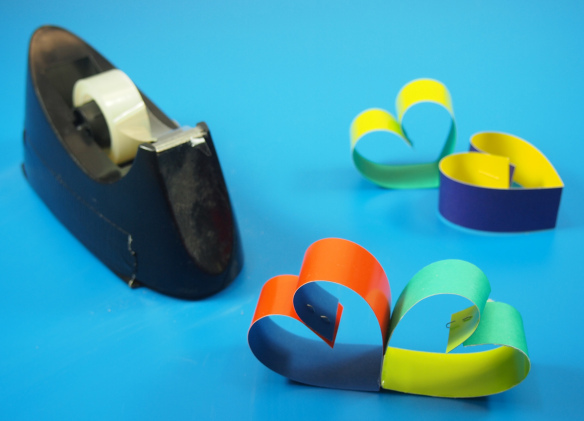
Join two of the hearts together at the sides with some tape.

P1016464

Add a third heart to one side of the duo. Use tape to secure.

P1016466

Finish off with the last heart. Secure with tape on both sides.

P1016468

Make as many as you like! Attach together to make garlands. Or hang them from the ceiling to decorate your classroom! Alternatively, hang the four leaf clovers from push pins on your cork board and make a Saint Patrick’s Day display!

Line-01

Like us on FacebookShare this post with your friends, or Subscribe to this blog today to receive original craft project updates every Monday, Wednesday and Thursday!

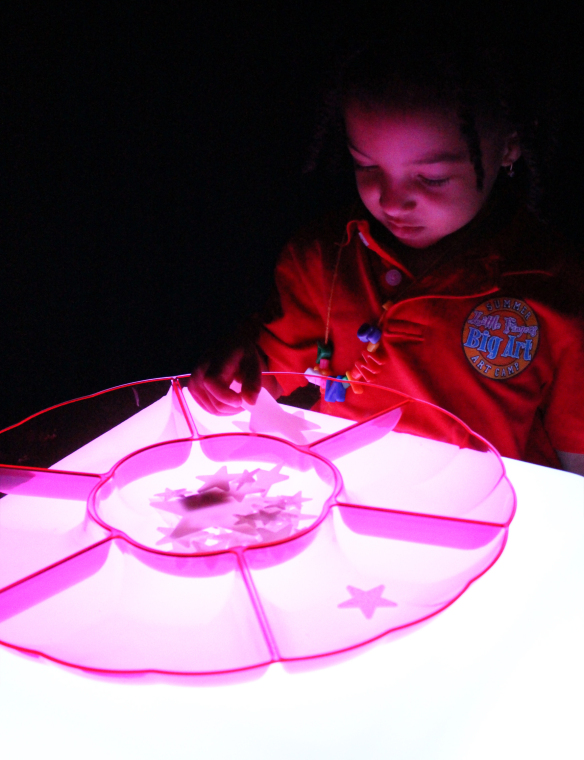
Light Cube: Salad Tray Sorting

light cube sorting tray

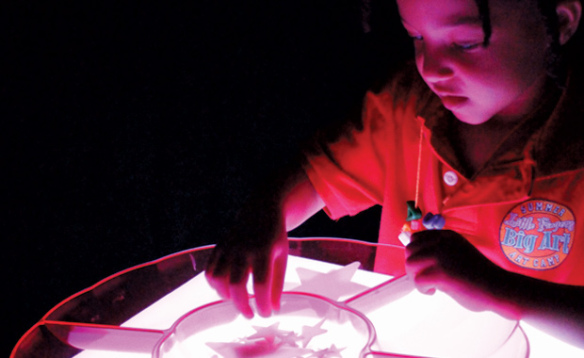
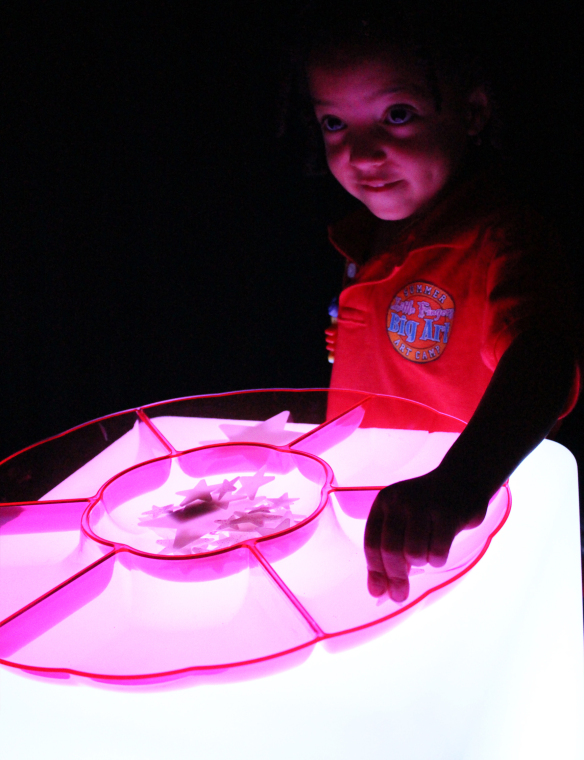
Sorting interesting items in a see-through tray on the Light Cube is a great way to focus students on the task at hand. Instead of being distracted by a surrounding environment, each child will deliberately place the items on the sorting tray, using the glow of the Light Cube as their focal point.

light cube sorting tray

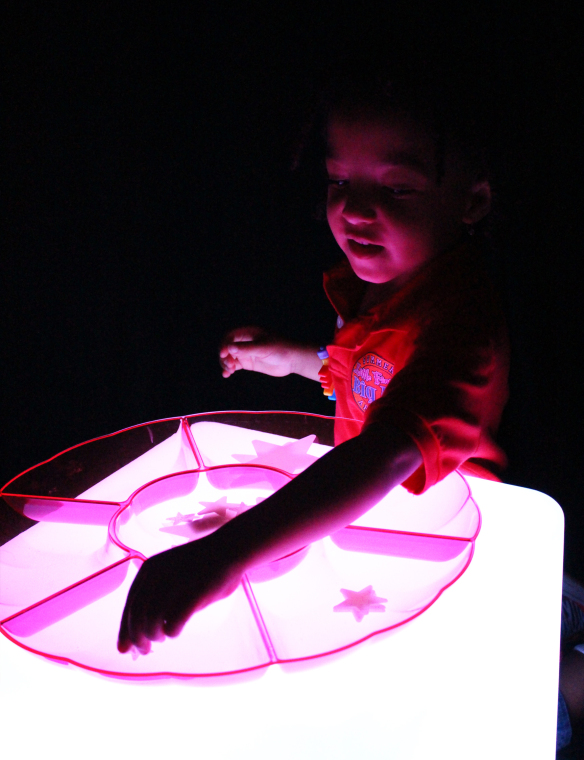
We asked our friend Jasmine to take all the assorted sizes of stars in the center of the tray and organize them into individual groups. We found the tray at our local dollar store, but a similar snack or salad tray can be used as well!

light cube sorting tray

The stars were found at the dollar store too, but you can use anything that is available in different sizes–such as marbles, beads or even toy animals!

light cube sorting tray

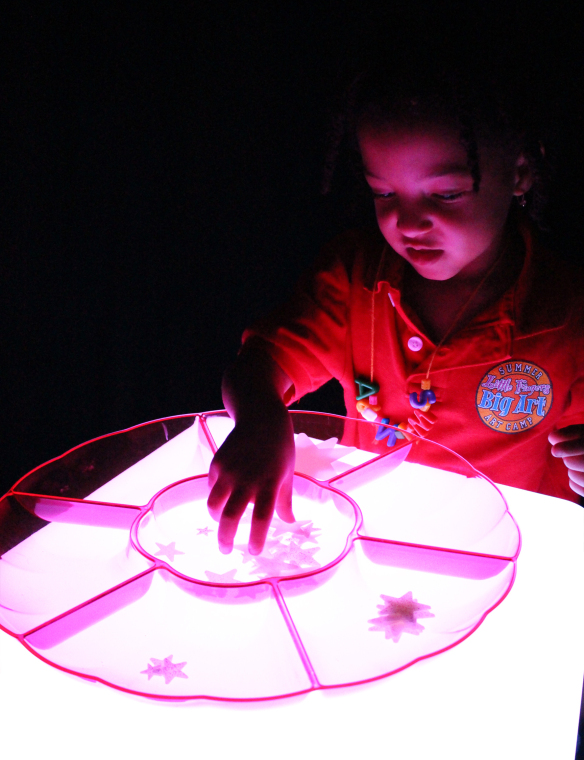
Jazzy had a great time comparing the different star sizes together to see which one was bigger or smaller. She made great use of comparison words in describing the different sizes!

light cube sorting tray

The glow of the Light Cube made this simple activity much more interesting and enjoyable!

Line-19

Like us on FacebookShare this post with your friends, or Subscribe to this blog today to receive original craft project updates every Monday, Wednesday and Thursday!

Christmas Tree Heart Mosaics

2014-11-26-FeatureImage

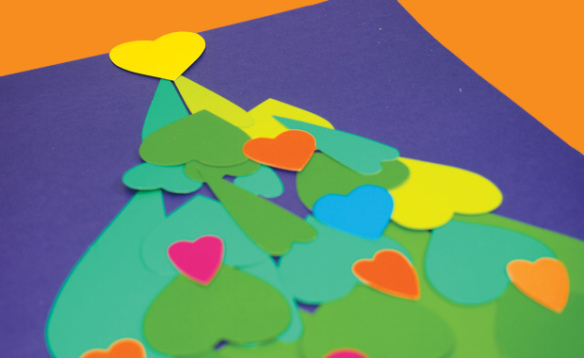
Christmas is a month away, but what better way to get into the holiday spirit than to build your own tree on paper using our R15367 Heart Mosaics!

Age: 4+

Duration: 10 minutes

Learning Objectives: Layer multiple pieces together. Identify biggest to smallest and coordinate similar colors. Make associations between the shapes in order to create a larger picture. Develop fine motor skills through sorting, placing and gluing the pieces. Discuss triangles as a geometric shape and use

You’ll Need:

R15367 Heart Mosaics

R22052 Double Color Card Sheets

• Glue

Line-06

This is an easy project to do, but makes a great activity for students as they are waiting to transition between class periods or as a thematic holiday art project.
P1015794

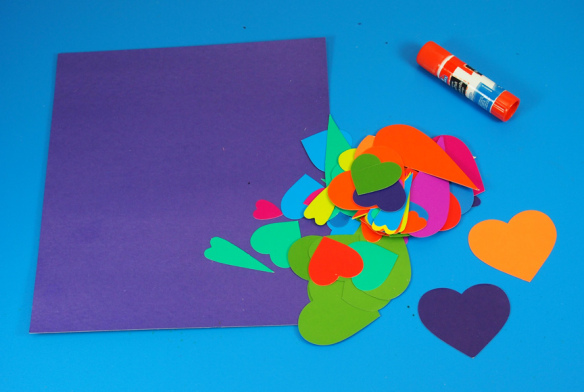
This activity requires very little preparation; all you need are materials that you may already have in your classroom! Give each group of students a pile of Heart Mosaics to sort through. Although we’ve chosen a purple background for our Christmas tree, you can use any color from the Double Color Card Sheets set as a backing to your designs.
P1015796

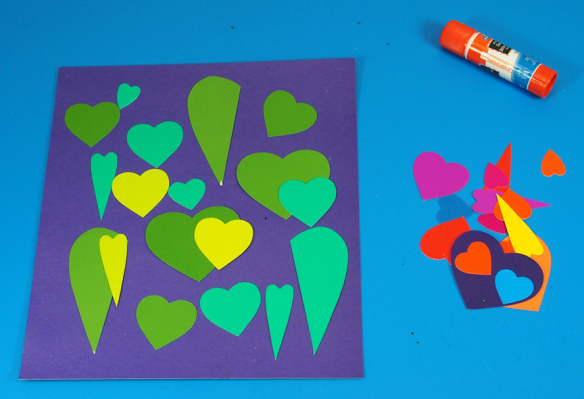
This step allows you to talk a little bit about the basic structure of a Christmas tree. It isn’t just lights and decorations. The shape of the tree is important. Traditionally, most Christmas trees should have the basic shape of a triangle, which is what we are going to make first with our Heart Mosaics.

Ask your students to separate their Heart Mosaics into like colors of green. We have several different colors of green to choose from, so all students will get a chance to make trees.
P1015800

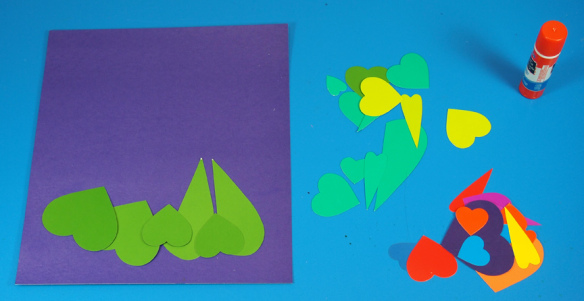
Start with the largest Heart Mosaic pieces first. Locate the largest pieces and place them upside down at the bottom of the card sheet. Make a wide base.
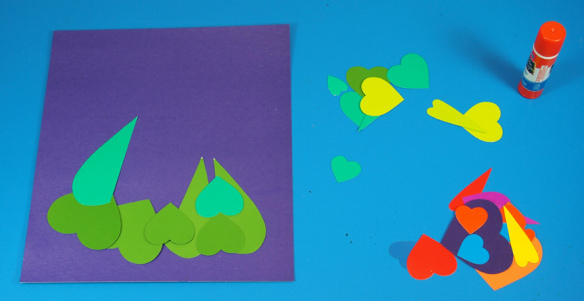
P1015801

Add a few more upside-down pieces to the base, moving upward. Angle the ends of the Heart Mosaics inwards so that the shape of the overall tree takes on a triangular form.
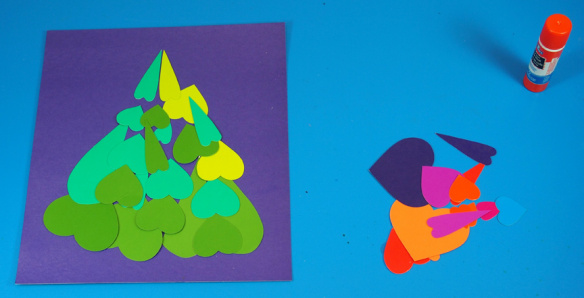
P1015805

Keep adding and angling the smaller Heart Mosaics inwards as you progress to the top. Choose two small and skinny Heart Mosaics to form the peak of the tree.
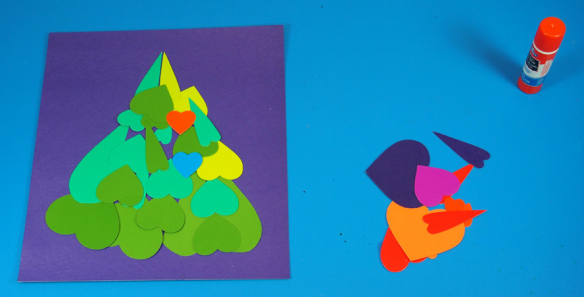
P1015807

Now it’s time to decorate. Select several smaller Heart Mosaics to form the ornaments as pops of color. Turn the Heart Mosaics right side up and place them on top of the green tree.
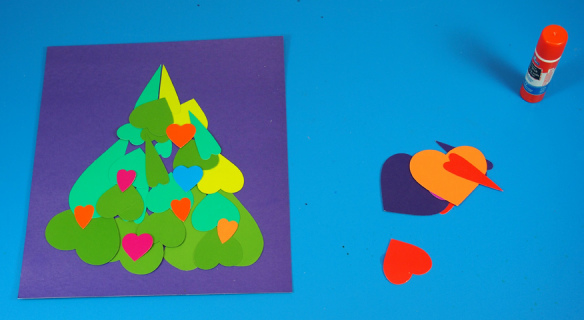
P1015812

Decorate the tree just as you would at home! Space out the ornaments in an even, balanced way.
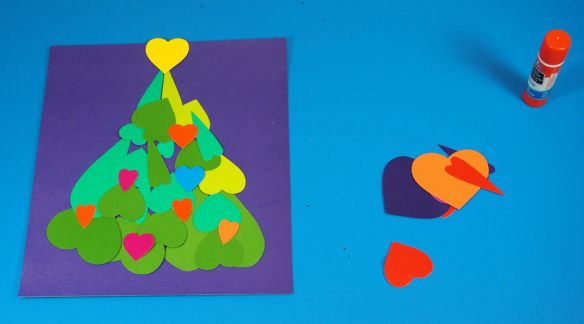
P1015813

Finally, top your Christmas tree with a bright yellow Heart Mosaic. Glue down all the pieces. Students can take their Christmas trees home or tack them up on a board as part of a Christmas display!

Check out another great project with Heart Mosaics:

Make a beautiful tree of hearts for Valentine’s Day cards, for a birthday or just to show someone how much you love them!

Line-06

Like us on FacebookShare this post with your friends, or Subscribe to this blog today to receive original craft project updates every Monday, Wednesday and Friday!

Nellie Mae from This Little Blog of Mine uses our Amazing Animal Paper!

Halloween has already come and gone, but if you are planning to host a kids’ dress-up party this weekend, take a cue from Nellie Mae and use some of our Animal Skins Paper to make quick and easy costumes!

Nellie Mae posted her students’ work on May 18, 2011 under the title, “Why I love the end of the year… Part 2.” Click on the link to visit her site!

The kids received various sizes of brown paper bags to make their hats and vests, but you can use regular Bristol paper and cut it to size. Nellie Mae’s students cut holes into the sides of the large brown bag to fit their arms through. The smaller brown paper bags were used as the hats.

You can decorate the hats and vests with printed pattern paper, such as the ones we make. The sheets only come in 8.5 x 11″ (21.5 x 28 cm) but use three sheets to decorate the paper bags. Glue two sheets onto the vest–one to the front and one to the back–then wrap a third sheet all the way around the paper hat.

Use any one of the following printed papers to make different kinds of costumes:

R15198 Creatures and Animals Value Pack — Featuring a diverse selection of animal, sealife, dinosaur and bug designs.

R15240 Dinosaur Craft Paper — Dress up as your favorite dinosaur!

R15237 Bug Craft Paper — Are you a butterfly or a bumblebee? Make your pick!

R15239 Sealife Paper — Discover wonderful aquatic colors and patterns!

The summer dress-up theme for Nellie Mae’s class was ‘animals’ so the thrifty teacher decided to use our R15256 Amazing Animal Paper to decorate the paper bags with!

R15256

Check out her link for photos of the students’ costumes. Some of them even made armbands with the leftover paper!

Thanks to Nellie Mae for this post!

Images and original post © This Little Blog of Mine.

This post was not sponsored for a review. At LittleFingersBigArt, our mission is to present to our readers and viewers the newest and most creative craft ideas that fans of Roylco have made on their own. Our goal is to allow you and other educators and parents to reuse our products in fun ways so that children always get the best educational experience from them!

We’d love to see more ideas like this one! If you’ve got a brilliant craft idea or have made a version of one of our crafts that you would like to share with us, send an email to subscriber@roylco.ca with photos, descriptions or a link to your work. We will create a feature post and link back to you with full credit. We’d love to hear from you!

Go Kid Yourself uses our True to Life Human X Rays!

X-Ray Play

Following the trend of guest posters using our R5911 True to Life Human X Rays, I’ve received another link to a Roylco fan’s post on our x-rays! Check out the amazing photographs in Petunia’s blog post at Go Kid Yourself!


Petunia posted her son’s playful exploration on her site Go Kid Yourself at the post link entitled, “X-Ray Play Puzzle on a DIY Lightbox” on November 5, 2011.

X-Ray Play

This adorable photo shows Petunia’s son trying out proportions in his True To Life Human X Ray play!
X-Ray Play Puzzle

What charming characters!
This resource is perfect for teaching students about basic anatomy, such as the names of major bones in our bodies or learning about bone placement and how skeletons help to frame or support all the organs in our bodies.

Thanks to Petunia for this wonderful post!

Images and original post © Go Kid Yourself.

This post was not sponsored for a review. At LittleFingersBigArt, our mission is to present to our readers and viewers the newest and most creative craft ideas that fans of Roylco have made on their own. Our goal is to allow you and other educators and parents to reuse our products in fun ways so that children always get the best educational experience from them!

We’d love to see more ideas like this one! If you’ve got a brilliant craft idea or have made a version of one of our crafts that you would like to share with us, send an email to subscriber@roylco.ca with photos, descriptions or a link to your work. We will create a feature post and link back to you with full credit. We’d love to hear from you!

Line-09