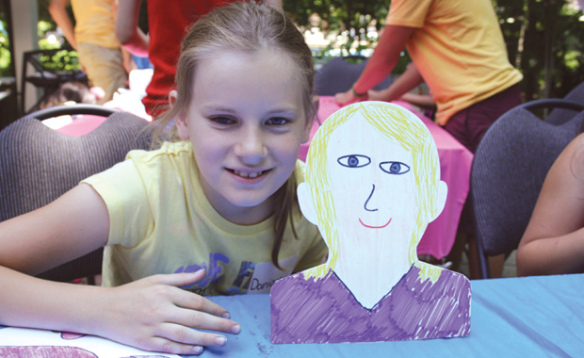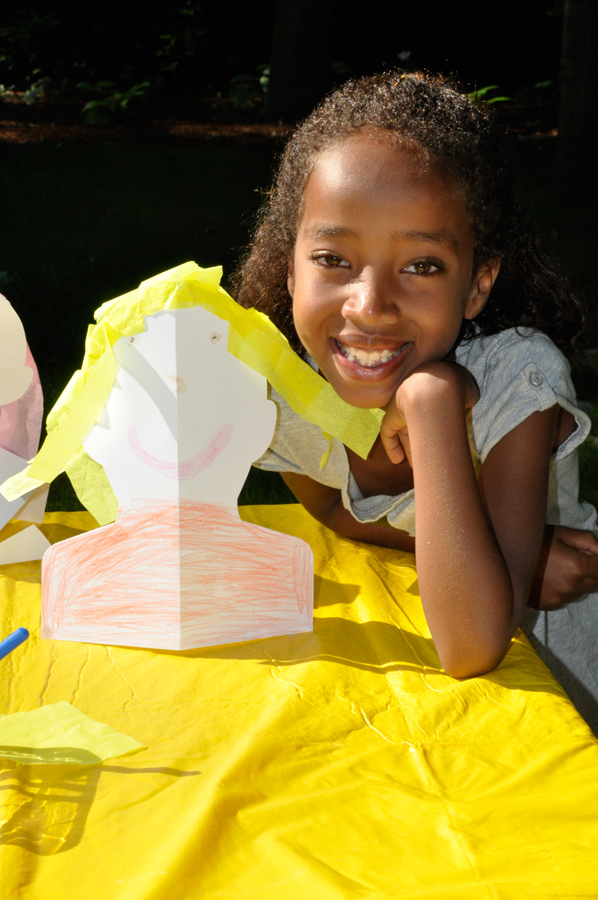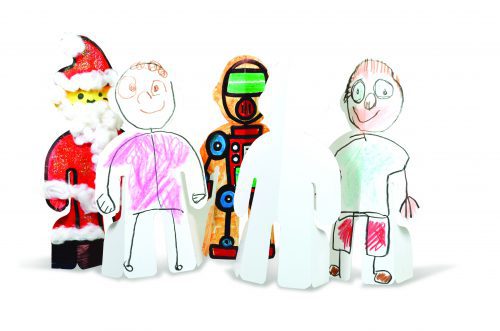
Create cute, miniature people who can stand on their own two feet!
These sturdy card stock figures are terrific for a multitude of different art projects and as components in presentations for other subjects. Use paint, marker, crayon, pencil crayon and collage materials to decorate your stand-up person. The large size (7 1/4 x 11 1/2″) is perfect for bringing out the fine detail in your artwork.
Use these art bases for “All About Me” art! Glue a photograph to the face of a figure, and decorate the body to resemble your favorite outfit. Finish by writing your name on your stand-up person so your classmates will always recognize you!
Create an abstract self-portrait! Try using our paint pad with tempera paints to create a colorful base. Then gently press a card person into the paint. Remove, and allow to dry. Then tape a photograph of yourself to the face! For more about using our paint pad to make beautiful pints, check out this blog posts.
A great first week of school activity is pairing students off and challenging them to introduce their partner to the class! Have students interview each other, and create a portrait of their partner to present to the class along with personal facts like age, favorite food, and favorite color!
Are written book reports starting to become a grind? Add a new dimension to them by challenging students to create a portrait of their favorite character in their book. The portrait can serve as a visual aid to help keep other students engaged.
Bring social studies to life with historical figures! Consider assigning each table (or group) a theme, and each student will create a portrait of a different historical figure. If students have a math theme, they might create figures of Ada Lovelace and Pythagoras. A science theme could include Einstein and Marie Curie.

Like us on Facebook, Share this post with your friends, or Subscribe to this blog today to receive original craft project updates every week!