Spotlight On: Counting Fingers Hand Book

Roylco_7796 Counting Finger Handbook child.jpg

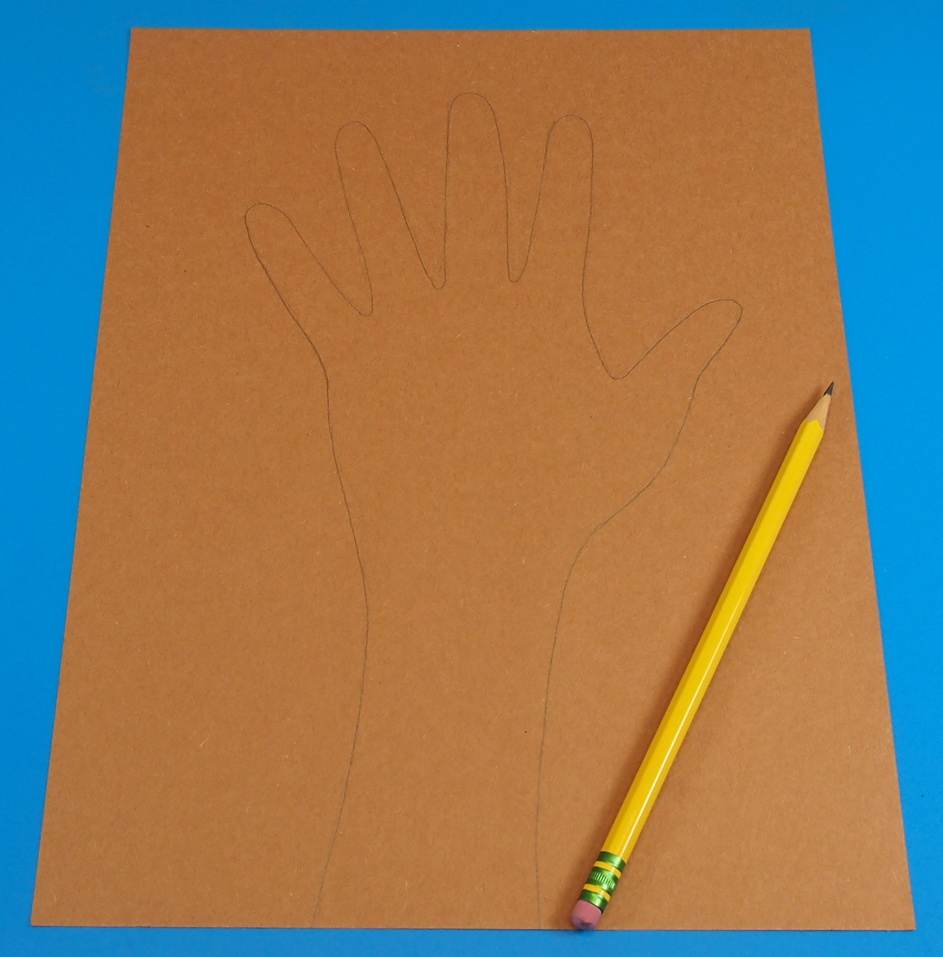
Need a few extra fingers to count with? These hand-sized books make perfect math manipulatives!

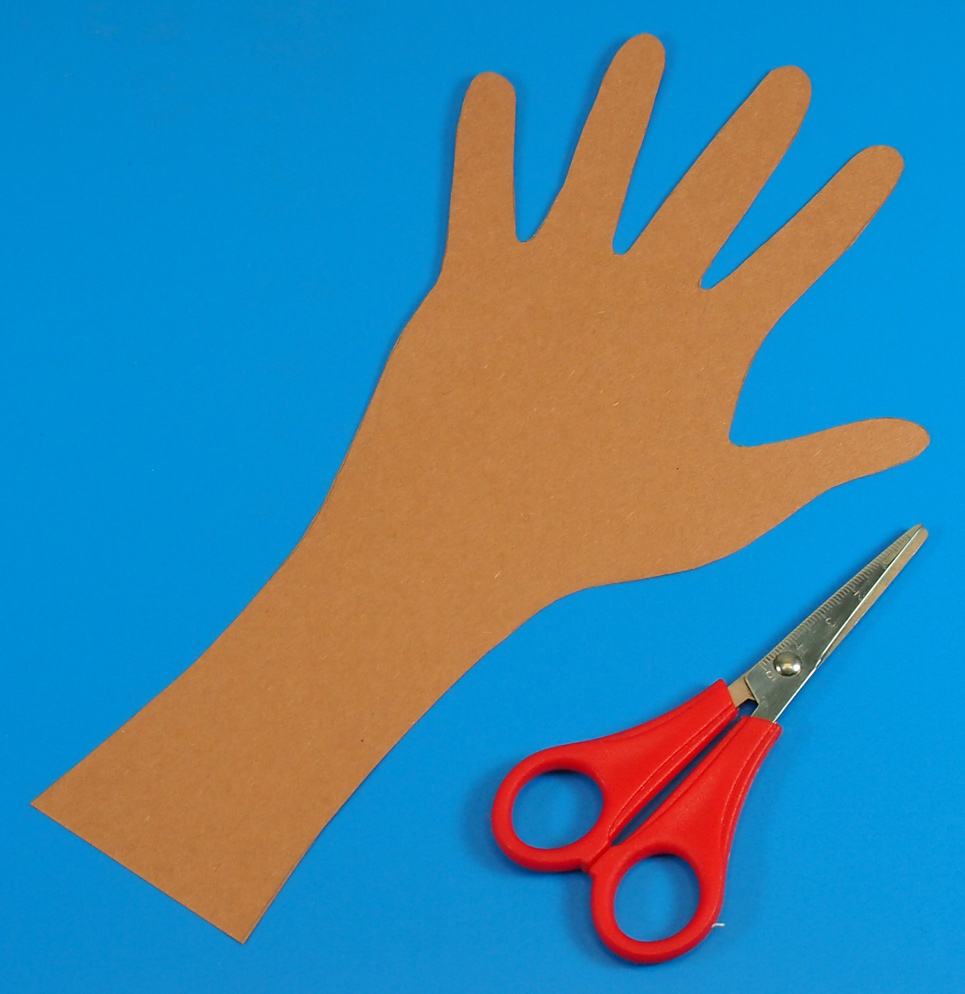
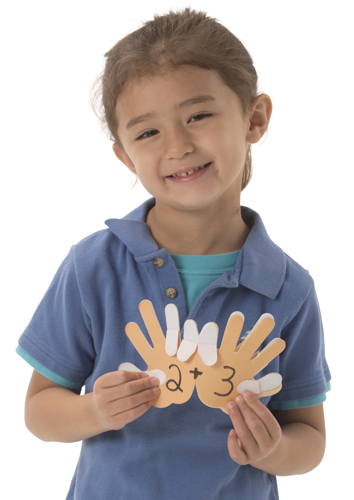
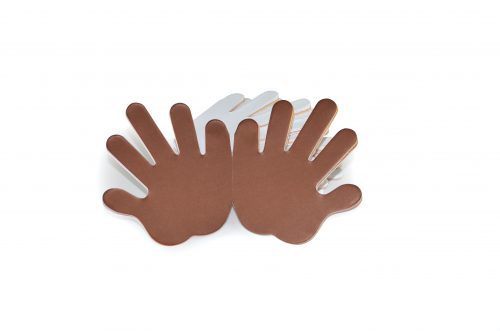
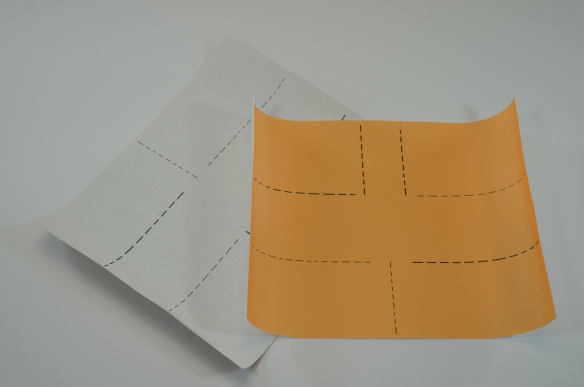
Each page is printed in fleshtone colors with foldable fingers to use as a math manipulative. Use the pages to practice numbering, writing out equations or for math journaling. Each book has a card stock front and back cover along with 10 pages and measures 4 x 4½ (10 x 11.5 cm). Fold down the fingers just like you would curl in your own fingers to represent numbers! For example, if you want to show the number 2 with your hand book, fold down the thumb, ring and pinkie fingers on one hand. You can also fold down all but the pointer fingers on two pages.

49145 - Counting Hadbook Stack and Open

Make math facts concrete by folding down fingers and writing the math facts on the palms!

49145 - Counting Handbook 2 and 1

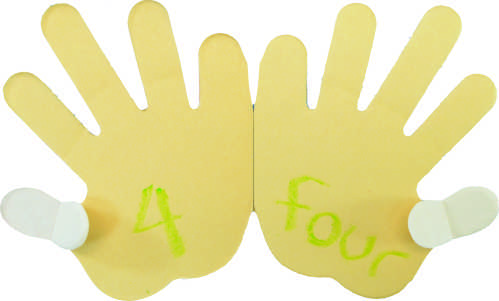
These books are also great for early learners! There are a lot of different ways to write out 4, so match the fingers with the words and symbols!

49145 counting hand book 4 four.jpg

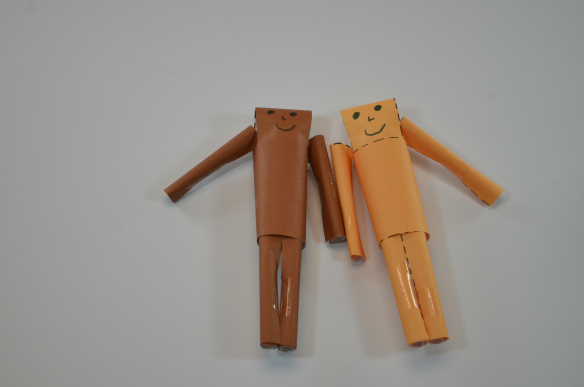
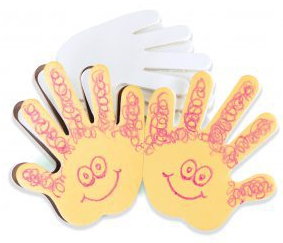
Make a unique “All About Me” book with a numeracy theme! Start with a self portrait, and fill each page with numbered favorites.

49145-counting-handbook-smile-hands-e1497978352488.jpg

Line-02

Like us on FacebookShare this post with your friends, or Subscribe to this blog today to receive original craft project updates every week!


Roll-Up Paper Play Pals

RollUpPeopleFBpost

Prepare popular paper play pals! Great for teaching children to follow instructions, practice fine motor skills, and create diverse pals for imaginary play!

Age: 4+

Duration: 10 minutes

Learning Outcomes: Cut and roll paper to practice fine motor sills. Explore diversity in the classroom.

TogetherFB

You’ll Need:

Line-20

Open the Roll Up Doll Template on your computer. Print out the template onto the Skin Tone Craft paper.

DSC_6454.JPG

Roll up each sheet of paper, being careful not to crease it. Then allow the paper to unroll naturally. DSC_6455

DSC_6457.JPG

Once you have rolled and unrolled your sheet of paper, carefully cut along the dotted lines. DSC_6458

DSC_6459.JPG

Next, carefully roll up the arm and leg sections and tape each cylinder shut. Then, gently roll the body into a cylinder. Tape shut. You may need to trim the arms if they are too long. DSC_6460
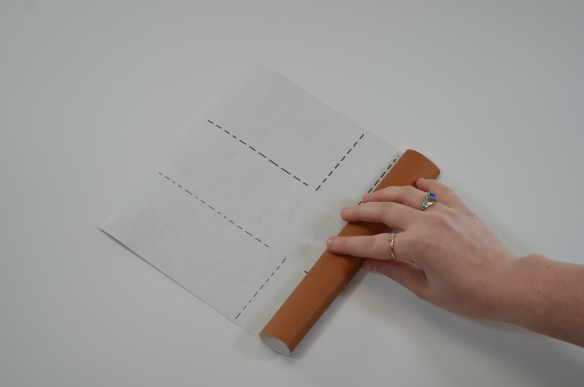
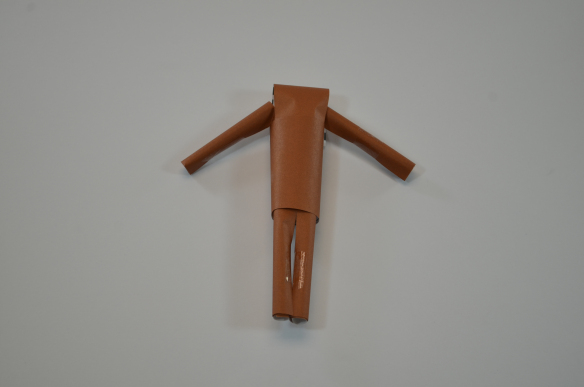
Finally, fold the top flap down and tape to the opposite side of the body to create the head. DSC_6462

Draw a face on your paper play pal, and enjoy!

DSC_6465.JPGLine-14

Like us on FacebookShare this post with your friends, or Subscribe to this blog today to receive original craft project updates every week!

Valentine’s Day Tree

2014-01-29-FeatureImageCreate your own Valentine’s Day artwork with Heart Mosaics! Use a tracing of your hand to form the tree trunk and branches, then fill in the gaps with Heart Mosaic leaves. Follow the complete tutorial below!

Age: 4+

Duration: 10-15 minutes

You’ll Need:

R15367 Heart Mosaics

R15233 Skin Tone Craft Paper

• Scissors

• Glue

• Pencil

Line-12

This is a fun and simple craft to make with basic materials. You could even adapt the project artwork and use it to create the front cover of a large-sized Valentine’s Day card!

2014-01-29-Step01You can use any color of Skintone Paper to make your handprint tree. For this project, I used a specific color of Heart Mosaic leaves to fill in the tree gaps, but your students can use whichever colors they like best.

2014-01-29-Step02Turn the Skintone Paper vertically facing you and place your hand in the center of the page. Trace the outline of your hand with a pencil.

2014-01-29-Step03Cut out the traced outline. This will form the base of the tree (the tree trunk and branches).

2014-01-29-Tree-AnimationNext, paste your handprint tree onto a sheet of white paper. Align the bottom edge of the handprint with the bottom edge of the paper.

You can start laying out the Heart Mosaic leaves around the “branches” of the handprint. Angle the direction of the Heart Mosaics outwards from the center handprint.

2014-01-29-Step04Once you have worked out the colors of your Heart Mosaic leaves, or where you want to place them on the page, start pasting them down.

Overlap various sizes of Heart Mosaics to get a fuller look for your tree.

Line-12

Thanks for checking out this project post! If you’d like to share some of your projects with us, send your photos to subscriber@roylco.ca and we’ll write up a post for our viewers!