Crystal Color Stacking Blocks

crystal color stacking blocks

Discover the beauty of our wonderful R60310 Crystal Color Stacking Blocks! Stack up the clear color blocks to form new colors. Place on top of Roylco’s R59601 Educational Light Cube for even greater light effects!

crystal color stacking blocks

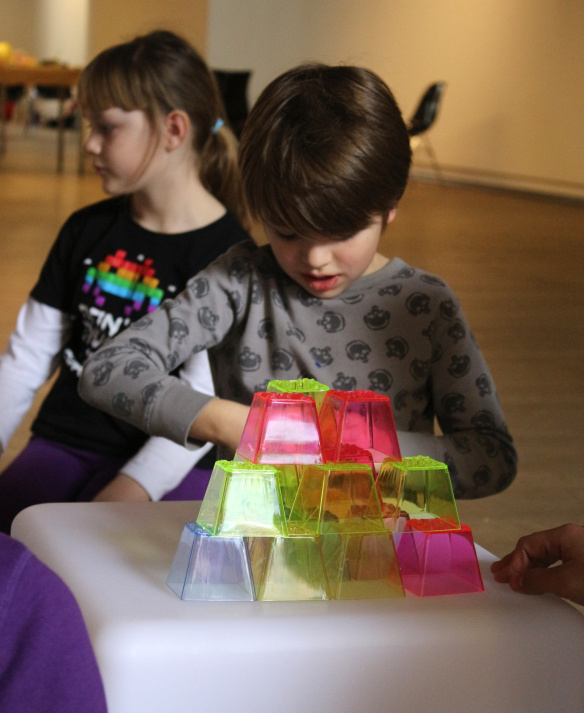
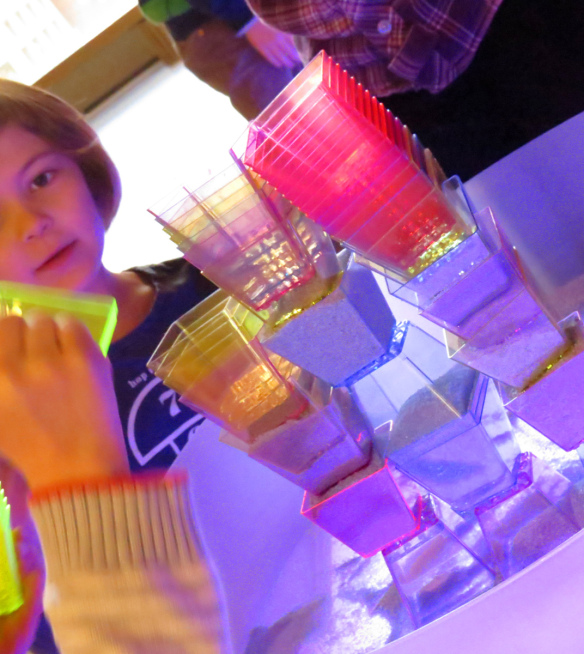
To start, we began by placing the blocks directly onto the R59630 Light Cube with the light turned off. We let the campers explore the blocks on their own first. This was a great exercise for kids as they described the block colors and stacked the blocks according to the grooves on the back.

crystal color stacking blocks

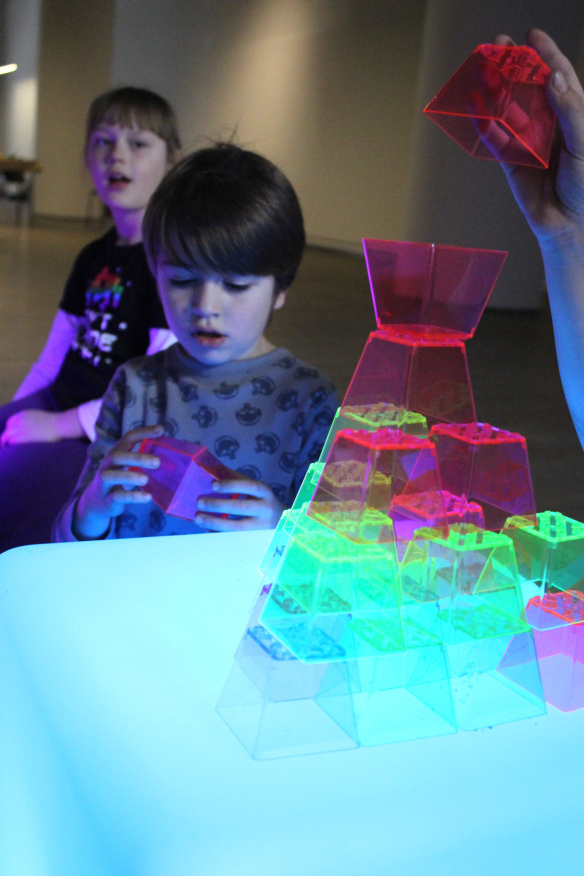
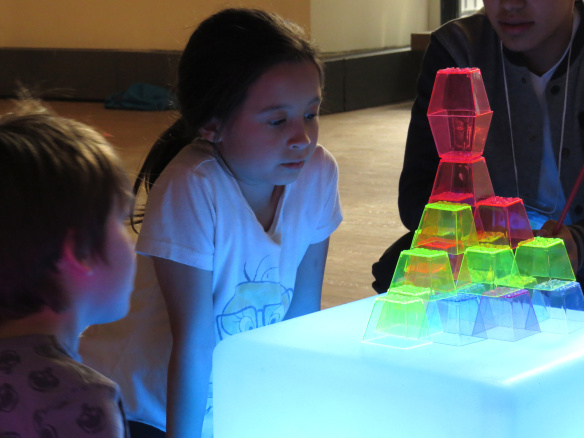
As soon as we turned the Cube on, all eyes were on it!

crystal color stacking blocks

It was absolutely mesmerizing, even for the most active kids.

crystal color stacking blocks

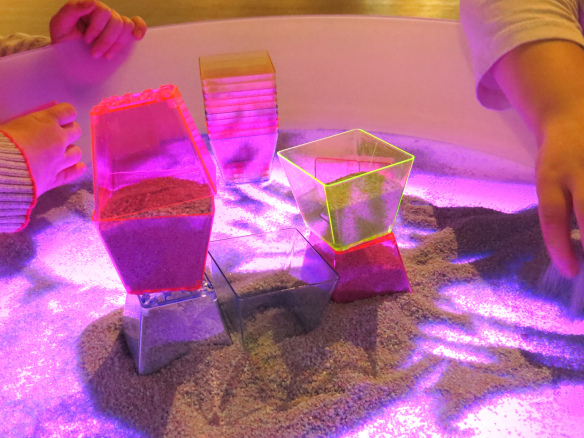
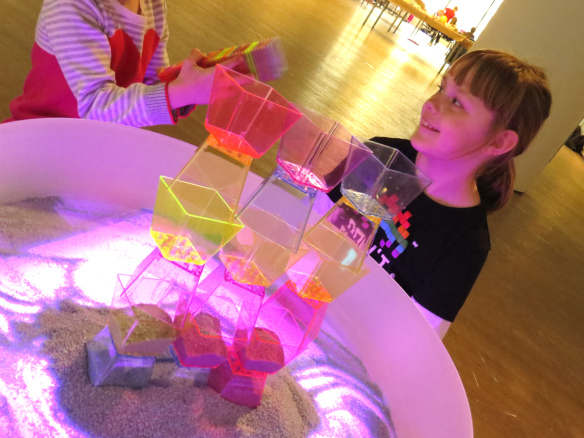
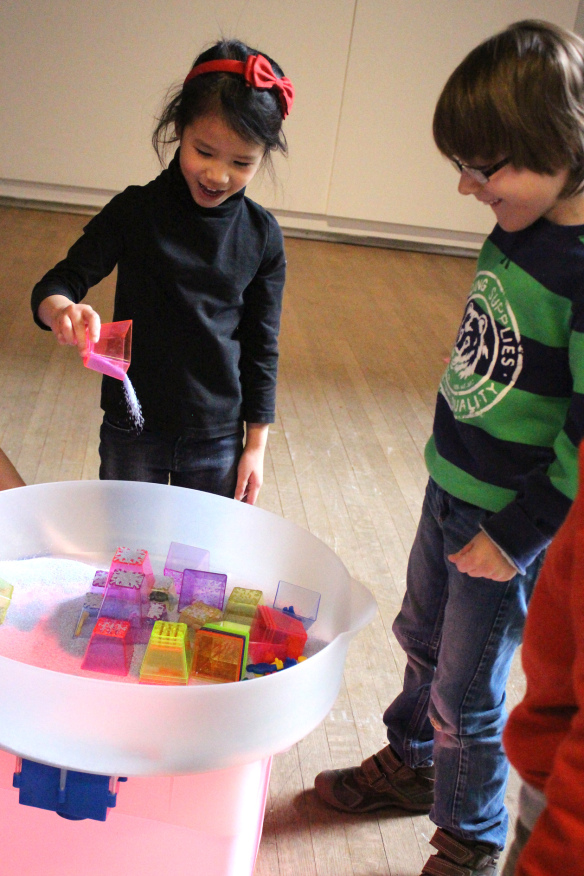
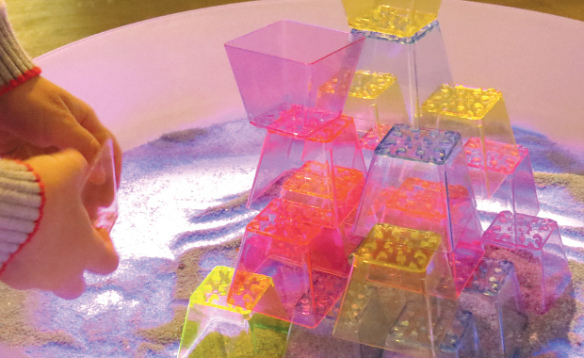
Next we placed the R59630 Sensory Tray onto the Light Cube. As you can see from the photo above, the clear tray allows the bright colorful light of the Light Cube to shine through. We also added a bit of sand to the inside and challenged the young architects to build the strongest tower they could make. The tower had to withstand the vibrations of the Sensory Tray once we turned it on.

crystal color stacking blocks

Accepting their challenges, the campers filled the bottom blocks with sand to secure the structure in place.

crystal color stacking blocks

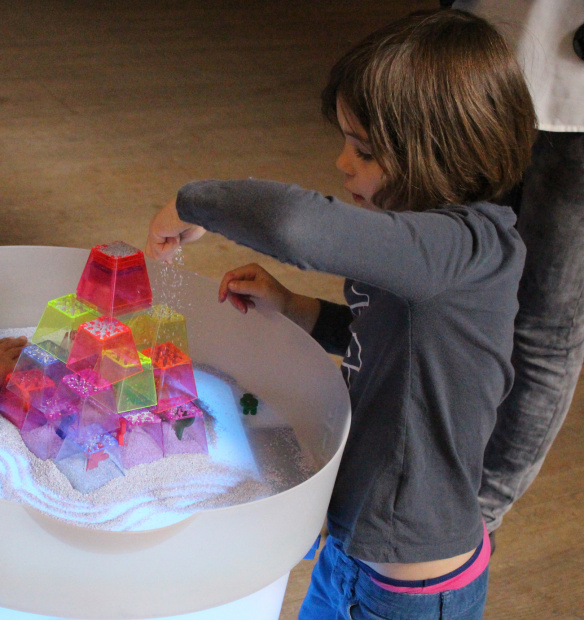
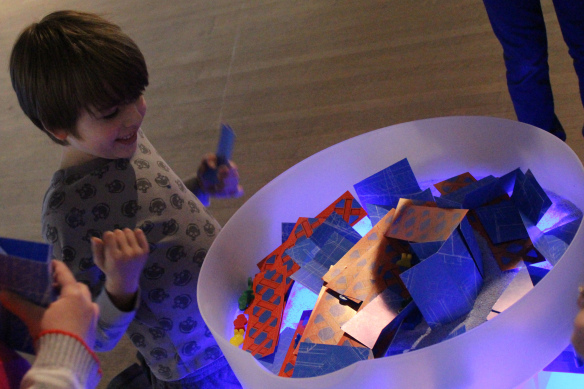
They continued to fill the blocks with sand until they realized it might be too top heavy to withstand the force of the vibrations. We tested it out and sure enough, the whole thing toppled from the top down!

crystal color stacking blocks

Next, they tried a different formation. They flipped the blocks the correct way and buried the edges into a pile of sand, thinking that this might be the trick to getting the tower to stay upright.

crystal color stacking blocks

The base held together after we turned the Sensory Tray on, but not the top! Since they stacked multiples of the same block together, those parts fell first. It was a great learning experience, and every time we tried to pack up the activity, the kids begged us, “Just give us 5 more minutes! We need to build a stronger tower!”

Line-19

Like us on FacebookShare this post with your friends, or Subscribe to this blog today to receive original craft project updates every Monday, Wednesday and Thursday!

Skyscraper Building Cards

skyscraper building cards

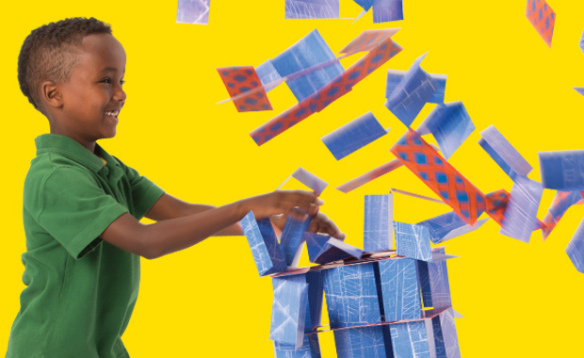
Build ’em up and knock ’em down! Skyscraper Building Cards are a perfect addition to your building play center for kids who love to play architect and Godzilla all in one!

IMG_8370

We decided to test how our R60450 Skyscraper Building Cards could be used in a variety of different projects. One of these projects was designed to introduce students to city planning. This project enabled students to work together as a team to create little cities with the basic structural design of the Skyscraper Building Cards. It was up to students to plan where all the buildings went, how high they were built and what types of buildings they were making.

IMG_1813

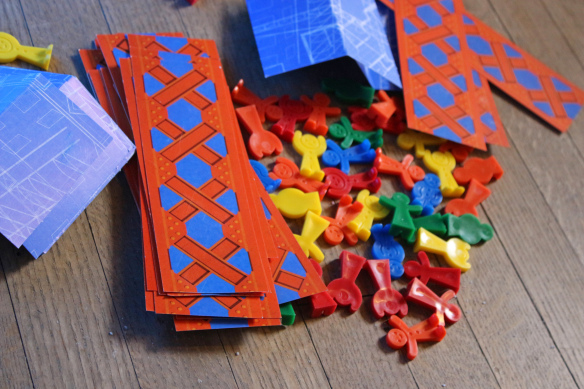
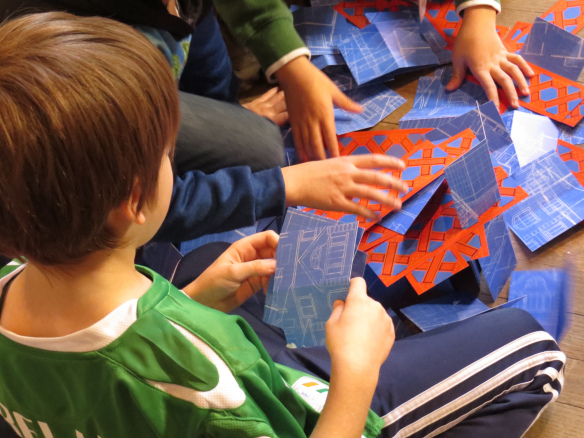
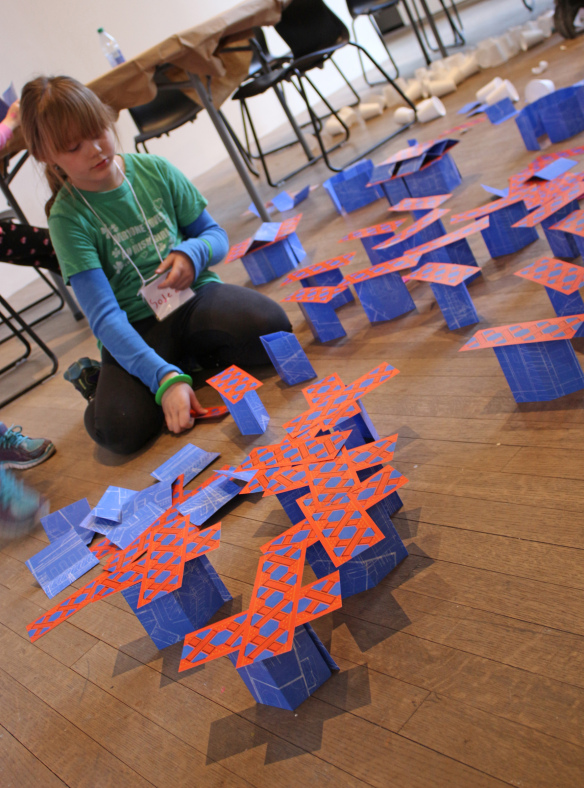
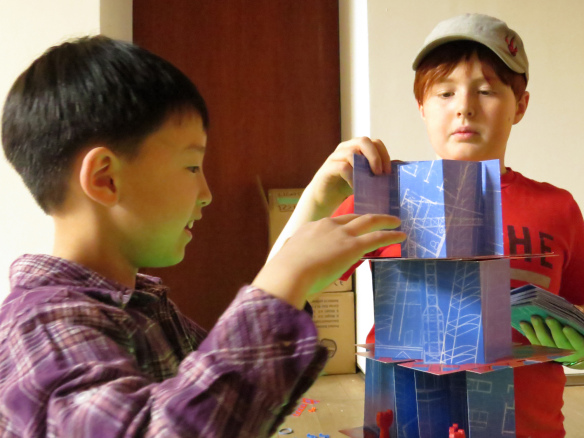
We went to the Design Exchange Museum in Toronto for their March Break camp and set out the materials for the campers. The Skyscraper Building Cards were fairly easy to pick up: the blue cards are made to stand upright while the red scaffolding cards were placed flat on top of the blue cards.

IMG_8072

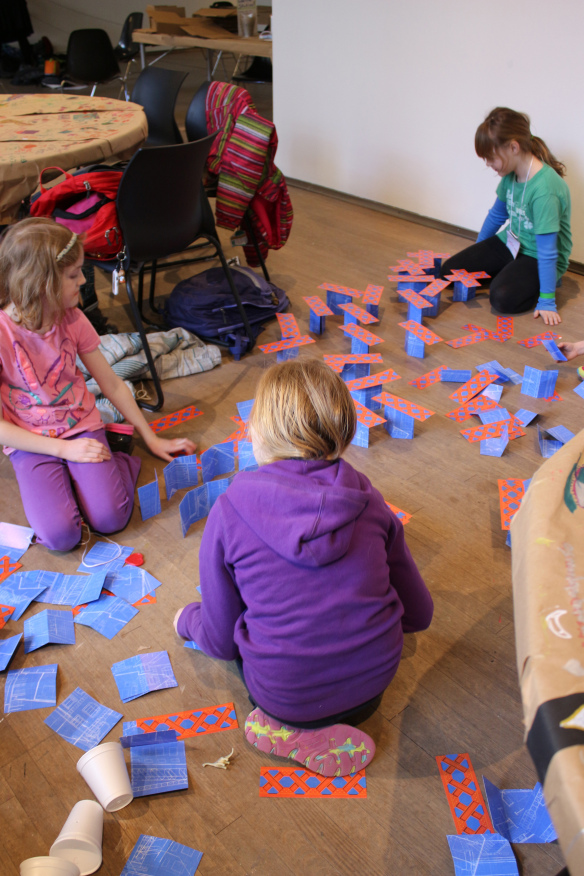
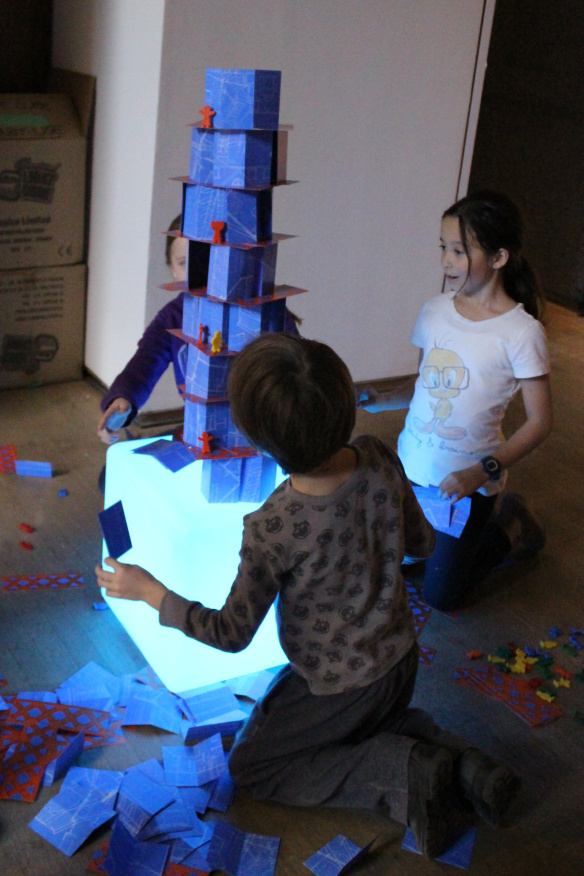
Once campers got the basic idea how to build with the cards, they decided to immediately start building a city. They made many little structures to fill up a large amount of space.

IMG_8078

We loved the way the campers decided to criss-cross the scaffolding cards. This added a bit of interest to their building designs.

IMG_8052

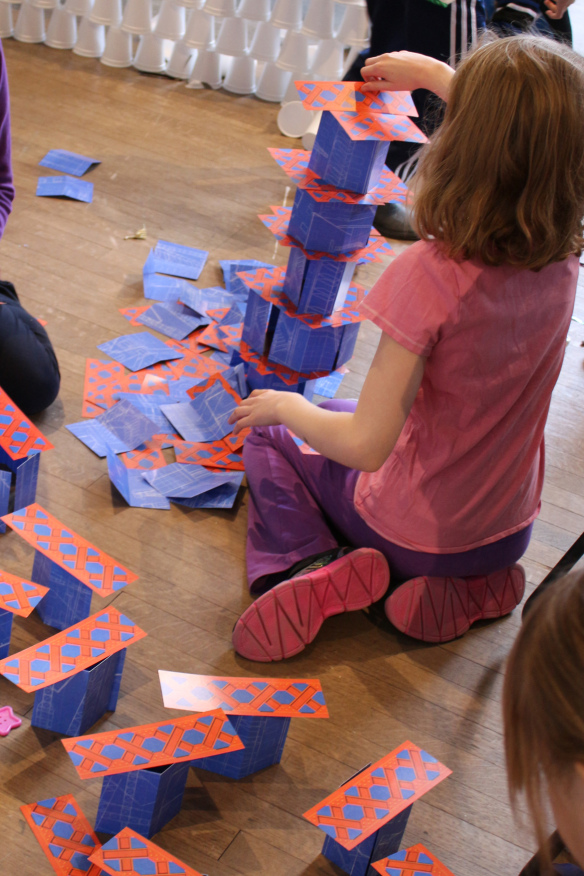
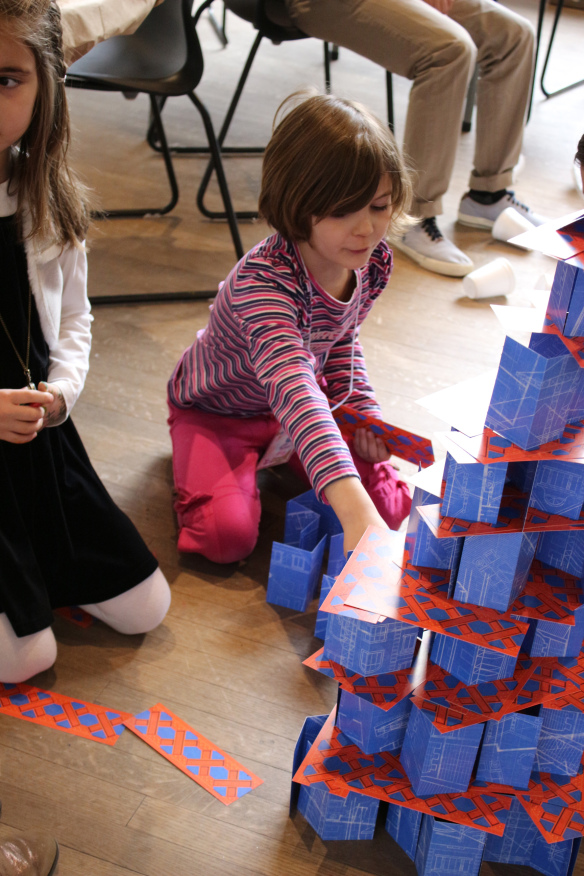
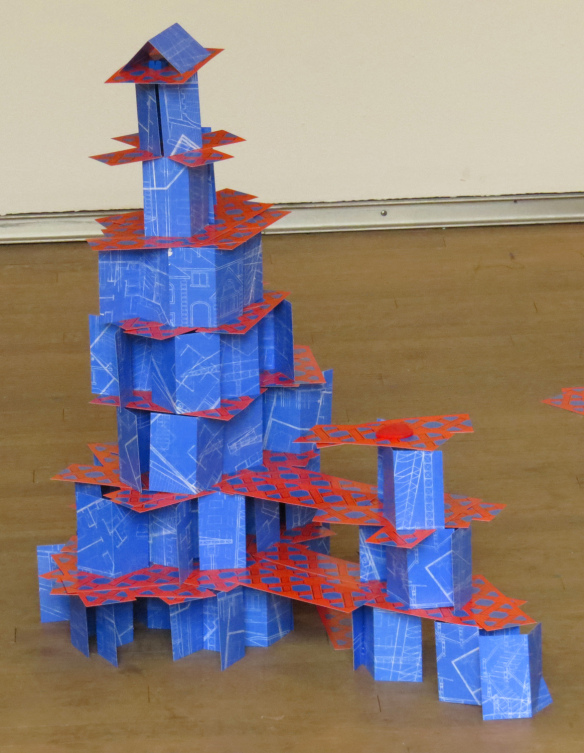
In the same group, one of the campers decided to build upwards instead of outwards. She stacked multiple little buildings together to make a base, then repeated the same design on the next level. This continued until she reached a reasonable height, which prompted the other campers to claim that the surrounding buildings were actually little “houses” and the big building represented the city center.

IMG_2459

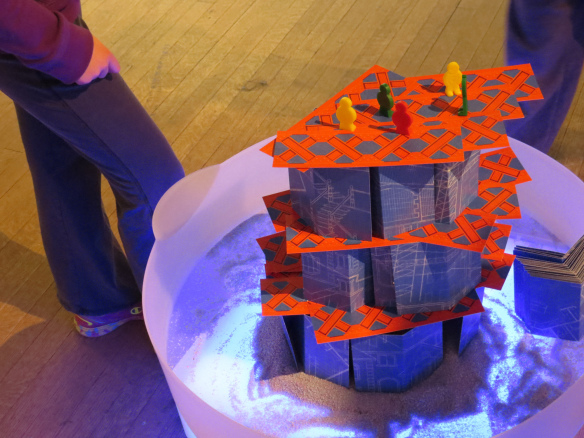
Other campers got right into the fun. They constructed buildings with floors for people to work in. The people toys are our R75304 Super Topplers!

IMG_7993

The designs began to get more and more complex…

IMG_1964

This design, for instance, included a 3-level parking garage which was attached to the building by ramps and walkways.

IMG_2445

Finally, we took our structures to the next level by introducing our newest R59630 Sensory Tray! The Sensory Tray is a sand and water table all-in-one, featuring a vibrating mechanism to engage students’ senses even further. We placed a bit of sand at the bottom of the tray to give the structures some stability.

IMG_8386

But once the unit was turned on, it toppled the building right over! It was a great challenge and the campers were eager to rebuild their structures with more stability.

IMG_8363

We had great fun testing out new building designs and challenging ourselves with new ideas and materials!

Line-20

Like us on FacebookShare this post with your friends, or Subscribe to this blog today to receive original craft project updates every Monday, Wednesday and Thursday!