Educational Light Cube: Dimensional Art by Twins at Play!

The awesome sensory and light play blog Twins at Play delivers a new post about our Educational Light Cube! Check out this great combination of our Light Cube Building set and Constructa Clips on a beautiful illuminated surface and the coolest sculpture you’ve seen yet! 

© Kristen from Caution! Twins at Play! blog

This is what Kristen from Twins at Play had to say about her twins’ experiences with these products:

My twins and I have been enjoying making awesome shapes, sculptures, and art on the light cube with the Constructa Clips light table building kit! The kit comes with 48 red clips and 32 mylar shapes. The shapes are nice and sturdy but do bend a little for awesome building fun! The shapes are also great for color lessons! I love this kit, it is perfect for the light cube, light table, or even natural light play! They cast great color in sunlight!!

In the photos below, we used the clear plastic trays for the light cube to hang the clips from. Then we were able to build outward and downward with the constructa clips and shapes!  This was a really fun and unique building experience. This was also a very unique light cube/light table play experience.
We also used a plastic straw to create art sculptures. We used the 4 clip constructa clips to attach shapes and then we just put the straw through the whole in the center of the constructa clips. What a fun way to create art and building at the same time on the light cube!!

Thanks to Kristen @ Twins at Play for putting together this awesome post!

To see more about our R59601 Educational Light Cube, visit here!

R60165 Constructa Clips Light Table Building Kit can be viewed in-depth here.

Line-07

Like us on FacebookShare this post with your friends, or Subscribe to this blog today to receive original craft project updates every Monday, Wednesday and Friday!

Educational Light Cube: Sorting Colorful Plastic Circles

2014-10-23-FeatureImage

View the beautiful effects of colorful mylar shapes on the Light Cube!Today’s lesson was to experiment with different printed shapes and colors that can be overlapped to create new appearances.

IMG_9487

These mylar shapes were made from tinted transparency sheets. You can find colored transparency sheets at your local dollar store… as page dividers! Cut out simple shapes such as triangles, circles and squares from these special plastic sheets.

Incorporate math lessons with your Light Cube exercise. Teach your students about geometric shapes and their properties! Ask students to describe the shapes to you.

IMG_9490

We asked our art camper Jasmine to combine the shapes together and see what kinds of new colors she could make. Each of the shapes were cut out of differently-colored transparency sheets. These colors, when overlapped, create new color combinations!

IMG_9492The sheets are transparent, meaning that you are able to see light through them. Place the sheets onto the Light Cube and turn on the strobing color function. Watch the transparent sheets change color as they reflect the light underneath.

Explore the meaning of transparent, translucent and opaque. Experiment further with other objects to see the differences between their transparencies.

Line-06

Like us on FacebookShare this post with your friends, or Subscribe to this blog today to receive original craft project updates every Monday, Wednesday and Friday!

Educational Light Cube: Stacking Colorful Cups


2014-10-09-FeatureImage

View the dazzling effects of color-changing light on the cube with dollar store variety cups and plastic drinking glasses! Develop fine motor skills through arrangements of stackable cups… see more of this exercise below!


IMG_9337

To start the activity, we first turned on the Light Cube to the ‘white’ setting. Next, we placed a stack of clear-color plastic cups we found at the dollar store on top of the cube. The white brings out the brightness of the clear colors and allows kids to see what inside of the various cups look like when they’re stacked together.


IMG_9338

We next asked our art camper Stephano to take the structure apart. He wanted to see how the individual pieces looked like. Without the bases, these regular dollar variety martini glasses appear quite unique!


IMG_9340

How about we add some more to the mix? Here’s a good look at what happens when you stack multiple cups of the same color together–the colors become extremely saturated, meaning that they are intensified.


IMG_9343

Now let’s add another level of complication to our structure with the bases for the cups.


IMG_9361

Stephano decided to structure the martini glasses in a way that they could easily be stacked together with the bases intact. He decided to place them standing on top of the inside of each cup.


IMG_9362

Next, we amplified the colors of the glasses by changing the cube’s color to red. This created a stark glow throughout the room and helped Stephano focus directly on stacking rather than the colors of the cups.


IMG_9364

Once we turned the cube’s color back to white, we got to see how Stephano had randomly chosen differently-colored cups to stack together. Reflecting back on the activity, Stephano noticed that he wasn’t so worried about which colors he used while he was stacking. Instead he could focus directly on stacking the cups together, and then afterwards enjoyed the surprise when he got to see what combinations of colors he used!


Line-12

Like us on FacebookShare this post with your friends, or Subscribe to this blog today to receive original craft project updates every Monday, Wednesday and Friday!


Project Spotlight: MRI Scan

2014-10-14-FeatureImage

Merge the upcoming Halloween celebration with a unit on human anatomy! The R59254 MRI Scan kit is perfect for introducing children to organs and tissues of the body. See how our art campers used critical thinking skills to put the body together! 

IMG_0012

The images are printed on clear plastic mylar sheets that can be placed on top of a lightbox or illuminated with a flashlight. Each piece forms a part of a 5′ (1.5m) MRI scan that can be assembled using the placement guides. The placement guides are miniature images of the full MRI with red markings that indicate where to arrange each piece in the overall scale.

IMG_0049

You can get students to set up the full body MRI while working in teams or individually.

IMG_9835

It may take some time to place the parts in all the correct order, but practice makes perfect! To help your students assemble the pieces properly, ask them to consider how their own bodies look like.

IMG_9842

The MRI pieces each fit perfectly on top of our R5911 True to Life Human X-Rays® which makes it a great resource for figuring out the placement of organs in relation to our large bone sections. You can describe the skeleton as a kind of support for all the organs in our body, and that it helps to hold everything together.

IMG_9857

You can use our additional 2 organ overlays to get a further detailed look at various body systems, such as the circulatory, respiratory and digestive systems.

IMG_9847

Once you have arranged all the pieces correctly, you can talk about muscle mass and how muscles are held together to the bones in our body.

In your learning unit, include a lesson on health and physical education. Talk about the benefit of building bone mass and muscle strength and include a few additions to your morning exercise routines to stimulate your students’ minds and bodies!

Line-14

Like us on FacebookShare this post with your friends, or Subscribe to this blog today to receive original craft project updates every Monday, Wednesday and Friday!

Educational Light Cube: As Furniture?!

2014-09-25-FeatureImage

Yes, you heard right! Our R59601 Educational Light Cube can be used as a wonderful furniture addition to your classroom! The sturdy design makes it perfect not only as a table at the play center, but as a stool, a climbing base and more. 

We recommend placing the Educational Light Cube in a ‘quiet’ location, such as a reading area or playtime corner. It’s a good idea to have the cube fully charged before allowing students to use it as a furniture piece. Charge up the cube the night before to ensure that it has enough battery life (3-4 hours) to be used in the main classroom area. This eliminates the need to leave the AC adapter cord lying on the floor–if you have to have the Light Cube plugged in, tape down the cord or place a cord cover on top to prevent it from becoming a trip hazard.

IMG_8738The Light Cube is a great complement to a variety of educational resources such as x-rays, overhead projection sheet activities and much more!

IMG_8745

The Light Cube doesn’t stand too far off the ground and is sturdy enough to support the weight of a student on it. As a result, it can be used as a light platform. Plus, it is the perfect height–not too high, and not to low! Students can easily kneel at the Light Cube and get the full benefit of being able to experiment with light as they manipulate the materials on top.

IMG_9826

As students become more familiar with the Light Cube, they can extend their learning to incorporate gross motor as well as fine motor skills. Stand or sit up on the Light Cube to measure the size of your feet in comparison to an R5911 True to Life Human X-Ray foot, just like this student did! Or play Light games around the cube! Play memory games and hide various objects under cups, then shuffle them around. There’s tons of things to do on the Light Cube… just using it as a furniture piece alone is lots of fun!

Line-08

Like us on FacebookShare this post with your friends, or Subscribe to this blog today to receive original craft project updates every Monday, Wednesday and Friday!

Welcome to the Light Cube!

2014-10-09-FeatureImage

We at Roylco are excited to launch our new series of posts about our brilliant Educational Light Cube! Check us out every Thursday for a brand new look at our sensory-engaging light box… and all the amazing things you can do with it. Let’s get introduced!

IMG_0123
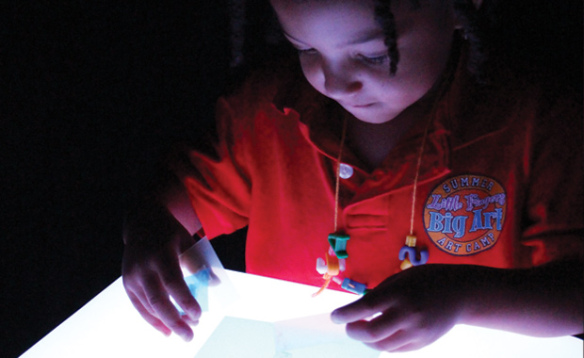
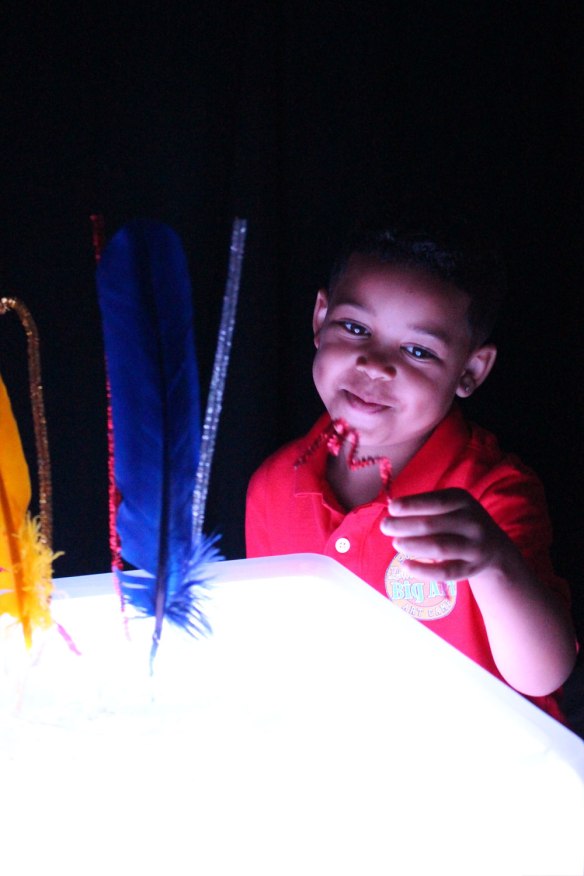
The R59601 Educational Light Cube is a sensory base that can be used for a variety of activities! Place different materials onto the Light Cube and turn the unit on. You will notice a bright, beautiful glow emitting from the Light Cube and illuminating the objects on the cube. This is a great way to engage children who would not normally respond to these materials in normal light conditions.

IMG_0247
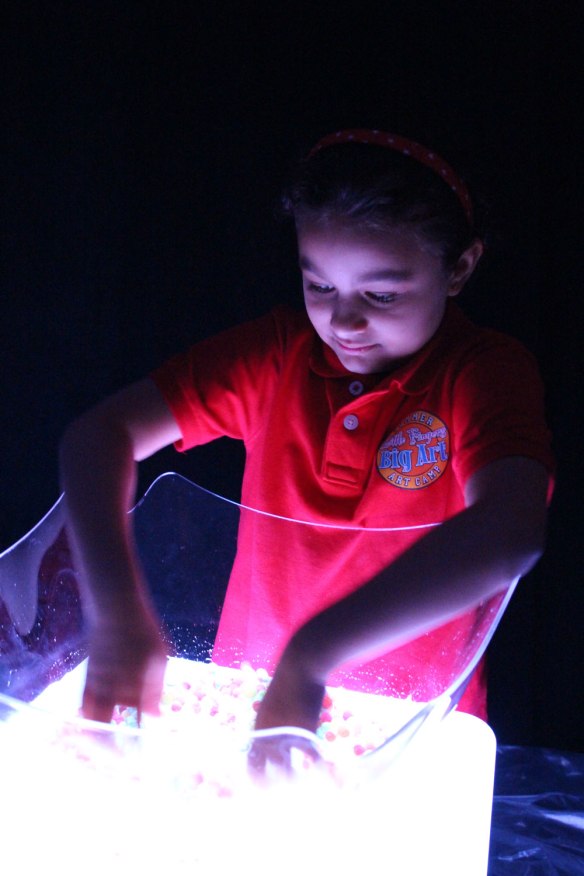
The cube has a water-resistant surface that can easily be cleaned with warm water and soap. This makes it a great base for water-based sensory activities and painting activities.

IMG_0385
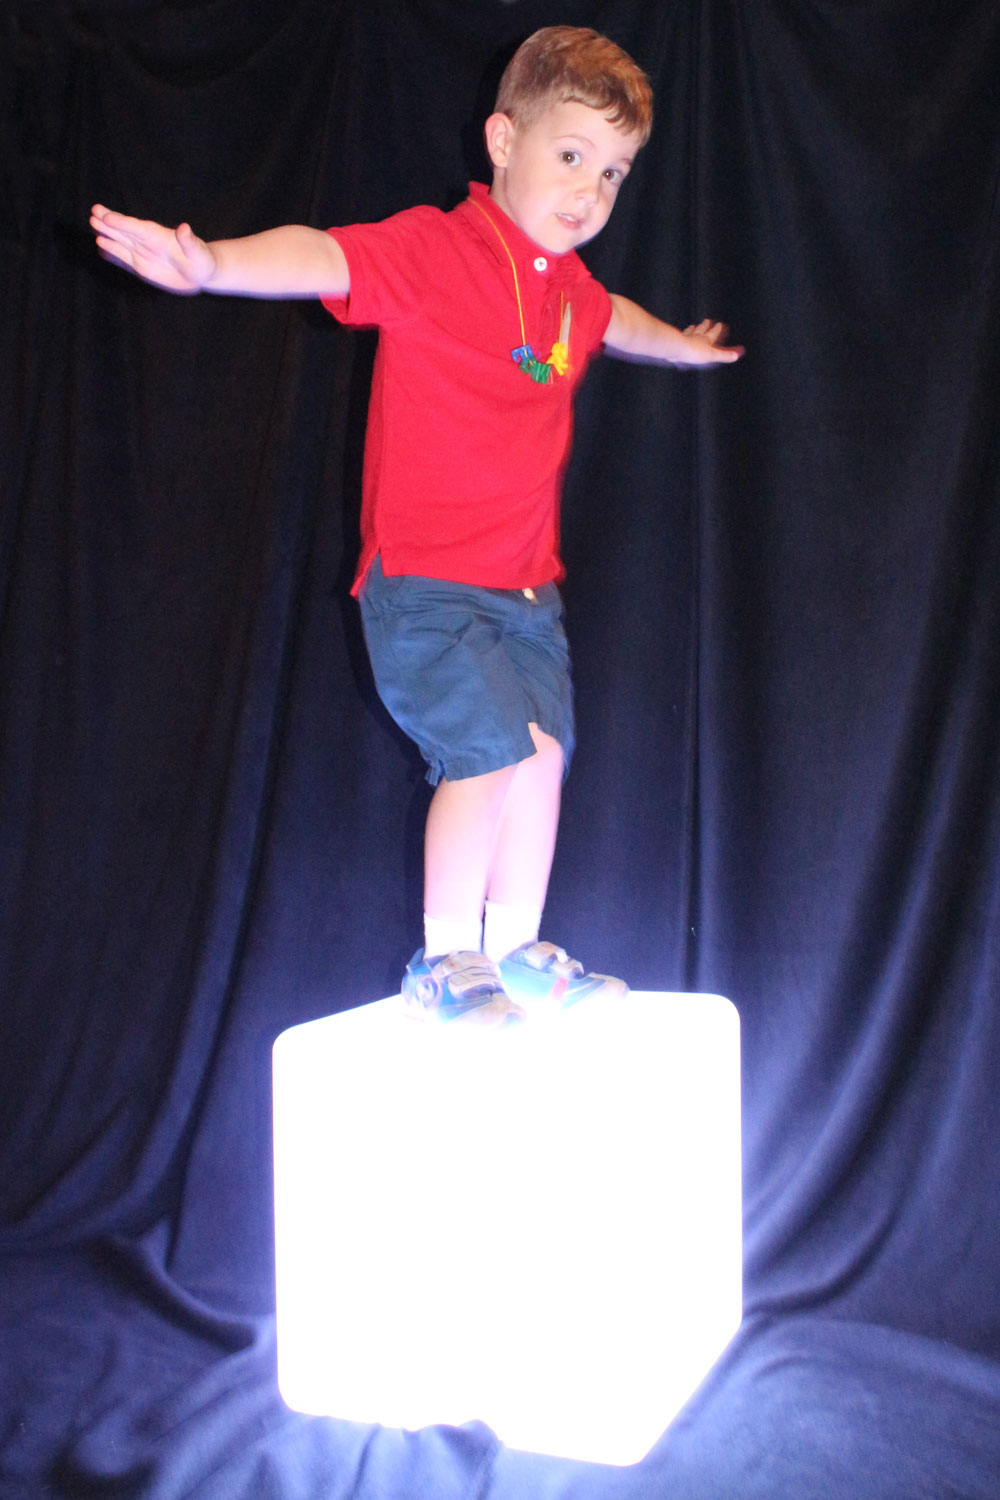
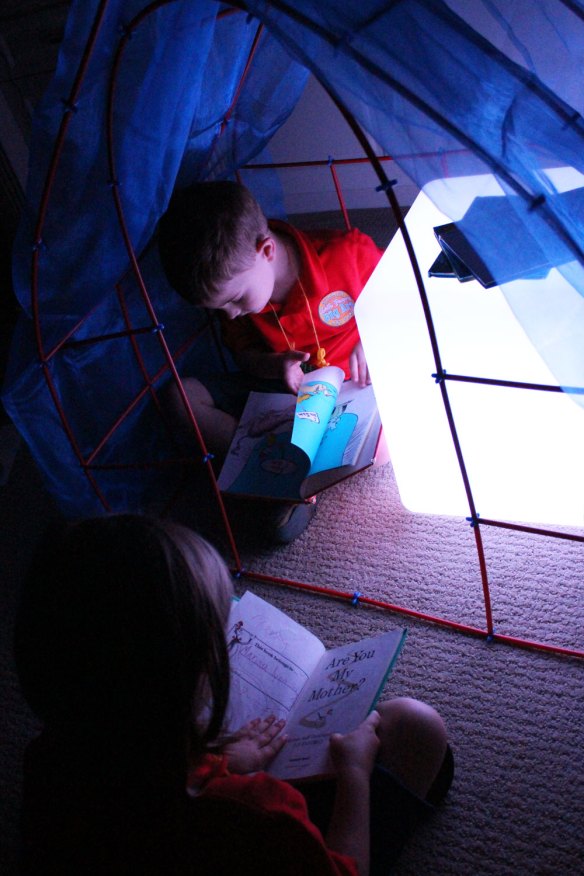
The Light Cube is portable, durable and a great addition to your classroom! Use it as furniture or to illuminate a low-light area, such as a reading fort.

IMG_0409
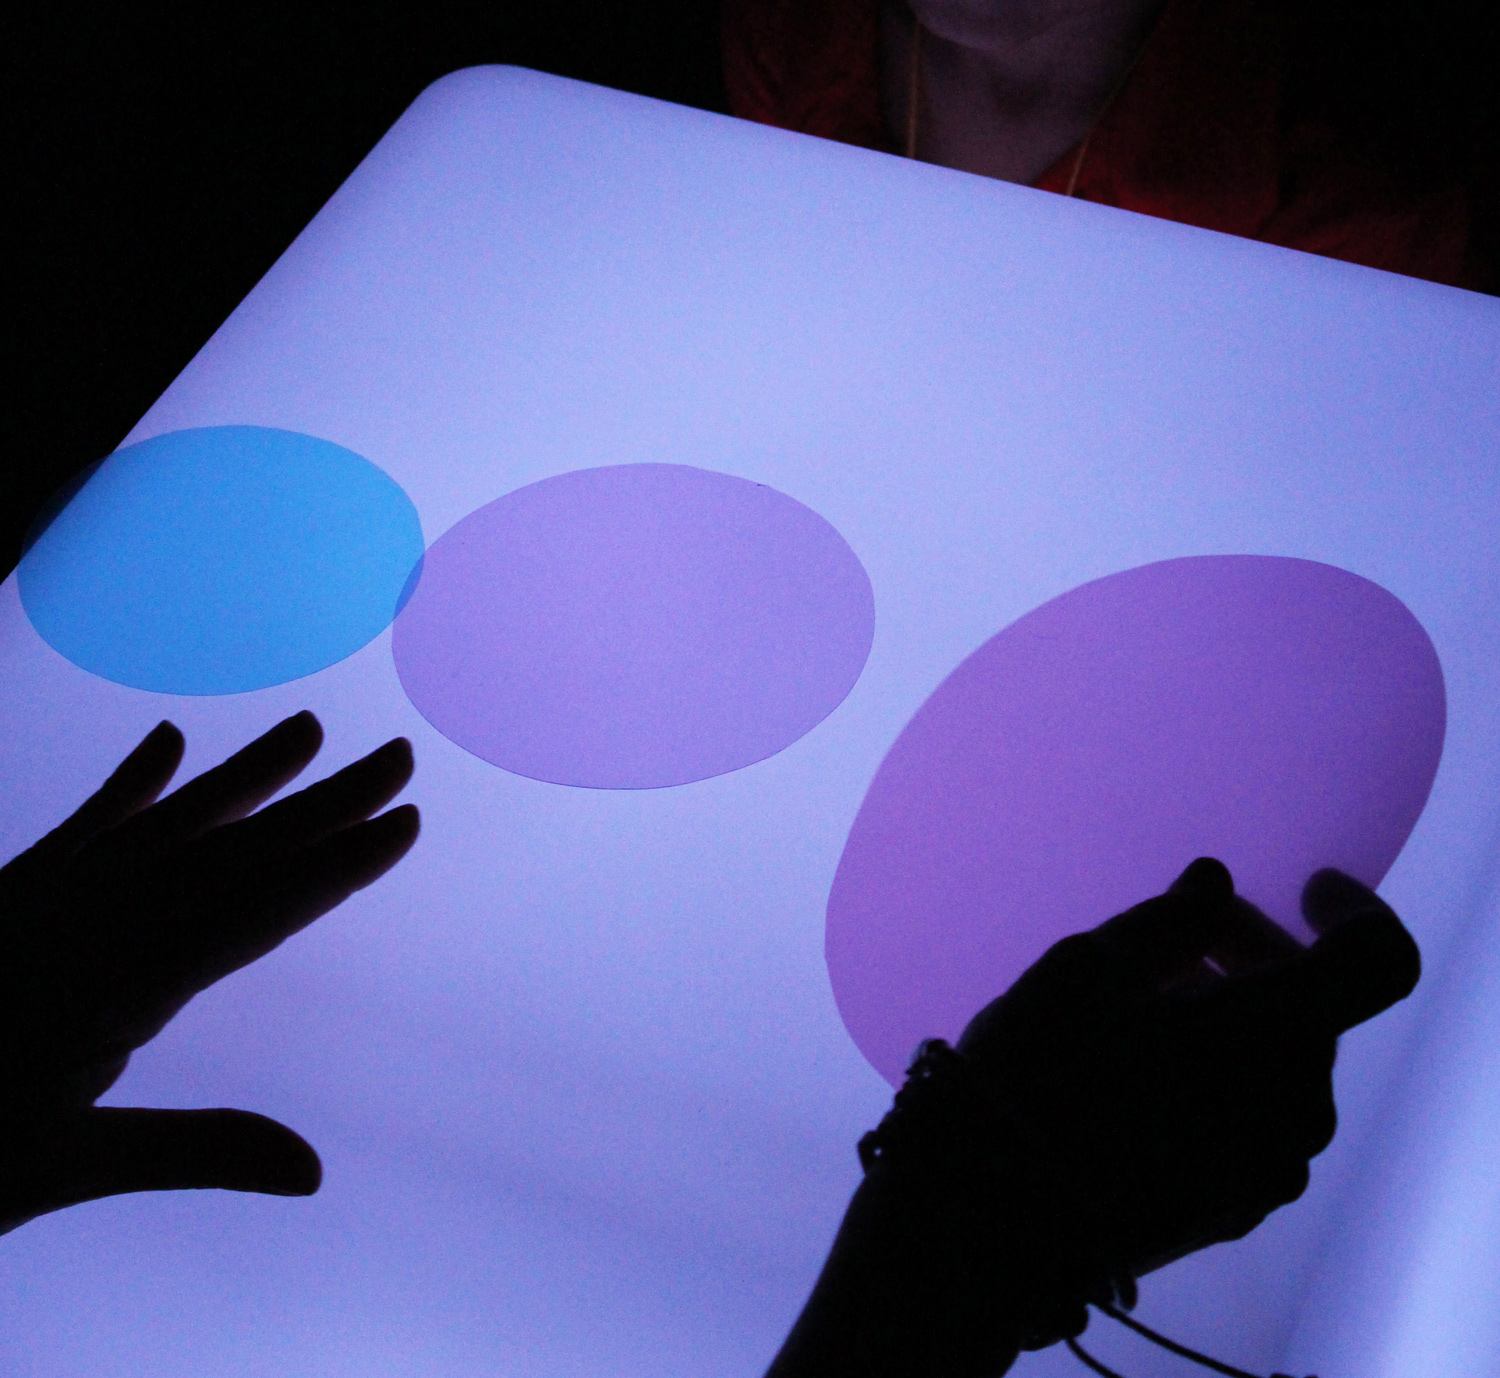
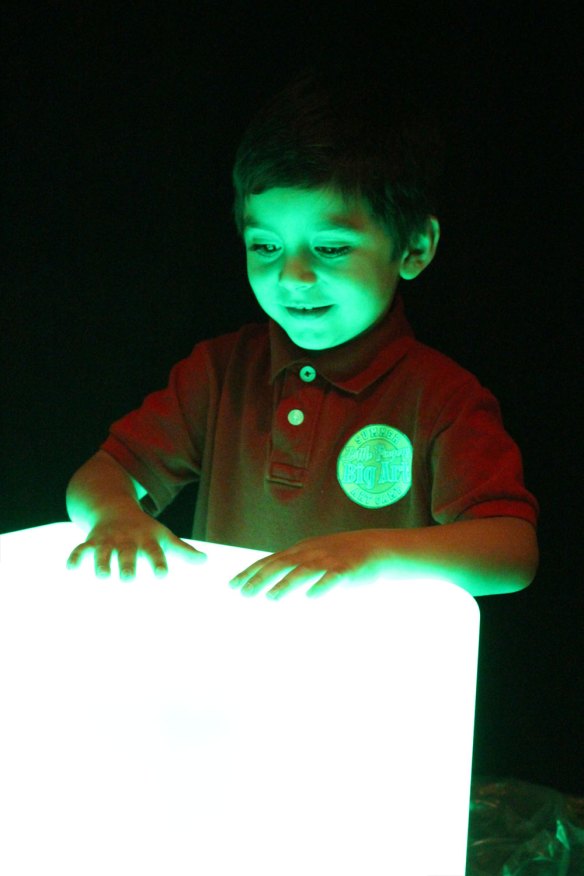
Cycle through multiple light colors using the accompanying remote. There are 16 colors in total. You can make the colors strobe, flash, fade and smoothly transition between each one.

IMG_0463
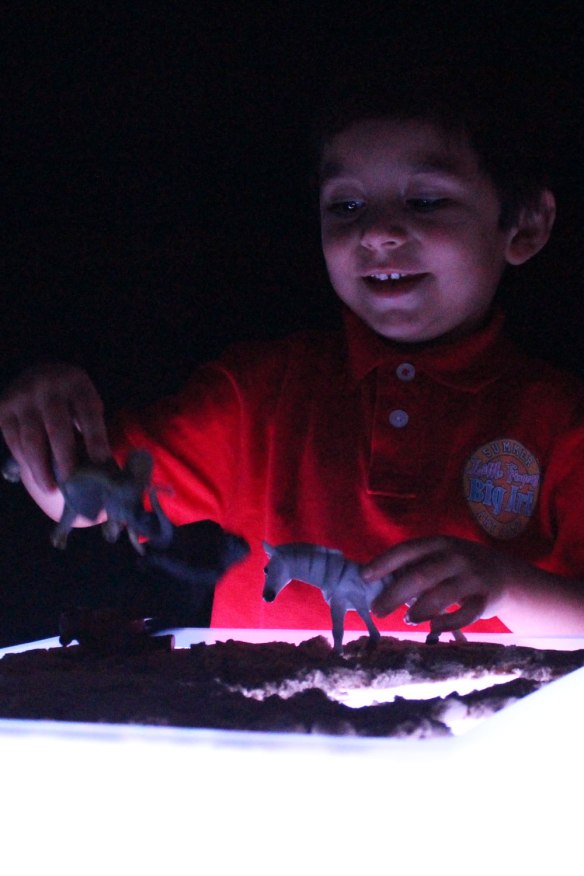
You can use the Light Cube to engage students in virtually any lesson plan using simple materials already in your classroom. Set up environments like this one, with animal figurines and gravel! Kids will love playing with the different sets.

IMG_0595Use the Light Cube to arrange math manipulatives on the surface. Students focus best when their attention is directed on one thing at a time, and the Light Cube does just that with its soft glow.

IMG_0632
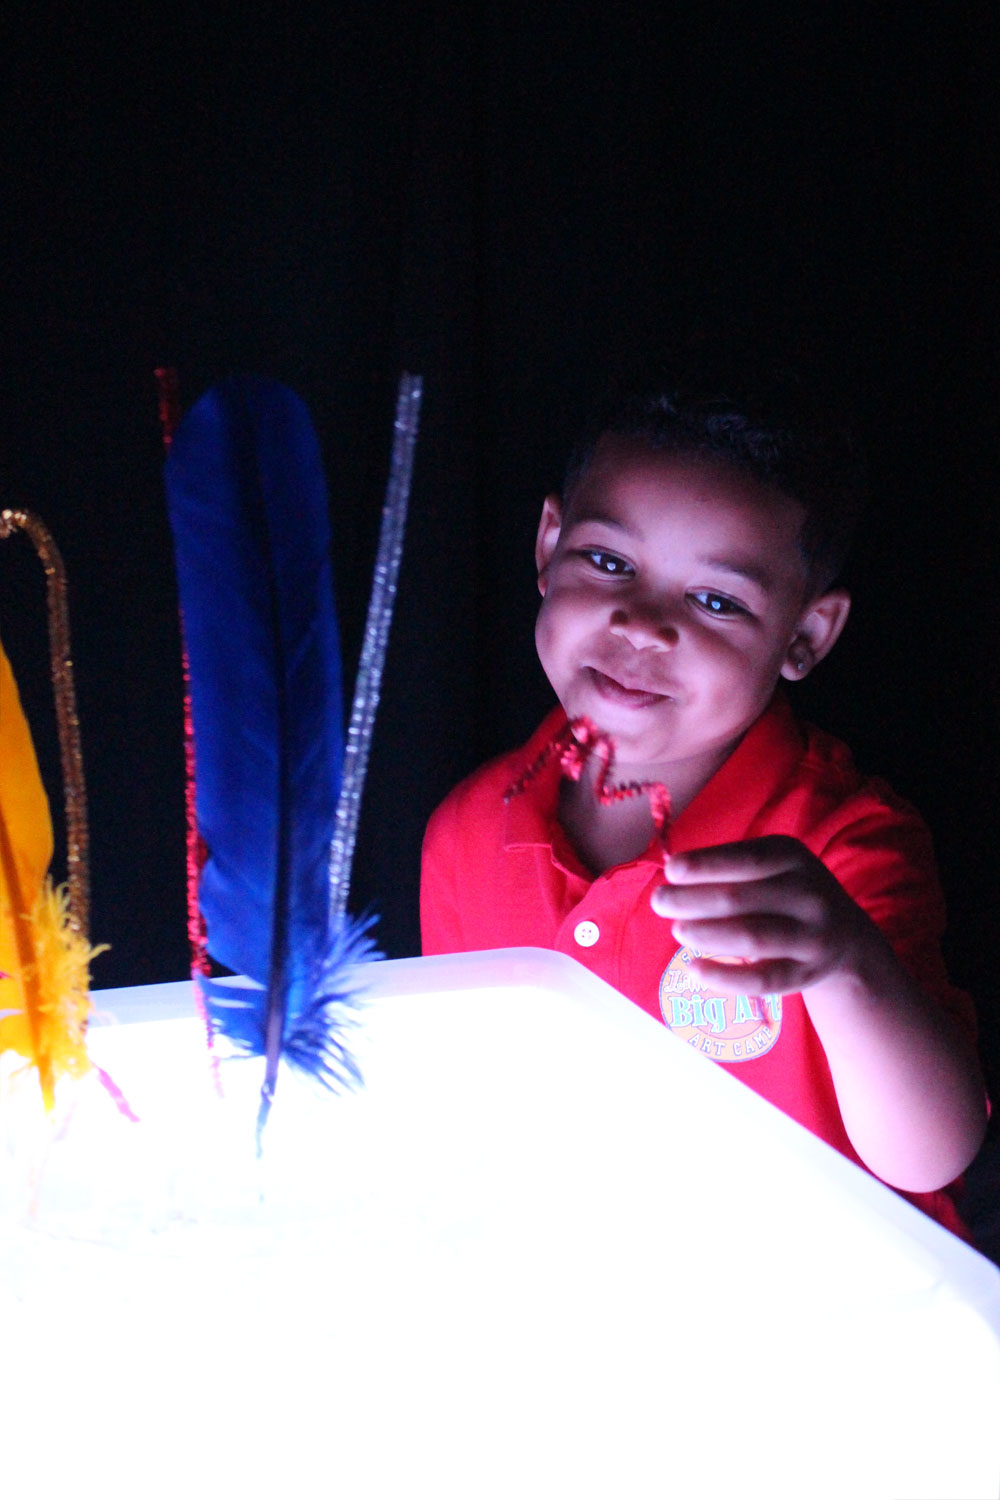
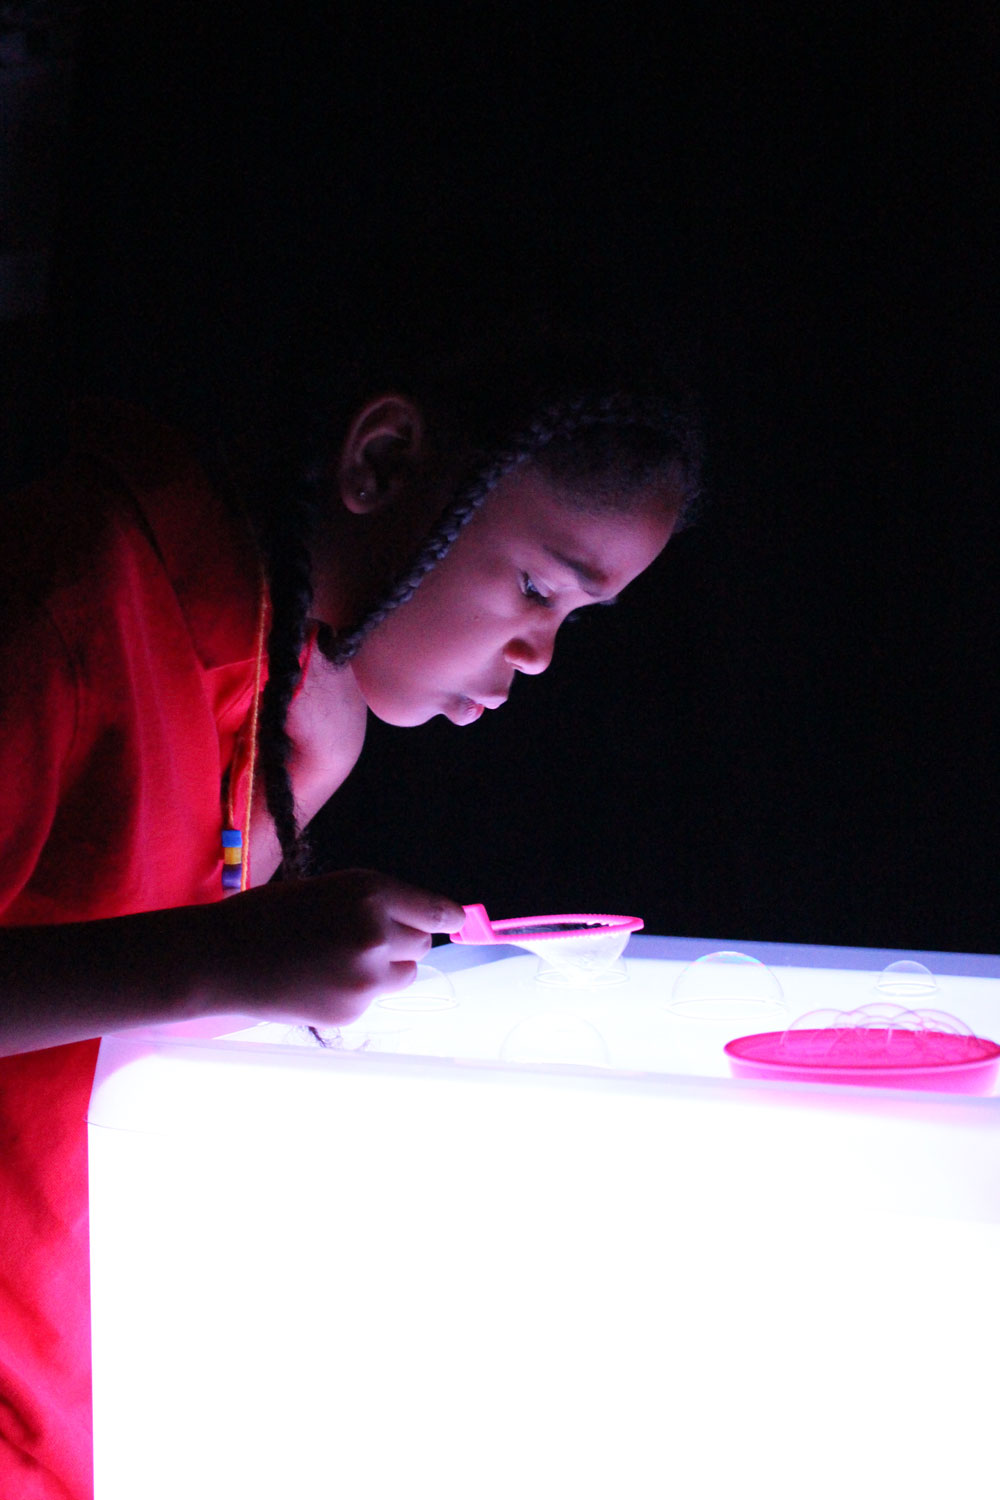
It engages students to experiment with different materials and view the effects of color-changing light!

IMG_0730

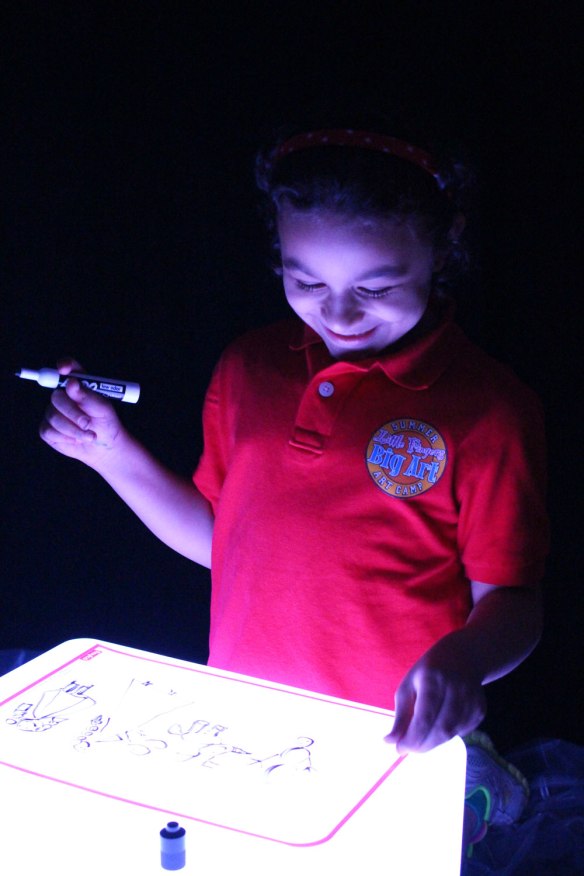
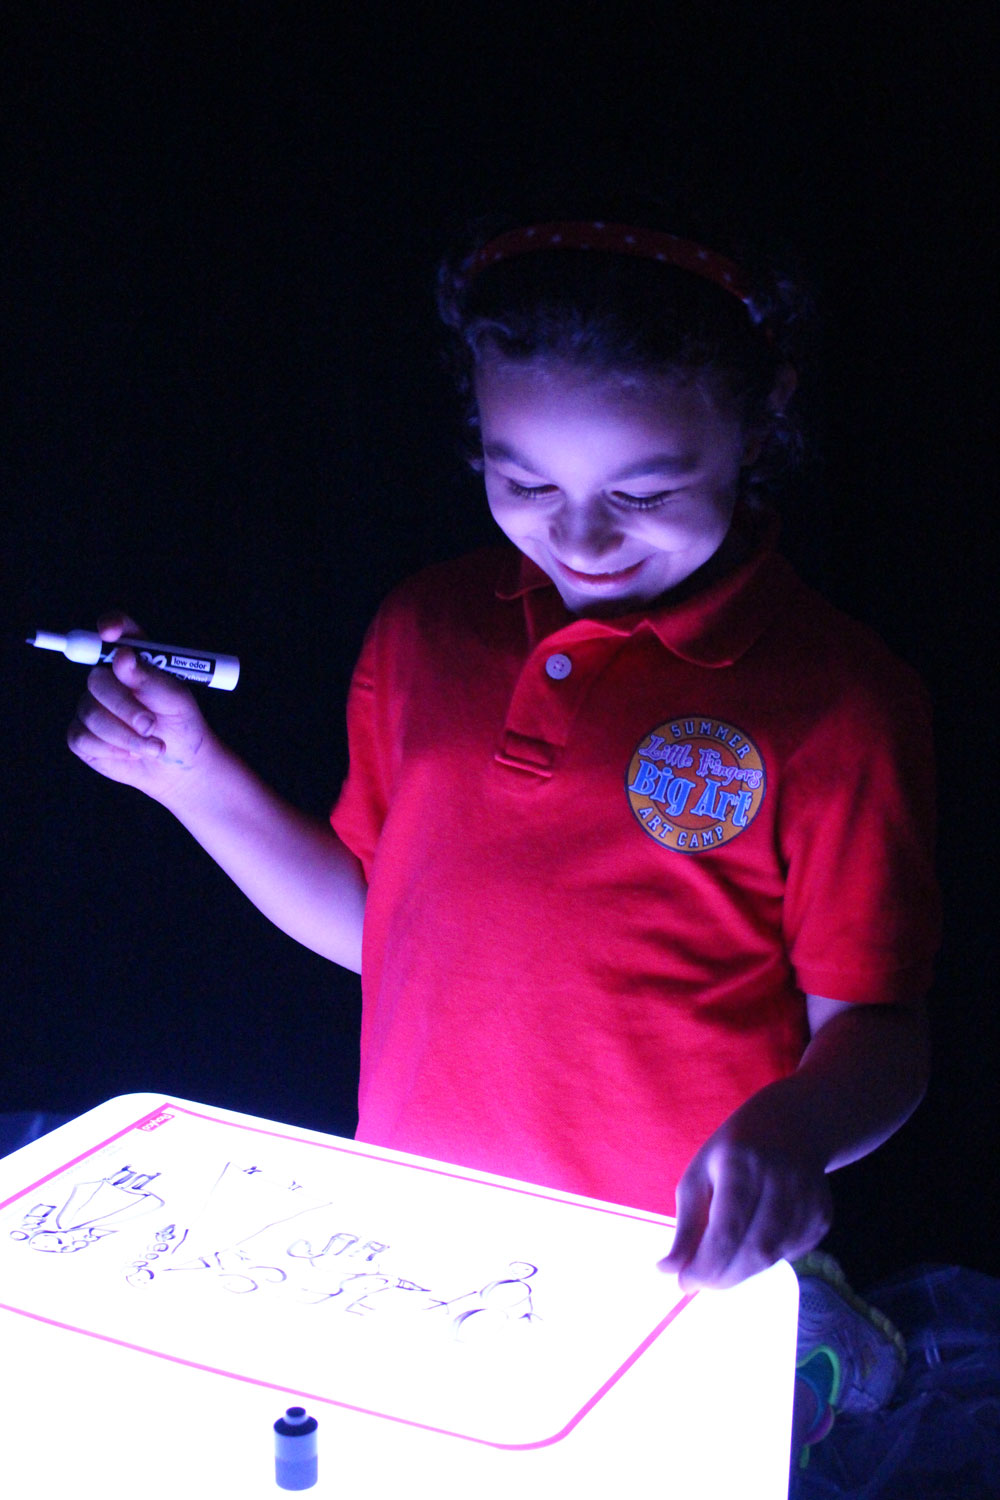
Practice writing skills!

IMG_8785
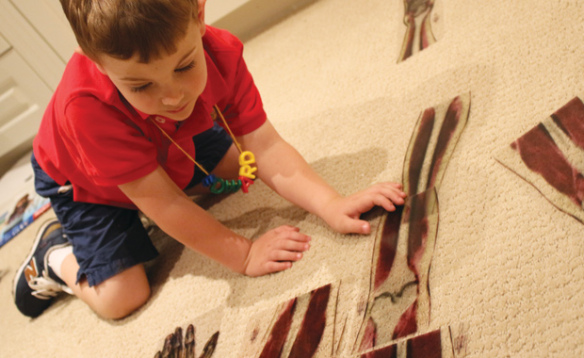
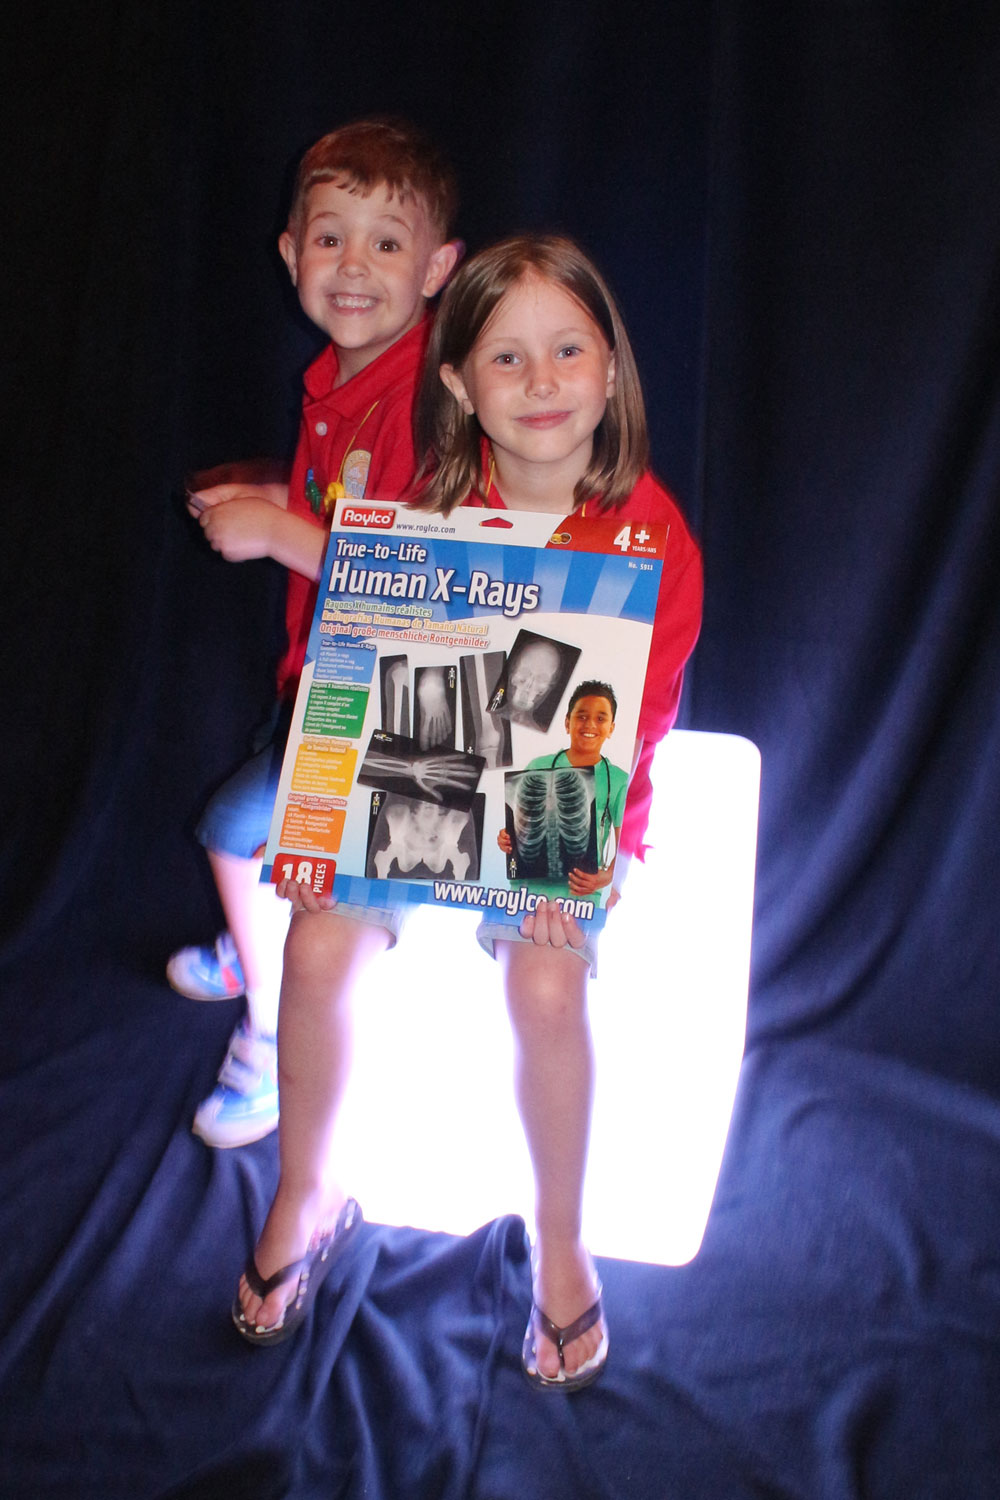
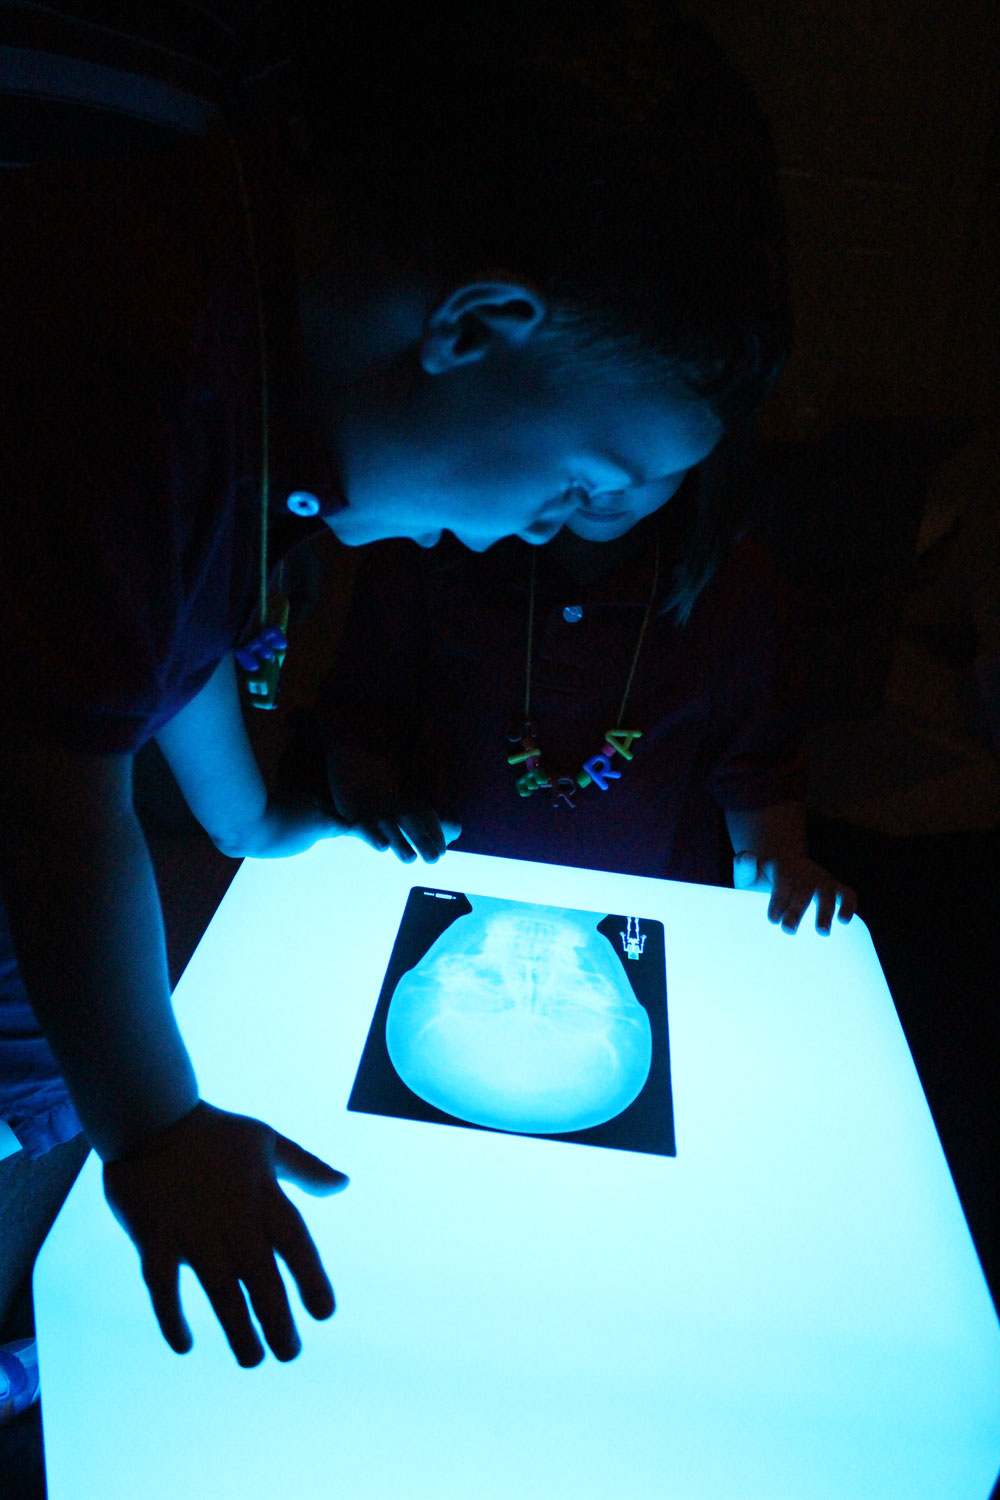
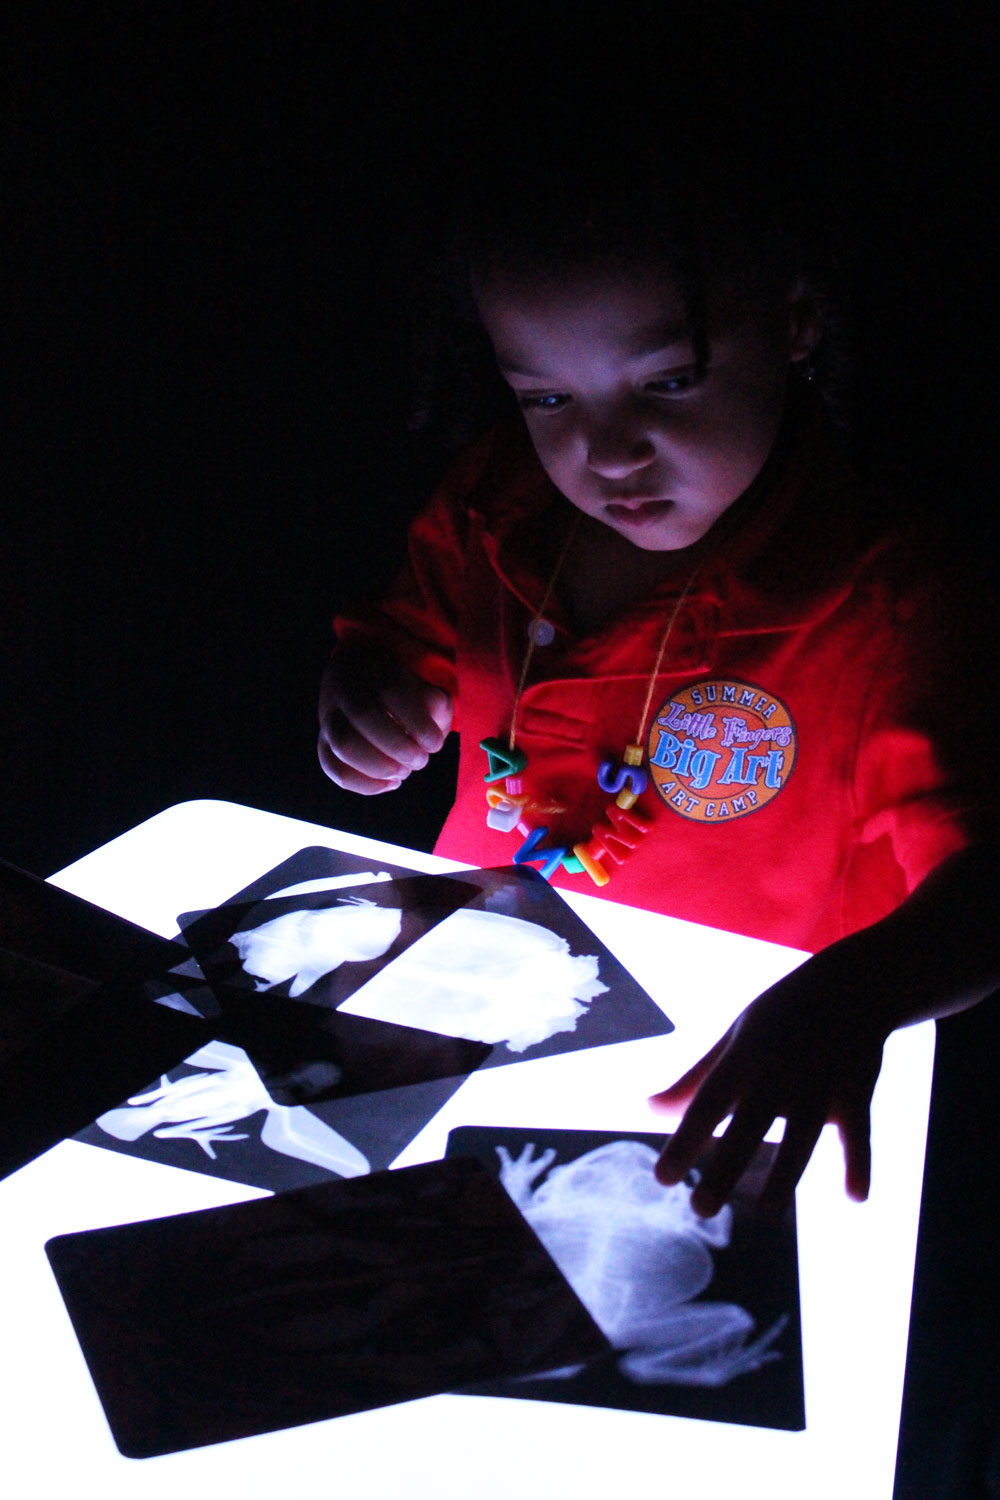
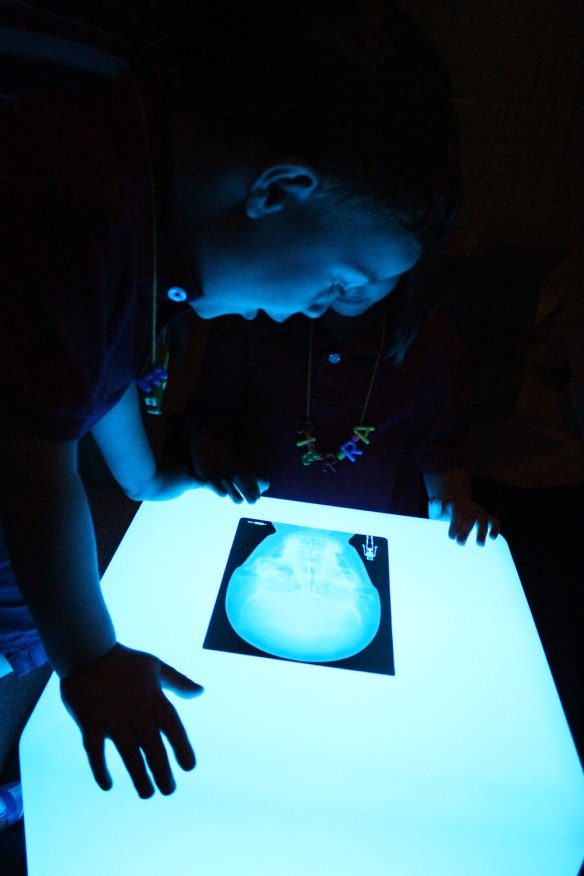
Observe new concepts on the Light Cube, such as human or animal anatomy using our range of x-ray products!

IMG_9303
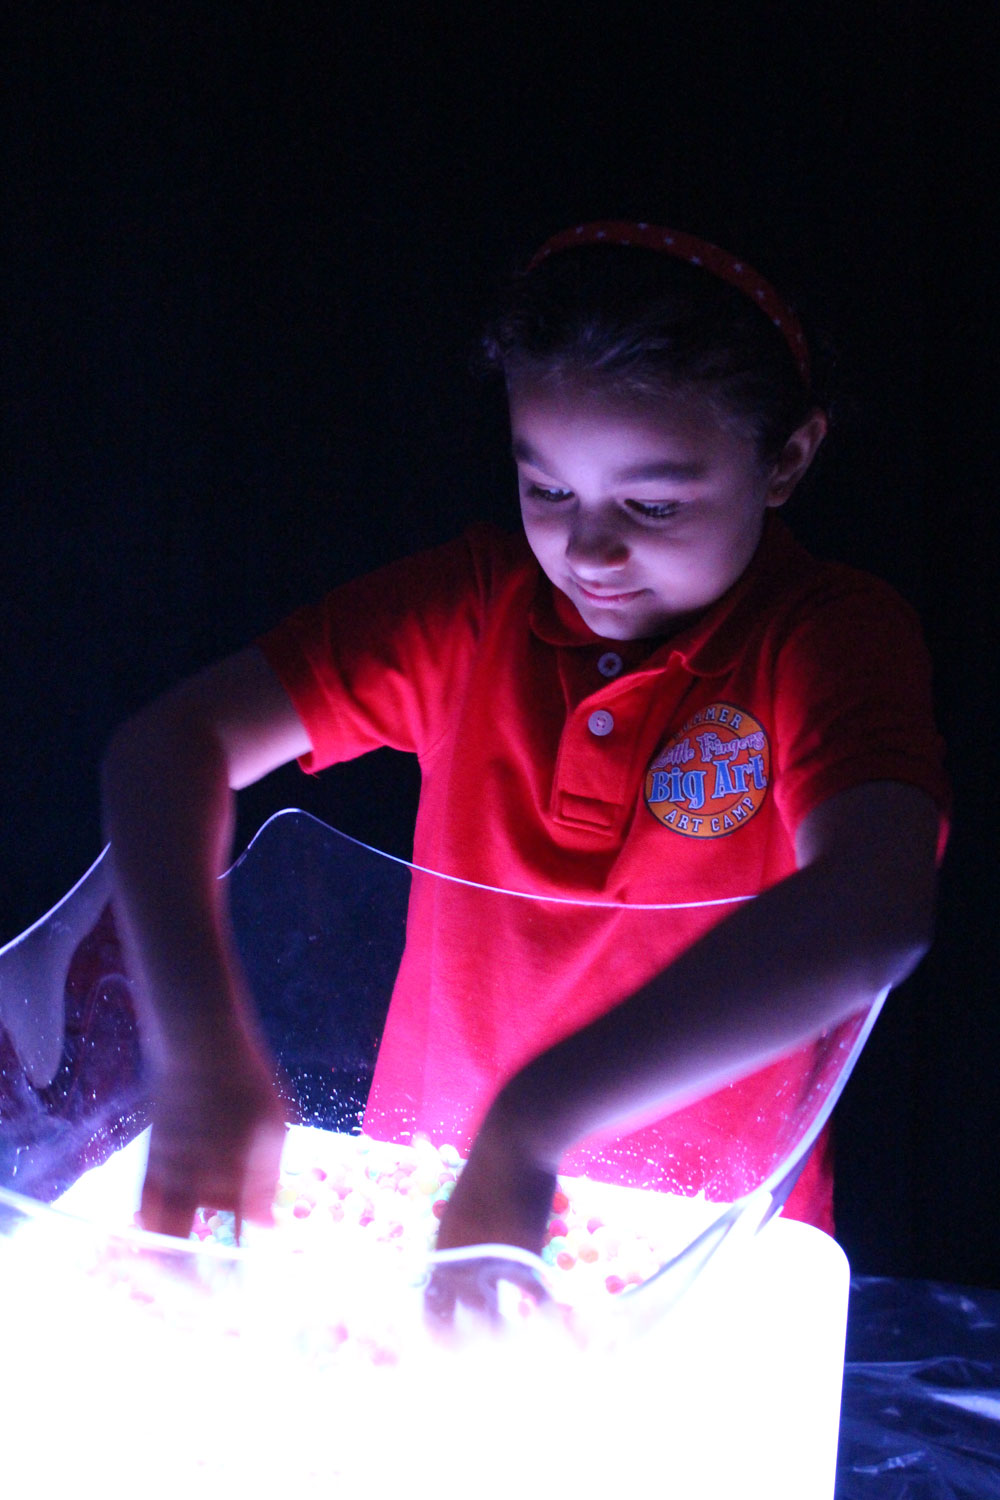
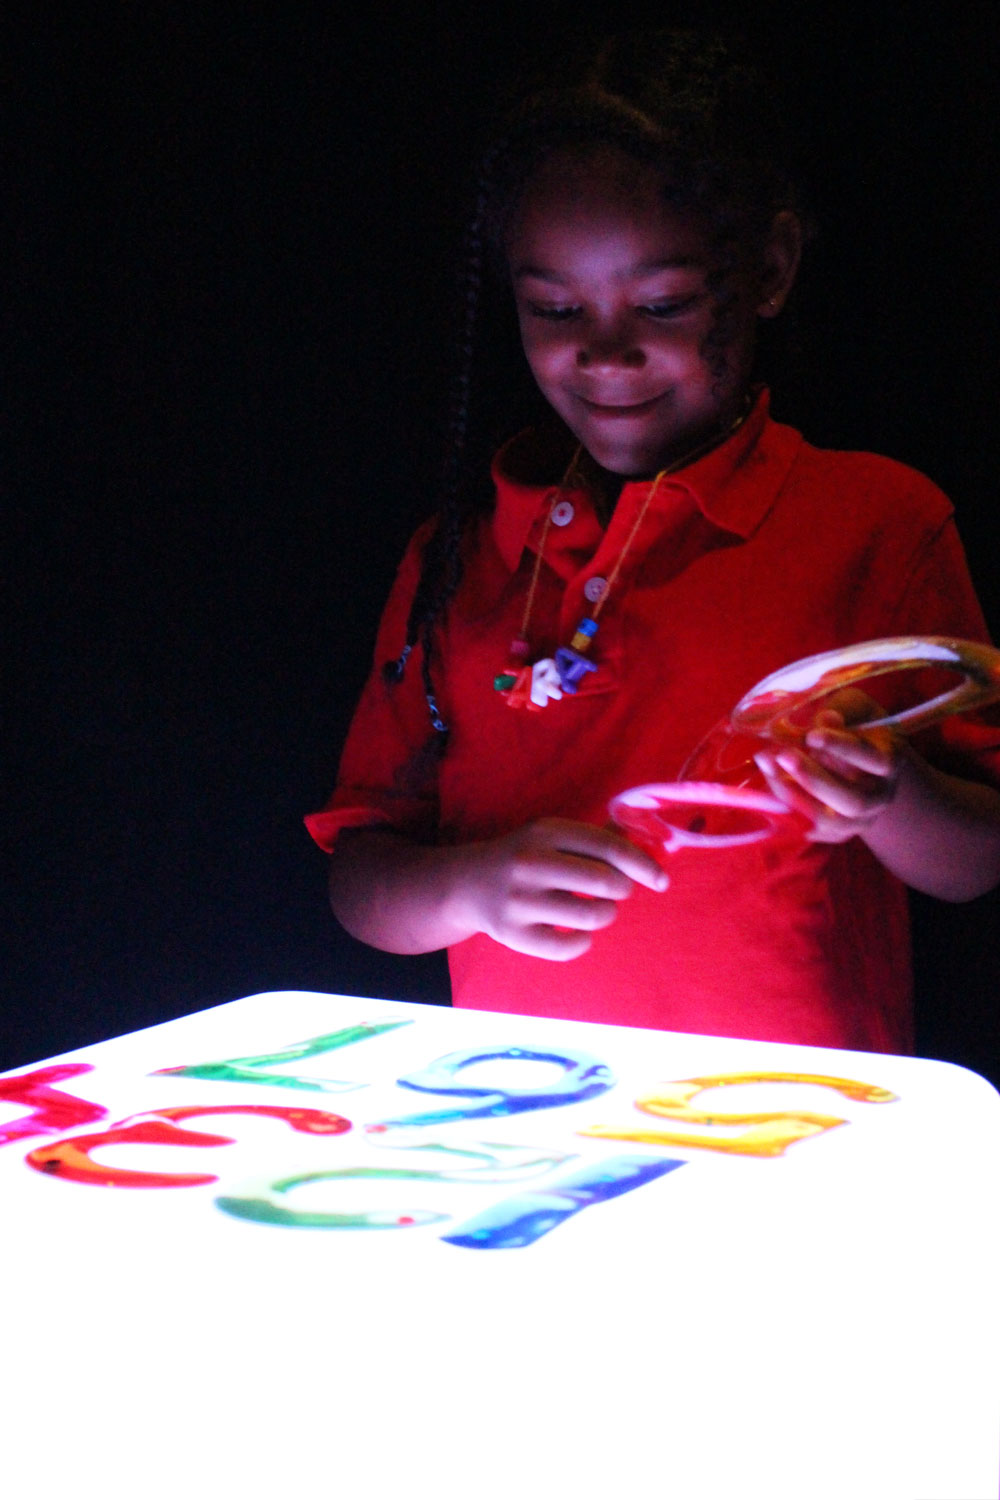
Test out new sensory materials such as gel-stickers! These materials feel great on little fingers, and illuminate well on the Light Cube.

IMG_9355
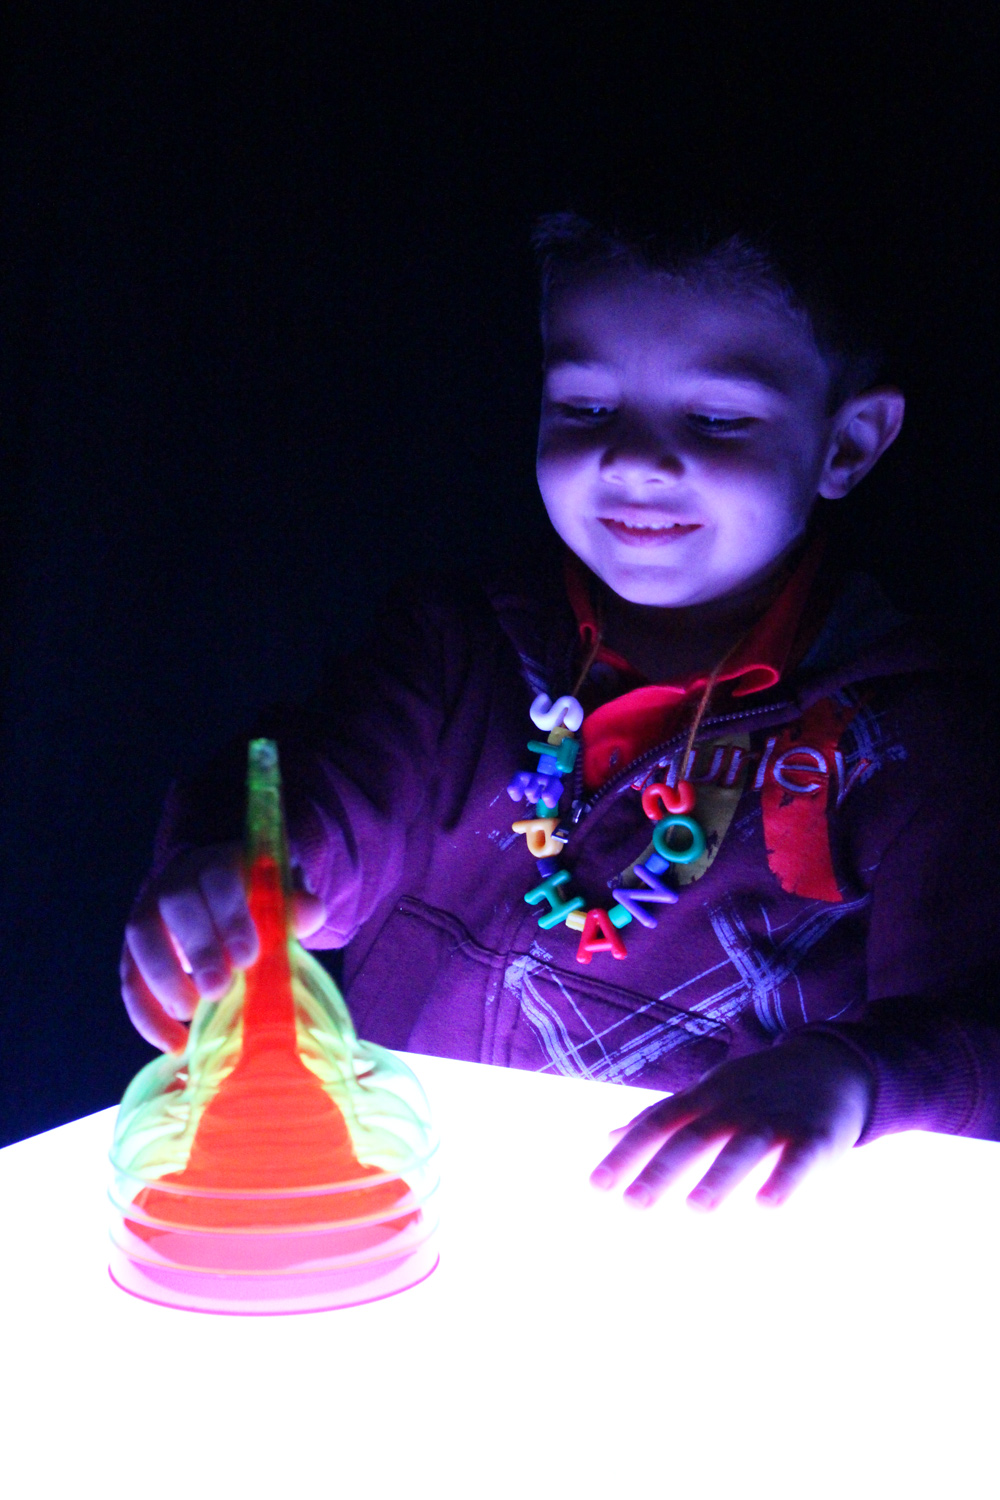
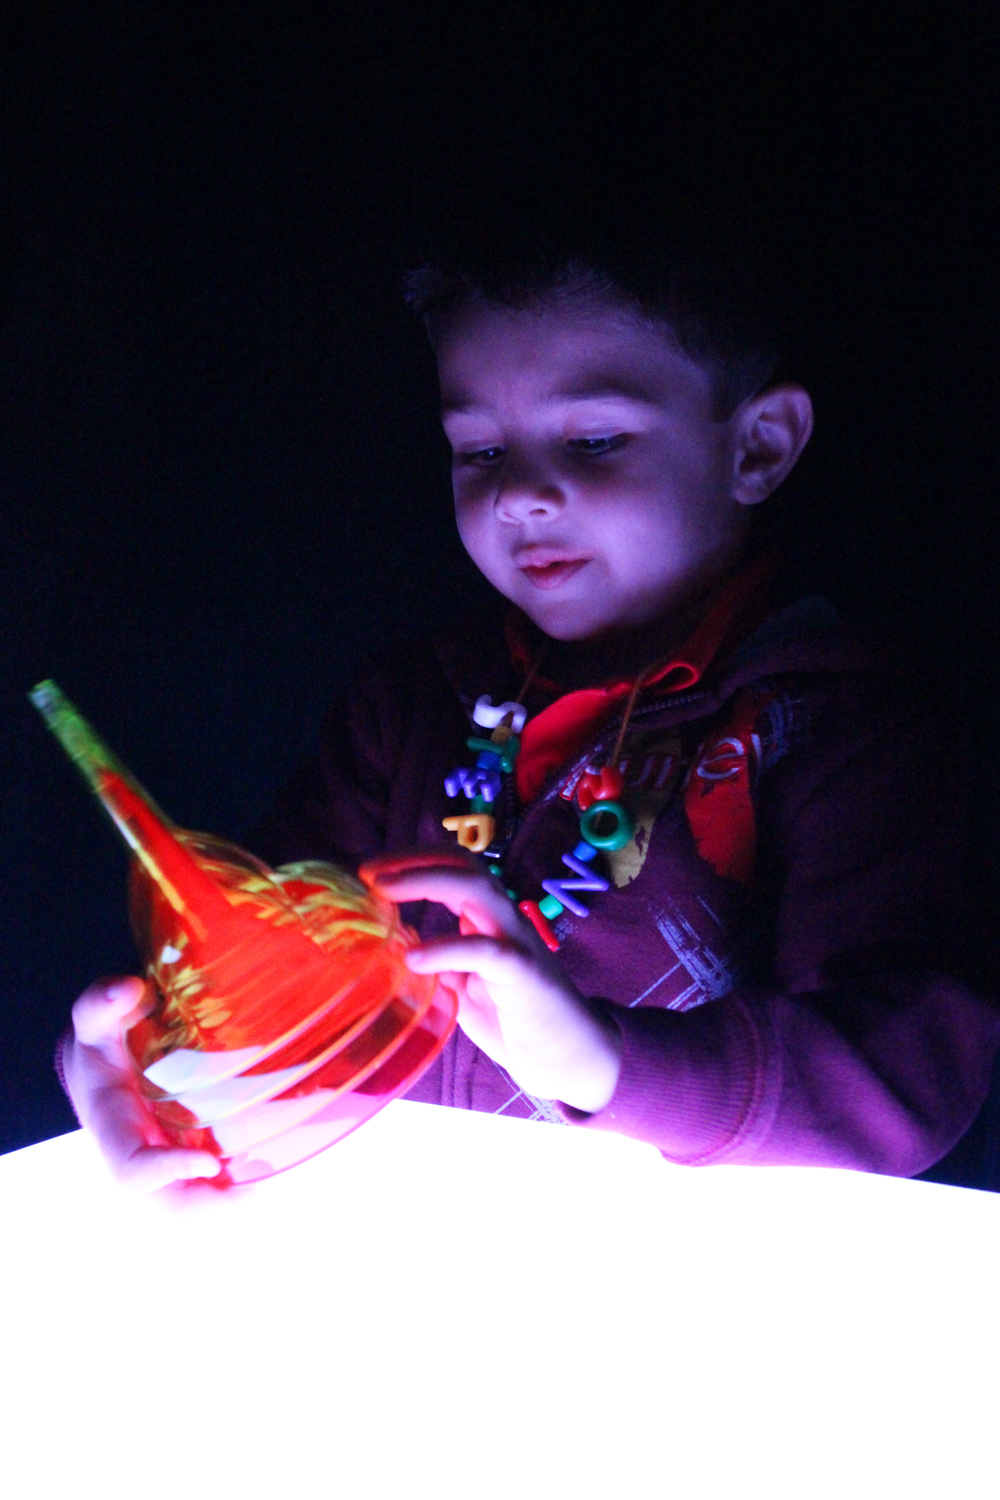
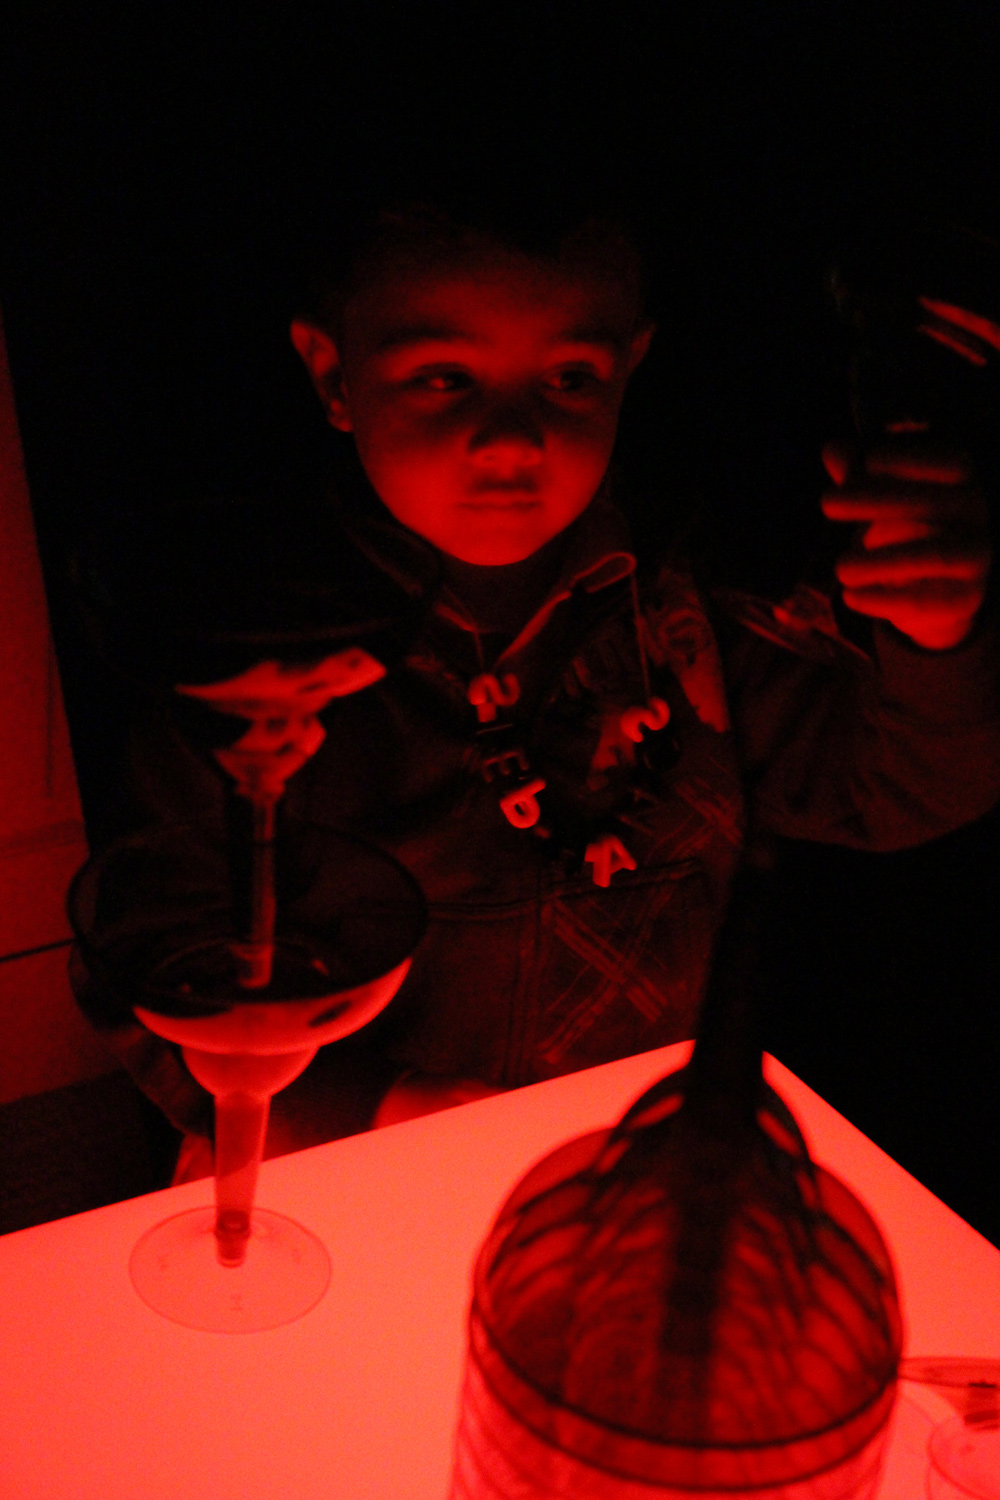
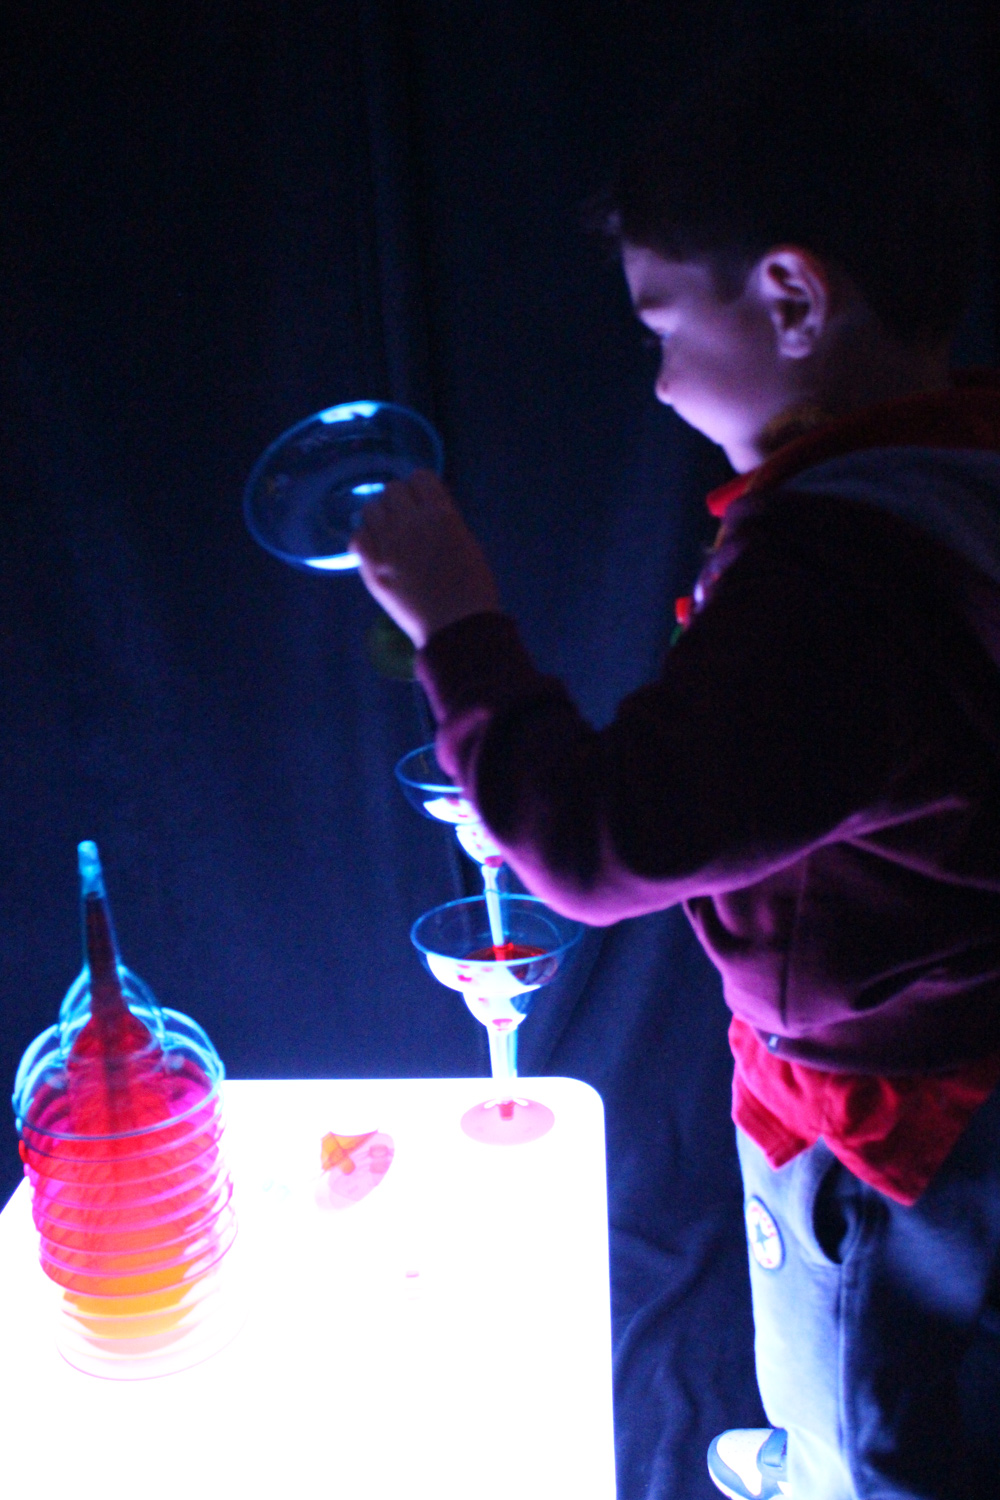
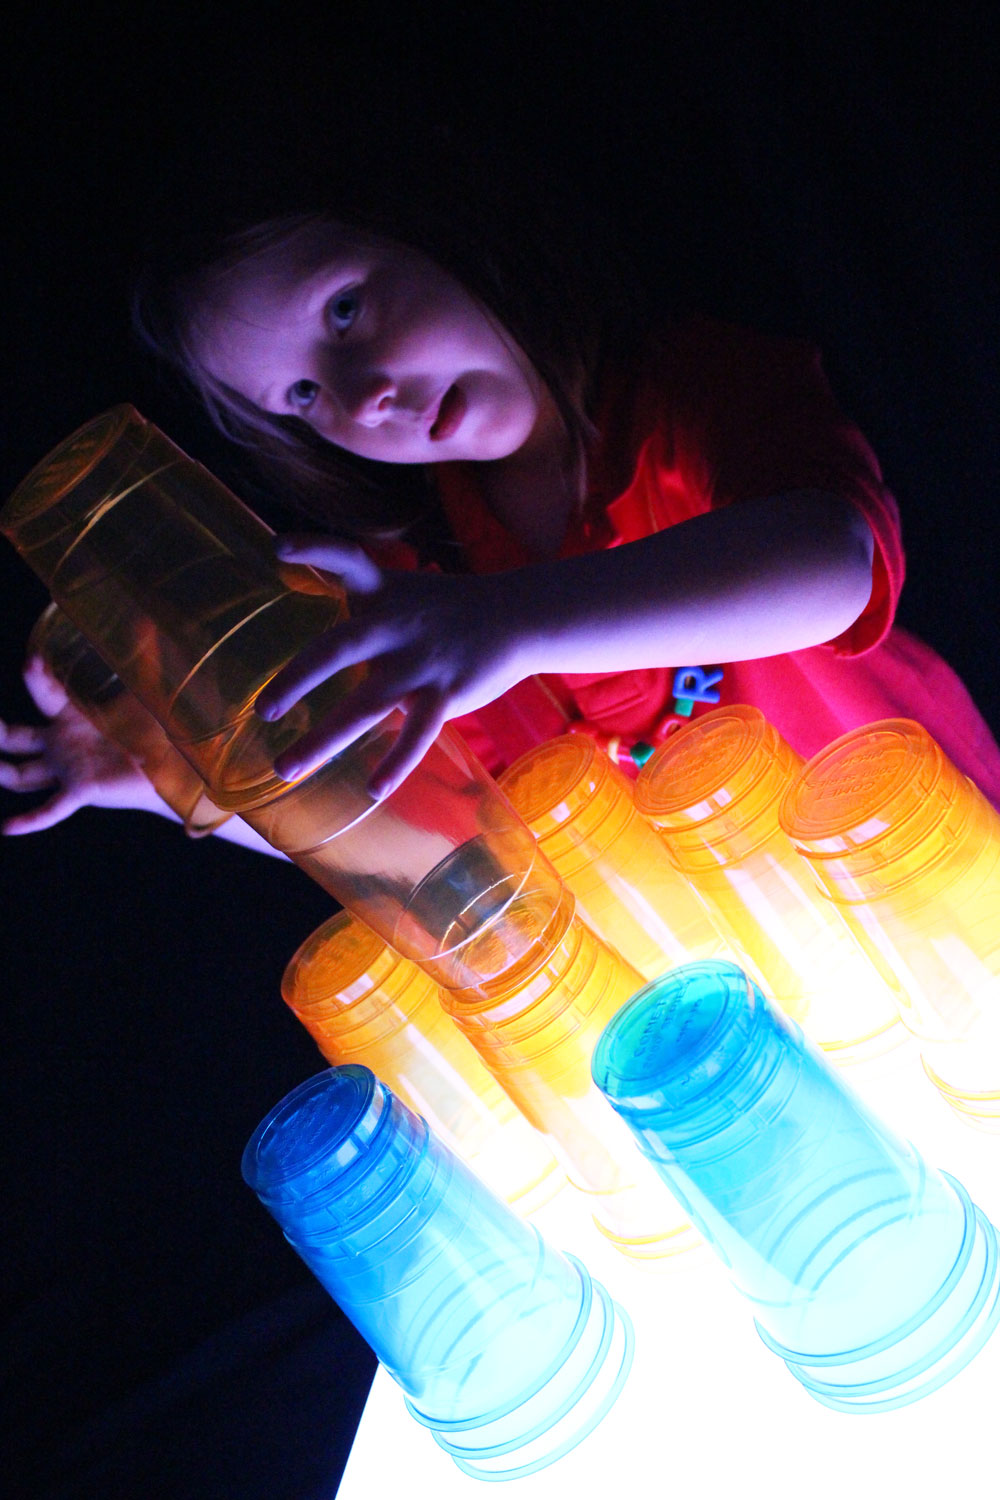
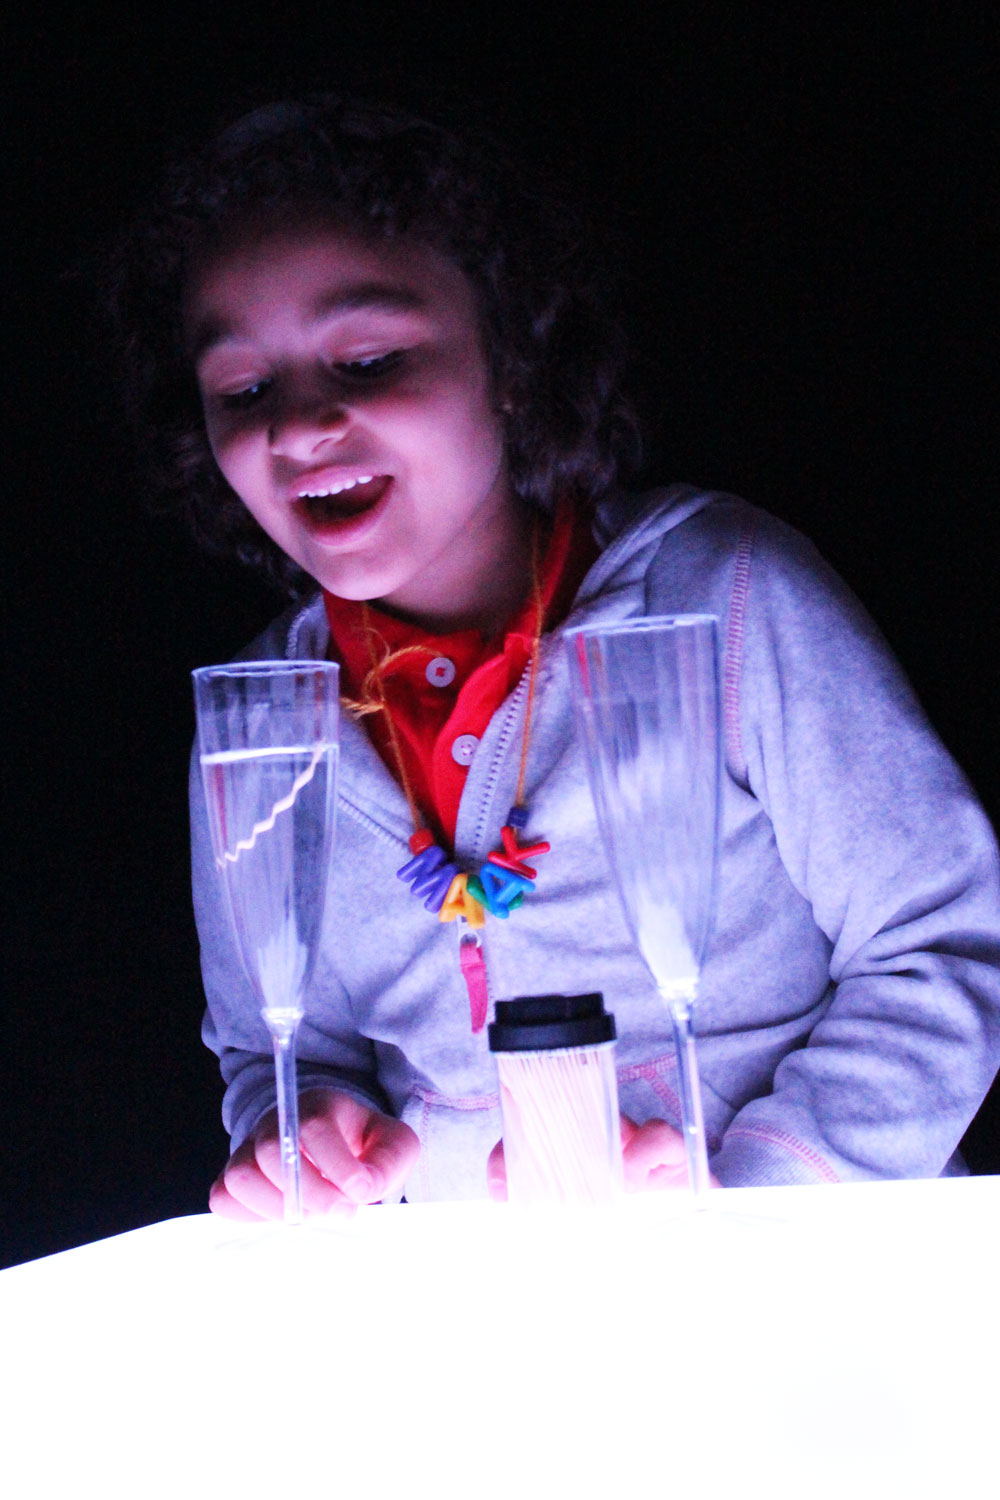
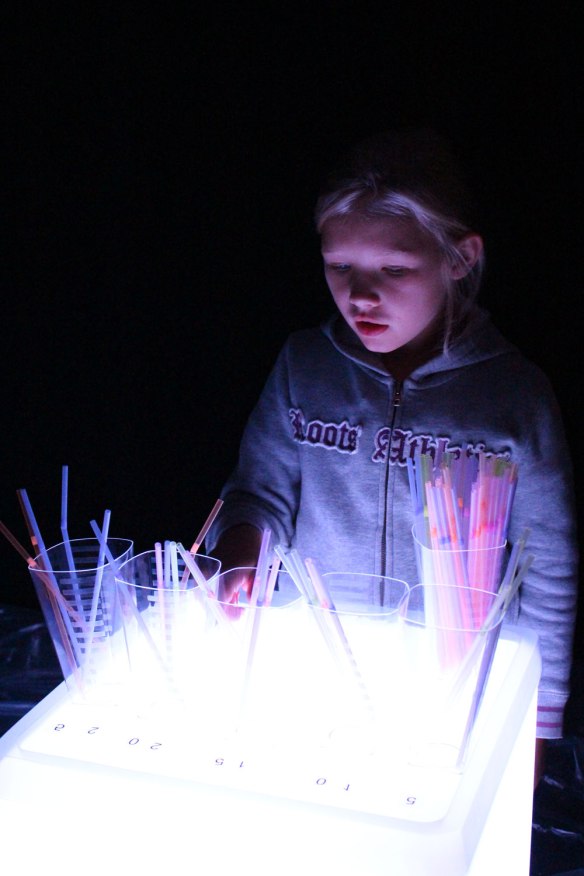
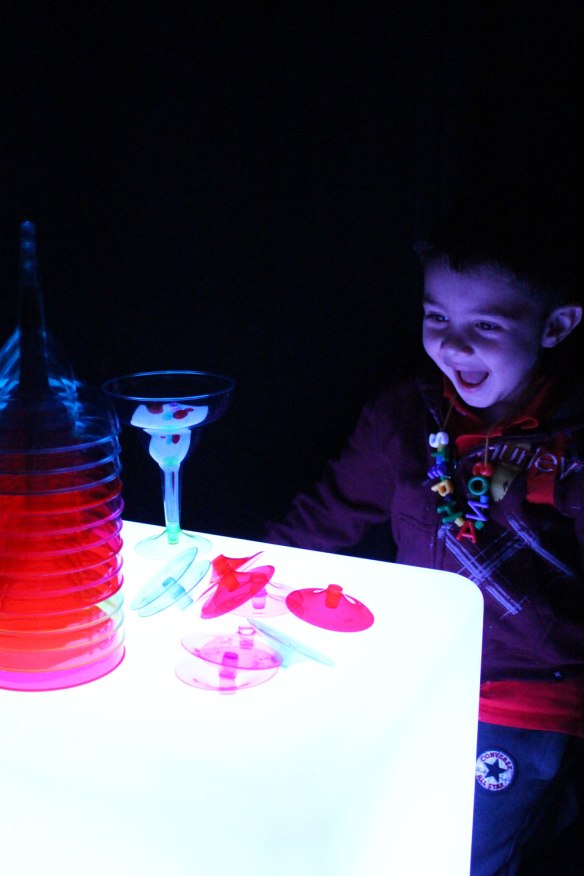
Stack ‘em up and knock ‘em down! Try out a range of building materials, such as clear plastic dollar store cups, to build your tallest colorful towers!

IMG_9484
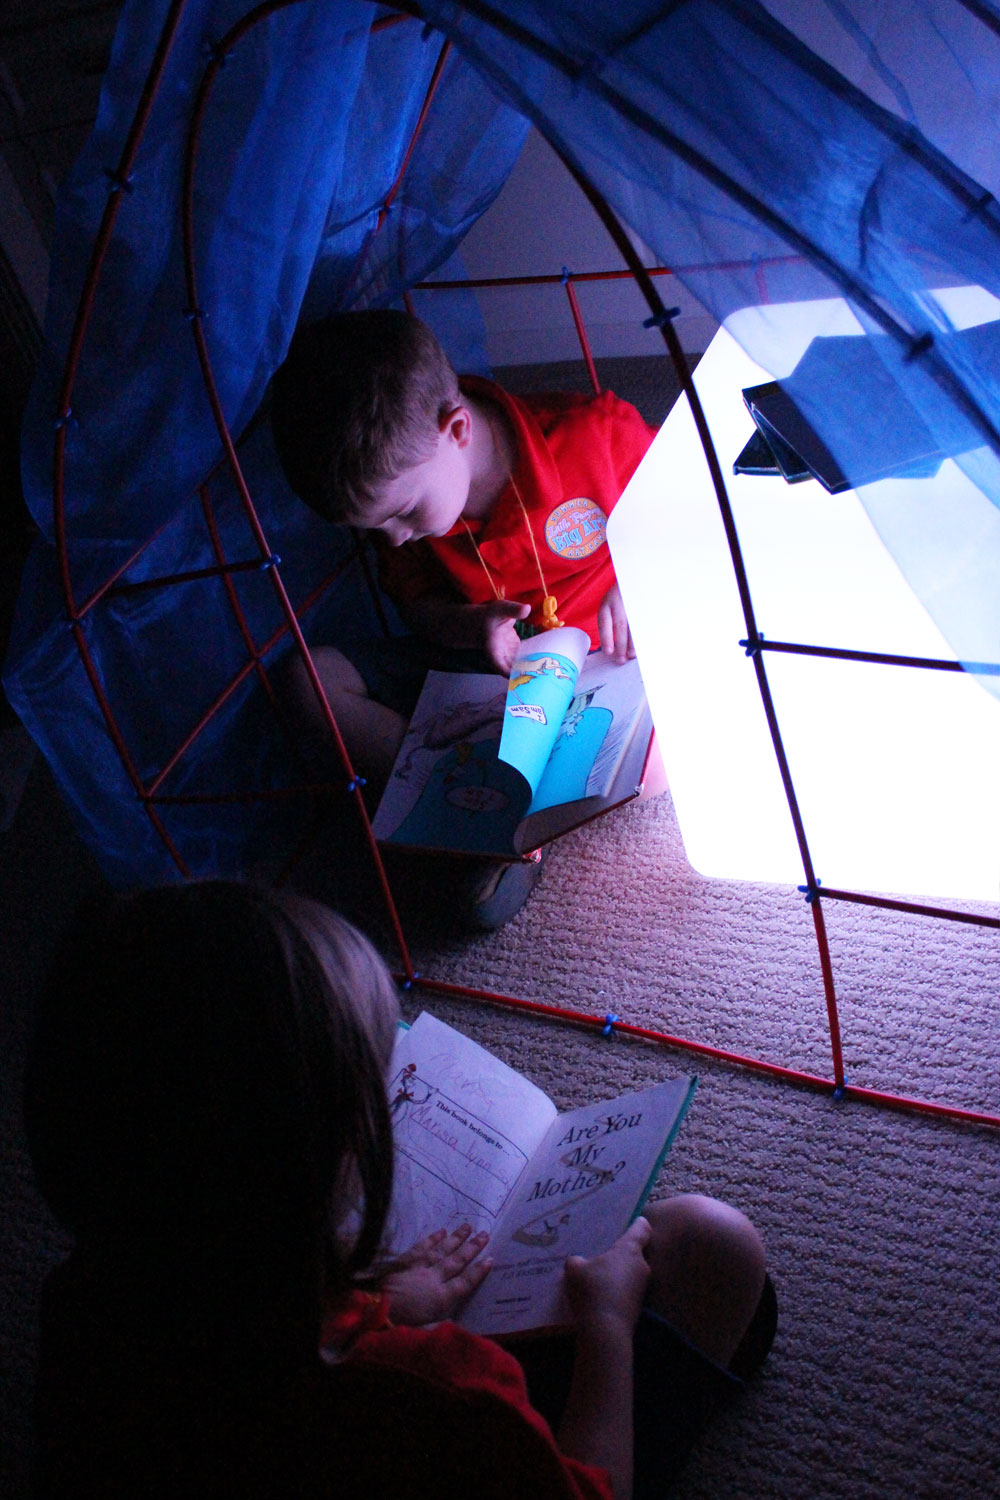
Keep your students engaged in light exploration with soft-glow lighting. Make a small fort for reading, playtime, math activities and more to amplify the effect of the Light Cube.

IMG_9508
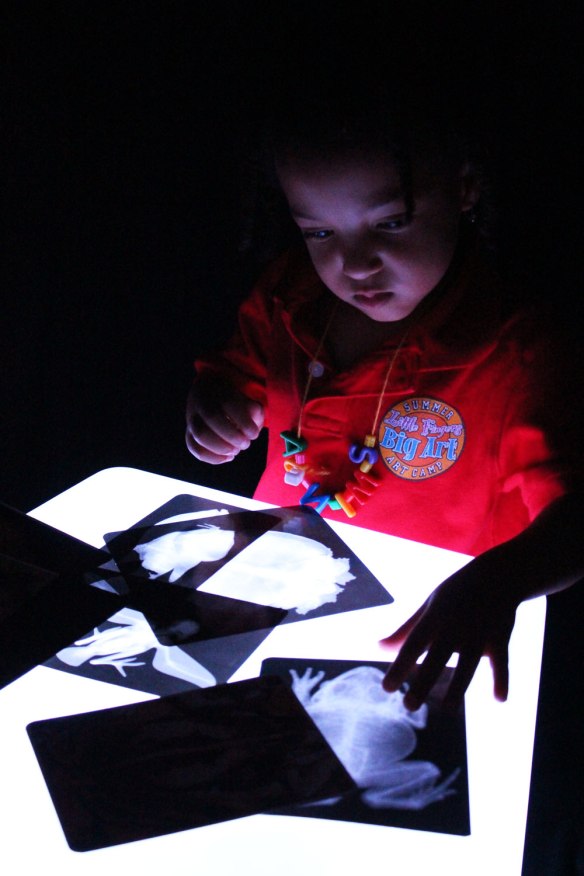
Explore what’s inside unique animal specimens!

IMG_9549Older students can join in the fun, too! Set up the Light Cube in a darkened area, and give your students tracing paper and pencils to work with. While using the Light Cube as a tracing light box, students can easily check their work and develop their own creative ideas.

IMG_9615
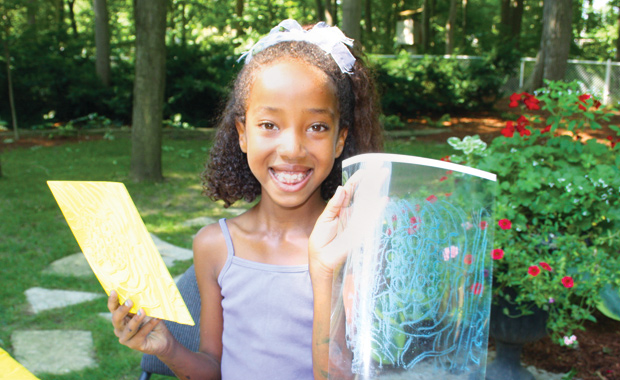
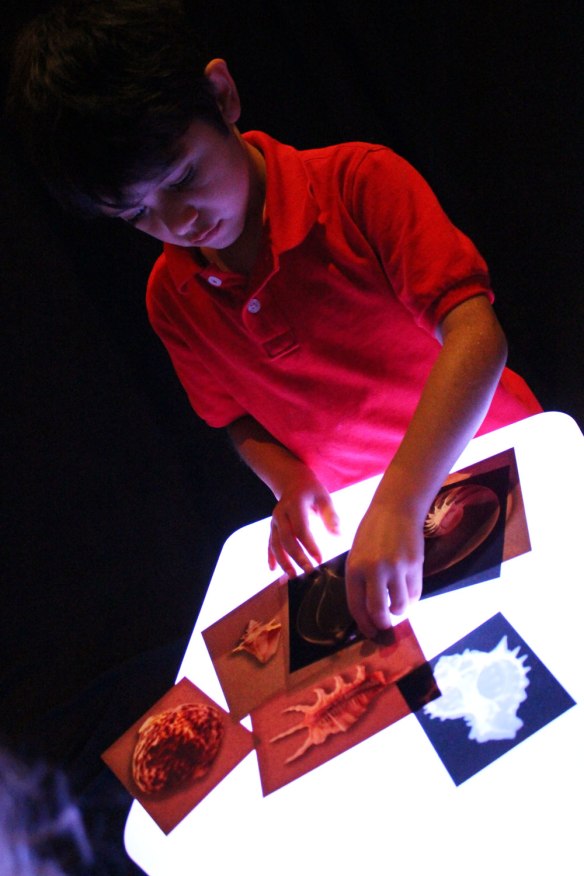
Match up transparent sheets that are printed with various images. Here, we’ve showcased our shell x-rays.

IMG_9745
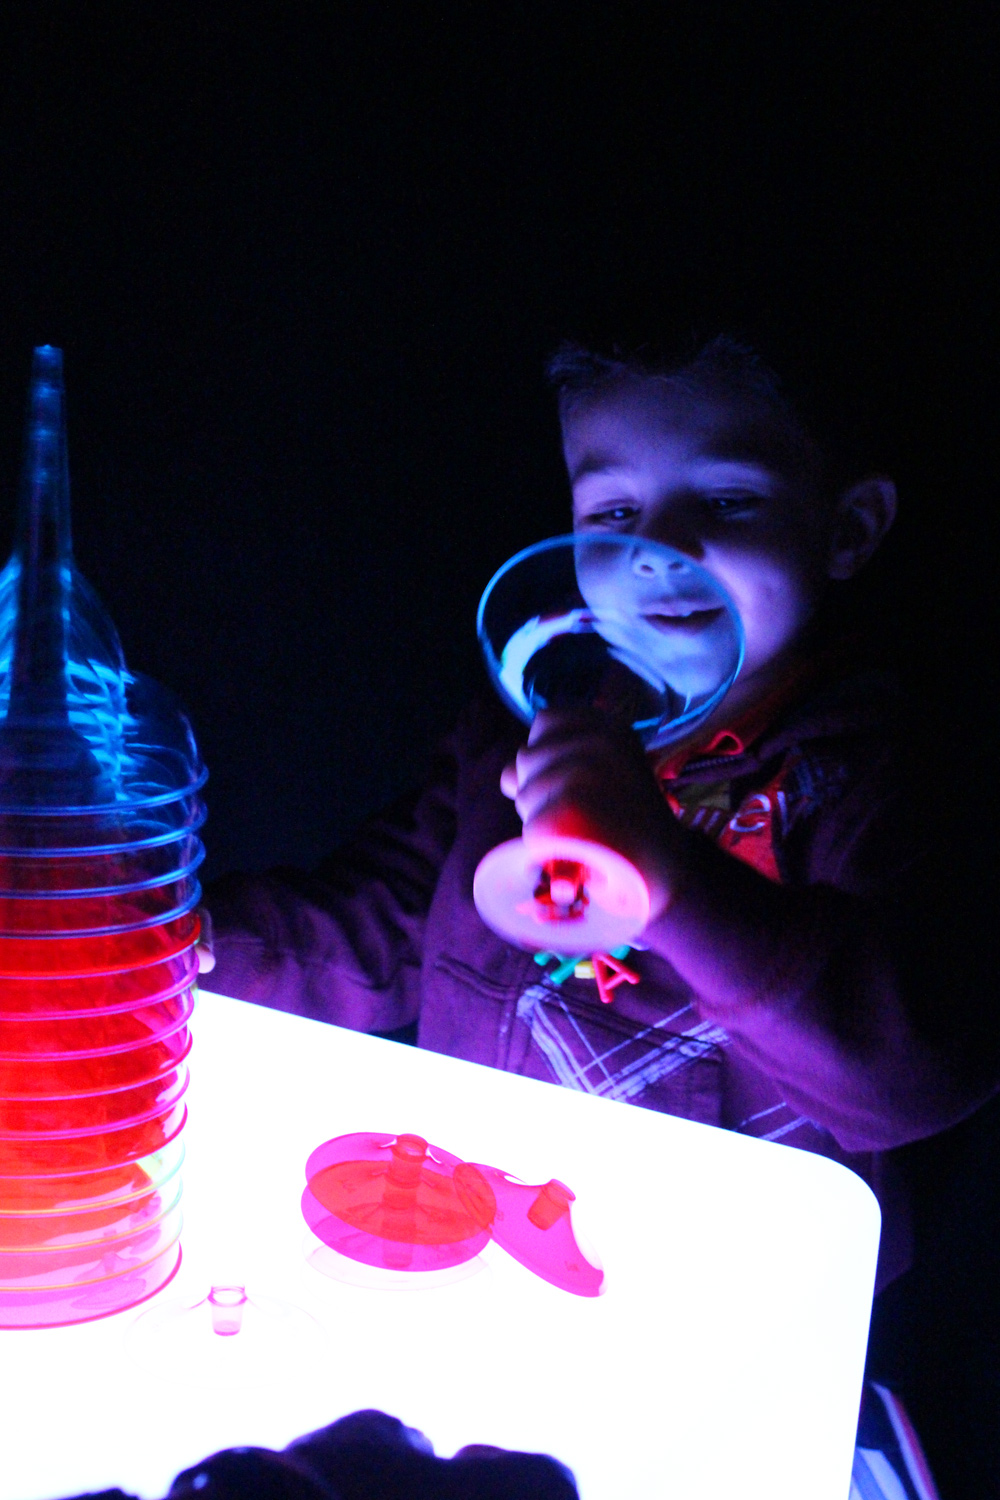
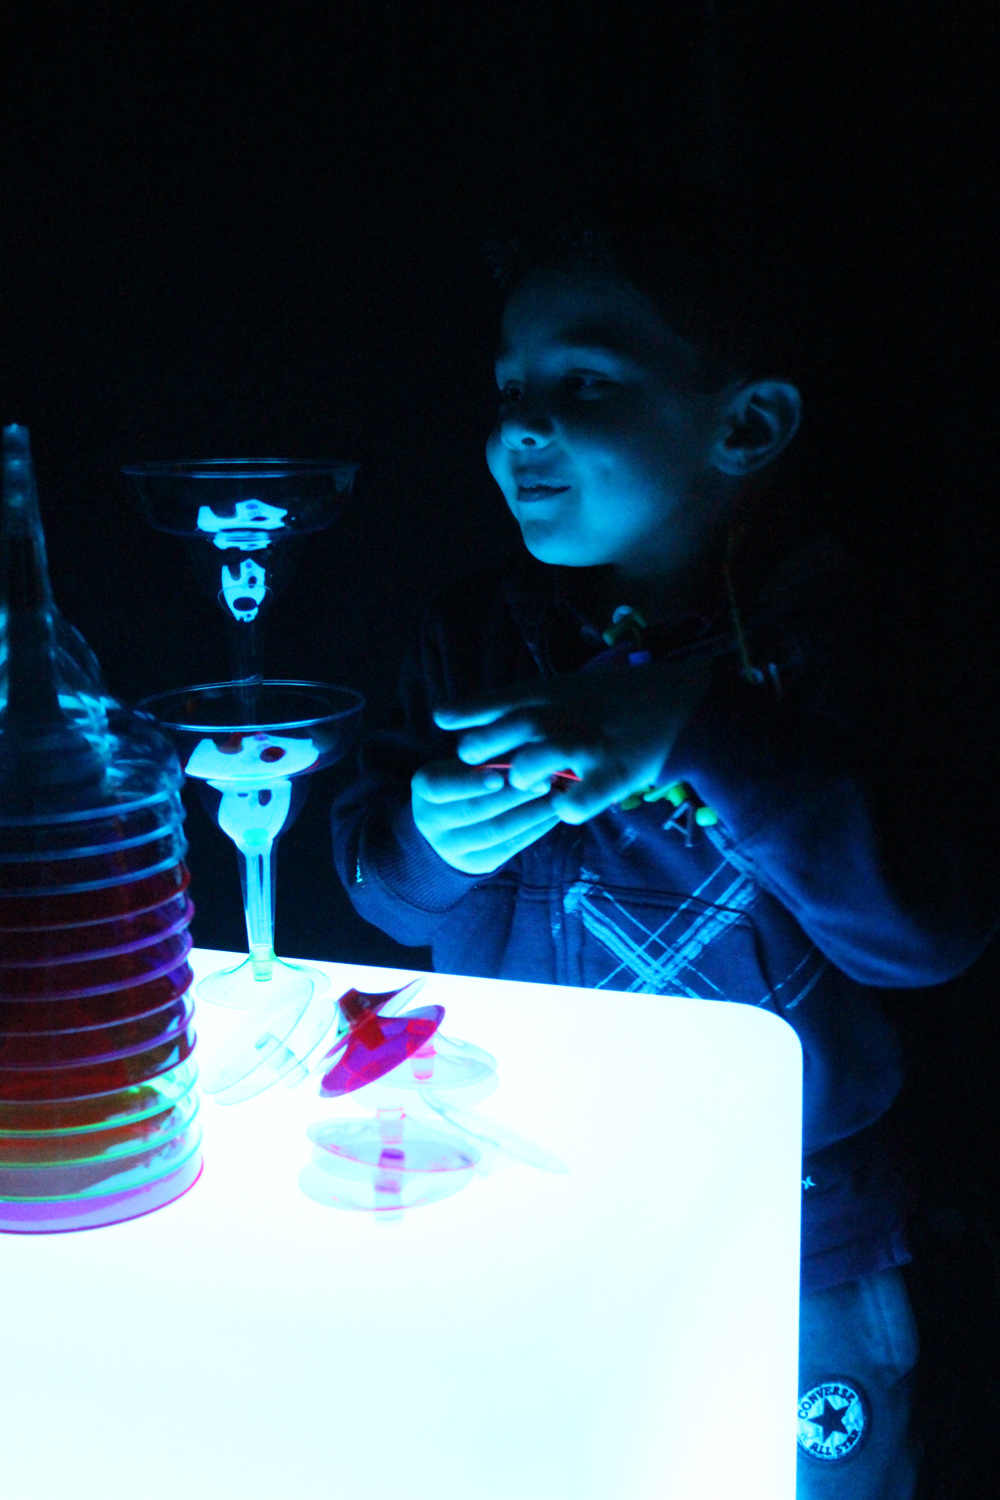
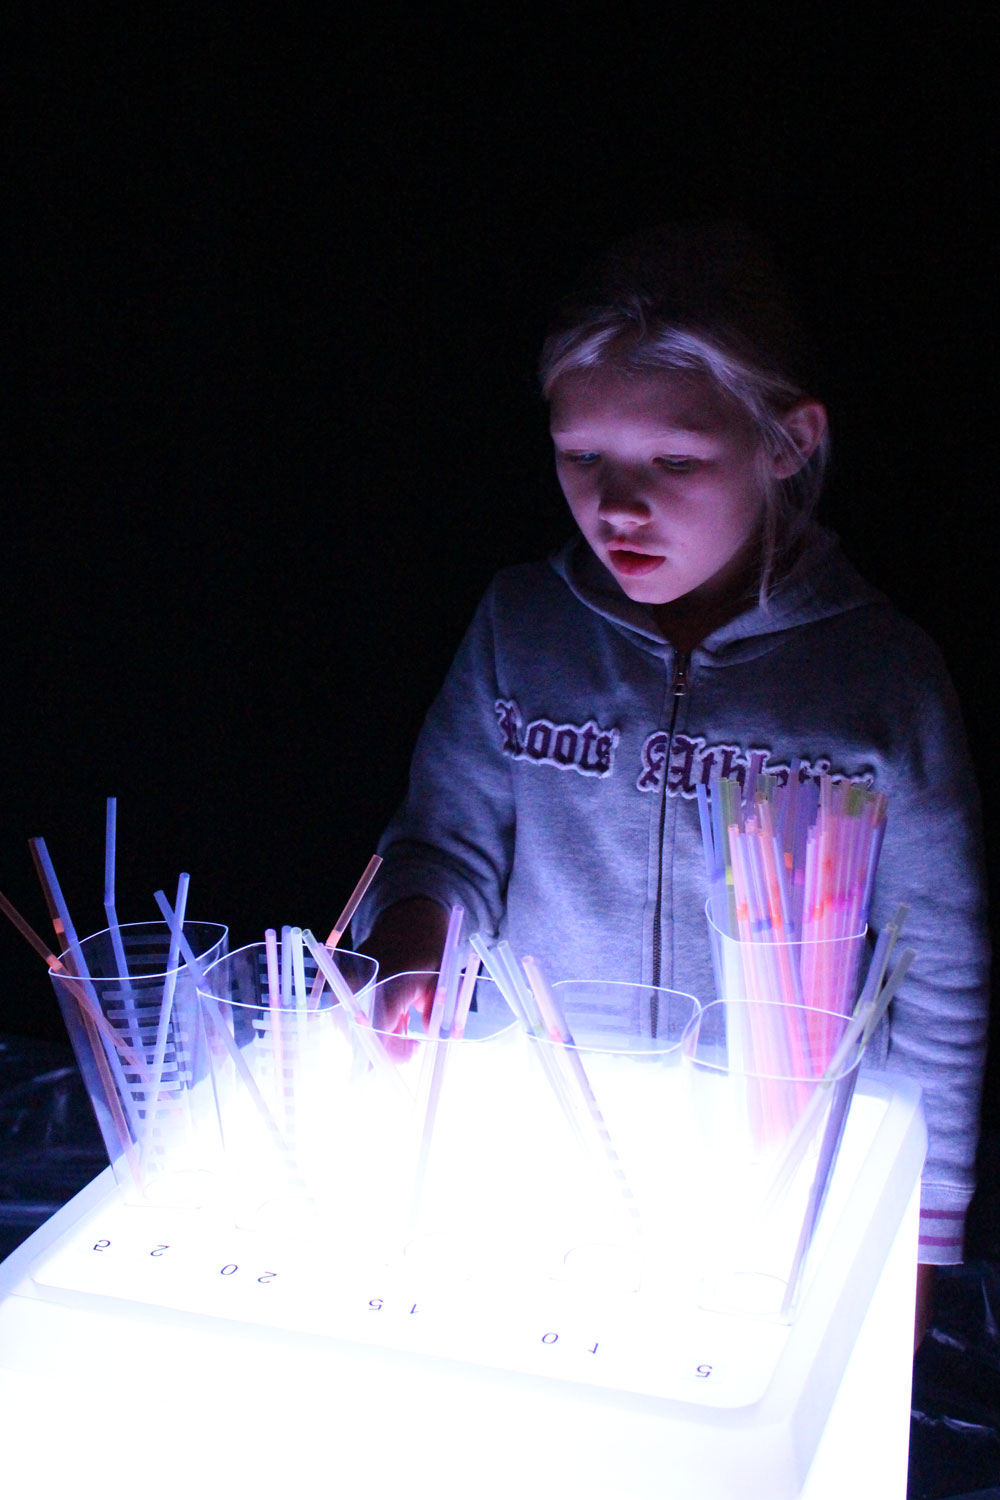
Students will love watching colors leap right off the Light Cube. They can use the materials to build fantastic structures or simply observe the effects of light on color.

IMG_9813
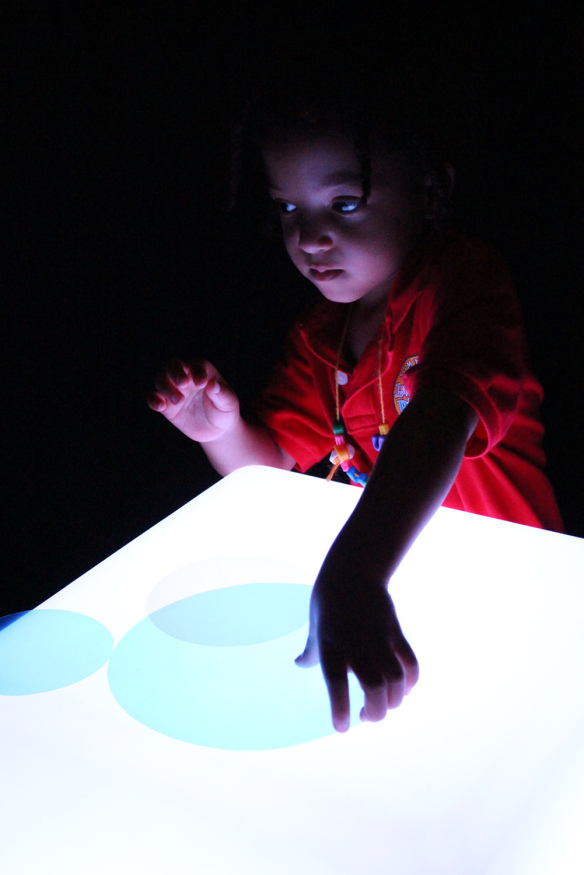
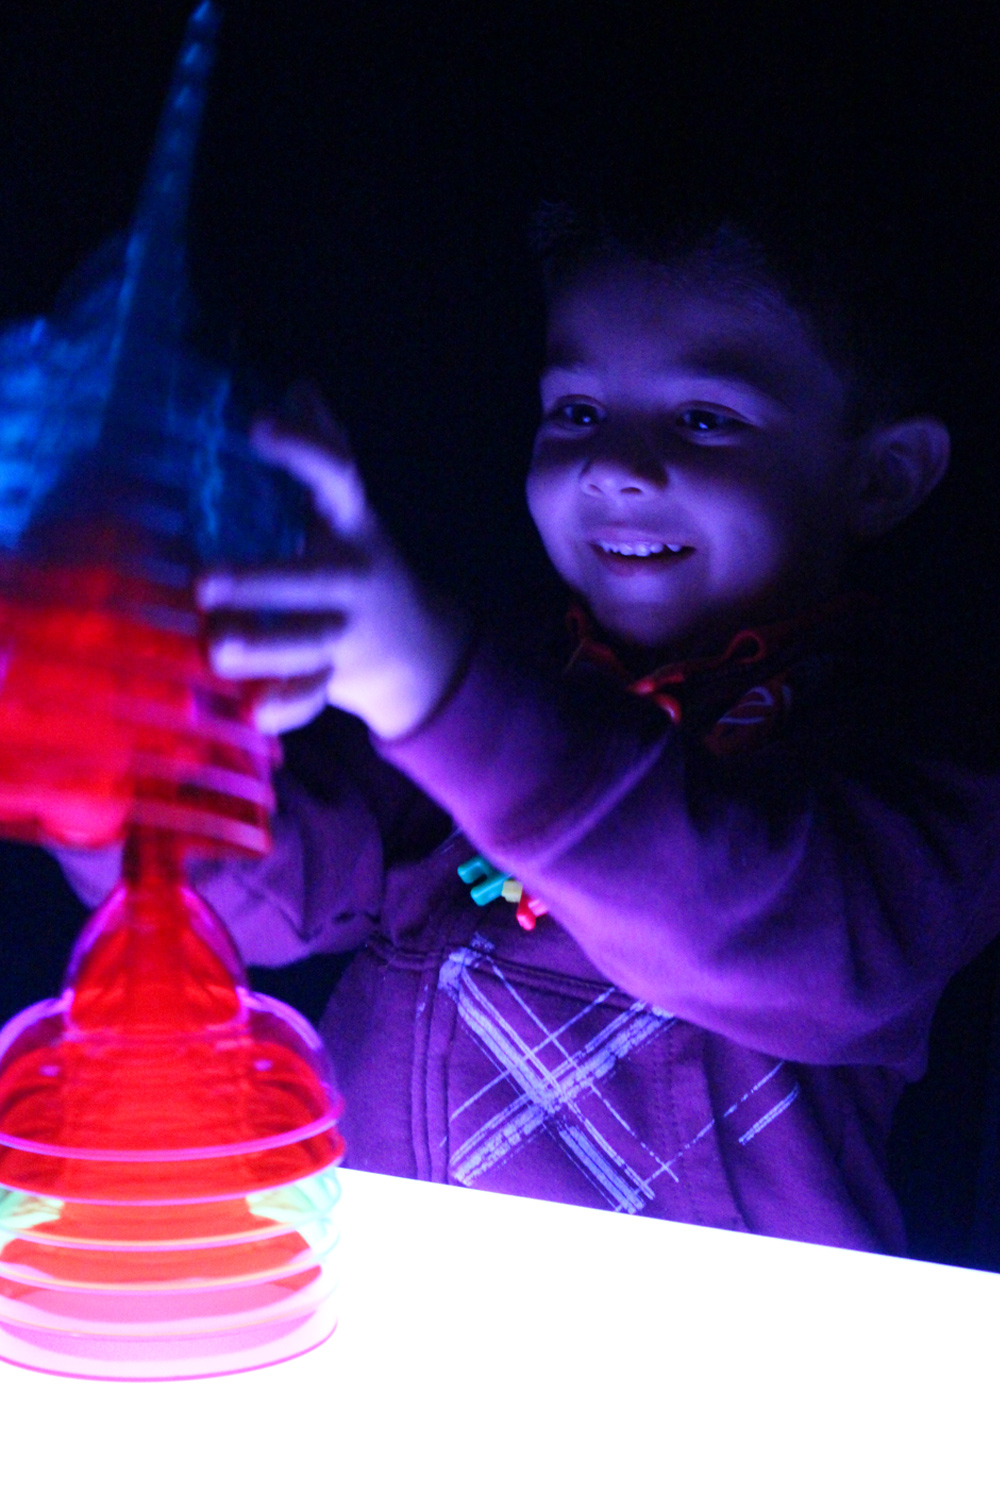
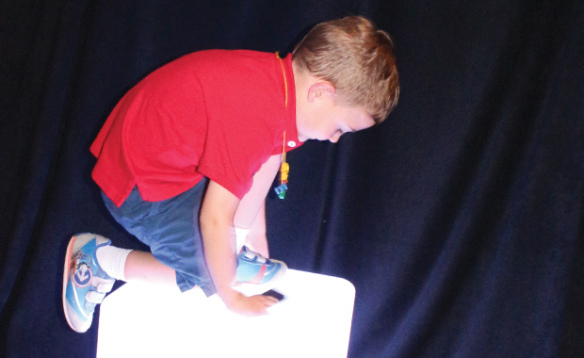
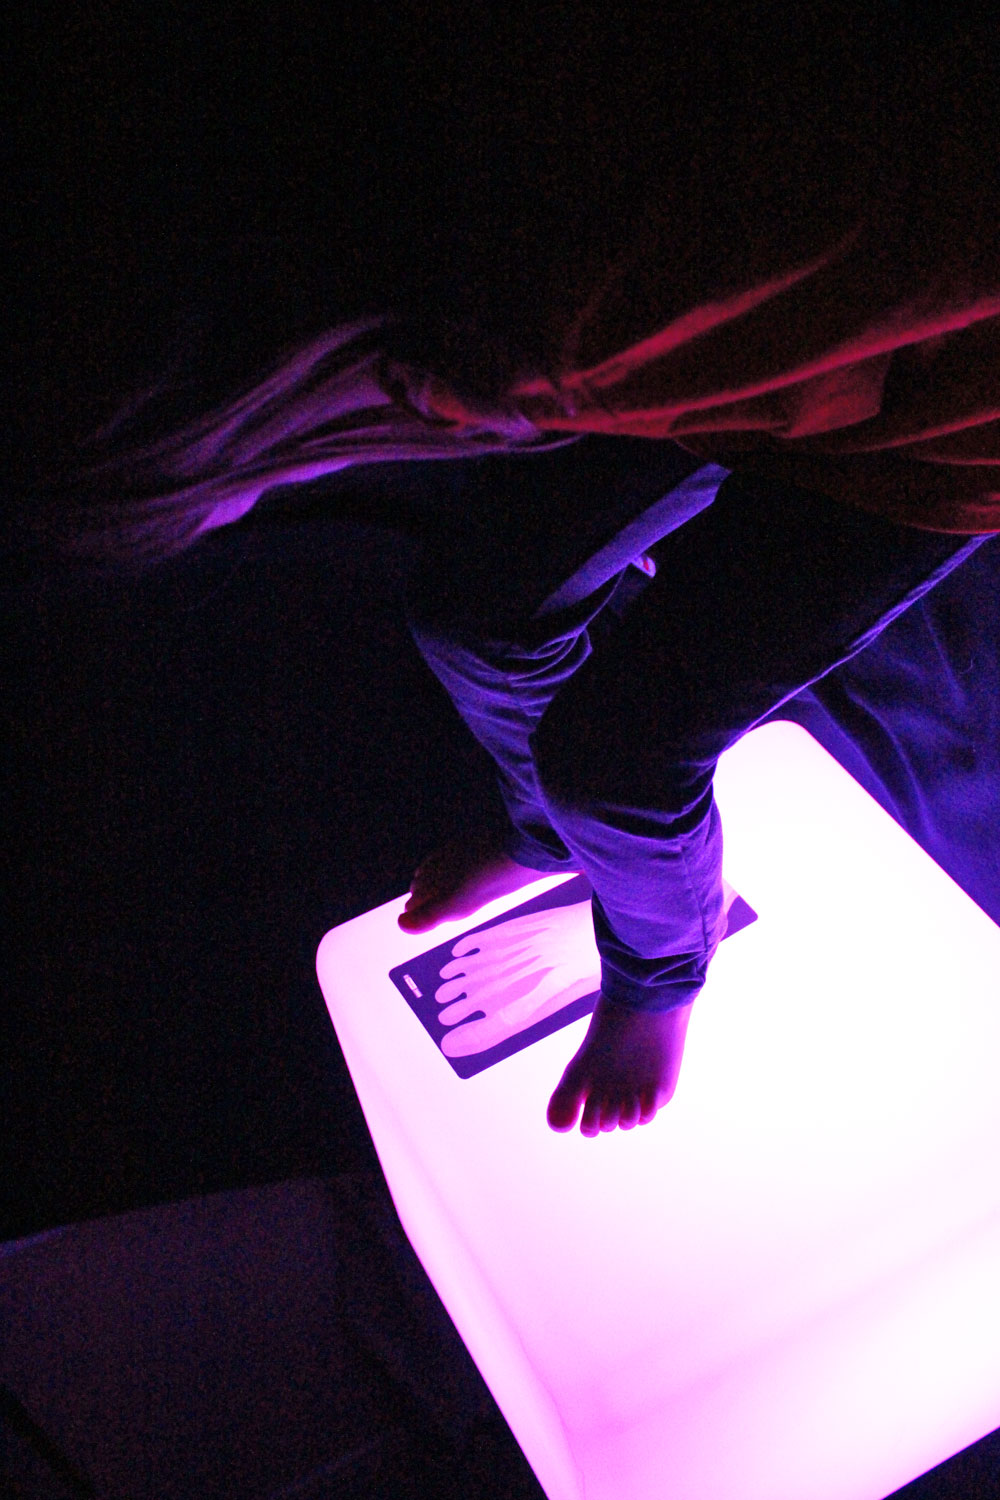
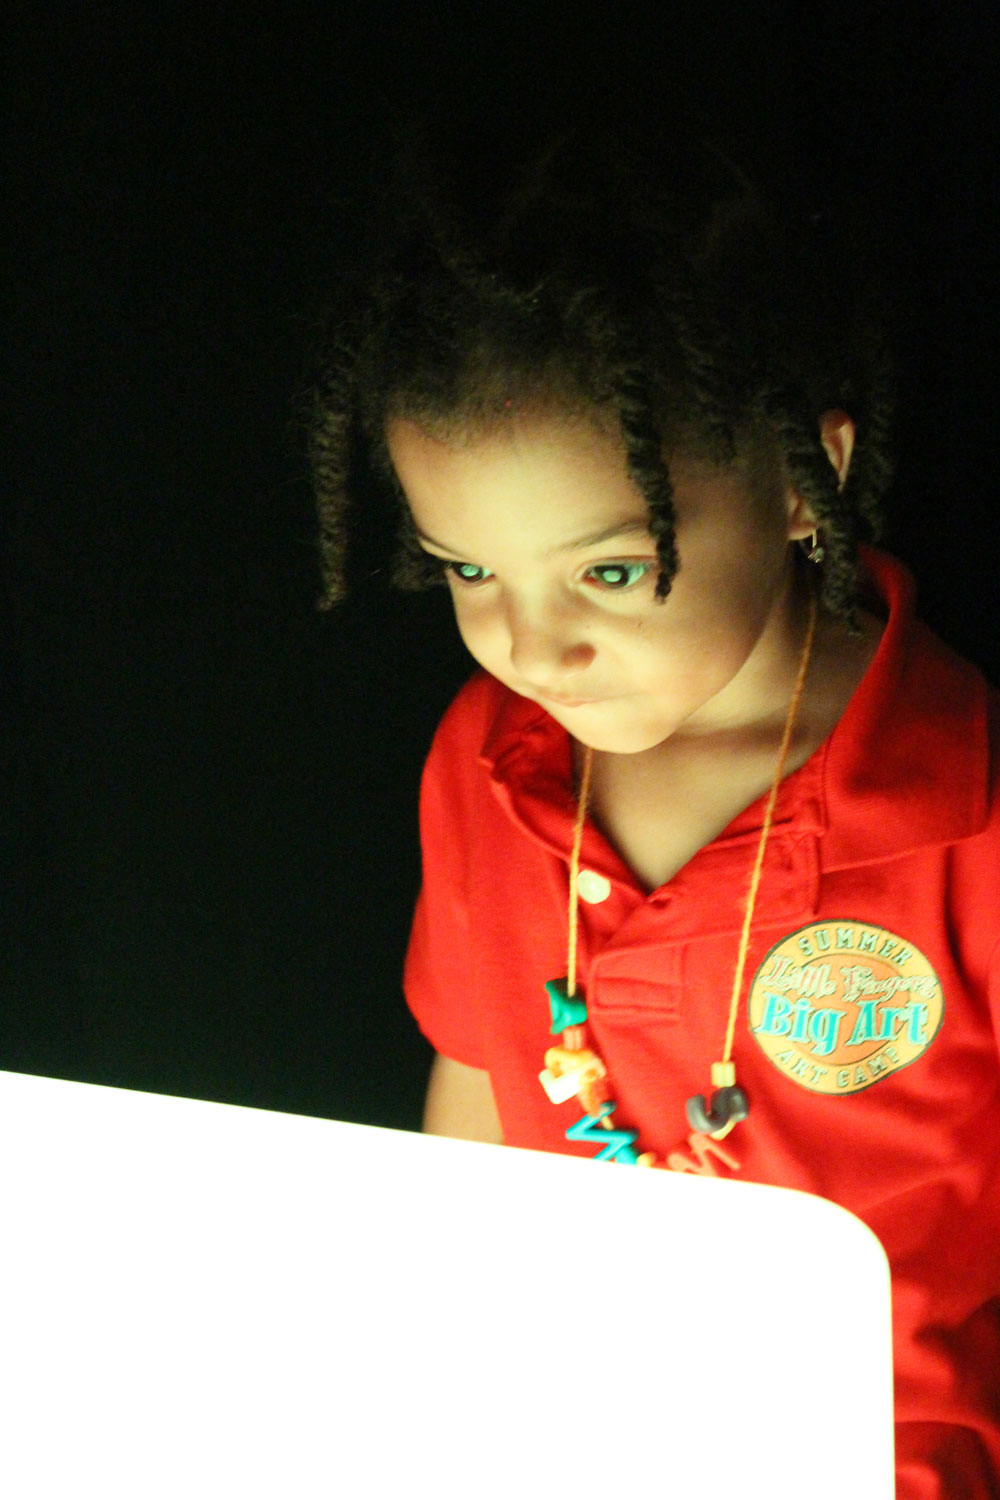
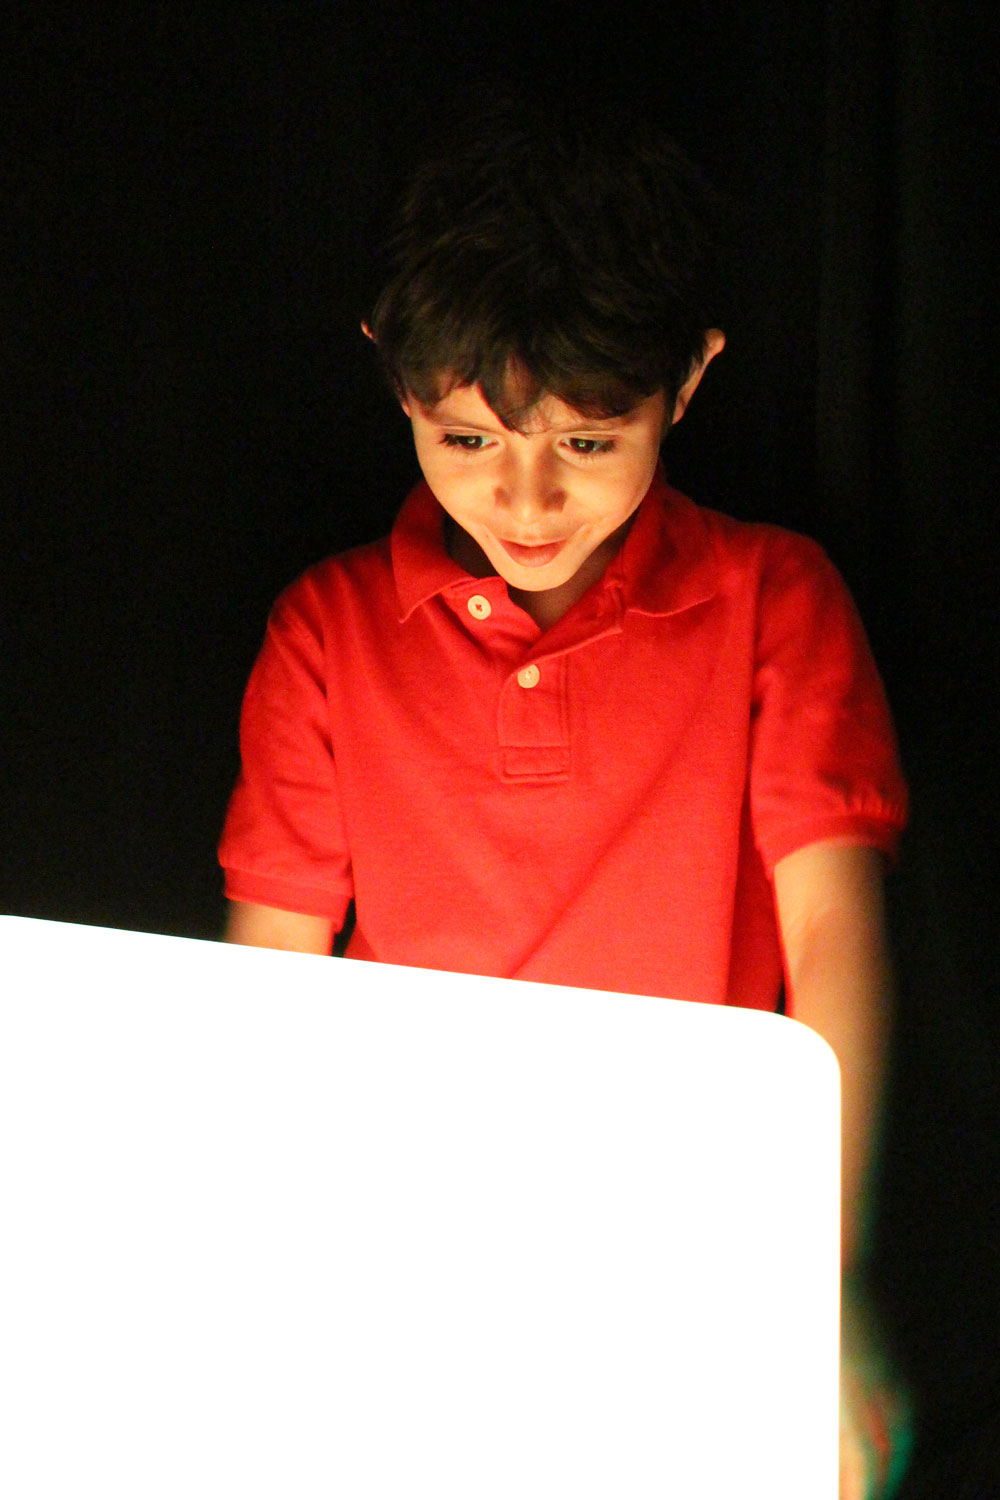
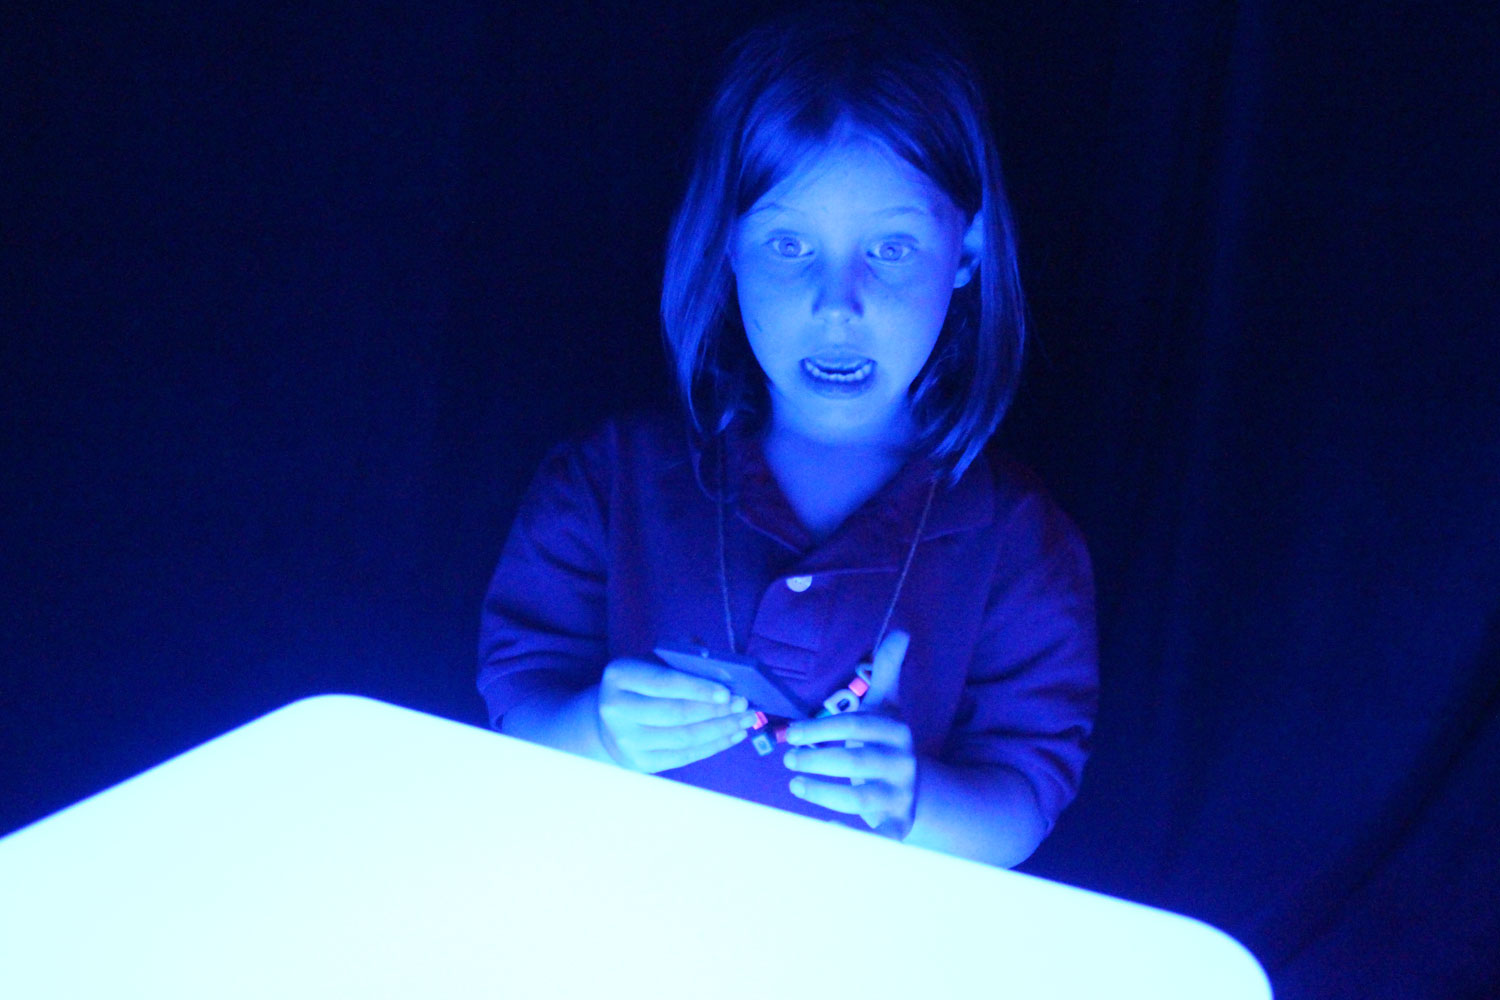
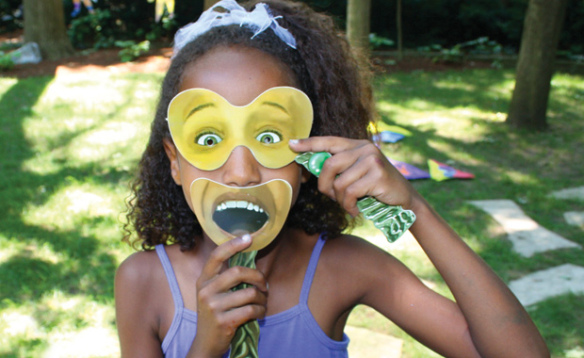
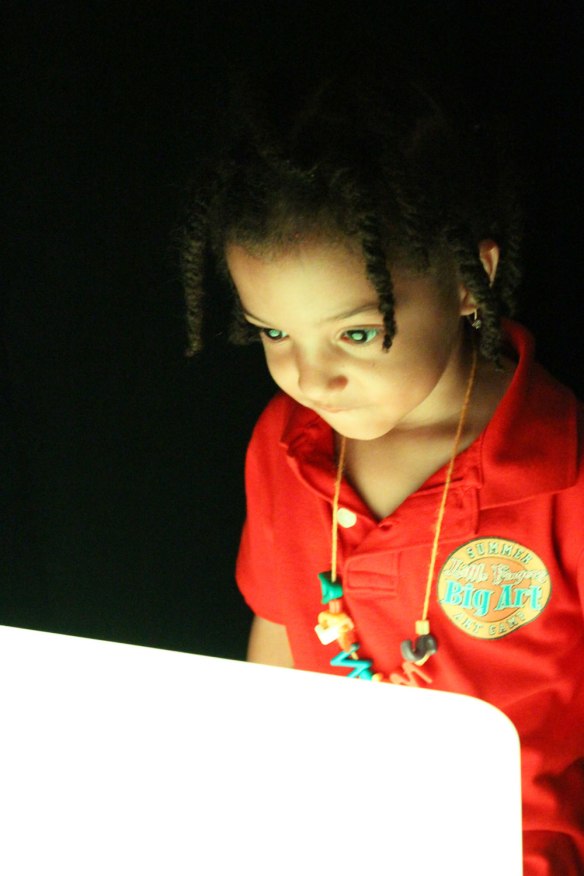
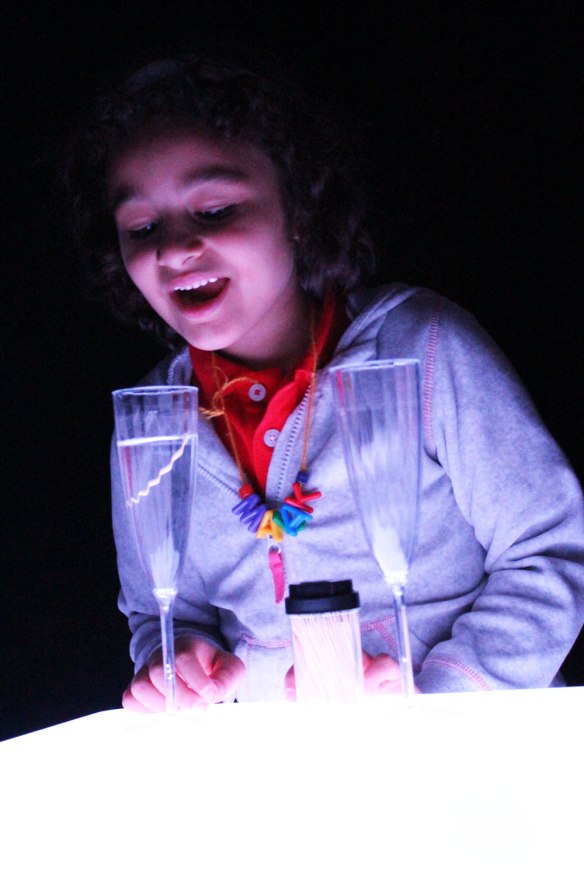
Turn on the strobing lights to get amazing responses like this one!

IMG_9915And this one! The Light Cube does it all… delight, entertain, educate and stimulate with its sleek design, bright, colorful lights and durable learning surface.

IMG_9931We’re sure you will delight in your very own Light Cube as well! Visit our Roylco Store for more details or contact your local toy/educator retail store to get your Light Cube today!

Line-20

Like us on FacebookShare this post with your friends, or Subscribe to this blog today to receive original craft project updates every Monday, Wednesday and Friday!

Craft Spotlight: Project Leaves with a Thanksgiving Turkey project!

2014-09-22-FeatureImageIt’s never too early to start thinking about seasonal crafts for the classroom, no matter what time of year! Prepare for Thanksgiving with our true-to-life sized R51080 Project Leaves in a variety of colors and shapes. Use the Project Leaves to create the tail feathers and simple construction paper cutouts to make the turkey head and body. 

Project Leaves feature different colors on each side of the leaf shapes. You can use the shapes to talk about the changing seasons or adapt your fall science unit to include lessons about leaf identification.

R51080

Encourage students to engage with nature while appreciating the science behind it! Students can draw the veins within the leaf shapes to learn about leaf development. Trace out the shapes of the leaves onto sheets of paper, then cut them out and paste into a leaf collage!

Use leftover or traced Project Leaves to make a Thanksgiving turkey decoration! Learn more below.

Age: 4+

Duration: 10 minutes

Learning Objectives: Combine various leaf shapes together into a pleasing arrangement to make the turkey tail feathers. Use scissor skills to make a cut and paste project.

You’ll Need:

R51080 Project Leaves

• Gluestick

• Brown, orange and yellow construction paper

• Marker

• Scissors

Line-07

Celebrate Thanksgiving with a turkey decoration that all your students can take home!

P1010327Select 3-4 Project Leaves to make up the turkey’s tail feathers. Alternatively, you can trace the outline of the Project Leaves onto sheets of construction paper and cut them out. You’ll want to choose colors that work with the look of the craft.

P1010328Select the construction paper you will use to make the body. To save on construction paper, you can cut a sheet in half and divide between two students.

P1010330Fold the sheet in half lengthwise.

P1010331Draw a backwards B shape from the fold line. This will be the turkey’s body.

P1010332Cut along the drawn lines and unfold the resulting piece.

P1010333Next, pull out a light-sand colored sheet of construction paper.

P1010336Cut out a little turkey wattle and little turkey feet.

P1010337Finally, get a sheet of yellow construction paper. 

P1010338Cut out a turkey beak.

P1010340Paste the turkey beak, wattle and feet onto the turkey body.

P1010351Make your selection of Project Leaves for the turkey feathers.

P1010352Align two of the leaves together. You will need to angle them outwards.

P1010353Place the third leaf in the middle of the two leaves. This helps to round out the look.

P1010354Finish off with your decorative leaf shape. Place it right on top. Now you’ve easily layered the turkey back feathers!

P1010355Paste the turkey body on top of the leaf arrangement.

P1010356Paste the turkey features on top.

P1010357Finish off with eyes for your turkey. Draw them in with permanent marker or pen.

P1010358Now get ready for a big celebration! Paste the turkeys along a banner and hang up on a wall or arrange your turkeys in a Thanksgiving display!

Line-07

Like us on FacebookShare this post with your friends, or Subscribe to this blog today to receive original craft project updates every Monday, Wednesday and Friday!

Craft Spotlight: Mix and Match Emotion Masks®

2014-08-11-FeatureImage

How are you feeling today? Pretty good or what?! Our art campers were feeling their very best while playing with our hilarious R4959 Mix and Match Emotion Masks®! 

The Mix and Match Emotion Masks are a unique set of masks that are divided between upper and lower face images. The upper face masks typically show the eyes in a variety of emotions (in the cover photo above, the camper is showing her eye mask that features surprise)–sad, happy, angry, surprised, for instance! The lower face masks show the mouth adjusted to reflect other emotions as well–such as contempt, interest, fear and so on.

_DSC0266

Using individual mask pieces, you can talk with your students about existing emotions, and how they affect us and people around us.

By “mixing and matching” emotions, you can make up your own!

_DSC0262Regardless, children will have lots of fun changing their appearances with one of these ingenious masks. The material is tear-resistant and coated with protection for years of re-use! This will benefit you in pre-K classrooms as you can use them to teach young children about self-awareness and how feelings are important to our interactions with other human beings.

_DSC0302You can see by the picture above that it’s easy to inspire children to experience a range of different emotions with external things (such as masks). In a way, this is how regular emotions are experienced. There are multiple external things every day that happen to us. Each of these things–whether it be another person, an event, object, entertainment, etc–can cause us to react or respond in certain ways. Sometimes, certain persons experience different emotions simply because they can (don’t you wake up some days and feel happy that you are alive?)

_DSC0265All in all, learning about emotions is a great experience!

Line-10Thanks for checking out this post! Like us on FacebookShare this post with your friends, or Subscribe to this blog today to receive original craft project updates every Monday, Wednesday and Friday!

Bug Rubbing Plates

2014-07-28-FeatureImage

Find out how we used our Bug Rubbing Plates to make stunning suncatchers! The raised edges on our rubbing plates make it easy to develop impressions of the assorted designs. Create beautiful prints using simple materials!

Age: 5+

Duration: 5-10 minutes

Lesson Objectives: Exercise fine motor skills. Use one hand to hold designs down, while coloring with crayon using the other hand. Create art project with different mediums. Develop art project using process-based applications, while achieving visually pleasing results. Use main imagery of rubbing plates to discuss animal biology and ecology.

You’ll Need:

R5843 Bug Rubbing Plates

• Crayons

• Clear plastic page covers

• Rubber grip mat

Optional:

• Tape

Line-06

The rubbing plates come in a wide variety of designs, and are great for exploring thematic subjects while developing fine motor skills. Our Insect Rubbing Plates, very similar to our Bug Rubbing Plates, were memorably used in a textile printmaking process, featured in a guest post. The plastic plates are made specifically for small hands to work with, so your students will appreciate how easy it is to work with the plates.

The process is quite simple: Place a rubbing plate underneath a canvas. Rub a crayon across the canvas to produce the rubbing plate pattern line-for-line! It’s a great way to make multiple prints while experimenting with different crayon colors or materials.

IMG_2381

Grab the materials you’ll need for this activity. It’s a good idea to cover your workspaces with a craft tablecloth that will catch any crayon shavings from your students’ projects.

IMG_2385Place the rubber grip mat onto the tablecloth. This type of material can be find at most dollar variety stores. This will eliminate the need for taping anything to the actual tablecloth, however, if you feel you need a better hold on the canvas, tape is another option.

Center the rubbing plate on top of the rubber grip mat.

The plastic page cover can be located at office supply stores. Place that on top of the rubbing plate.

IMG_2414

Choose darker crayon colors for this activity. Some of our art campers used lighter colors, but you can add defining lines with a layer of darker crayon. Unwrap the crayon from its paper wrapping and use the long side of the crayon to rub across the plastic sheet. Rub primarily over the rubbing plate’s raised design to get the best effect.

IMG_7508Depending on how light the crayon color, students might not get to see their designs until they are finished. This is a good way to get students guessing what their final pieces might look like.

IMG_7510Once you are finished, lift up the plastic page cover from the rubbing plate to reveal the design!

IMG_2417You can cut the design out from the plastic page cover and punch a hole at the top. Hang the designs on a window!

_DSC0117

Thanks to our creative crafters for starring in this craft post!

Line-06Thanks for checking out this post! Like us on FacebookShare this post with your friends, or Subscribe to this blog today to receive original craft project updates every Monday, Wednesday and Friday!