Paint Bellows and Lace Circle Stencils

Feature-Image-lacebellows

Extending our exploration of Paint Bellows, I’ll show you how to use this unique painting tool to create beautiful stencil art combined with our Lace Circles! Read on for more details!


Age: 5-8

Duration: 10 minutes
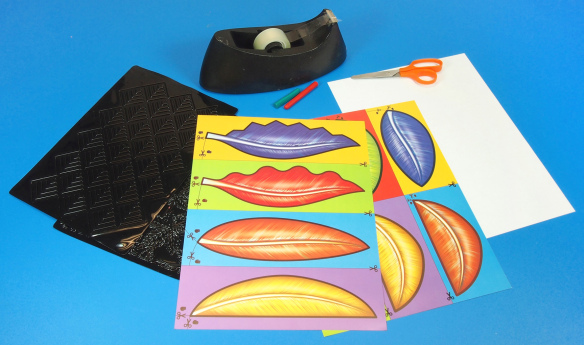
You’ll Need:

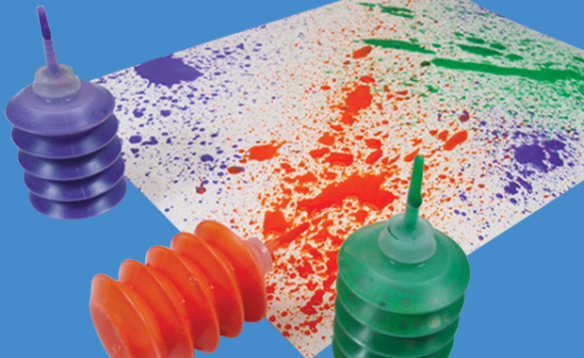
• R5419 Paint Bellows

• R24910 Lace Circles
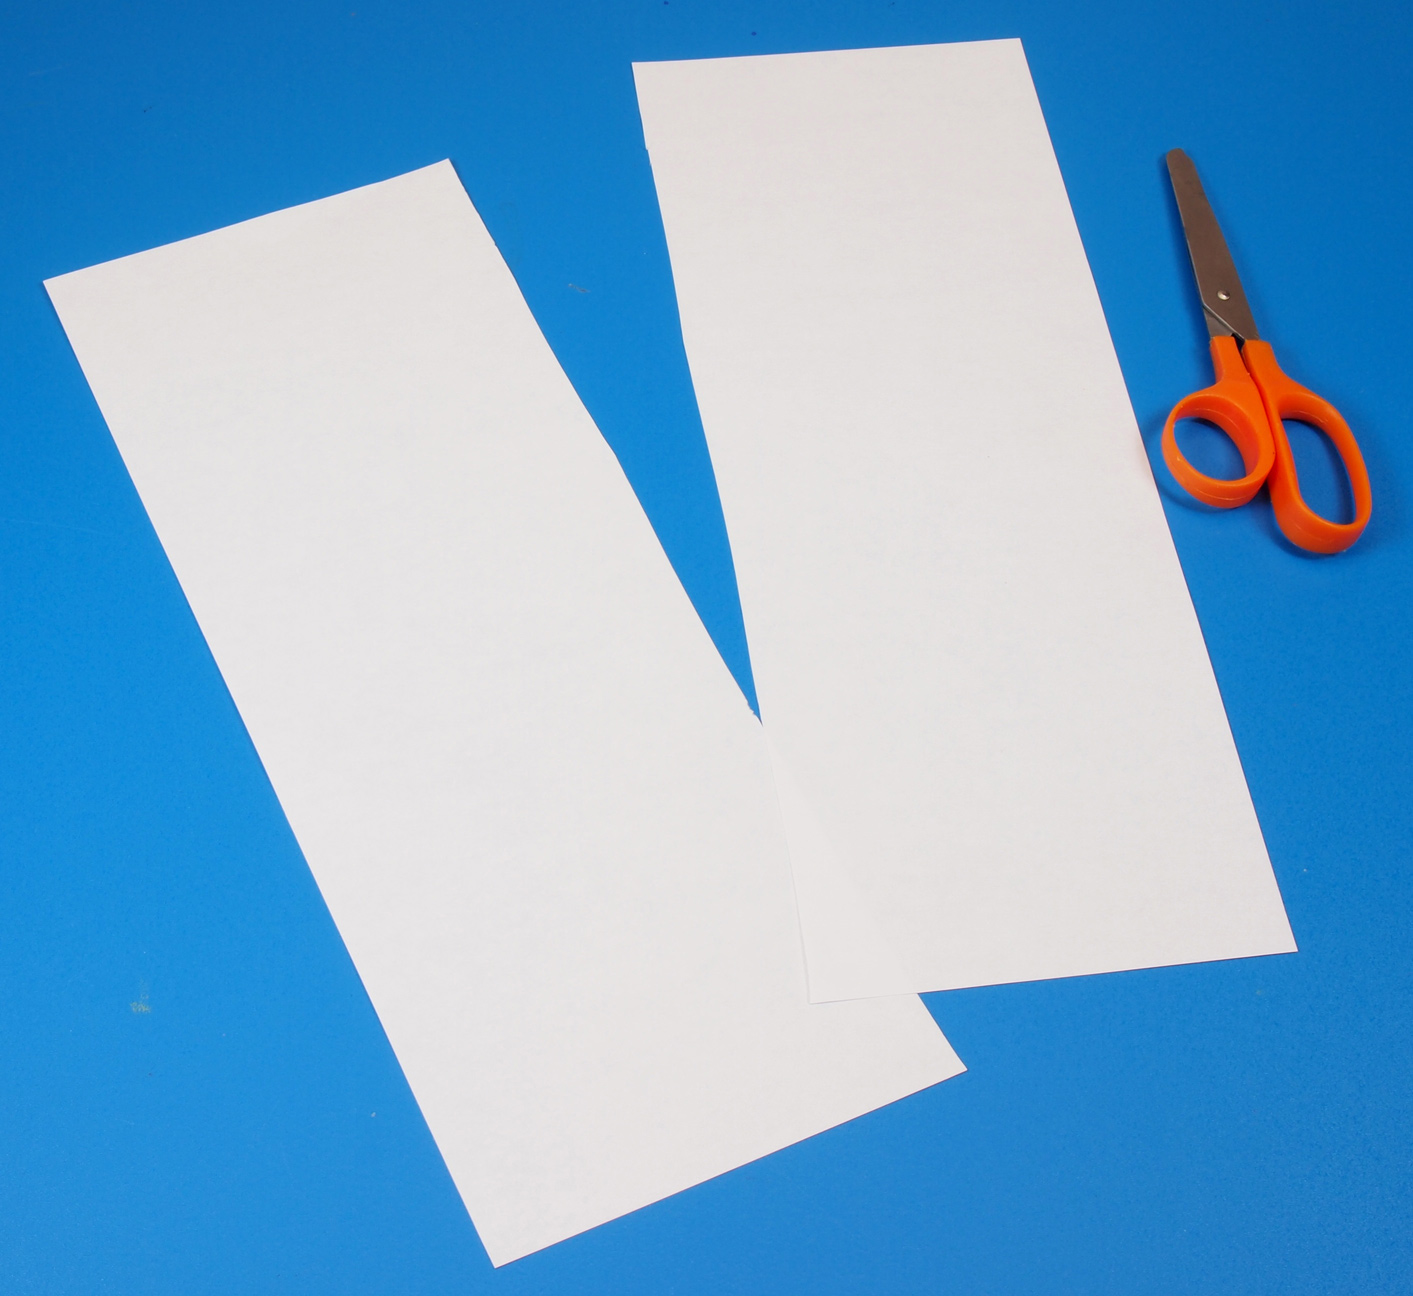
• Art paper

• Tempera paint

• Paint tray

Line-15

OLYMPUS DIGITAL CAMERA

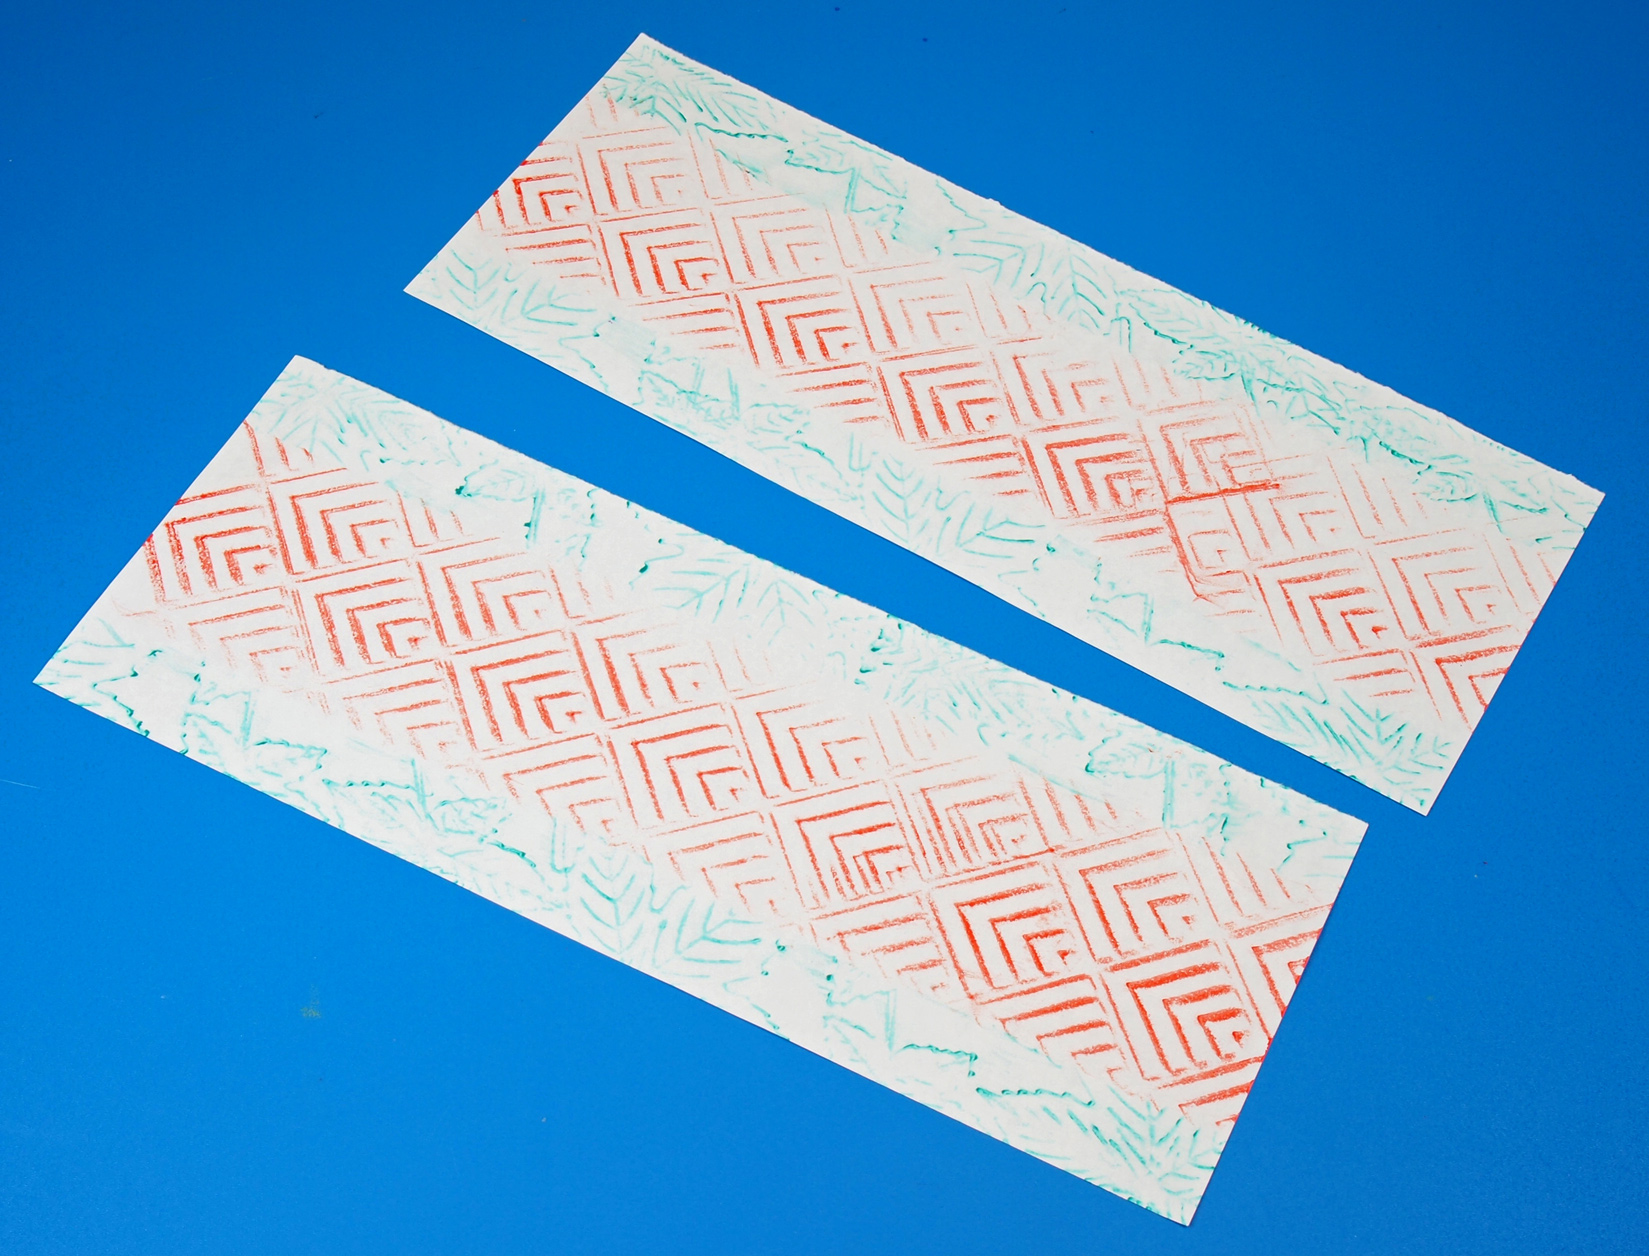
I recommend using card paper for the backing underneath the Lace Circle. Depending on what kind of paint you use, the splatter paint may seep through any weaker or thinner paper. You want to make sure that the art paper is strong enough to withstand the paint splatters.

OLYMPUS DIGITAL CAMERA

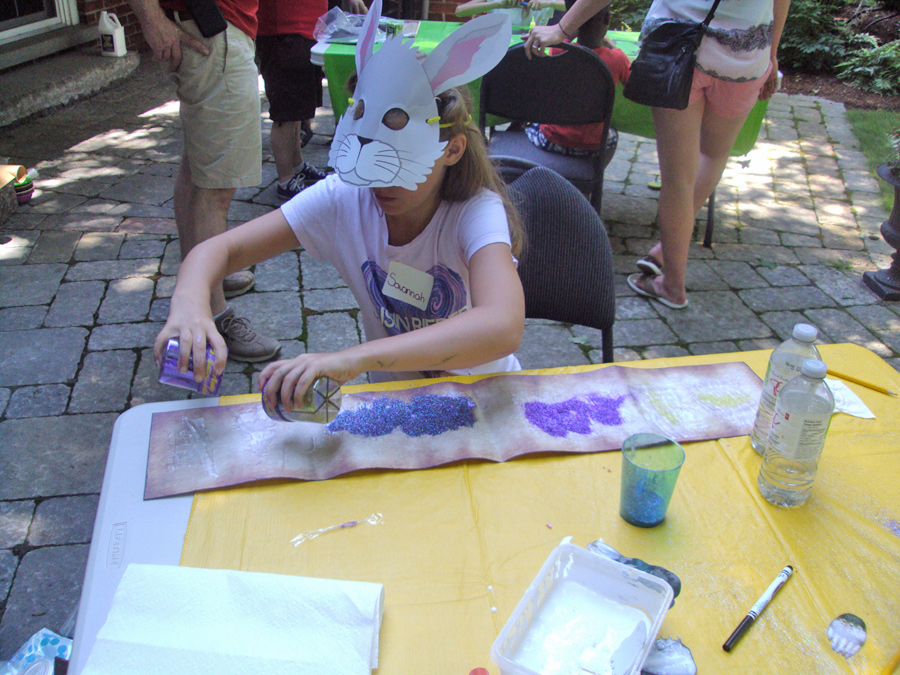
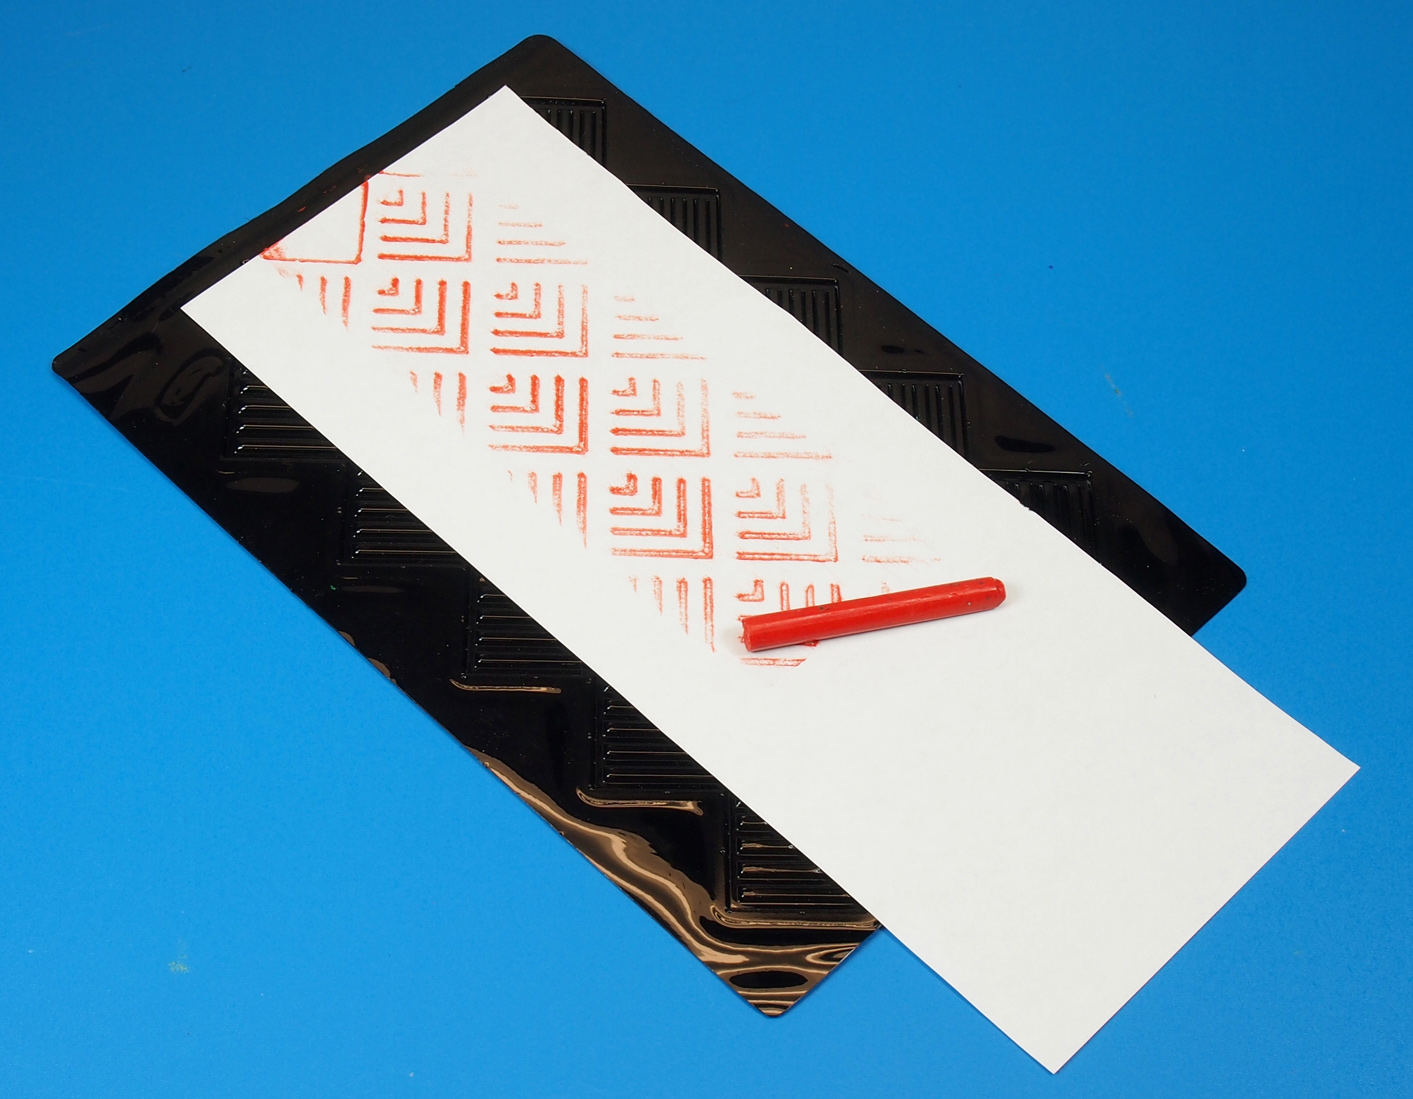
Fill the paint containers with a bit of water to make the paint easier to pick up in the Paint Bellows. Place the template or Lace Circle onto the card paper.

OLYMPUS DIGITAL CAMERA

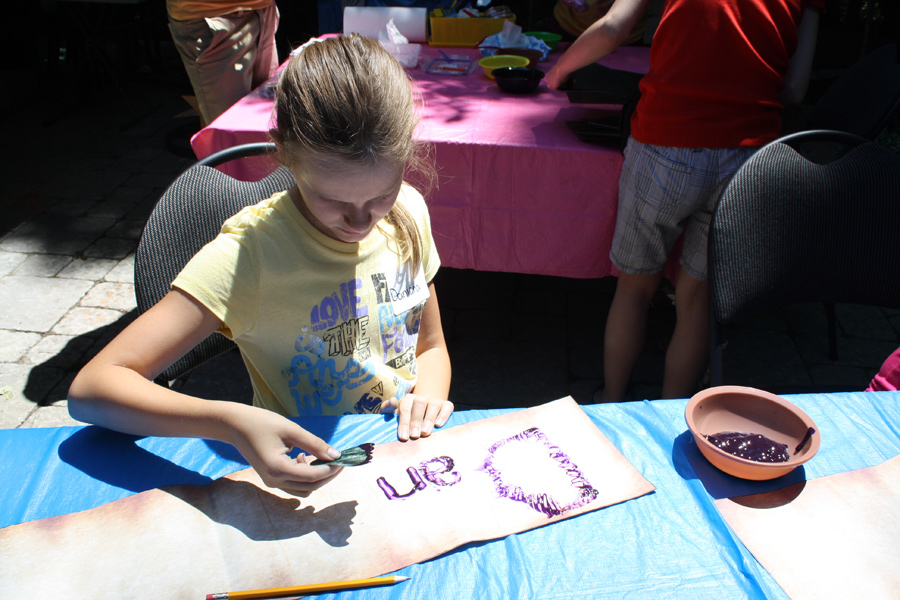
Press all the air out of the Paint Bellow before inserting the spout into the paint. Release the hold on the Paint Bellow to allow it to draw in the paint. Next, aim the Paint Bellow slightly above the art paper and quickly press the back of the Paint Bellows chamber towards the spout and release. Redo this action several times to get a great stippled effect on the paper!

OLYMPUS DIGITAL CAMERA

I wanted to use two different colors to make the artwork more interesting, so I used red. Spritz the red paint over the template. Tip: You can also remove your template and place it in another position over the stippled blue paint, then spritz with red to give your artwork a bit of dimension.

OLYMPUS DIGITAL CAMERA

Remove your template to reveal a simple yet gorgeous piece of artwork underneath!

OLYMPUS DIGITAL CAMERALine-15

Show us some of your artwork using the Paint Bellows! Send us photos of your students’ work to subscriber@roylco.ca for a chance to be featured in our next post!

Craft Spotlight: Paint Bellows!

Feature-Image-paintbellows

This week’s craft post focuses on our versatile Paint Bellows! These simple art tools make a big statement with interesting paint effects! The unique accordion-like chamber allows paint to be drawn into the bellow and helps propel the paint out when it is depressed and released. Watch the video for a look at what kinds of projects you can use Paint Bellows in!Visit our project guide at this link!

In order to use the Paint Bellows effectively, you will need tempera-like paint. The thicker the paint, the better the bellows will splatter the paint across the art paper.

The Paint Bellows feature two main parts: the clever accordion chamber to contain the paint, and the spout to propel the paint from.

To use the Paint Bellows, place your thumb on the back of the bellows chamber while cushioning the spout between your pointer and third finger. Press your thumb on the back of the chamber to push the accordion fold closer to the spout.

Next, dip the spout of the empty Paint Bellow into a bowl of tempera paint. While holding the Paint Bellows, release the pressure from your thumb to allow the chamber to draw in the paint. This technique is great for encouraging students to practice their fine motor skills with! Try perfecting this technique first before painting with the Paint Bellows!

In order to guarantee a smooth-running paint session, it’s a good idea to set up a painting workstation that students can experiment at with their paint tools. Place a plastic paint tray beneath the art paper. Poise the filled Paint Bellow over the paper and paint tray and press the back of the accordion chamber towards the spout to release the paint.

As you can see in the video, the paint splatter effect is striking!

R5419

Create interesting visuals with the Paint Bellows! Splatter the paint over top of art paper covered with various card templates. Remove the templates to reveal interesting images! Use different paint colors to create layers in your art!

Line-07Show us some of your students’ artworks using the Paint Bellows! Send us photos to subscriber@roylco.ca!

Craft Spotlight: Touch and Match Animal Cards

Feature-Image-touchmatchcards

A good way to encourage sensory interplay is through games! Try our fun-tastic R76530 Touch and Match Animal Cards, which features colorful cartoon playing cards and animal-shaped buttons. Read on and learn how to play!!The Touch and Match Animal Cards are a great way to get groups of students together to play, especially if you are trying to break the ice!

DSC05443

The Touch and Match Animal Cards feature several types of playing cards. The playing cards are printed with illustrations of colorful cartoon animal and come in 4 sets. Each set represents a difficulty (easy–medium–intermediate–difficult).

IMG_2486

The objective of the game is to match the buttons to the cards! Choose one of the decks to play. Shuffle the cards and turn the cards face down. Take one card from the top and lay it on the table. Examine the card. What animal is printed on the card? Match a button to the face depicted in the card.

DSC05437

However, to make full use of your students’ sensory abilities, drop a handful of Animal Face Buttons into the provided blue bag (we recommend about 3-5 buttons at a time). Ask children to place their hands into the bag and feel around for the appropriate button.

DSC05443

This game is great for encouraging visual and tactile skills!

_DSC0297

The best way to distinguish the different decks is by the colors printed on the backs of the cards. The features of each deck is as follows:

Green deck – Easy – Find the face of the animal in the picture!

Yellow deck – Intermediate – Find the faces of both animals in the picture!

Red deck – Difficult – Find the correct face out of four provided faces for the animal body in the image!

Blue deck – Challenging – Find the Animal Face Button corresponding to the animal’s face in the image. There are no other clues provided so think hard about your selection!

Line-20


Show us your students’ playtime sessions using the Touch and Match Animal Cards! Send photos to subscriber@roylco.ca for a chance to be featured in our next post!

Craft Spotlight: Animal Paint Scrapers

Feature-Image-paintscrapername

What better way to explore patterning, lines and painting than with our uniquely designed paint scrapers in the shape of animal claws, toes, wings or hooves! Check out our R54560 Animal Paint Scrapers here

Our crafters had a blast experimenting with the Animal Paint Scrapers and paint. We used printed R15406 Rolly Scrolly Paper to bring out the brightness of the paint colors.

IMG_7421

First, we filled up bowls with thick tempera paint. Each paint scraper was dipped into the paint to saturate the edges. Next, one of our crafters came up with the idea that she could spell her name out with the paint scrapers using the unique waved edge as a writing tool.

IMG_7417

If your students would like to try out writing their names with the paint scrapers, we suggest you first provide them with pencils to write their names out as a guide for when they begin painting. This will help you keep track of how large or small the name will appear on the paper as well. Keep lines light in case anything needs to be erased!

DSC05346

Another crafter decided to try spreading glue across the Rolly Scrolly paper using our Animal Paint Scrapers. She later spread colorful glitter on top and shook off the excess glitter to reveal an interesting pattern.

_DSC0343

The crafters learned some important characteristics about the paint scrapers: Each of the paint scrapers had their own distinct edge to create interesting textured lines. Some lines turned out thick while others were thin.

_DSC0354

By adding stylistic effects with the edges of the paint scraper, our crafter was able to turn her name banner from ordinary to extraordinary!

Line-17

Let us know how your students’ paint scraper art turned out by sending photos to subscriber@roylco.ca! We’d love to see your classroom artwork!

Craft Spotlight: Exercise Animals!

Feature-Image-exerciseanimals

Exercise Animals get children up and moving! First decorate the animals with paint, and color in the printed paper with crayons or markers. Assemble the animals in three easy steps. Watch a video below to see how it’s done, then check out our Art Campers taking off in an animal stampede!

Try out various fun activities with the R62030 Exercise Animals. Use our guide and the ideas provided to help get your students’ bodies moving and hearts pumping!

R62030 Exercise Animals are a great way to segue between different educational subjects, such as science, art AND physical education!

IMG_00000711

The Exercise Animals feature 10 different animal designs. Choose from a cheetah, horse, lion, kangaroo, bunny, eagle, monkey, elephant, bear and giraffe! Talk about the different types of animals as students paint in the details of their Exercise Animals.

IMG_2500

Our campers loved picking out their favorite animals! Here, one of our campers finds herself a rare one–a purple horse!

DSC05458

Once students have finished painting their animals, color in the printed paper sheets. The sheets come with two small tubes that can each be pasted onto either end of the sheet as reinforcements. Roll up the sheet with the tubes inside and secure with tape. Finally, join either end of the barber pole with the tab at the bottom of the Exercise Animal head.

_DSC0328

Go on an animal stampede outside your school building!

Line-19

Let us know how your students’ animals turned out by sending photos to subscriber@roylco.ca! We’d love to see your classroom artwork!

Thanksgiving Hat

Feature-Image-featherhatcraft

Inspired by what our crafters at the Roylco Summer Art Camp made, here’s how to put together your unique Thanksgiving Hat! Use the R28421 Scissor Skills Paper for this craft. 

Age: 4+

Duration: 15-20 minutes

You’ll Need:

• R28421 Scissor Skills Paper

• R5870 Linear Rubbing Plates

• Sheet of paper, 8.5 x 11″ (20 x 28 cm)

• Crayons

• Scissors

• Tape

Line-06

Putting together the Thanksgiving Hat is super simple!

P9033137

For this activity, you can decorate the head band with any of our special rubbing plates!

P9033140

Fold a sheet of paper lengthwise in half. Unfold the paper and cut along the fold line to make two equal strips of paper. You’ll need both strips of paper for the entire headband.

P9033143

Place the headband on top of a rubbing plate. Use the side of a crayon to rub the pattern onto the headband.

P9033145

I used a different pattern for the top and bottom headband edges. Try it out with a different color too!

P9033146

Choose one of the three types of feathers to decorate your headband with. We’ve made an easy set of feathers for beginners with which to practice their scissor cutting skills. The second set is intermediate, with wavy lines. The third, and most challenging, set features jagged edges for students to cut. Choose the most appropriate set of feathers for students to cut.

P9033155

Attach the two headband pieces together with a piece of tape. Join the two headbands horizontally to extend the length of the entire headband.

P9033160

Keep the headband flipped over to the blank side. Line up all your cut feathers along the top edge of the headband and paste onto the paper. The feathers are double-sided so you won’t have to worry about which side you paste them onto!

P9033161

Join the edges of the headband together. Tip: First get students to adjust the headband for wearing. When they have found the right fit, tape the edges at that point.

P9033163

All ready for wearing! If you would like to add some dimension to your hat, curl out the ends of the feathers using a pencil.

CRAFT CHALLENGE:

What else did your students use to decorate their hats? You can use anything available in your craft supply closet or use scrap paper left over from other projects to cut out feathers. Once students have made their hats, sit your class down in a circle and talk about what each student is thankful for from the previous year.

Line-06

Send us your responses to subscriber@roylco.ca along with photos of your students’ hats! We’d love to hear from you!

Craft Spotlight: Scissor Skills Paper

Feature-Image-featherhat

Scissor Skills Paper makes it easy to introduce scissor use to young children! We gave our crafters at the Roylco Summer Art Camp our Scissor Skills Paper to create their projects from. One of our crafters had a great idea to turn the feathers into a headband hat! Check out her process below!

There are three features to the feathers, besides being so colorful! The easiest feathers feature simple sloped lines that help students first gain control of the scissors as they cut. The feathers are printed with a small scissor indicators to show students where to start cutting. The intermediate feathers feature curvy lines to increase students’ control of scissor movement. The most challenging feathers consist of zig-zag lines for expert use!

IMG_2646

Start off gradually by first showing students how to hold the paper in one hand while cutting with the other. We’ve got some great scissor and fine motor muscle exercise tips in our guide for the Scissor Skills Paper. Begin cutting the easiest feathers first. Progress to the more difficult feathers when students are more comfortable with their cuttings skills.

IMG_2649

We provided our camper with a strip of blank paper to decorate. She used markers to draw a succession of lines on the paper.

IMG_2651

Our camper placed the feathers along the strip of paper and glued down the corners.

IMG_2654

We secured the edges of the strip of paper to make the hat fit! What a great idea!

Line-05Show us how your students used the Scissor Skills Paper in other projects! Send us your photos and artwork to subscriber@roylco.ca to be featured in an upcoming post. We’d love to hear from you!

Library Arts uses our Animal Print Paper!

On Safari final

Doris of Library Arts once again uses our printed papers to make fun 3D safari animals! In this tutorial, Doris features our R15256 Amazing Animal Paper! Check out her detailed instructional post. 

Doris posted her tutorial on August 13, 2010 as “On Safari!” Check it out!

100_4987

The post features templates to use for making the 3D animals. You will need tongue depressor sticks, a toilet paper cardboard roll and some tin foil.

100_4996

Use our papers to make a tiger, zebra, leopard, giraffe and many more! I adore the creativity of this craft!

Thanks to Doris for this adorable post!

Images and original post © Library Arts.

This post was not sponsored for a review. At LittleFingersBigArt, our mission is to present to our readers and viewers the newest and most creative craft ideas that fans of Roylco have made on their own. Our goal is to allow you and other educators and parents to reuse our products in fun ways so that children always get the best educational experience from them!

We’d love to see more ideas like this one! If you’ve got a brilliant craft idea or have made a version of one of our crafts that you would like to share with us, send an email to subscriber@roylco.ca with photos, descriptions or a link to your work. We will create a feature post and link back to you with full credit. We’d love to hear from you!

Line-09

Craft Spotlight: Stand Up Self Portraits!

Feature-Image-standupselfportrait

This week’s Craft Spotlight features our Stand Up Self Portraits! Are you gearing up for Parent-Teacher night? Or are you in need of a project that children can use to introduce themselves to each other? Perfect for “All About Me” crafts, Stand Up Self Portraits encourage children to explore self-expression and self-representation!

Stand Up Self Portraits give students the freedom to experiment with their artwork–use crayons, markers, pencil crayons or a variety of collage materials to decorate the appearance of your portrait!

IMG_7431

Our crafters used markers and crayons to decorate their Stand Up Self Portraits. They used the indicators on the Stand Up Self Portrait help students locate where various facial features belong. There are six little pinprick indicators in total.

IMG_7432

The two topmost indicators represent the points at which to place the eyes. Draw small circles around the indicators to represent pupils. Enclose the pupils in an almond shape to form the eyes. Add details such as eyelashes and eyebrows.

Use the middle two indicators to draw the nose. Finally, the space between the last two indicators can be used to draw the mouth.

_DSC0063

Paste the sides of the Stand Up Self Portrait with yarn, tissue paper or cut construction paper to make the hair!

A great way to introduce students to each other, or prepare the classroom for Parent-Teacher night!

Line-11Let us know how your students’ portraits turned out by sending photos to subscriber@roylco.ca! We’d love to see your classroom artwork!