Dinosaur Print Papers

collage a saurus dinosaur paper

Our printed papers are renowned for their bright, colorful patterns! We’ve separated them into themes, such as this one: Dinosaur Print Papers. Use them to decorate your R16035 Collage-a-Saurus dinosaurs!

collage a saurus dinosaur paper

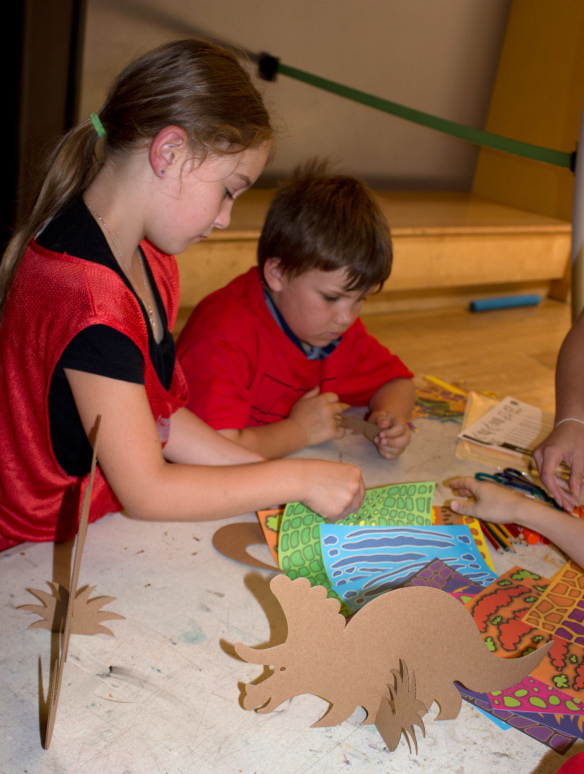
We first set out the R16035 Collage A Saurus for students to assemble. They simply pop out the dinosaur from its backing and R15311 Dinosaur Papers for students to select from.

collage a saurus dinosaur paper

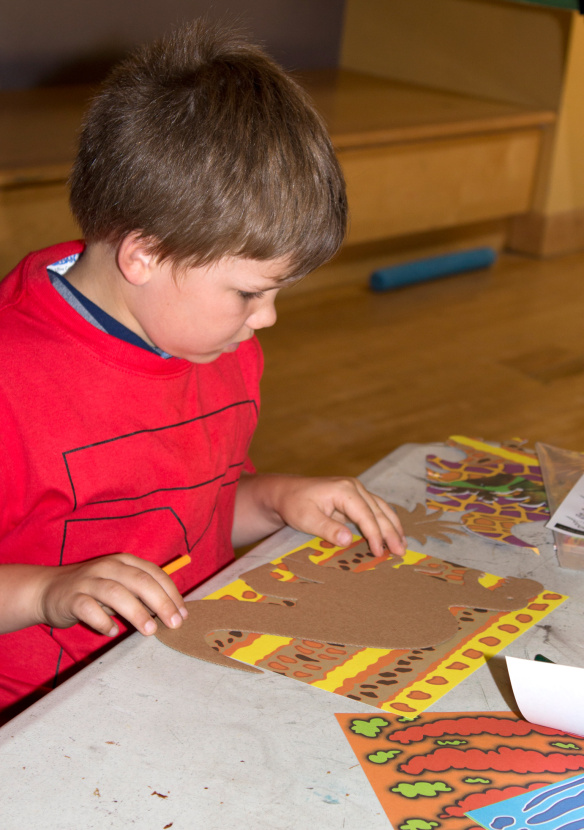
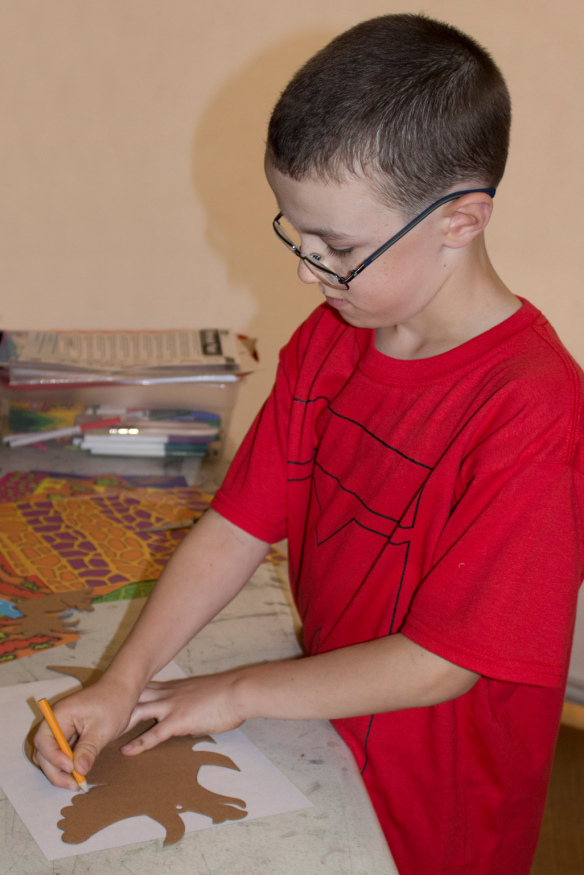
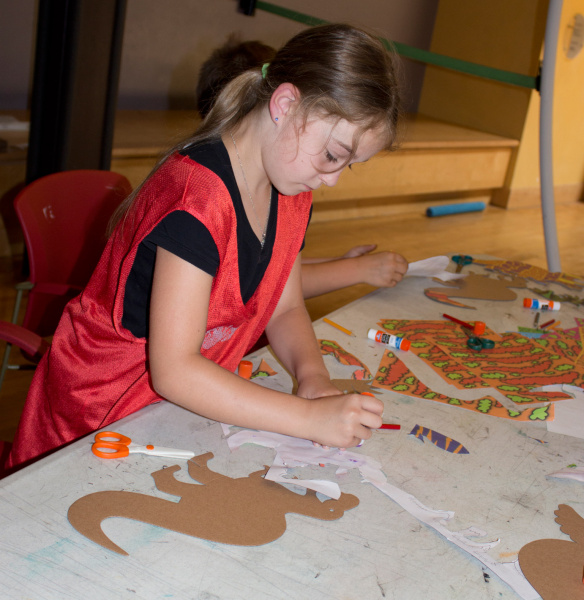
Place the Collage-A-Saurus onto a sheet of Dinosaur Paper. The sheet may not fully cover the dinosaur figure so you will have to either fill the rest in with a separate sheet, or use scrap bits from the first sheet.

collage a saurus dinosaur paper

You can also do both sides of the dinosaur if you’d like! Just make sure to flip it over when you are tracing!

collage a saurus dinosaur paper

Cut along the traced line.

collage a saurus dinosaur paper

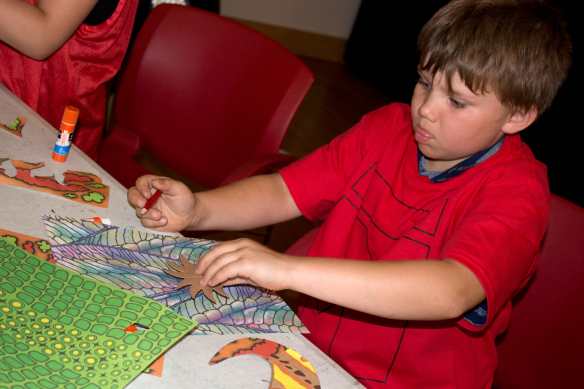
Glue the printed pattern paper onto the Collage dinosaurs.

collage a saurus dinosaur paper

Don’t forget to decorate the plant stand as well! This helps the dinosaur stand up.

collage a saurus dinosaur paper

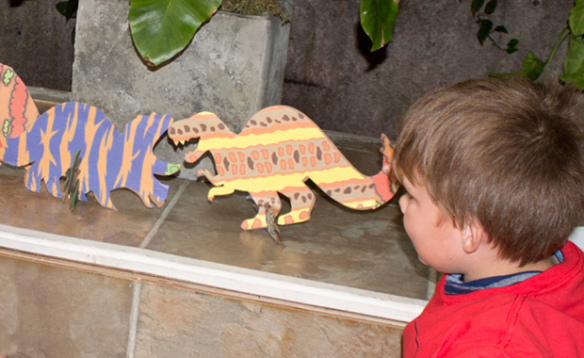
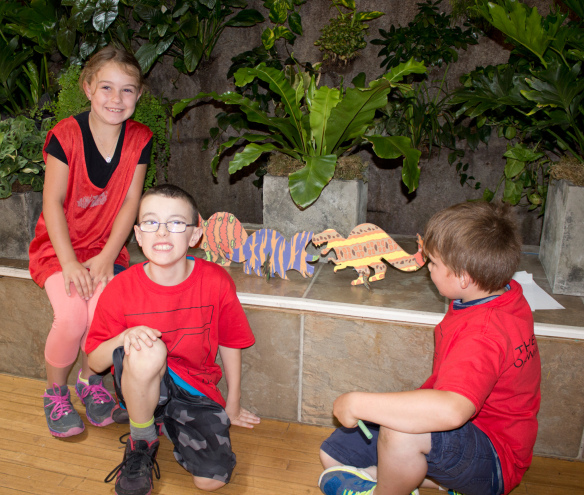
Thanks to our campers for bringing their dinosaurs to life!

Line-14

Like us on FacebookShare this post with your friends, or Subscribe to this blog today to receive original craft project updates every Monday, Wednesday and Thursday!

Spotlight on… Art Deco Paper

2015-04-20-FeatureImage

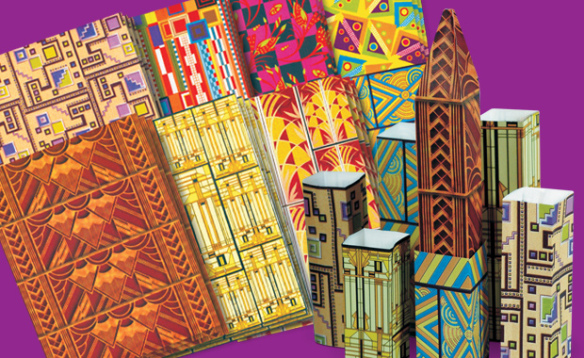
Build skyscrapers, cathedrals and city centers with R15308 Art Deco Paper

This paper craft has 8 fantastic patterns and colors fashioned in the art deco style. Art deco was a visual art style that emerged in the early 20th century and spanned across everything from art and architecture to fashion and interior design. Famous examples of this style used in architecture can be found in places such as New York City where the Empire State Building and the Chrysler Building display prominent art deco lines and curves.

You can build your own art deco city with this paper pack. Fold the paper in half twice lengthwise. When you unfold the paper, you will see 4 fold lines. These fold lines can be turned into corners for each building. Tape up the paper edges to secure the paper into a cylinder. Alternatively, you can cut the shapes in half to shorten or lengthen the size of each building.

Combine the buildings with other elements such as our R49701 Highway Letters and R75304 Super Topplers to make the streets and people in your city! Explore lessons in community building and infrastructure. Talk about the history behind art deco architecture and the choices made to stylize buildings in certain ways.

You don’t just have to use the Art Deco Paper for building paper cities. In addition, the paper can be used to decorate journals, gift boxes or greeting cards! Cut the paper into shapes and paste onto the items to decorate.

Line-14

Like us on FacebookShare this post with your friends, or Subscribe to this blog today to receive original craft project updates every Monday, Wednesday and Thursday!

Spotlight on… Tissue Circles

2015-04-13-FeatureImage

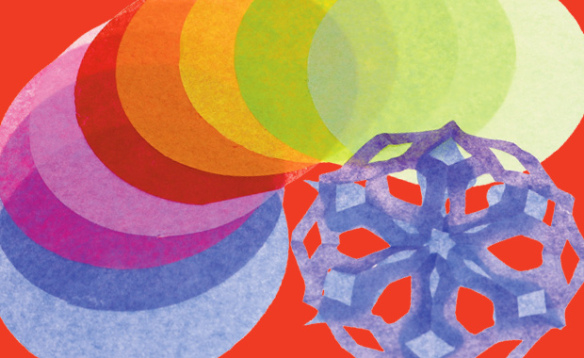
Tissue Circles are great to use in hundreds of different art projects! Find out what kinds of projects we’ve featured them in so far…

R2172 Tissue Circles are a great value at 480 pieces per package in a full range of colors! They are pre-cut for easy use in any of your craft projects. You can layer them over for collage effects, use them for blotch painting, create new colors by overlapping the circles together and more!

Here are a few great ideas along with links to projects we’ve done in a past:

• Layer multiple Tissue Circles together, about 15-20 circles in total. You can glue each layer together in the center or punch a hole through each layer and secure with a length of pipe cleaner. Fan out all of the layers to make a full “flower petal”-like appearance. Tape on leaves or attach a pipe cleaner to the center of the flower to make a stem.

• Find a clear adhesive contact sheet or use a page protector to make your own placemat! Layer the Tissue Circles one on top of the other onto the contact sheet’s sticky side. You can slightly overlap the circles so that every part of the contact sheet is covered, or completely overlap the circles to make new colors! You can see a detailed step-by-step at this video link!

• Make a Christmas wreath with simple buttons and festive-colored Tissue Circles! You can find out more about the post at the link.

• You can make beautiful snowflakes out of the Tissue Circles. Fold the circles in half three or four times. Cut little shapes into the edges of the folded cone.

Send us some of your great projects that use Tissue Circles!

Line-05

Like us on FacebookShare this post with your friends, or Subscribe to this blog today to receive original craft project updates every Monday, Wednesday and Thursday!

Spotlight on… Stained Glass Lanterns

stained glass lantern

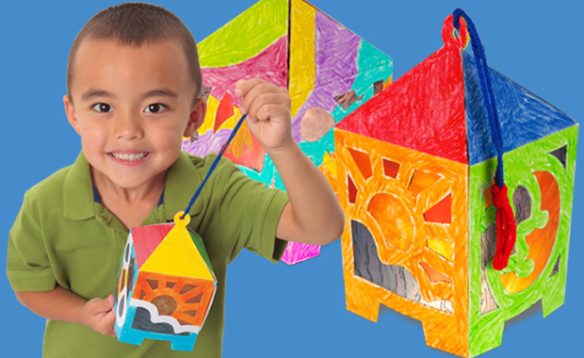
Fill in the cutout spaces of these unique 3D lanterns! Features 4 separate images on each side of the lantern. Use our R15257 Stained Glass Paper to fill them in.

R52093 Stained Glass Lanterns are easy to decorate and fold up for a lantern garland or seasonal display! Each of the lanterns are pre-cut and scored for easy assembly.

While the designs are laid flat, cut out pieces of the Stained Glass Paper to fit over the holes. Glue the pieces down onto the borders to fully cover the openings. Completely color the outside of the lantern using markers or crayons.

Stained Glass Paper features a beautiful mix of colors in the same color family–for instance, the orange sheets have splashes of yellow and red in them to give them the appearance of real stained glass. In addition, the sheets are semi-transparent, so they allow light to pass through.

Fold up the lanterns and slip the tabs into the slots to secure. The design allows you to attach a length of string to the top of the lantern, so you can hang it along a garland or directly from the ceiling!

To learn more about the history of lanterns, click here!

Line-15

Like us on FacebookShare this post with your friends, or Subscribe to this blog today to receive original craft project updates every Monday, Wednesday and Thursday!

Project Spotlight: 3D Ornaments

2014-12-15-FeatureImage

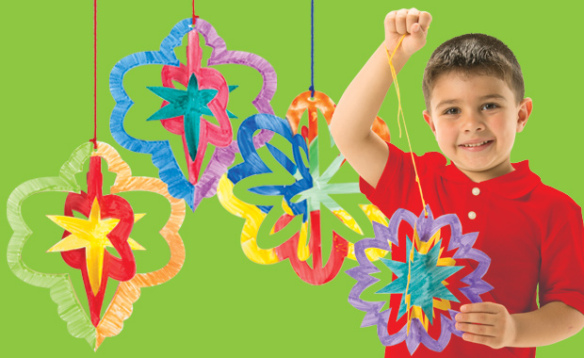
Decorate with color this season! Fold up beautiful ornaments with our special designs–use paint, crayons or markers to color in the shapes.

Each of the R51081 3D Ornaments are die-cut into 3 folding designs. This means that when folded, the card ornament transforms into a beautiful arrangement that can be hung from the ceiling or as a part of a giant seasonal mobile.

20141127_112219

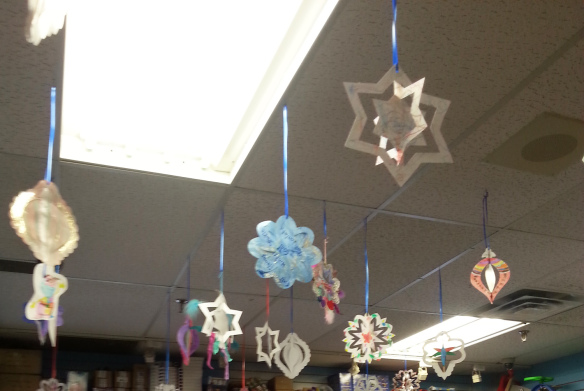
This photo was taken in Simply Wonderful Toys in Guelph, Ontario. They decorated the ceiling using our 3D Ornaments! The ornaments were given to children to color and collage while they waited for parents to finish shopping.

51081-3D-Ornaments-art_4

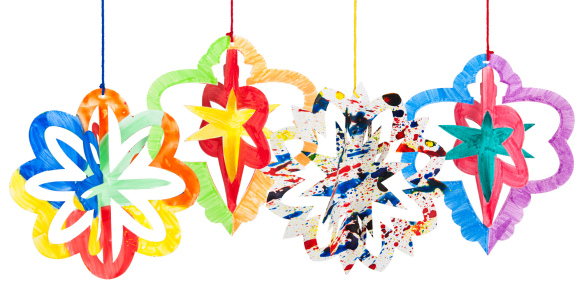
Here’s a look at some of the ways you can decorate the ornaments. Use paint or markers to color in alternating sections of the ornament. Splatter paint blobs across the ornament to give your design a retro tie-dye effect. Experiment with different paint techniques to make your ornament stand out!

51081-3D-Ornaments-girl

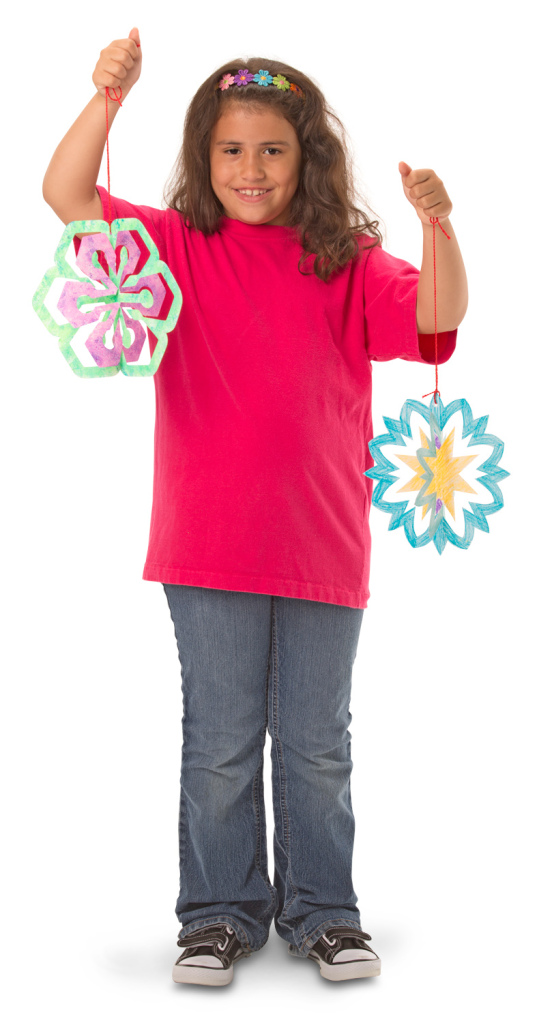
All finished decorating! Pop out the ornament along the scored lines and fold each layer of the ornament towards opposite sides. Thread some string through the pre-punched hole at the top of the ornament and hang.

Line-08


Like us on FacebookShare this post with your friends, or Subscribe to this blog today to receive original craft project updates every Monday, Wednesday and Friday!

Little Fingers Big Art won’t be posting from now until the week of January 5th, 2015. Enjoy a safe and prosperous holiday! See you in the NEW YEAR! Check back for more incredible arts and crafts projects in your classroom. All the best, from all your friends at Roylco!

New Year’s Masquerade Masks

2014-12-10-FeatureImage

This year’s New Year’s party will be a blast with fancy custom-made masks! Celebrate the past year and what the New Year will bring!

Age: 5+

Duration: 10-20 minutes

Learning Objectives: 

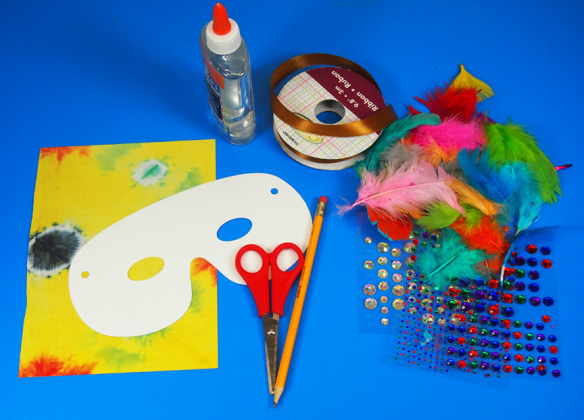
You’ll Need:

R15623 Tie Dye Paper

R22020 Color-In Masks

• Glue

• Scissors

• Pencil

• Rhinestones or sticker jewels

• Feathers

• Hole punch

• Decorative ribbon

Line-15

Encourage your students to think of their New Years masks as a reflection of their creative expression. So go crazy with it! Bring out your stock of decorative materials from the craft closet–look for things like sequins, bright, shiny beads or buttons, rhinestones, tinsel and more!

P1015837

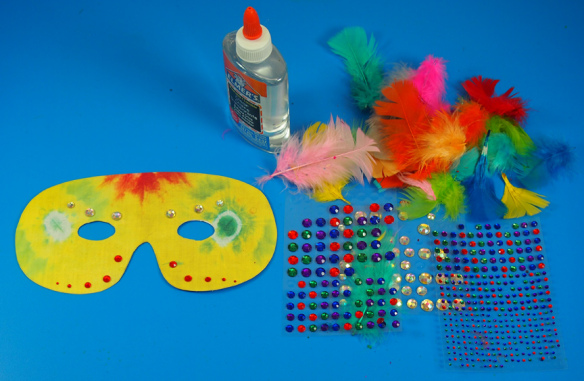
Gather up your plethora of decorations for the masks! You don’t need to use a full sheet of the Tie-Dye Paper to decorate the mask; in fact, it would make sense to cut each sheet in half and divide the halves between two students.

P1015840

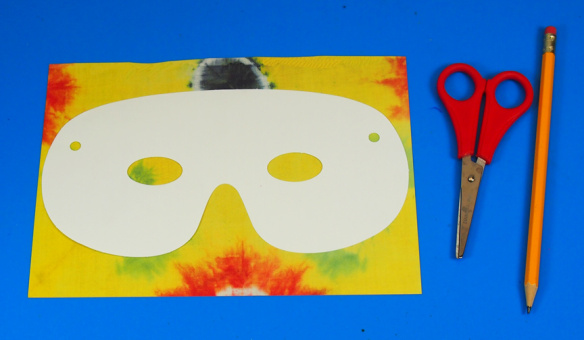
Place the Color-In Mask onto the Tie-Dye Paper and trace around the outside edges with pencil. Be sure to mark those eye holes as well as the pre-punched holes on the sides!

P1015841

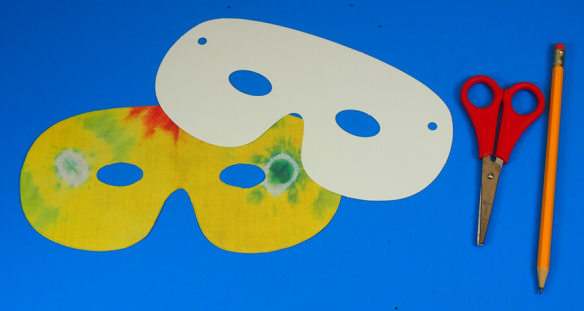
Cut out the Tie-Dye Paper along the traced lines.

P1015843

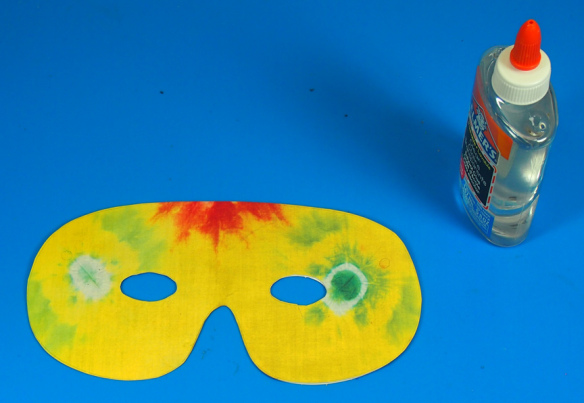
Glue the Tie-Dye Paper cutout directly on top of the Color In Mask.

P1015848

Pick out your assortment of decorative items. Start adding details to your mask! Make patterns with the sequins or rhinestones, trace the outlines of the eyeholes or the edges of the mask.

P1015849

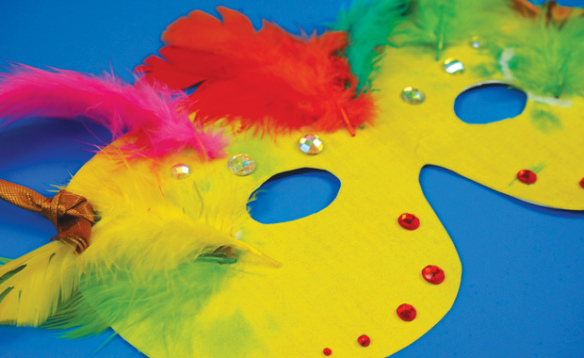
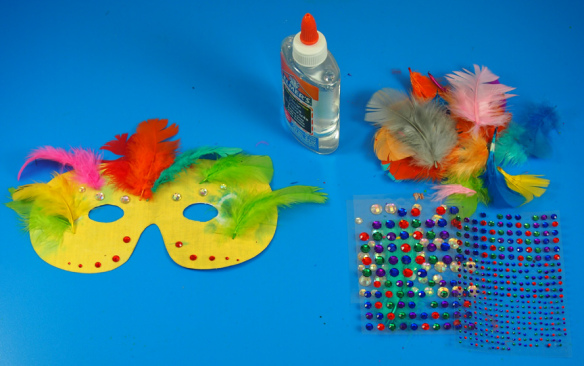
At this stage, I’ve decided to add decorative feathers to the mask. This adds a bit of flair! You can use hot glue, but regular white glue works fine as well. Simply press and hold down the feather shaft for 30 seconds. If the feather pops away from the paper, dab a bit of glue onto the feathery strands and press down onto the paper.

P1015850

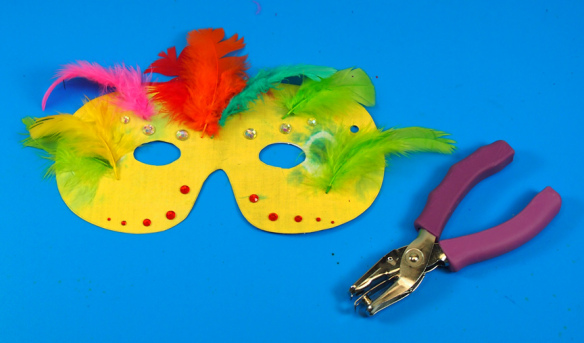
Finally, punch holes through the Color-In Mask on either side.

P1015854

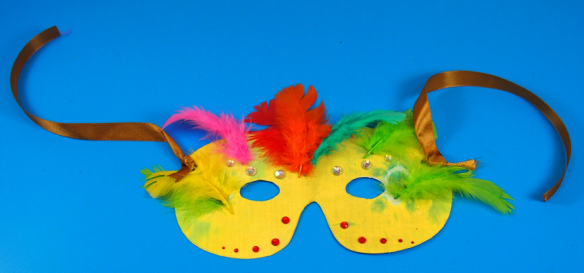
Attach a strand of ribbon onto each side of the mask. It’s a good idea to make two strands of ribbon for each mask, as it is easier to tie the mask around students’ heads. This is a great take-home project for kids before they head home for the holiday season!

Line-15

Like us on FacebookShare this post with your friends, or Subscribe to this blog today to receive original craft project updates every Monday, Wednesday and Friday!

Project Spotlight: Snowflake Weaving Mats

2014-12-08-FeatureImage

Add beautiful snowflakes to your winter display with artwork your students get to make!

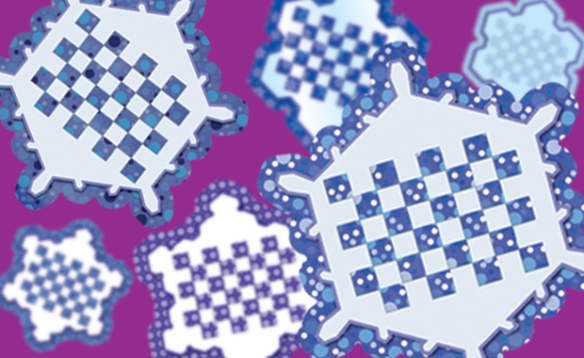
The R16027 Snowflake Weaving Mats kit contains 24 projects for your classroom in four unique snowflake designs. What sets each of your students’ snowflakes apart from each other is the addition of our patterned weaving strips. There are plenty of designs for students to choose. Mix and match different combinations of weaving strips for a beautiful bold look!

Weaving is a great way to encourage fine motor development as it forces fingers to expertly pass the strips over and under the slots in the weaving mat. Remember to alternate the start for each strip as you go!

When you are finished weaving all the way to the bottom of the mat, snip off the ends of the paper strips and tape the finished weave down.

You can see the process for weaving at the link below:

[youtube https://www.youtube.com/watch?v=dZM9688k1z8]

Hang up your finished snowflake designs on a display wall. Alternatively, write the name of each student on his or her snowflake and hang from the ceiling for a lovely mobile decoration.

Line-12

Like us on FacebookShare this post with your friends, or Subscribe to this blog today to receive original craft project updates every Monday, Wednesday and Friday!

Amazing Animal Paper Halloween Costume

animal paper diy costume

Make a simple, quick and cute Halloween costume from our R15256 Amazing Animal Paper! Our step-by-step photos will show you some easy tricks for cutting out and assembling the paper costume. 

Age: 5+

Duration: 10 minutes

Learning Objectives: Gain fine motor development through tracing and scissor skills. Use simple concepts, such as hand tracing and folding, to make an effective paper costume. Incorporate recognizable animal patterns into costume creations.

You’ll Need:

R15256 Amazing Animal Paper

• Tape

• Scissors

• Pencil

Line-07

Make this a quick paper costume for your students who will be celebrating Halloween in your classroom this year. This will make it easier for you to get through your day on Halloween without worrying about managing all your students in costume. The best part is that the costume is made from accessorizing, so all your students can look like their favorite animal without the need to fully dress up.

OLYMPUS DIGITAL CAMERA

Our full range of Amazing Animal Paper features a variety of different animal skins and patterns.

OLYMPUS DIGITAL CAMERA

Choose 2 sheets of your favorite animal skin paper. You will need only 1 sheet to make your animal hat, and another sheet to make your animal paws.

OLYMPUS DIGITAL CAMERA

Select 1 sheet of paper and fold in half horizontally. Unfold, and cut along the fold line so that you separate the sheet of paper into two halves.

OLYMPUS DIGITAL CAMERA

Take one of the paper sheet halves and fold it horizontally in half.

OLYMPUS DIGITAL CAMERA

Unfold and cut along the fold line to separate the half sheet into another 2 halves. This will form 2 strips of paper.

OLYMPUS DIGITAL CAMERA

Place the paper strips side by side. Tape the edges together.

OLYMPUS DIGITAL CAMERA

Join the opposite edges together and wrap around your head to test the length. Once you are satisfied with the fit, tape the edges to secure. This will form the base of your headband.

OLYMPUS DIGITAL CAMERA

Take the discarded half of the paper sheet and fold vertically in half. Draw an animal ear shape. I’ve drawn two triangle-shaped ears to look like jungle cat ears.

OLYMPUS DIGITAL CAMERA

Tape the ears to the sides of the headband. This will be your Amazing Animal hat!

OLYMPUS DIGITAL CAMERA

Now to make the paws! Take your second sheet of paper and fold vertically in half.

OLYMPUS DIGITAL CAMERA

Trace your hand from the edge of the paper. I suggest you try to make the hand look more like a paw by widening the shapes of the fingers.

OLYMPUS DIGITAL CAMERA

Cut out the traced paws.

OLYMPUS DIGITAL CAMERA

Use the remaining scrap piece to cut out two wristbands.

OLYMPUS DIGITAL CAMERA

Tape the bottom of the paw to the wristband.

OLYMPUS DIGITAL CAMERA

Wrap the wristband around and tape the edges together.

OLYMPUS DIGITAL CAMERA

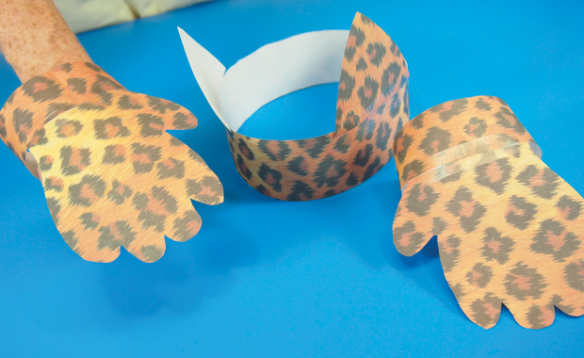
Now your costume is ready to be worn! Slip the paws onto each hand and wear your headband ears to transform into your favorite jungle animal! Tip: You can use face paint to add on a nose, whiskers and freckles on students’ faces to add another element to their animal costumes.

Line-07

Like us on FacebookShare this post with your friends, or Subscribe to this blog today to receive original craft project updates every Monday, Wednesday and Friday!

Project Spotlight: Super Slick Craft Paper

SuperSlickCraftPaper-FeatureImage

Turn your regular craft paper designs into spectacular projects with R15314 Super Slick Paper! The paper is coated with a gloss to make the colors vibrant and the paper texture smooth and easy to work with. Super Slick Craft Paper is a great material to work with as the range of colors will inspire you to fold, cut and glue a variety of different projects!

To add interest to your projects, cut out basic shapes such as squares, rectangles, triangles and more! Arrange the shapes onto a sheet of construction paper and paste down. Make familiar objects or scenes such as the outdoors, cityscapes, vehicles, robots and more!

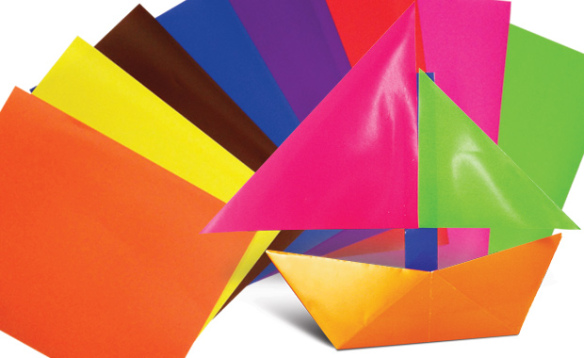
The Super Slick Craft Paper is standard 8½ x 11″ so you can fold it from corner to edge and cut off the bottom to make a square. The square can then be used for origami projects.

Our YouTube video below, we show you how to make your own pop art using two sheets of Super Slick Craft Paper. On the first sheet, fold and cut out a snowflake design while retaining the four corners. Paste on top of a separate sheet of colored paper.

Line-16

Like us on FacebookShare this post with your friends, or Subscribe to this blog today to receive original craft project updates every Monday, Wednesday and Friday!