Educational Light Cube: Sorting Manipulatives

2014-11-27-FeatureImage

Getting students to sort manipulatives is a double-duty task. While they sort and differentiate between the objects in front of them, students get to exercise their fine motor skills, too!


On the R59601 Educational Light Cube, sorting gets so much more fun to do! Turn on the fading function of the Light Cube to gradually cycle through colors. This produces a calming effect on students, getting them to slow down and focus on their task.

IMG_9559

Our first step was to find a snack platter at the dollar store. Use the snack platter to encourage proficiency in identifying like and unlike objects. Gather a variety of different types of manipulatives. We suggest using items such as buttons (R2131 Bright Buttons), letters or numbers beads (R2185 Math Beads and R2184 Manuscript Letter Beads), mosaics (R15367 Heart Mosaics) and more! Place all the manipulatives in the center of the snack platter.

IMG_9561

Ask students to sort through all the different manipulatives and pick out similar ones. Place similar items in one of the snack platter dividers. Repeat for all other items in the snack platter.

IMG_9562

If you cycle through the colors more rapidly on the Light Cube, it challenges students to notice the differences between objects that are transparent versus those that are opaque.

IMG_9566

It’s a great exercise that students will love to try!

More curriculum-based activities on the Light Cube:

Use readily-available materials for counting and sorting

• Build stacking abilities with dollar store party cups

• Find out just how sturdy the Light Cube is!

Share your stories about the Light Cube! What activities do your students use the Light Cube for?

Line-20

Like us on FacebookShare this post with your friends, or Subscribe to this blog today to receive original craft project updates every Monday, Wednesday and Friday!

Project Spotlight: Straws and Connectors

2014-11-24-FeatureImage

What’s so great about our Straws and Connectors? Besides the colors, the simplicity of combinations, and the potential for lessons about geometric structure? Learn more below!

IMG_8539

There are two simple components in the Straws and Connectors pack: the straws, which come in a variety of bright and fun colors, and the connectors, which feature 6 prongs to position the straws in any direction.

IMG_0155

The most basic shape that students can easily construct is a square using the straws and connectors. Add on more straws and connectors to fill in the structure and turn the square into a cube!

IMG_0162

Explore more three-dimensional shapes and talk about their properties as students build them.

IMG_8551

The straws are long enough that they can be bent to make curves in the structure, so you are not simply limited to making square structures. It’s a great cooperative material as well! Students can work on separate pieces and combine them all together to make a larger sculpture. This way, children use their skills in coordination, cooperation and critical thinking to create a finished piece.

IMG_8575

We challenged our students to build their own projects separately from each other. Students first had to brainstorm their ideas and then bring their projects to life. Can you guess what this project will be?

IMG_0192

You can see how this art camper continued creating curves in her structure. This perfectly illustrates just how versatile our Straws and Connectors are!

IMG_0245

This art camper made a boat!

IMG_0225

And this is a rocket!

IMG_0237

Straws and Connectors are a perfect gift to your children this holiday season! Give your students the ability to exercise multiple motor functions while creating sculptures they can truly be proud of!

See more about the R6085 Straws and Connectors here:

What else can you make with the Straws and Connectors?

Do you have a Straws and Connectors pack? If so, what kinds of structures did you make with them? We’d love to read your comments below!

Line-06

Like us on FacebookShare this post with your friends, or Subscribe to this blog today to receive original craft project updates every Monday, Wednesday and Friday!

Light Cube: Math Straws

2014-11-20-FeatureImageExplore mathematics on the Light Cube using simple items you can find at your local department store or dollar store! The Light Cube will focus students’ attention as they manipulate the materials to build skills in early numeracy!

IMG_0559In this edition of Light Cube lessons, we’ve decided to focus on counting and sorting. To do this, you will need a package of clear colorful straws, some transparent numbered stickers and 10 clear plastic drinking cups.

IMG_0565First, we tacked down our stickers to the Light Cube. The stickers we found are numbered 1-10 so you can explore counting in different quantities, or for advanced learning, develop skills in skip-counting. We’ve decided to skip-count by the number 2. This is a great starting point for discussing the differences between odd and even numbers.

You can additionally create your own stickers by using clear scotch tape and writing numbers on the tape with permanent marker. Paste down the tape onto the Light Cube. Tip: If you own a Light Cube tray, you can use write the numbers directly onto the tray with dry-erase markers.

Ask your students to pick out the same number of straws as the numbers indicated on the Light Cube. Place the straws you’ve picked out directly onto the Light Cube underneath each number.

IMG_0580

Once we had explored the basics of skip-counting, we moved onto bigger numbers. You can mix the digits to make these larger numbers. To contain the larger number of straws, use the clear cups.

IMG_0593To reinforce your students’ counting skills, mix up a random amount of straws into each cup and ask the student to correct to the proper amount. They must either add or subtract the straws.

To take students’ learning one step further, ask them to imagine that each straw has a certain value, such as 2. Therefore, each straw represents the number 2. If you have labeled a cup as the number 6, students will have to place 3 straws inside the cup to reach the right amount.

The glow of the Light Cube is a great base for exploring abstract mathematical concepts as students are focused on the materials they work with.

Line-04

Like us on FacebookShare this post with your friends, or Subscribe to this blog today to receive original craft project updates every Monday, Wednesday and Friday!

Educational Light Cube: Sorting Colorful Plastic Circles

2014-10-23-FeatureImage

View the beautiful effects of colorful mylar shapes on the Light Cube!Today’s lesson was to experiment with different printed shapes and colors that can be overlapped to create new appearances.

IMG_9487

These mylar shapes were made from tinted transparency sheets. You can find colored transparency sheets at your local dollar store… as page dividers! Cut out simple shapes such as triangles, circles and squares from these special plastic sheets.

Incorporate math lessons with your Light Cube exercise. Teach your students about geometric shapes and their properties! Ask students to describe the shapes to you.

IMG_9490

We asked our art camper Jasmine to combine the shapes together and see what kinds of new colors she could make. Each of the shapes were cut out of differently-colored transparency sheets. These colors, when overlapped, create new color combinations!

IMG_9492The sheets are transparent, meaning that you are able to see light through them. Place the sheets onto the Light Cube and turn on the strobing color function. Watch the transparent sheets change color as they reflect the light underneath.

Explore the meaning of transparent, translucent and opaque. Experiment further with other objects to see the differences between their transparencies.

Line-06

Like us on FacebookShare this post with your friends, or Subscribe to this blog today to receive original craft project updates every Monday, Wednesday and Friday!

Educational Light Cube: As Furniture?!

2014-09-25-FeatureImage

Yes, you heard right! Our R59601 Educational Light Cube can be used as a wonderful furniture addition to your classroom! The sturdy design makes it perfect not only as a table at the play center, but as a stool, a climbing base and more. 

We recommend placing the Educational Light Cube in a ‘quiet’ location, such as a reading area or playtime corner. It’s a good idea to have the cube fully charged before allowing students to use it as a furniture piece. Charge up the cube the night before to ensure that it has enough battery life (3-4 hours) to be used in the main classroom area. This eliminates the need to leave the AC adapter cord lying on the floor–if you have to have the Light Cube plugged in, tape down the cord or place a cord cover on top to prevent it from becoming a trip hazard.

IMG_8738The Light Cube is a great complement to a variety of educational resources such as x-rays, overhead projection sheet activities and much more!

IMG_8745

The Light Cube doesn’t stand too far off the ground and is sturdy enough to support the weight of a student on it. As a result, it can be used as a light platform. Plus, it is the perfect height–not too high, and not to low! Students can easily kneel at the Light Cube and get the full benefit of being able to experiment with light as they manipulate the materials on top.

IMG_9826

As students become more familiar with the Light Cube, they can extend their learning to incorporate gross motor as well as fine motor skills. Stand or sit up on the Light Cube to measure the size of your feet in comparison to an R5911 True to Life Human X-Ray foot, just like this student did! Or play Light games around the cube! Play memory games and hide various objects under cups, then shuffle them around. There’s tons of things to do on the Light Cube… just using it as a furniture piece alone is lots of fun!

Line-08

Like us on FacebookShare this post with your friends, or Subscribe to this blog today to receive original craft project updates every Monday, Wednesday and Friday!

Welcome to the Light Cube!

2014-10-09-FeatureImage

We at Roylco are excited to launch our new series of posts about our brilliant Educational Light Cube! Check us out every Thursday for a brand new look at our sensory-engaging light box… and all the amazing things you can do with it. Let’s get introduced!

IMG_0123The R59601 Educational Light Cube is a sensory base that can be used for a variety of activities! Place different materials onto the Light Cube and turn the unit on. You will notice a bright, beautiful glow emitting from the Light Cube and illuminating the objects on the cube. This is a great way to engage children who would not normally respond to these materials in normal light conditions.

IMG_0247The cube has a water-resistant surface that can easily be cleaned with warm water and soap. This makes it a great base for water-based sensory activities and painting activities.

IMG_0385The Light Cube is portable, durable and a great addition to your classroom! Use it as furniture or to illuminate a low-light area, such as a reading fort.

IMG_0409Cycle through multiple light colors using the accompanying remote. There are 16 colors in total. You can make the colors strobe, flash, fade and smoothly transition between each one.

IMG_0463You can use the Light Cube to engage students in virtually any lesson plan using simple materials already in your classroom. Set up environments like this one, with animal figurines and gravel! Kids will love playing with the different sets.

IMG_0595Use the Light Cube to arrange math manipulatives on the surface. Students focus best when their attention is directed on one thing at a time, and the Light Cube does just that with its soft glow.

IMG_0632It engages students to experiment with different materials and view the effects of color-changing light!

IMG_0730

Practice writing skills!

IMG_8785Observe new concepts on the Light Cube, such as human or animal anatomy using our range of x-ray products!

IMG_9303Test out new sensory materials such as gel-stickers! These materials feel great on little fingers, and illuminate well on the Light Cube.

IMG_9355Stack ‘em up and knock ‘em down! Try out a range of building materials, such as clear plastic dollar store cups, to build your tallest colorful towers!

IMG_9484Keep your students engaged in light exploration with soft-glow lighting. Make a small fort for reading, playtime, math activities and more to amplify the effect of the Light Cube.

IMG_9508Explore what’s inside unique animal specimens!

IMG_9549Older students can join in the fun, too! Set up the Light Cube in a darkened area, and give your students tracing paper and pencils to work with. While using the Light Cube as a tracing light box, students can easily check their work and develop their own creative ideas.

IMG_9615Match up transparent sheets that are printed with various images. Here, we’ve showcased our shell x-rays.

IMG_9745Students will love watching colors leap right off the Light Cube. They can use the materials to build fantastic structures or simply observe the effects of light on color.

IMG_9813Turn on the strobing lights to get amazing responses like this one!

IMG_9915And this one! The Light Cube does it all… delight, entertain, educate and stimulate with its sleek design, bright, colorful lights and durable learning surface.

IMG_9931We’re sure you will delight in your very own Light Cube as well! Visit our Roylco Store for more details or contact your local toy/educator retail store to get your Light Cube today!

Line-20

Like us on FacebookShare this post with your friends, or Subscribe to this blog today to receive original craft project updates every Monday, Wednesday and Friday!

Color Diffusing Animal Shapes

color diffusing animal shapesUse the magic of Color Diffusing Paper to make lovely animal designs from basic shapes! View our tutorial and see how our art campers adapted their designs. 

Age: 4+

Duration: Drying time + 10 minutes

Learning Objectives: Use fine motor skills to squeeze paint out of pipettes onto paper. Develop beautiful arrangements of colors and observe how colors blend together to create new colors. Exercise scissor skills through cutting basic shapes. Learn geometric shape concepts and arrange shapes together to make animal designs. Encourage critical thinking and puzzle solving through shape layering. Combine math, science and art into one unified project.

You’ll Need:

R15212 Color Diffusing Paper (12 x 18″)

R54460 Squiggle Pipettes

R7512 Fingerpaint “No Mess” Trays

• Watercolor paint

• Scissors

• Glue

• Card paper sheet

Line-19

It is important for students to not only exercise their fine motor development, but to understand the processes behind color mixing, diffusion and artistic composition. This is a great exercise in learning composition as students get to use the shapes they have on hand to create interesting designs!

coloring animals
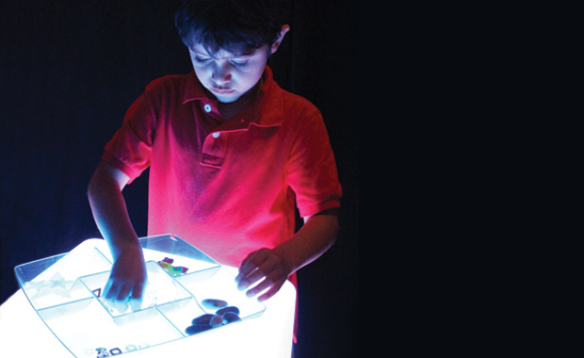
Lay sheets of Color Diffusing Paper onto paint trays. Draw basic shapes on the sheets of paper using permanent markers, rulers and other measurement tools. In the photos above, we’ve drawn basic shapes such as squares, triangles circles, half moon shapes and more!

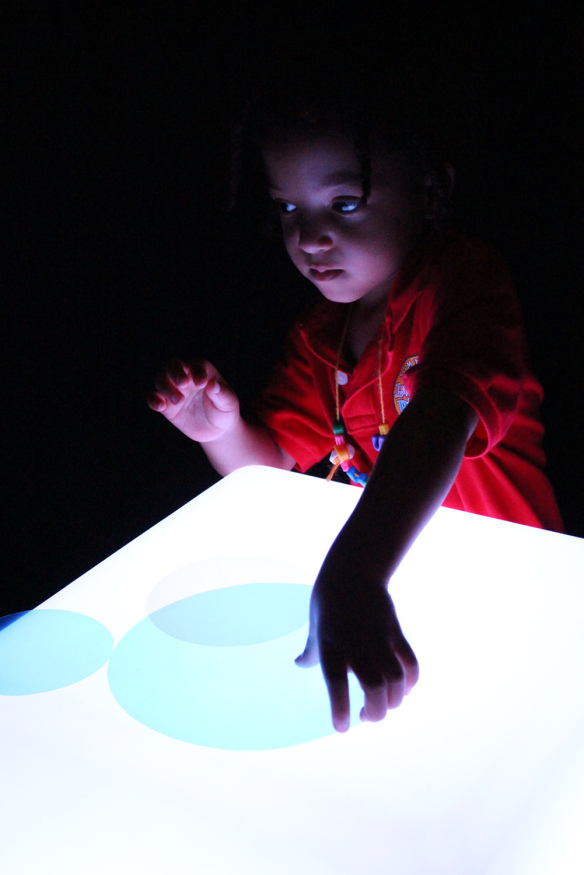
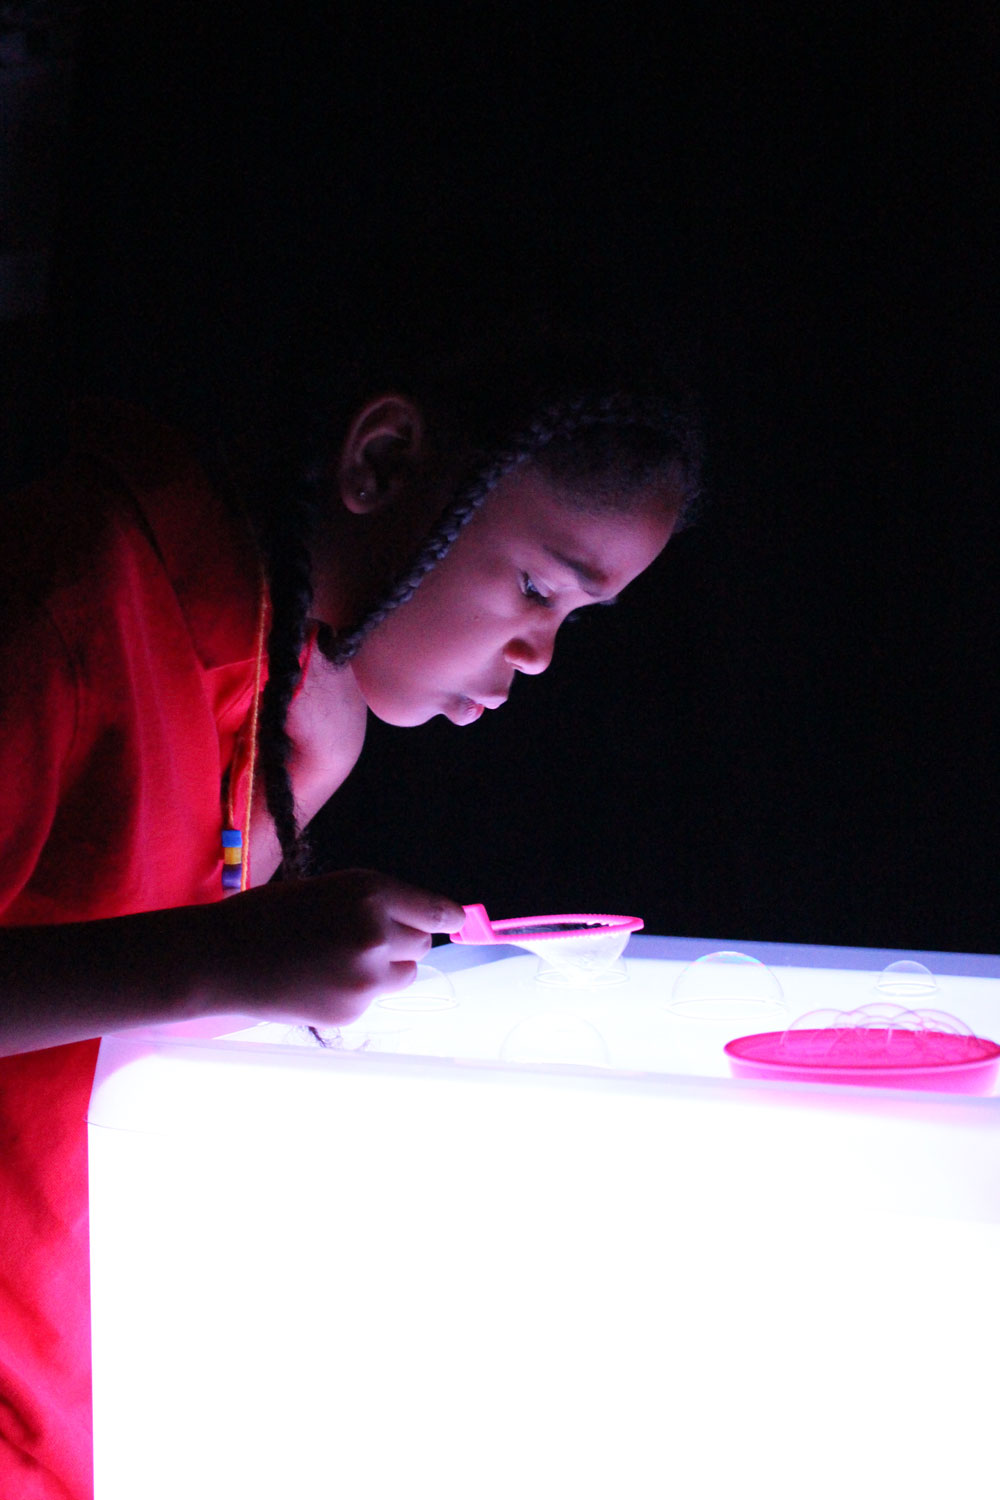
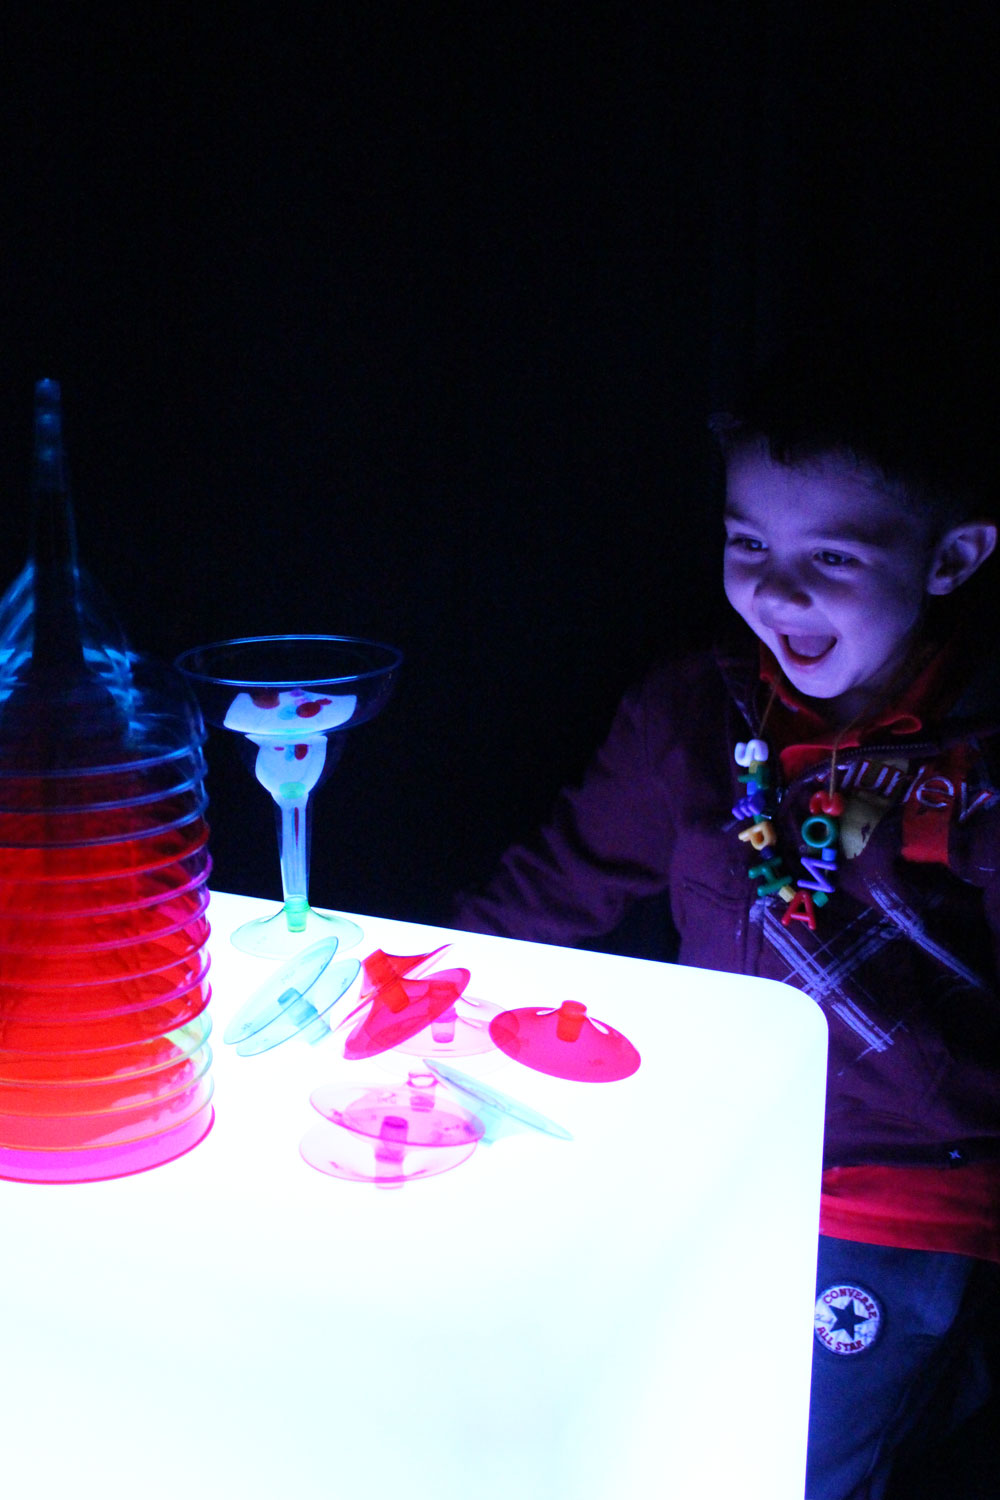
Next, our careful art campers took pipettes and dropped various paint colors onto the diffusion sheets.

painting diffusing paperThey loved seeing how the colors spread throughout the paper! This is the process of diffusion, where paint molecules spread through the paper molecules to fill in the spaces where there are no paint molecules.

painting
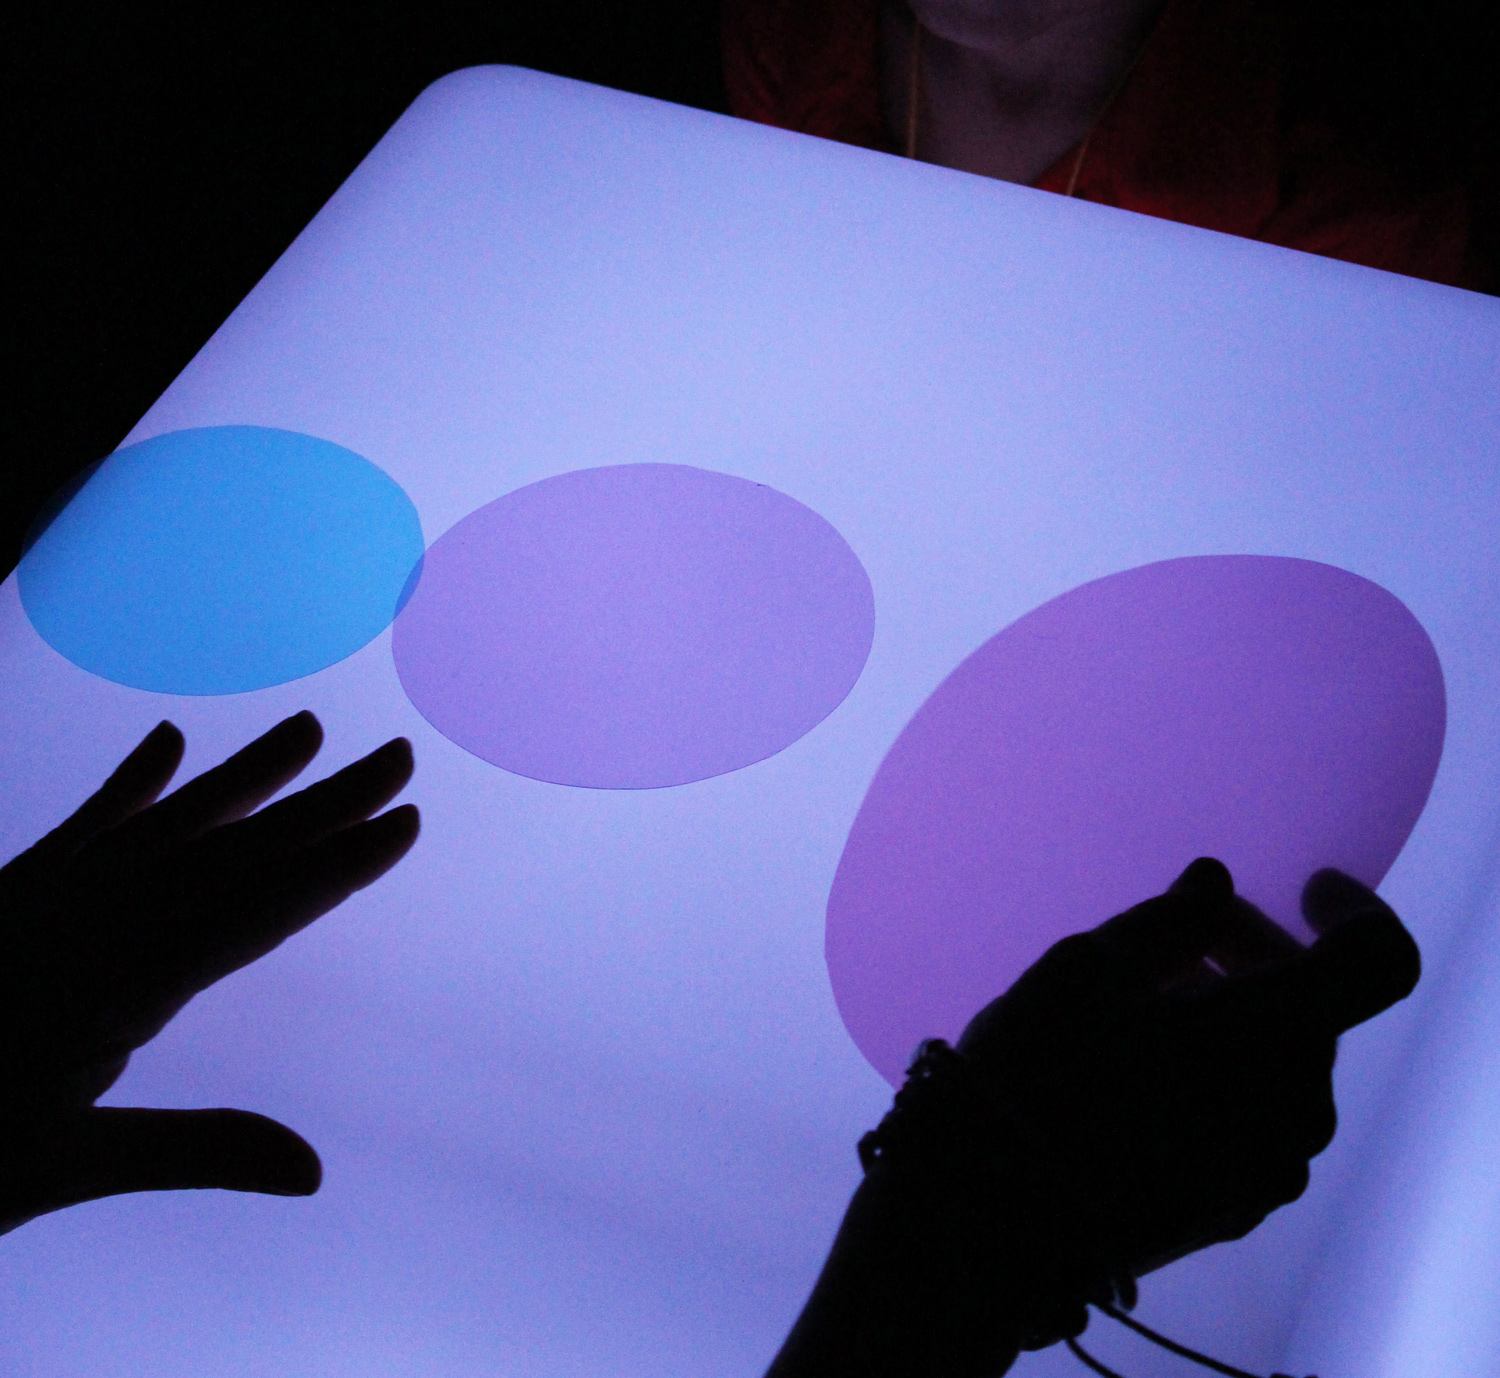
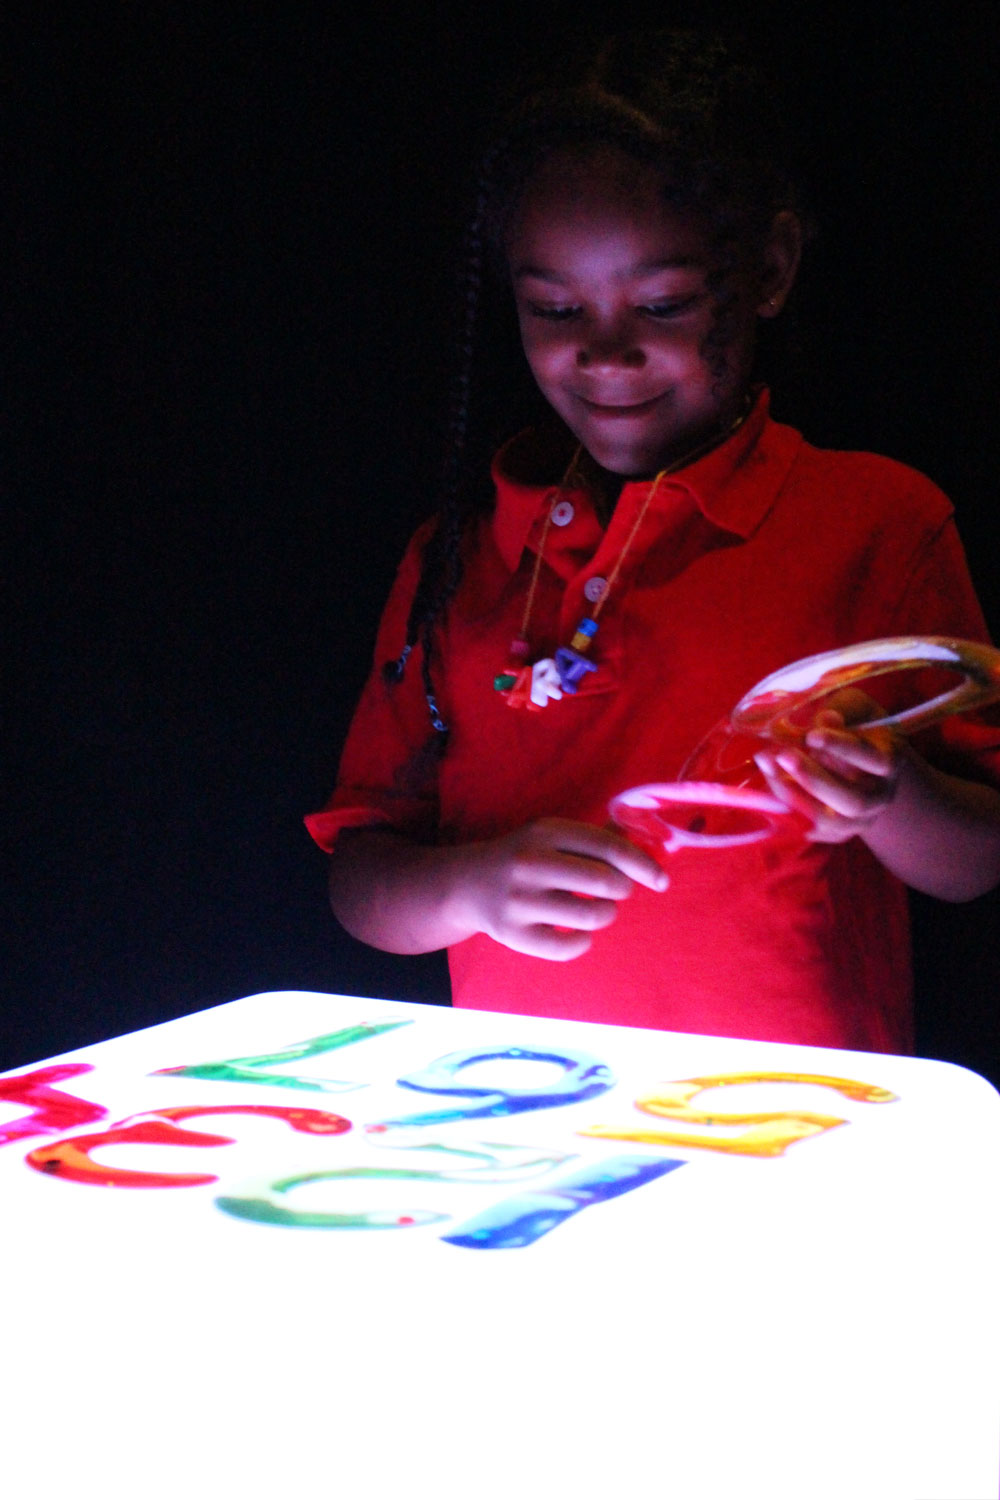
Here, one of the campers has mixed multiple colors together.

pipettesThis camper was careful to paint directly over the shape illustrations, but as the paint molecules diffused through the paper, the paint spread throughout the entire sheet!

watercolor paintHere’s another look!

squiggle pipettes paintIt’s a great process that children can see unfolding right before their eyes!

spraying water onto paint
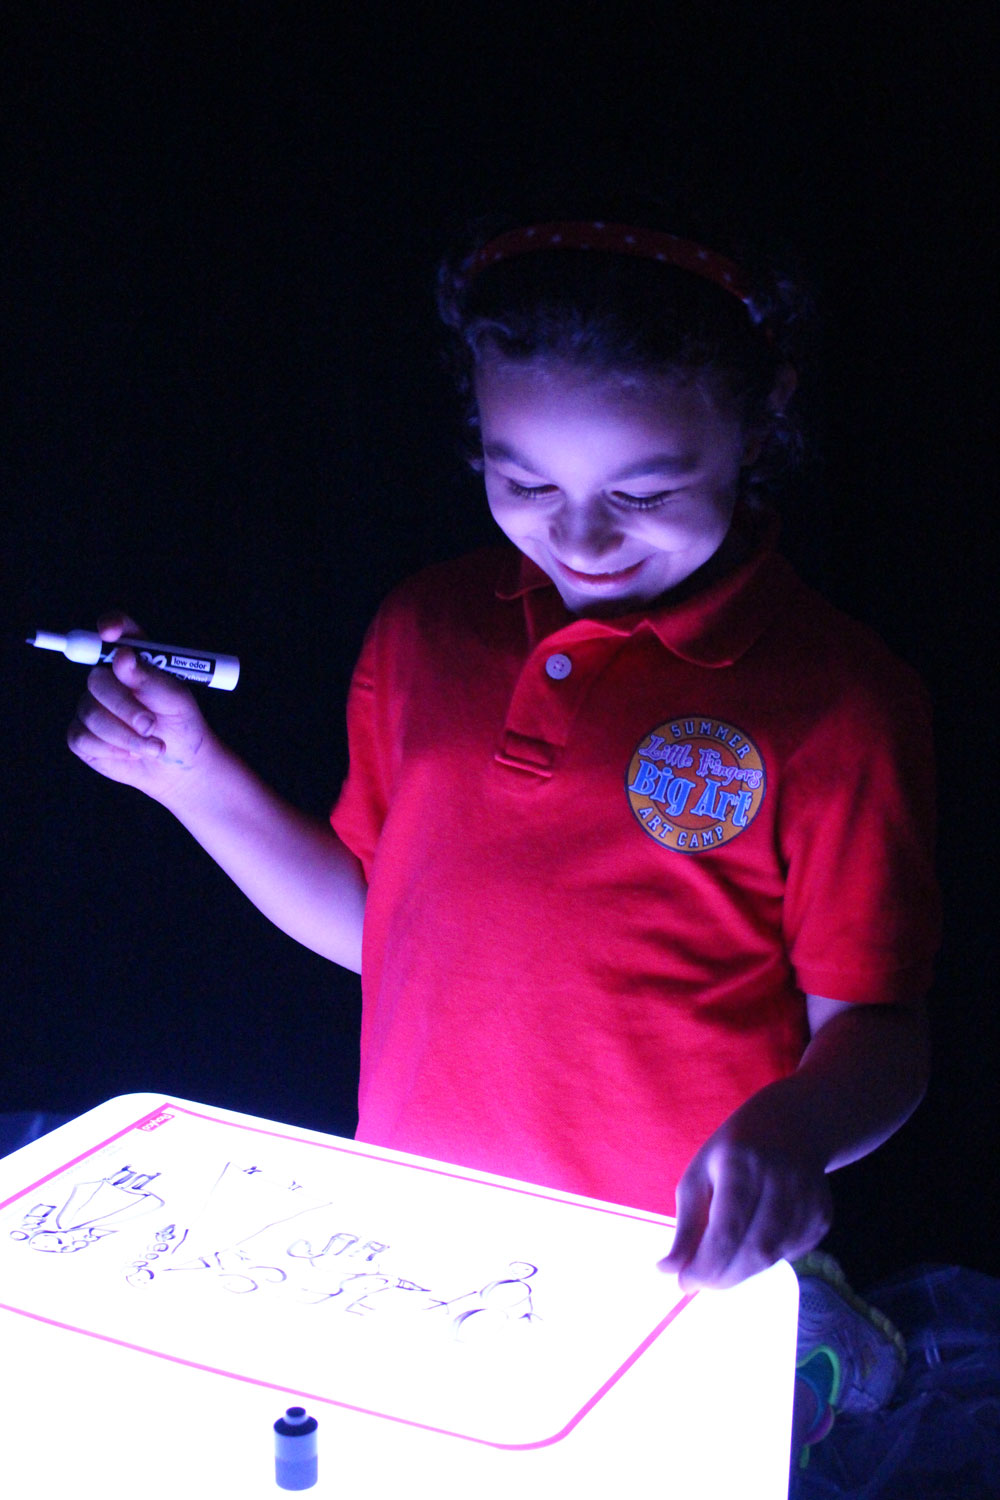
To give the paint a hand, we sprayed the paper with some water to help push the paint molecules around. Notice how the permanent marker ink doesn’t blend with the rest of the paint, however!

sharpie on color diffusing paper
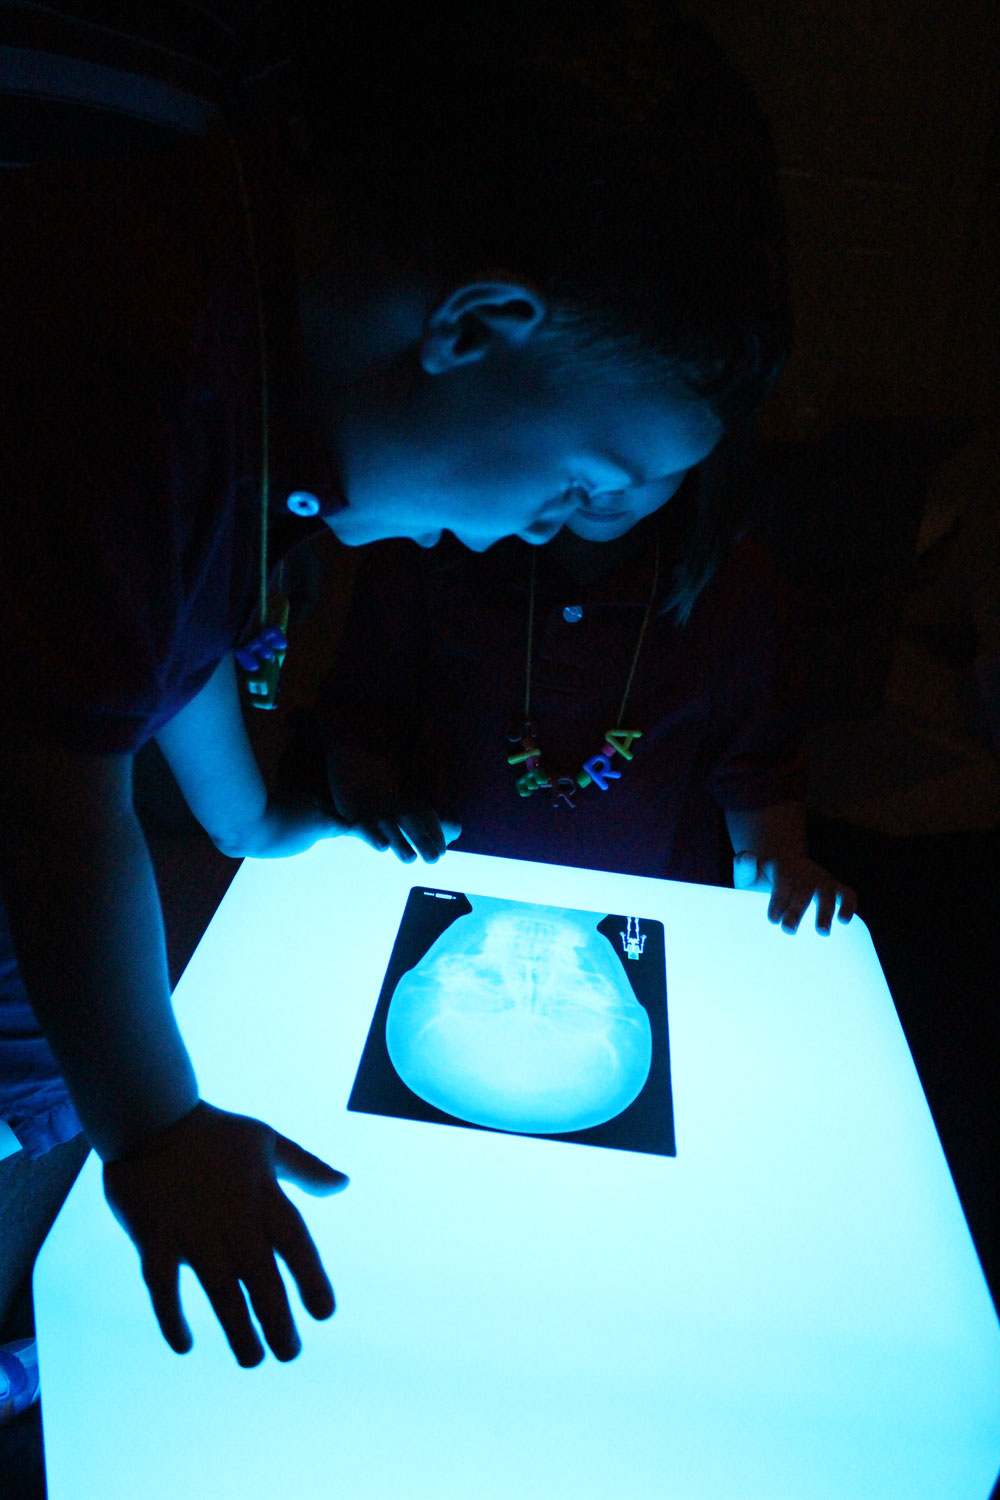
Another art camper was busy working away at her own diffusing paint canvas.

sharpie paintYou can see the paint already starting to spread across.

paint and sharpieHow cool is that?!

scissor skills

We left the paint to dry in the sun, which made the process happen a lot quicker!

cut and paste activity
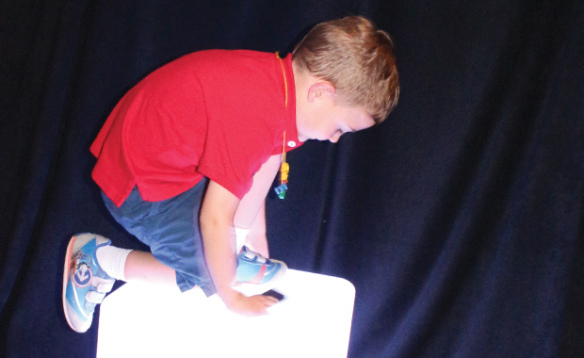
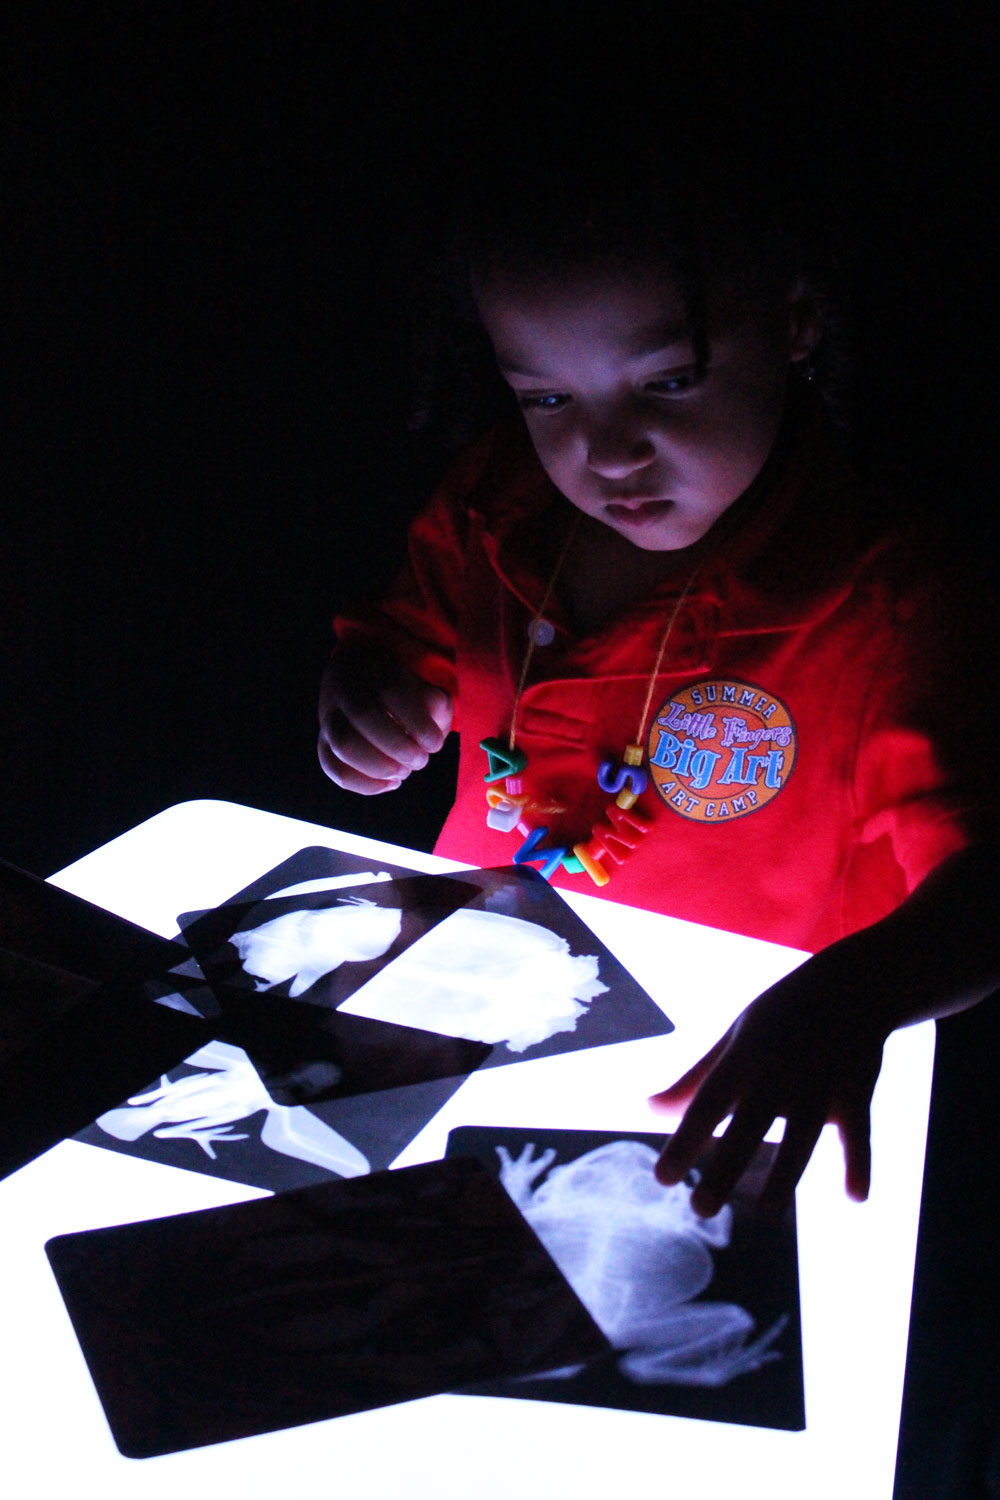
The campers then cut up the various pieces following the outlines on the paper.

geometry shapes artThey are careful to follow the lines and reaffirm their knowledge of each shape. For instance, it’s easy to tell that this particular shape the art camper is cutting is a square. But how would you describe the candy-cane like shape?

cutting shapesWhile students are cutting, it’s a good idea to ask them what the various shapes can be used to make. Help them visualize their final designs as they are cutting the shapes out.

cutting paper shapesAsk students to use descriptive words when talking about their shapes.

pasting paper

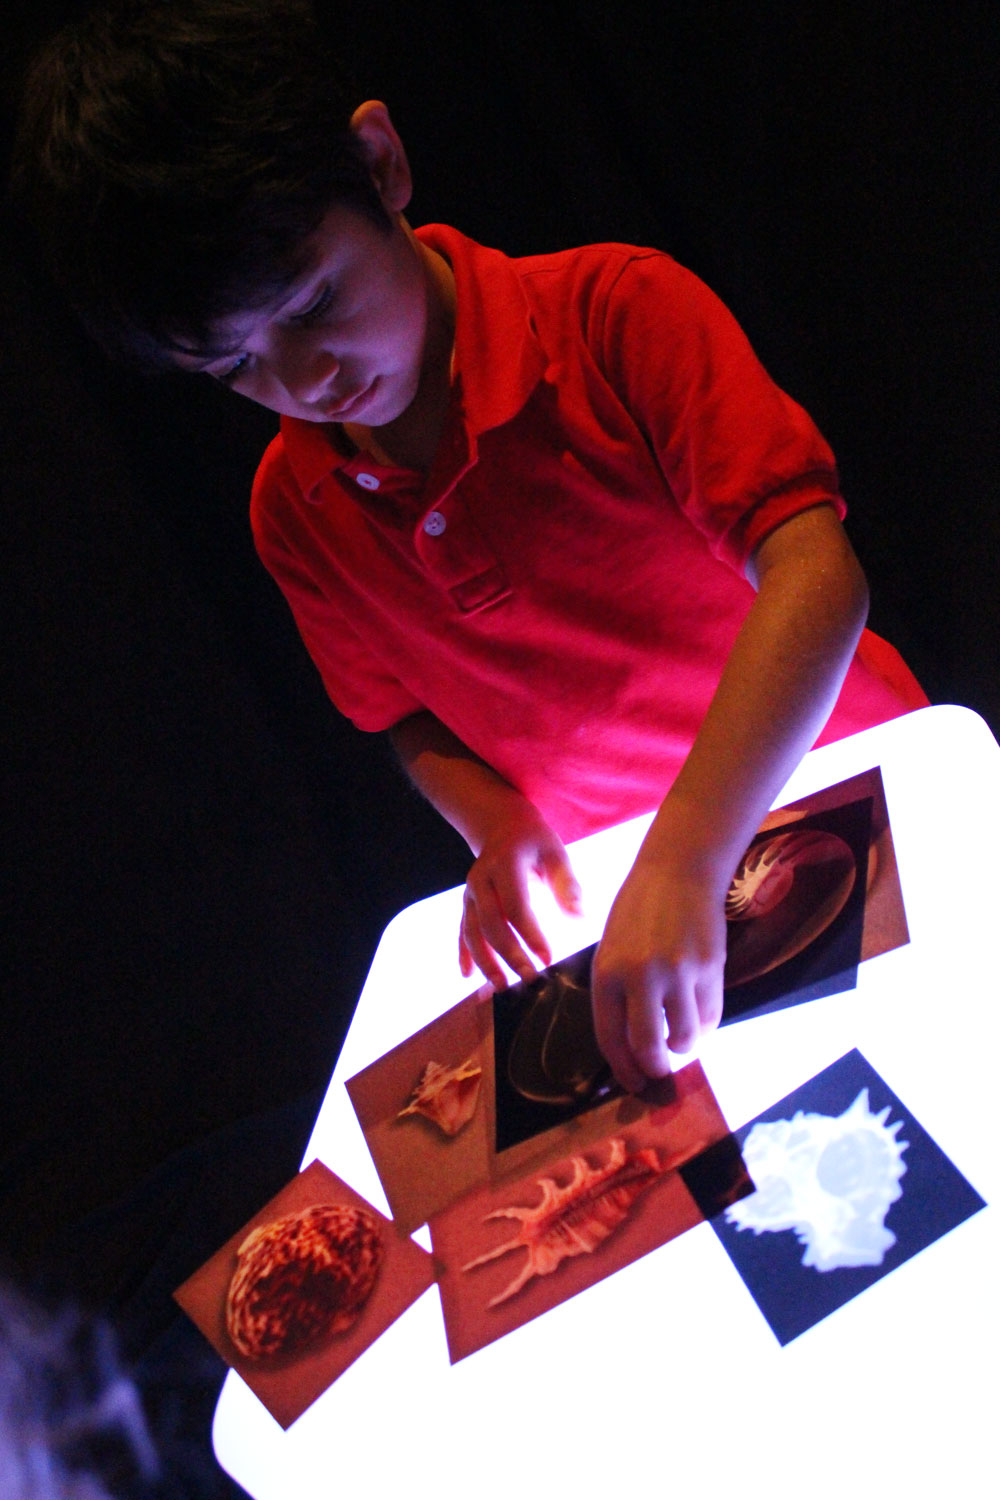
Now let’s piece it all together! Here, one of the art campers has started to create the body and the head of an animal.

paper shapesUsing white glue and goo spreaders (read more about these awesome glue tools here!), the art campers pasted their pieces onto a large sheet of card paper.

glue paperCan you guess what kind of animal this art camper is making?

paper animalA cute piggy!

color diffusing animalHere’s another variation of our adorable piglets! This art camper even drew a smiley face!

paste colorful shapesHow about this work of art?

paste colorful shapesThe art camper here is adding on the legs…

underwater animal craftTo make an adorable crab picture! Isn’t that artwork so neat? Thanks for hanging out with us today. It’s been a blast!

Line-19

Like us on FacebookShare this post with your friends, or Subscribe to this blog today to receive original craft project updates every Monday, Wednesday and Friday!

The Differentiated Kindergarten blog uses our Manuscript Letter Beads!

Students will love being able to see their numbers and letters up close! These sturdy, colorful beads can be strung on thread or sorted into trays just like the photo above. Use the beads to teach number and letter recognition using visual and tactile approaches. Like blogger Marsha states, the beads aren’t simply beads, because “the bead IS the letter”! 

Blogger Marsha published her post on July 12, 2013. The post is entitled, “Beads Glorious Beads!!!” Check out the full blog post here!

As the post shows, the Manuscript Letter beads come in two formats: Lowercase and Uppercase.

To order our products, visit our website here or click on the following links to locate our products:

• Manuscript Letters (Uppercase)

• Manuscript Letters (Lowercase)

Number Beads

The Manuscript Letters can be used for a variety of projects or in educational lesson plans. Great for introducing letter and number recognition, the Manuscript Letters and Math Beads come in a variety of bright and fun colors that students will love to work with.

String up the letters to make bracelets or necklaces! Tie a knot in between each new threaded letter to keep them from bunching up, or use pony beads to separate the letters when spelling multiple words.

Use the letters for Bingo games! Play a variation of Bingo called Lingo (Letter + Bingo)! Draw a 4 x 4 square grid and write a random selection of letters on it. Distribute the graph cards among students and provide a handful of letters for the students to use. When a random letter is called out, students must search through their letter supply to find the correct letter. The first person to call out Bingo must have a row of 4 letters with corresponding letter beads!

One of Marsha’s activities involved separating a handful of letter beads into consonants and vowels or lowercase from uppercase. To really increase students’ letter comprehension, you can ask them to make words from the jumbled uppercase or lowercase letters!

Marsha even designed a lovely little cubby area to store all the letters inside. You can customize the storage area to hold letters as well as numbers or to differentiate between upper and lowercase letters.

Thanks to Marsha for this insightful post!

Images and original post © This Little Class of Mine

This post was not sponsored for a review. At LittleFingersBigArt, our mission is to present to our readers and viewers the newest and most creative craft ideas that fans of Roylco have made on their own. Our goal is to allow you and other educators and parents to reuse our products in fun ways so that children always get the best educational experience from them!

We’d love to see more ideas like this one! If you’ve got a brilliant craft idea or have made a version of one of our crafts that you would like to share with us, send an email to us with photos, descriptions or a link to your work. We will create a feature post and link back to you with full credit. Contact us through the contact form for more details. We’d love to hear from you!

Line-05

Ms. Johnston’s class makes our Tessellations!

Today we get to show off more Tessellations fun with art projects from Ms. Johnston’s class! 

This post, titled “Tessellations are so fun!” was published on May 9th, 2012 and was posted on Mrs. Johnston’s Blog: Adventures in Fifth Grade. Click here to visit the link!

Our R5863 Animal Tessellations are a hit in classrooms! These beautiful animal patterns can be combined to create repeated patterned shapes, known as tessellations.

Great for inter-subject learning! Combine math and art together to foster enjoyable learning for your students. Teach your students about mathematical tessellations using the guide provided.

View the complete R5863 Animal Tessellations PDF guide here!

Tracing the Tessellations designs are a great way to encourage critical thinking skills in patterning and symmetry designs. Tessellations are all about repeating patterns. First, trace the outline of your chosen design onto a sheet of paper.

R5863

Remove the design, then find common lines to re-position your template on. Trace a second design right beside the first using these common designs.

Later, once you are finished filling your sheet of paper with Tessellations designs, color the designs in!

5863_Tesselation_Animal

Thanks to Ms. Johnston for sharing her students’ work!

Images and original post © Mrs. Johnston’s Blog: Adventures in Fifth Grade

This post was not sponsored for a review. At LittleFingersBigArt, our mission is to present to our readers and viewers the newest and most creative craft ideas that fans of Roylco have made on their own. Our goal is to allow you and other educators and parents to reuse our products in fun ways so that children always get the best educational experience from them!

We’d love to see more ideas like this one! If you’ve got a brilliant craft idea or have made a version of one of our crafts that you would like to share with us, send an email to subscriber@roylco.ca with photos, descriptions or a link to your work. We will create a feature post and link back to you with full credit. We’d love to hear from you!

Line-21