Light Cube Reading Light!

light box cube reading house

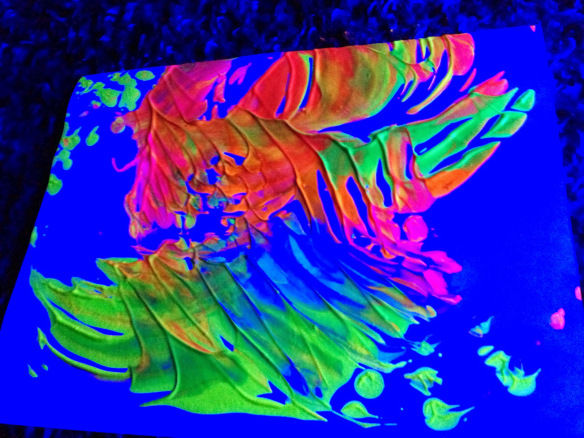
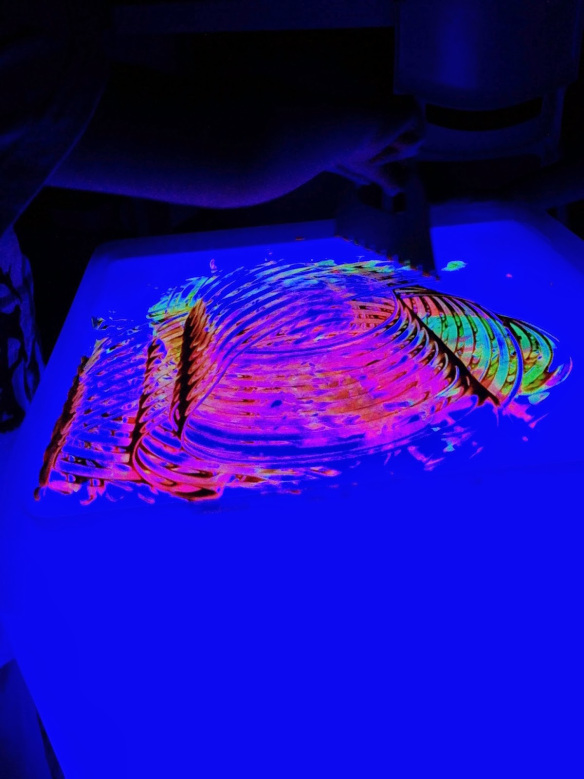
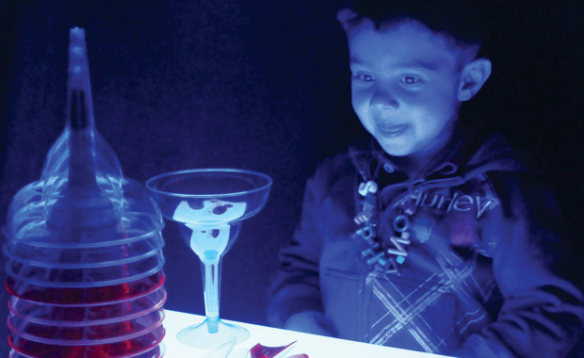
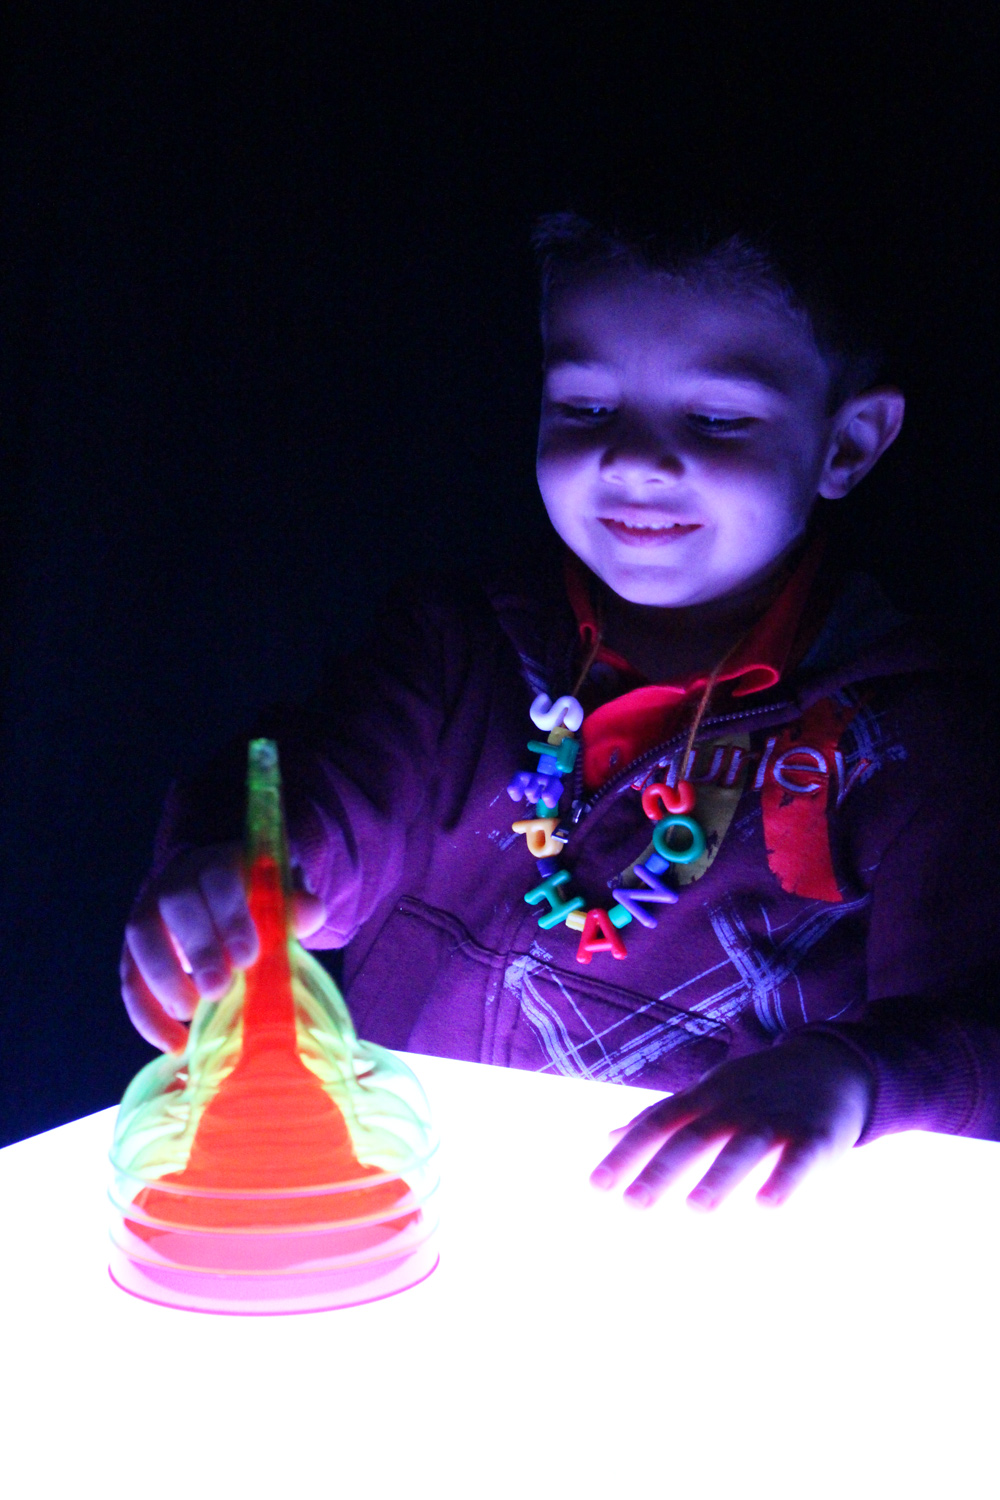
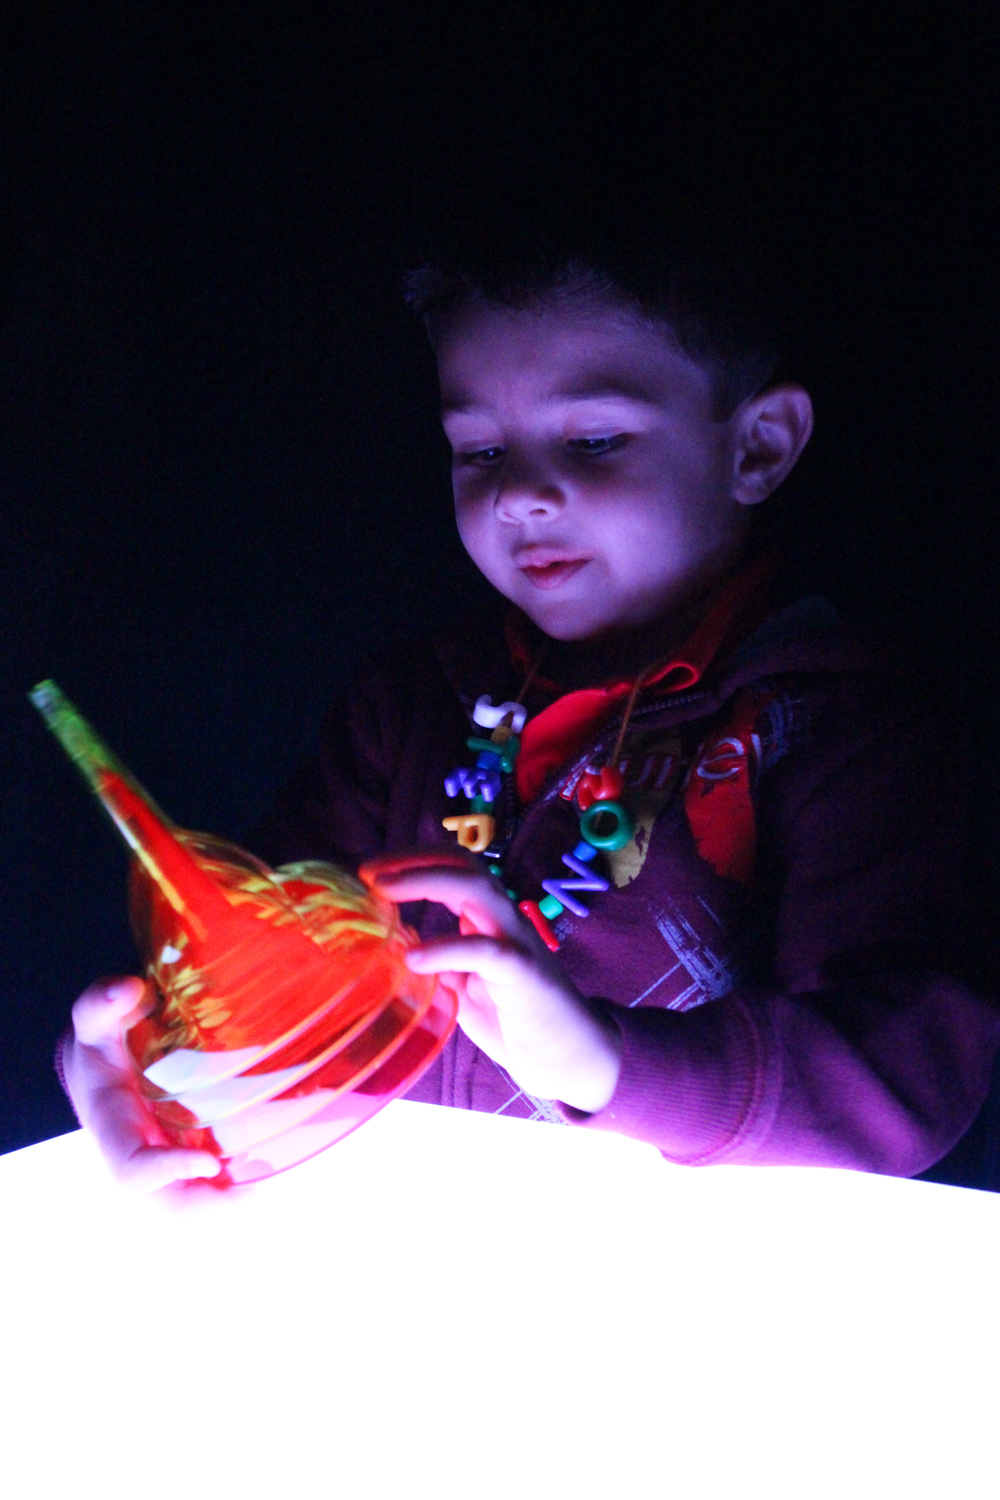
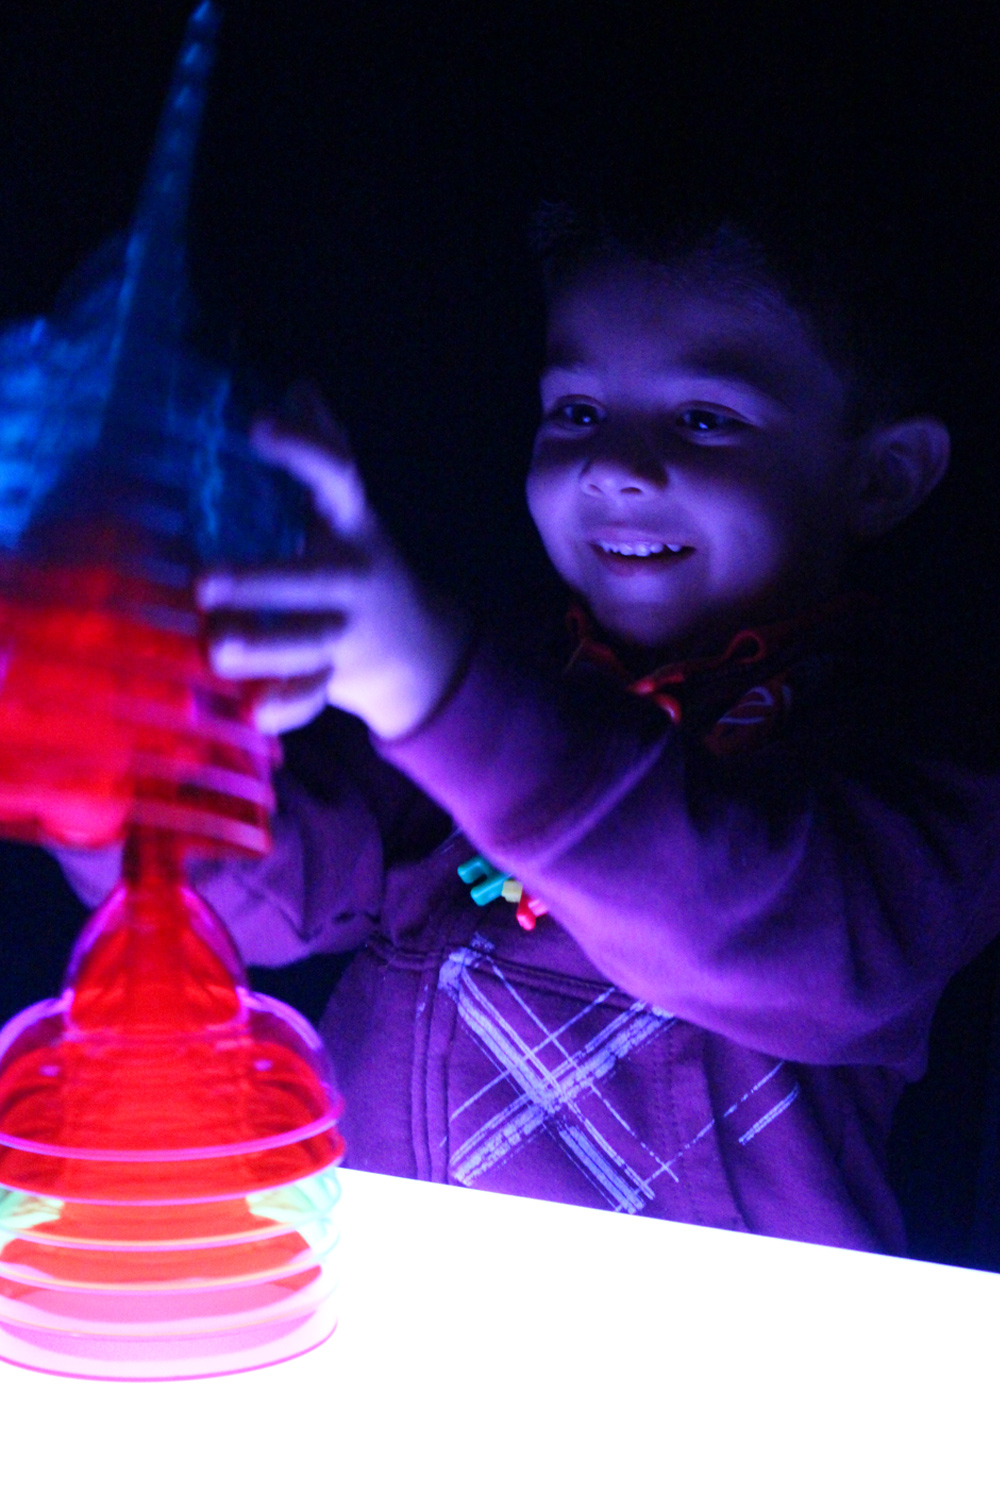
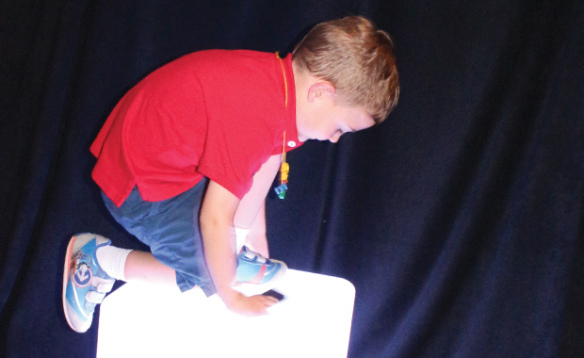
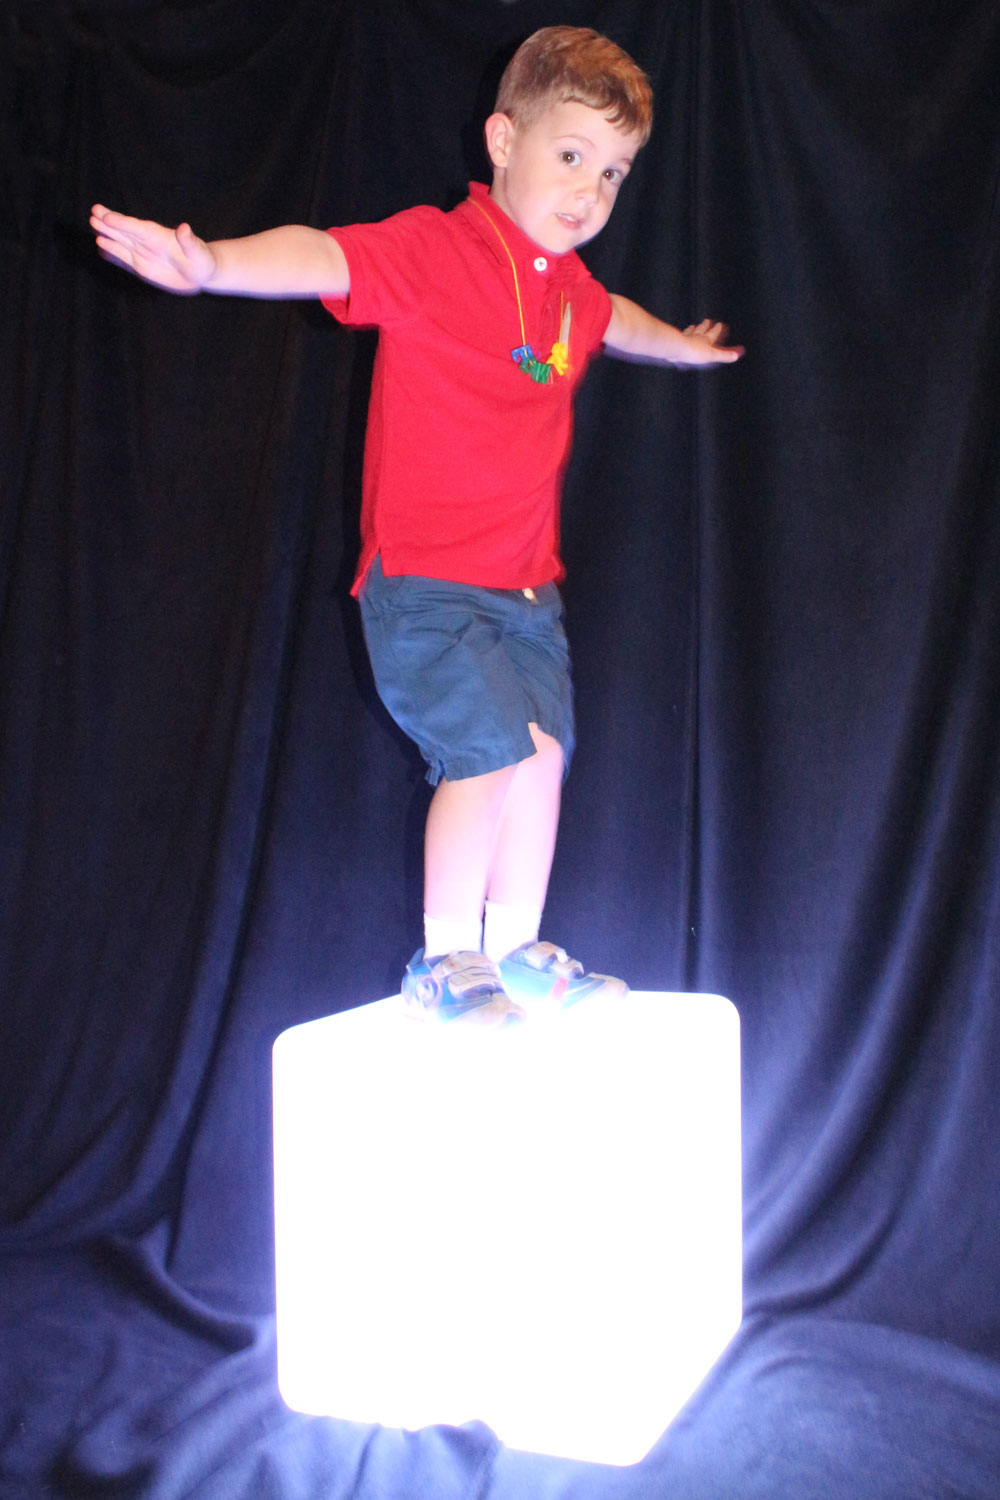
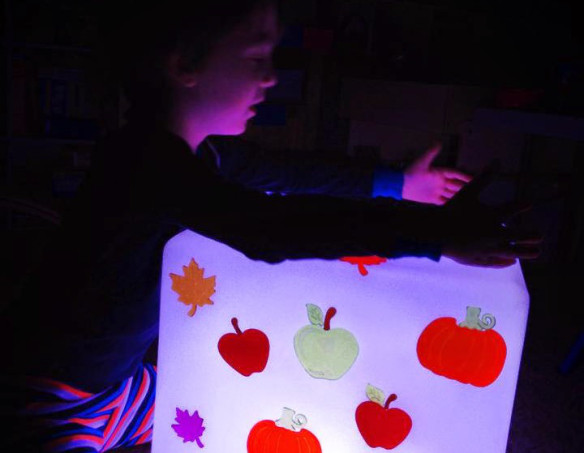
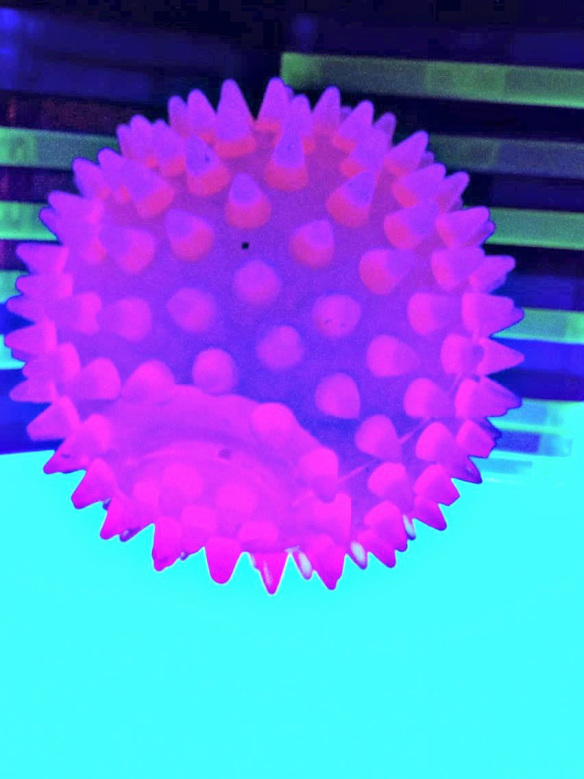
Welcome back to 2015! We hope everyone had a wonderful holiday break. We are excited to kick off the New Year with a feature post on our Educational Light Cube! Here’s a cool idea: use it as a soft glowing lamp for your classroom reading fort!

light box cube reading house

We first started building our fort using Straws and Connectors. Here, Ed is separating the Connectors from each other.

light box cube reading house

We taught the campers how to connect the Connectors together with the Straws. This was the starting point for building the reading fort. The diagram for building this reading fort can be found here!

light box cube reading house

We all worked together to build the fort, starting with the base and working our way up.

light box cube reading house

The best part is guessing what the final sculpture will look like! It’s one thing to see it on paper but another to see it in real life. Suddenly, we all got excited and started building faster.

light box cube reading house

After we built the base, we joined the roof together with a point at the top.

light box cube reading house

The Straws and Connectors pack comes with a large blue veil that can be draped on top of the Straws and Connectors structure to make it enclosed. Ed got excited to put the veil on top of the structure but he soon realized he needed some help!

light box cube reading fort

This is what teamwork is all about! Here comes Sierra to help Ed out.

light box cube reading fort

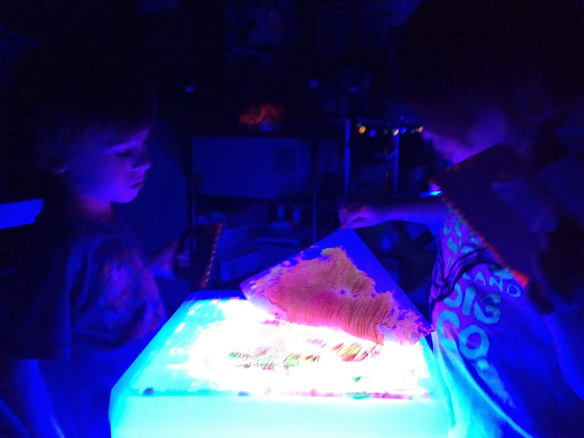
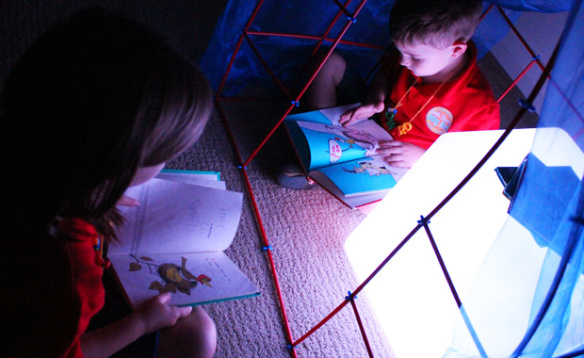
Almost finished…! Now to turn on the Light Cube to complete our reading fort.

light box cube reading fort

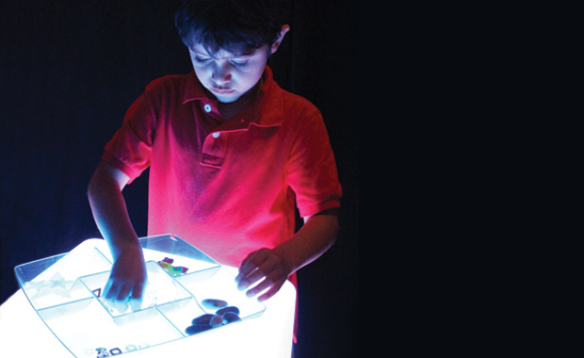
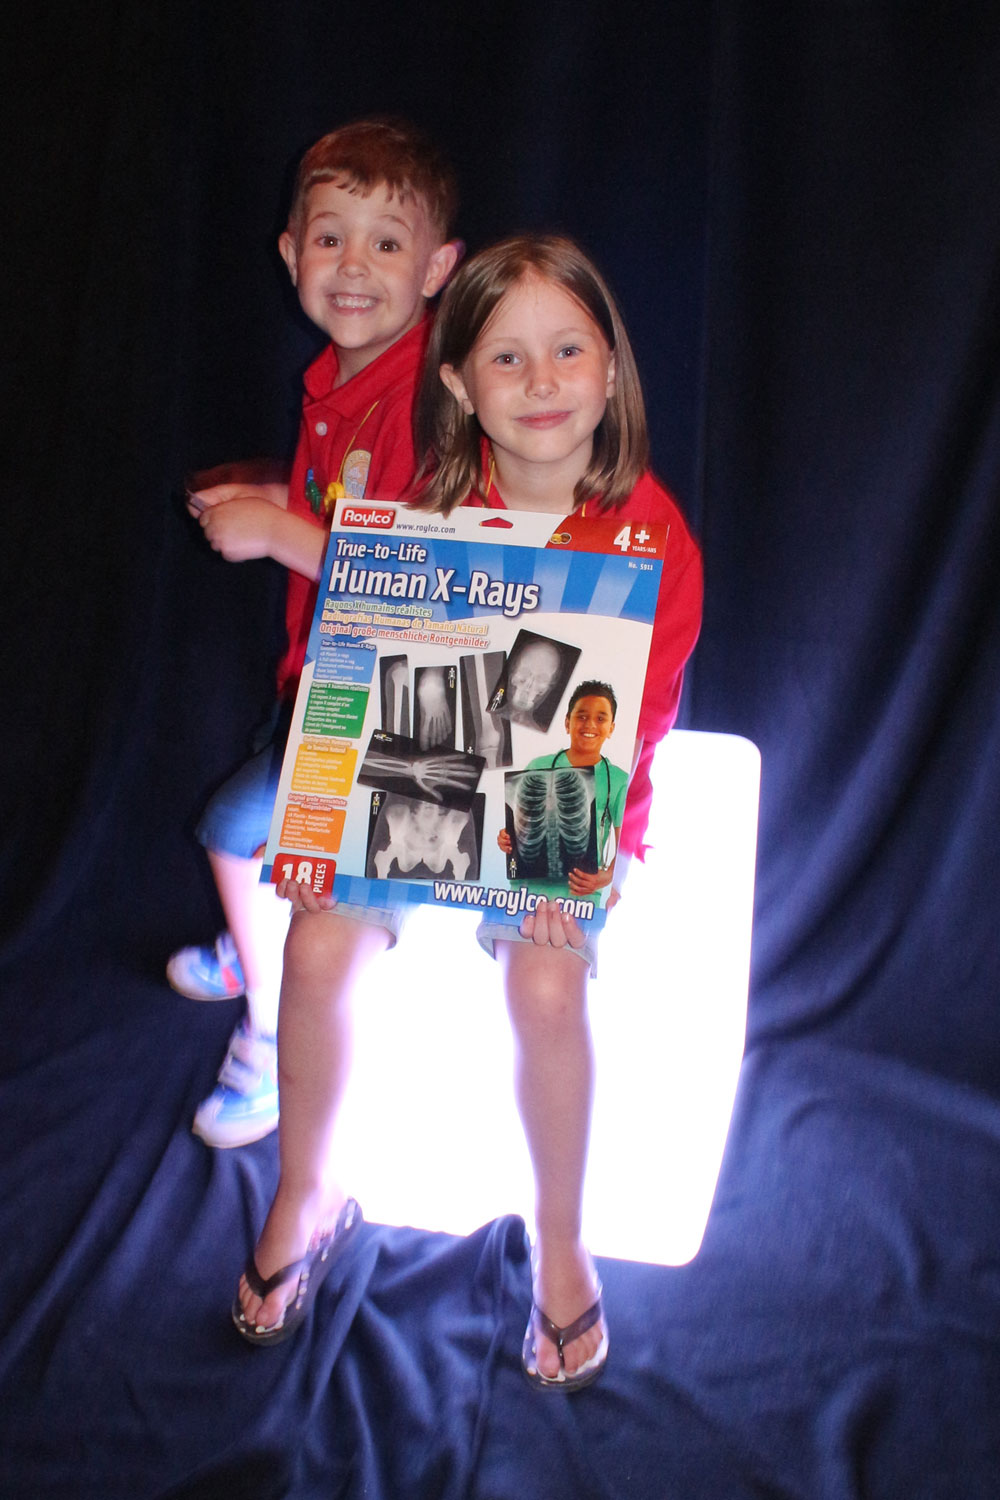
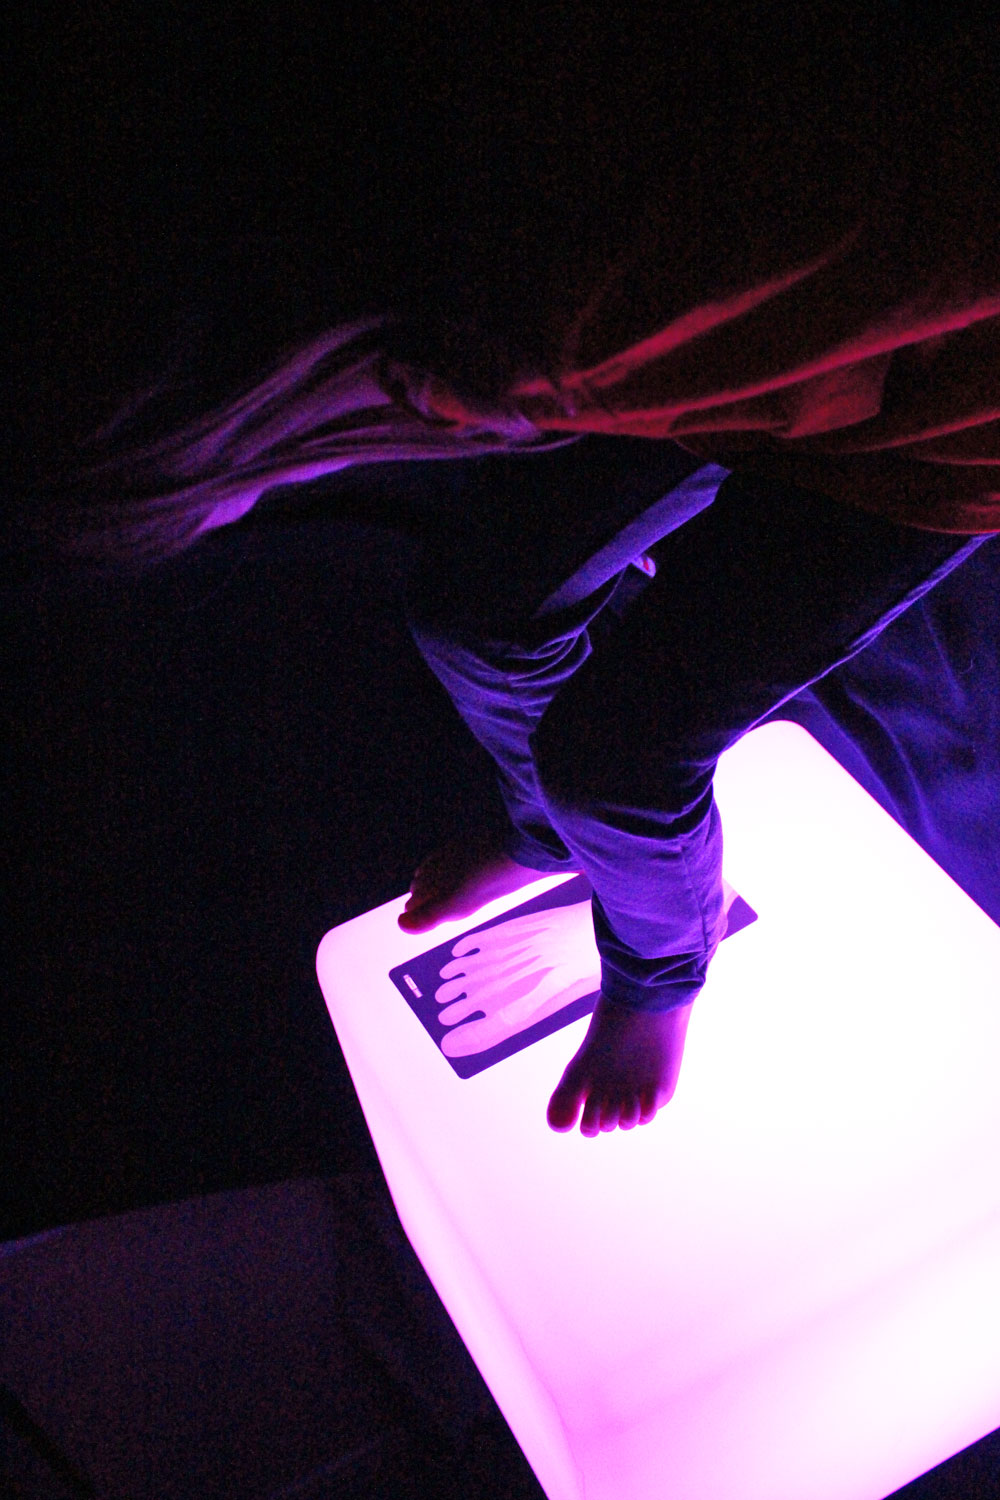
The soft glow of the Light Cube made reading enjoyable and calming at the same time. Both of the campers became so immersed in their reading, they forgot about all the crafting going on outside. This is a perfect project for your classroom that your students will love to build, and later, use for themselves. The reading fort is also a great place to store the Light Cube when not in use for sensory explorations or when you would like to center excitable students’ attention on quieter projects.

Line-03

Like us on FacebookShare this post with your friends, or Subscribe to this blog today to receive original craft project updates every Monday, Wednesday and Thursday!

Light Cube: Glowing Art by Twins At Play!

IMG_5045

Kristen from Twins at Play is featured in another great post about the Educational Light Cube. In this edition, she gets her twins to play with neon tempera paints and black lights on the Light Cube!

To see the full post, please view HERE!
Kristen says:
“My twins had such a blast with this activity!
We used:
 
neon tempera paint, 
and printer paper
IMG_5046
 
With the Educational Light Cube remote control, we turned the light cube to on one of it’s blue hues.  We switched around between blues and purples. We also turned on a few black lights. I put one of the Educational Light Cube trays from the accessory pack on to the light cube, then squirted some neon tempera paint right on to the tray. After that, I gave my twin boys paint scrapers and let them make designs, then they pressed printer paper on to the paint, gently pushed down and gently lifted the paper. They ended up with very pretty Art prints!
IMG_5058
We did this before bed, there was very little clean up.
This can be done in daylight with regular colored tempera paint too!”
Thanks to Kristen @ Twins at Play for putting together this awesome post!
Images and Text © Kristen from Twins at Play blog

To see more about our R59601 Educational Light Cube, visit here!

Line-16

Like us on FacebookShare this post with your friends, or Subscribe to this blog today to receive original craft project updates every Monday, Wednesday and Friday!

Educational Light Cube: Sorting Manipulatives

2014-11-27-FeatureImage

Getting students to sort manipulatives is a double-duty task. While they sort and differentiate between the objects in front of them, students get to exercise their fine motor skills, too!


On the R59601 Educational Light Cube, sorting gets so much more fun to do! Turn on the fading function of the Light Cube to gradually cycle through colors. This produces a calming effect on students, getting them to slow down and focus on their task.

IMG_9559

Our first step was to find a snack platter at the dollar store. Use the snack platter to encourage proficiency in identifying like and unlike objects. Gather a variety of different types of manipulatives. We suggest using items such as buttons (R2131 Bright Buttons), letters or numbers beads (R2185 Math Beads and R2184 Manuscript Letter Beads), mosaics (R15367 Heart Mosaics) and more! Place all the manipulatives in the center of the snack platter.

IMG_9561

Ask students to sort through all the different manipulatives and pick out similar ones. Place similar items in one of the snack platter dividers. Repeat for all other items in the snack platter.

IMG_9562

If you cycle through the colors more rapidly on the Light Cube, it challenges students to notice the differences between objects that are transparent versus those that are opaque.

IMG_9566

It’s a great exercise that students will love to try!

More curriculum-based activities on the Light Cube:

Use readily-available materials for counting and sorting

• Build stacking abilities with dollar store party cups

• Find out just how sturdy the Light Cube is!

Share your stories about the Light Cube! What activities do your students use the Light Cube for?

Line-20

Like us on FacebookShare this post with your friends, or Subscribe to this blog today to receive original craft project updates every Monday, Wednesday and Friday!

Light Cube: Math Straws

2014-11-20-FeatureImageExplore mathematics on the Light Cube using simple items you can find at your local department store or dollar store! The Light Cube will focus students’ attention as they manipulate the materials to build skills in early numeracy!

IMG_0559In this edition of Light Cube lessons, we’ve decided to focus on counting and sorting. To do this, you will need a package of clear colorful straws, some transparent numbered stickers and 10 clear plastic drinking cups.

IMG_0565First, we tacked down our stickers to the Light Cube. The stickers we found are numbered 1-10 so you can explore counting in different quantities, or for advanced learning, develop skills in skip-counting. We’ve decided to skip-count by the number 2. This is a great starting point for discussing the differences between odd and even numbers.

You can additionally create your own stickers by using clear scotch tape and writing numbers on the tape with permanent marker. Paste down the tape onto the Light Cube. Tip: If you own a Light Cube tray, you can use write the numbers directly onto the tray with dry-erase markers.

Ask your students to pick out the same number of straws as the numbers indicated on the Light Cube. Place the straws you’ve picked out directly onto the Light Cube underneath each number.

IMG_0580

Once we had explored the basics of skip-counting, we moved onto bigger numbers. You can mix the digits to make these larger numbers. To contain the larger number of straws, use the clear cups.

IMG_0593To reinforce your students’ counting skills, mix up a random amount of straws into each cup and ask the student to correct to the proper amount. They must either add or subtract the straws.

To take students’ learning one step further, ask them to imagine that each straw has a certain value, such as 2. Therefore, each straw represents the number 2. If you have labeled a cup as the number 6, students will have to place 3 straws inside the cup to reach the right amount.

The glow of the Light Cube is a great base for exploring abstract mathematical concepts as students are focused on the materials they work with.

Line-04

Like us on FacebookShare this post with your friends, or Subscribe to this blog today to receive original craft project updates every Monday, Wednesday and Friday!

Educational Light Cube: Dimensional Art by Twins at Play!

The awesome sensory and light play blog Twins at Play delivers a new post about our Educational Light Cube! Check out this great combination of our Light Cube Building set and Constructa Clips on a beautiful illuminated surface and the coolest sculpture you’ve seen yet! 

© Kristen from Caution! Twins at Play! blog

This is what Kristen from Twins at Play had to say about her twins’ experiences with these products:

My twins and I have been enjoying making awesome shapes, sculptures, and art on the light cube with the Constructa Clips light table building kit! The kit comes with 48 red clips and 32 mylar shapes. The shapes are nice and sturdy but do bend a little for awesome building fun! The shapes are also great for color lessons! I love this kit, it is perfect for the light cube, light table, or even natural light play! They cast great color in sunlight!!

In the photos below, we used the clear plastic trays for the light cube to hang the clips from. Then we were able to build outward and downward with the constructa clips and shapes!  This was a really fun and unique building experience. This was also a very unique light cube/light table play experience.
We also used a plastic straw to create art sculptures. We used the 4 clip constructa clips to attach shapes and then we just put the straw through the whole in the center of the constructa clips. What a fun way to create art and building at the same time on the light cube!!

Thanks to Kristen @ Twins at Play for putting together this awesome post!

To see more about our R59601 Educational Light Cube, visit here!

R60165 Constructa Clips Light Table Building Kit can be viewed in-depth here.

Line-07

Like us on FacebookShare this post with your friends, or Subscribe to this blog today to receive original craft project updates every Monday, Wednesday and Friday!

Educational Light Cube: Sorting Colorful Plastic Circles

2014-10-23-FeatureImage

View the beautiful effects of colorful mylar shapes on the Light Cube!Today’s lesson was to experiment with different printed shapes and colors that can be overlapped to create new appearances.

IMG_9487

These mylar shapes were made from tinted transparency sheets. You can find colored transparency sheets at your local dollar store… as page dividers! Cut out simple shapes such as triangles, circles and squares from these special plastic sheets.

Incorporate math lessons with your Light Cube exercise. Teach your students about geometric shapes and their properties! Ask students to describe the shapes to you.

IMG_9490

We asked our art camper Jasmine to combine the shapes together and see what kinds of new colors she could make. Each of the shapes were cut out of differently-colored transparency sheets. These colors, when overlapped, create new color combinations!

IMG_9492The sheets are transparent, meaning that you are able to see light through them. Place the sheets onto the Light Cube and turn on the strobing color function. Watch the transparent sheets change color as they reflect the light underneath.

Explore the meaning of transparent, translucent and opaque. Experiment further with other objects to see the differences between their transparencies.

Line-06

Like us on FacebookShare this post with your friends, or Subscribe to this blog today to receive original craft project updates every Monday, Wednesday and Friday!

Educational Light Cube: Stacking Colorful Cups


2014-10-09-FeatureImage

View the dazzling effects of color-changing light on the cube with dollar store variety cups and plastic drinking glasses! Develop fine motor skills through arrangements of stackable cups… see more of this exercise below!


IMG_9337

To start the activity, we first turned on the Light Cube to the ‘white’ setting. Next, we placed a stack of clear-color plastic cups we found at the dollar store on top of the cube. The white brings out the brightness of the clear colors and allows kids to see what inside of the various cups look like when they’re stacked together.


IMG_9338

We next asked our art camper Stephano to take the structure apart. He wanted to see how the individual pieces looked like. Without the bases, these regular dollar variety martini glasses appear quite unique!


IMG_9340

How about we add some more to the mix? Here’s a good look at what happens when you stack multiple cups of the same color together–the colors become extremely saturated, meaning that they are intensified.


IMG_9343

Now let’s add another level of complication to our structure with the bases for the cups.


IMG_9361

Stephano decided to structure the martini glasses in a way that they could easily be stacked together with the bases intact. He decided to place them standing on top of the inside of each cup.


IMG_9362

Next, we amplified the colors of the glasses by changing the cube’s color to red. This created a stark glow throughout the room and helped Stephano focus directly on stacking rather than the colors of the cups.


IMG_9364

Once we turned the cube’s color back to white, we got to see how Stephano had randomly chosen differently-colored cups to stack together. Reflecting back on the activity, Stephano noticed that he wasn’t so worried about which colors he used while he was stacking. Instead he could focus directly on stacking the cups together, and then afterwards enjoyed the surprise when he got to see what combinations of colors he used!


Line-12

Like us on FacebookShare this post with your friends, or Subscribe to this blog today to receive original craft project updates every Monday, Wednesday and Friday!


Educational Light Cube: As Furniture?!

2014-09-25-FeatureImage

Yes, you heard right! Our R59601 Educational Light Cube can be used as a wonderful furniture addition to your classroom! The sturdy design makes it perfect not only as a table at the play center, but as a stool, a climbing base and more. 

We recommend placing the Educational Light Cube in a ‘quiet’ location, such as a reading area or playtime corner. It’s a good idea to have the cube fully charged before allowing students to use it as a furniture piece. Charge up the cube the night before to ensure that it has enough battery life (3-4 hours) to be used in the main classroom area. This eliminates the need to leave the AC adapter cord lying on the floor–if you have to have the Light Cube plugged in, tape down the cord or place a cord cover on top to prevent it from becoming a trip hazard.

IMG_8738The Light Cube is a great complement to a variety of educational resources such as x-rays, overhead projection sheet activities and much more!

IMG_8745

The Light Cube doesn’t stand too far off the ground and is sturdy enough to support the weight of a student on it. As a result, it can be used as a light platform. Plus, it is the perfect height–not too high, and not to low! Students can easily kneel at the Light Cube and get the full benefit of being able to experiment with light as they manipulate the materials on top.

IMG_9826

As students become more familiar with the Light Cube, they can extend their learning to incorporate gross motor as well as fine motor skills. Stand or sit up on the Light Cube to measure the size of your feet in comparison to an R5911 True to Life Human X-Ray foot, just like this student did! Or play Light games around the cube! Play memory games and hide various objects under cups, then shuffle them around. There’s tons of things to do on the Light Cube… just using it as a furniture piece alone is lots of fun!

Line-08

Like us on FacebookShare this post with your friends, or Subscribe to this blog today to receive original craft project updates every Monday, Wednesday and Friday!

Guest Post: Kristen from Twins at Play and the Educational Light Cube!

10592802_695355657208376_405822951096328009_n

Kristen from Twins at Play has written up a wonderful guest post about her twins learning and playing on the Educational Light Cube! Check out her brief overview of all the things you can do with the cube. 

Please visit Kristen’s blog at Twins at Play and see more great ideas for light table play! To view this particular post in its entirety, please visit the link HERE!

Exploring colors on the Educational Light Cube is a lot of fun. My twins have really enjoyed setting up items on The Educational Light Cube and then using the remote to change the color and see how everything looks in the different shades.

colors_and_light_light_cube

They also enjoy choosing items that are all of one color and setting up an activity that is based on a certain shade that the Educational Light Cube makes. I love how the great variety of colors that it can change to. The color options really are quite fantastic! The Educational Light Cube really does stand apart from any other light play source.

10687262_10204847898345876_5747754327464116793_o

With the adaptability to move to any location and operate without any batteries or cords, it really makes the possibilities of it’s use endless! You just need to have it all charged up overnight and it will be ready for use! You could potentially organize a light play themed children’s birthday party and have it set up with a variety of translucent building toys and sensory materials. The lovely glow of the Educational Light Cube really does draw in and fascinate children of all ages.

10628683_10204847898265874_1411604003251544187_o

The Educational Light Cube makes an excellent rainy day or sick day play item as well. With it’s ability to make play so magical, boredom is seldom an issue. You can find items from all over your home to place on the Educational Light Cube. You can also pick up items from Michaels craft store and the Dollar Tree. You would mainly want to collect items that are translucent, but colorful.  Most retail stores and educational stores have items throughout their store that could potentially be light table materials.

1273450_10204847904066019_3011301127530697679_o

There are any companies that make toys that are meant specifically to be played with on a light source, or in sunlight. However there are so many everyday household items that work brilliantly as well. There are really no limits, as long as you use safe materials. You can find many items at the Roylco store online, check it out HERE.

Find the Light Cube and accessory pack with removable messy play trays HERE.

Thank you to Kristen for this awesome post!

Images and text © Kristen from Twins at Play

Line-19

Like us on FacebookShare this post with your friends, or Subscribe to this blog today to receive original craft project updates every Monday, Wednesday and Friday!