Craft Spotlight: Fingerpaint Sensations Kit

Feature-Image-FingerPaintSense

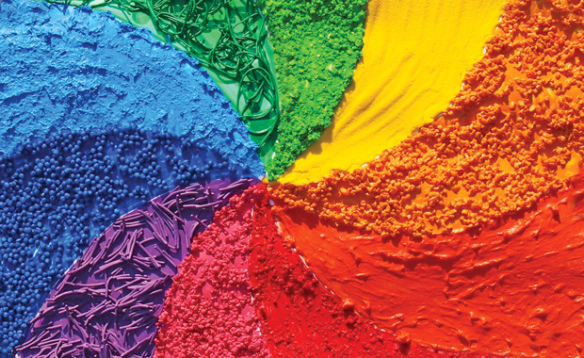
Our safe-to-use additives provide a pop of sensation to your painting projects! A great way to encourage fine motor play in special needs classrooms. Simply pop in one additive to one color of paint and let the fun begin!

Each additive is packaged separately so you can control how much of each you want to use in your painting. Simply insert the additives into your favorite paints and stir around. It’s a good idea to place each color into separate bowls. Let sit for a bit to help the additives soak into the paint.

R75415

The kit includes ten sensational additives: Fine grit, funny fibers, coarse grit, squishy, soft, frictionless, dissolving, roly-poly, stringy and goopy!

The video below demonstrates how these additives work with paint on paper. Try it out for yourself!

Get your students to dip their fingers into the paint and describe the textures they feel. Which textures do they like the best? The video below shows one of our friends Ryan trying out the Fingerpaint Sensations paints for the first time!

Children can paint scenes or pictures of things they like.

_DSC0026
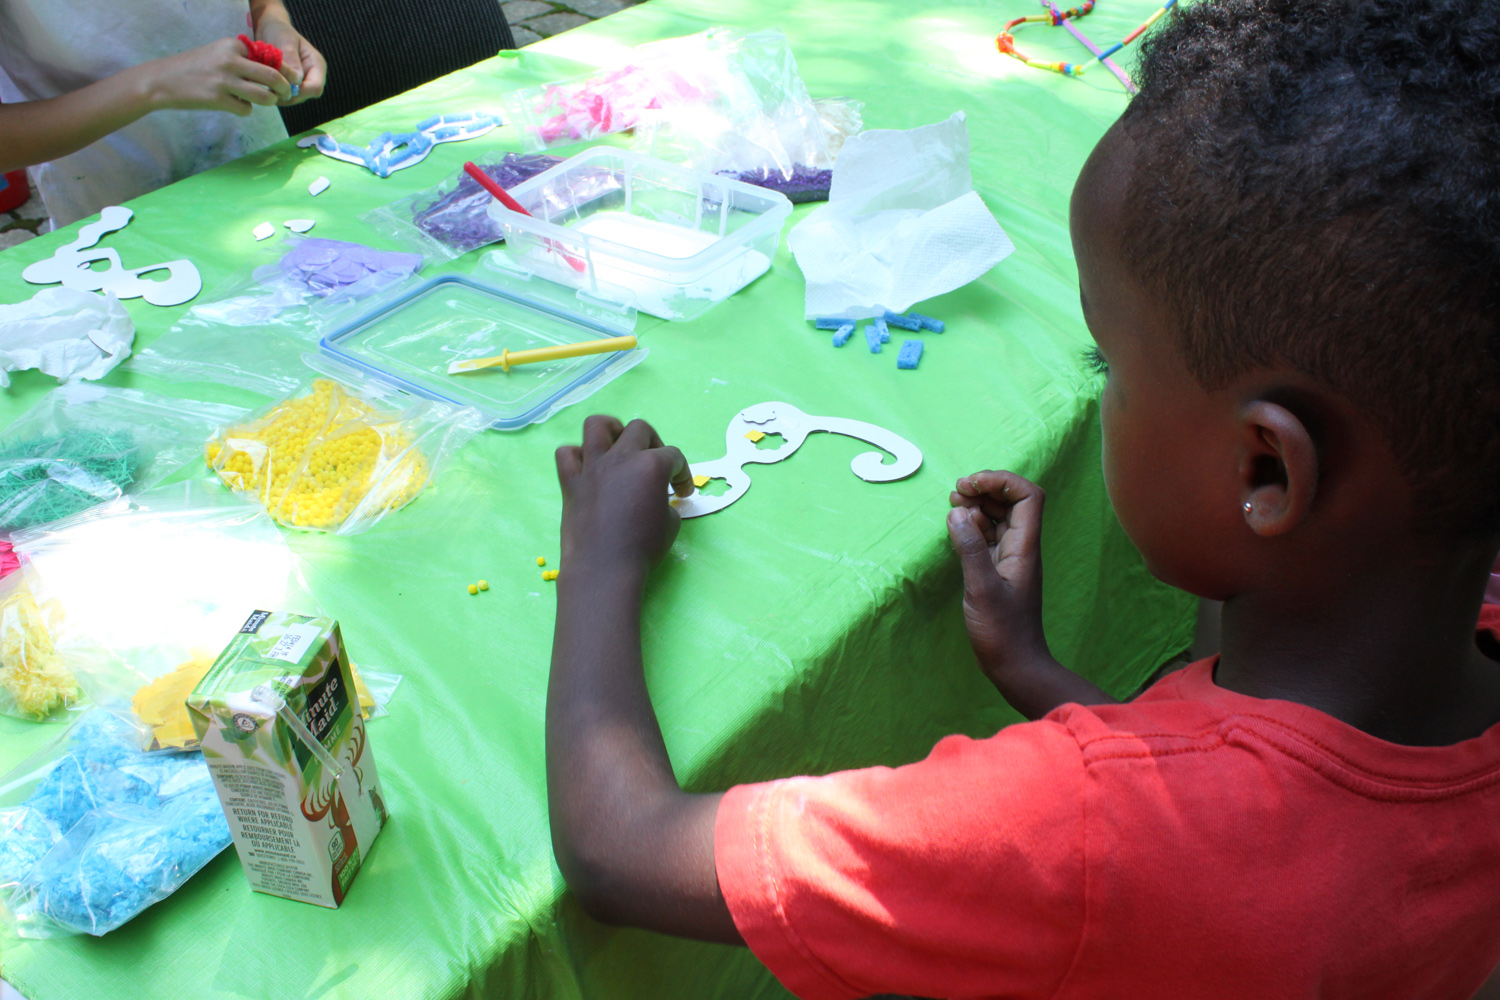
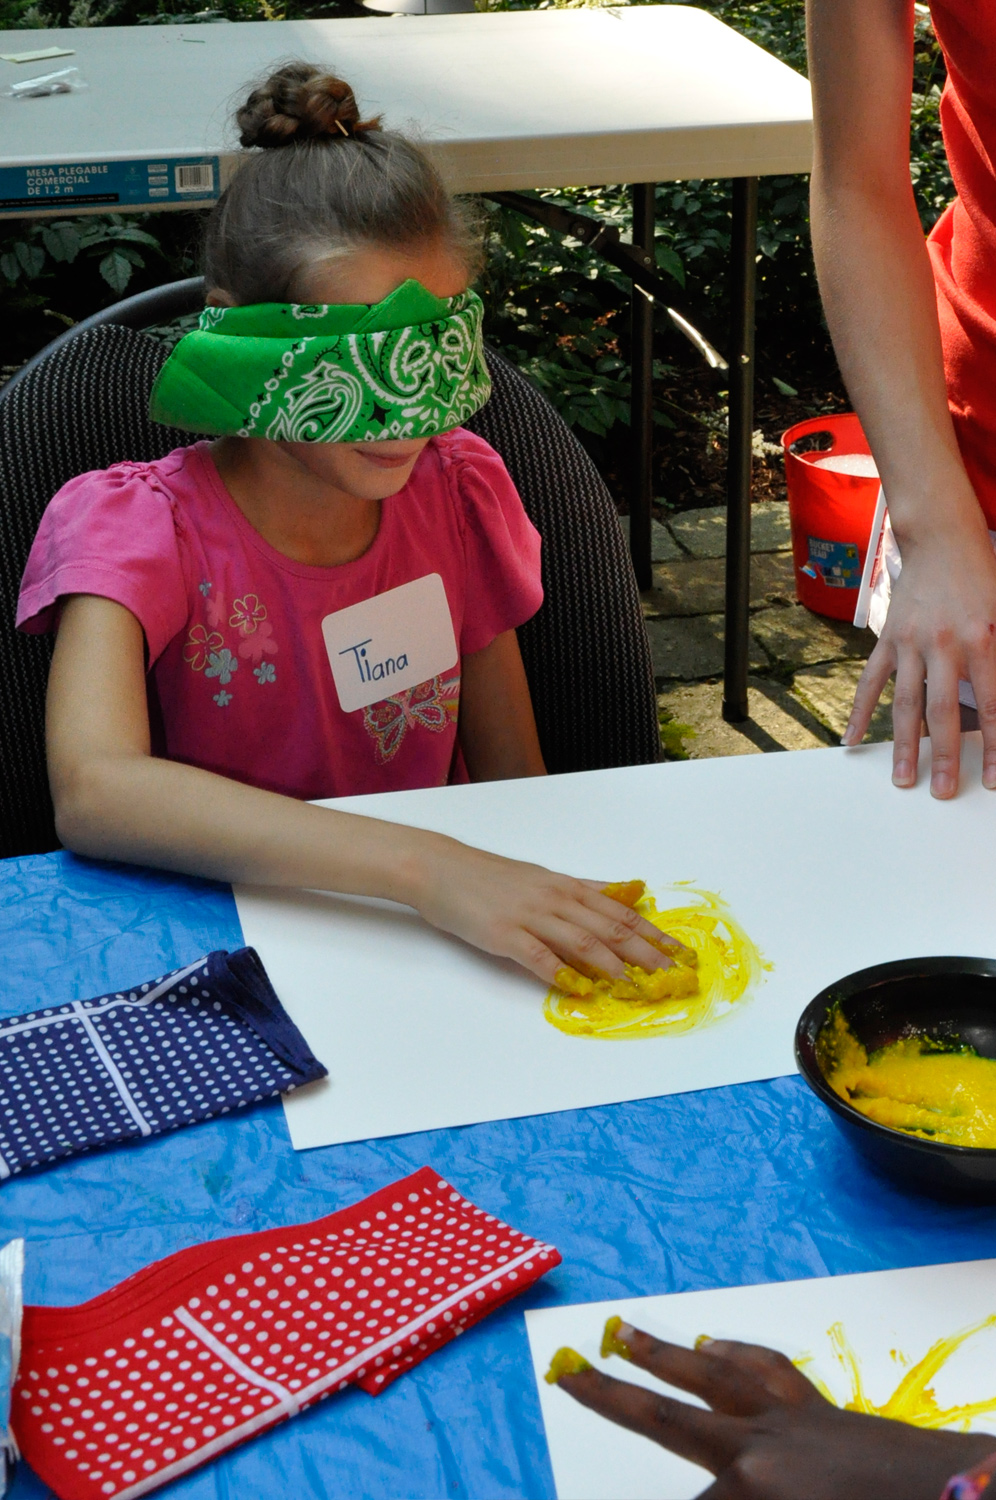
To help your students focus on the sensations of the fingerpaint, wrap a bandanna around their eyes so they can’t see their work. Ask them to “feel” their painting. Our Art Campers were talked through their paintings. For instance, we would help them dip their hands into a color of paint and told them to feel the texture and imagine what it could represent in their painting. Once they provided their descriptions, we placed their hands over their painting paper and asked them to draw the the rays of the sun using gritty yellow paint. 

_DSC0019

Once that was complete, the students moved on to paint their gooey blue sky. It was great fun to hear their reactions when they put the different elements of the painting together. Despite not being able to see, many students could clearly visualize how they wanted their painting to appear.

_DSC0021It was a good lesson in getting students to focus on their fine motor movements rather than just relying on their vision to create their art pieces.

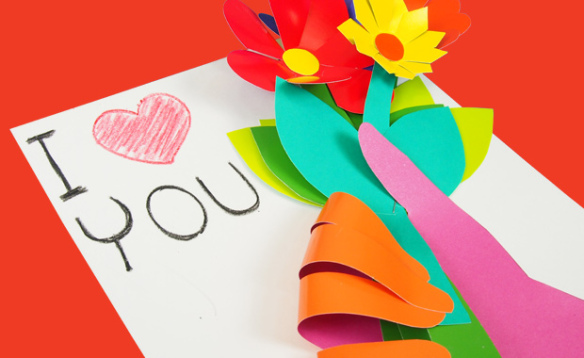
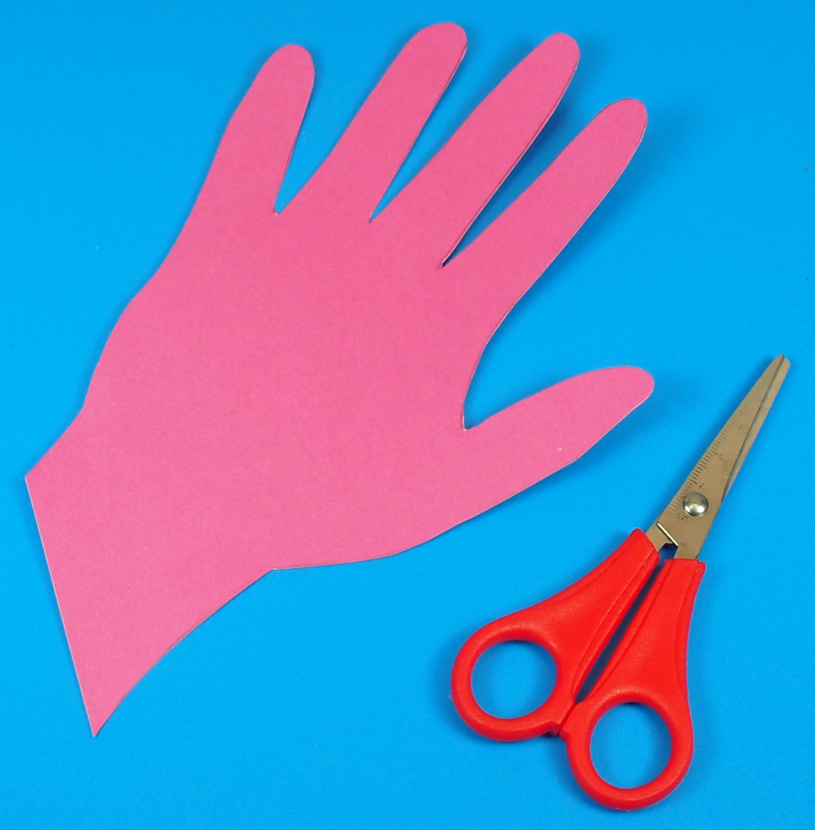
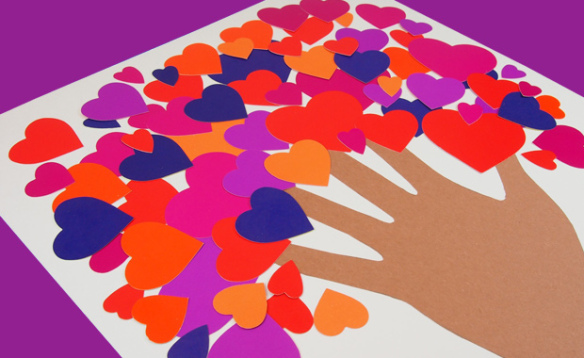
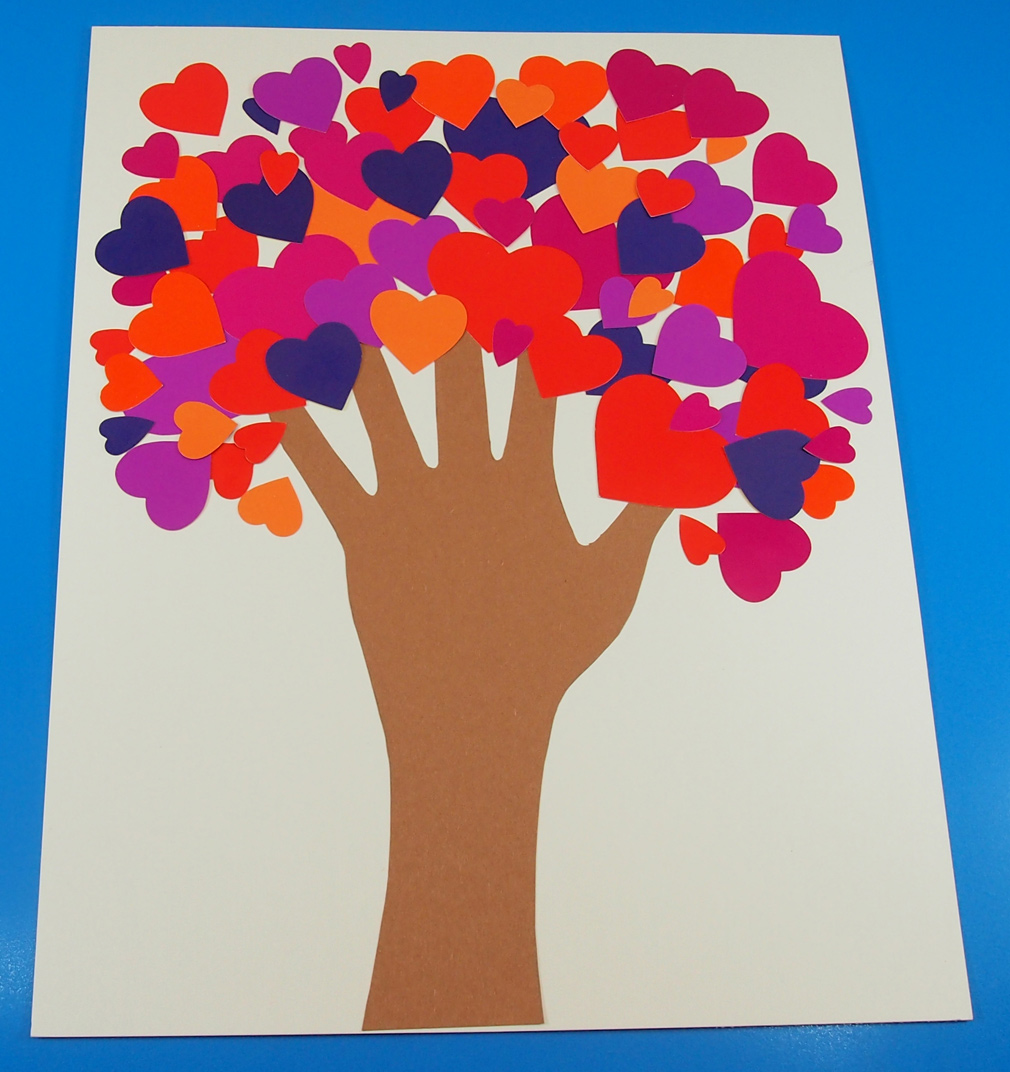
If you are going for more results-based artwork, try out a project like the one below!

75415 Fingerpaint Sensations_Image Sample1

Here’s an example of something your students can make. Cover various parts of your hands and fingers with different sensational paint colors. Press your hand onto a piece of paper. Add in details later.

Line-20We hope you’ve enjoyed this post! If you have thoughts to share or would like us to post up photos of your students’ work, send us an email to subscriber@roylco.ca!

Crayon Shaving Stained Glass Paper

Feature-Image-crayonglass

Last year, one of our most popular crafts used a technique with shaved crayon bits to make authentic-looking stained glass images. Try it out for yourself! The stained glass effect can be applied to any of our black-frame designs. 

Age: 5+ (Adult Supervision Required)

Duration: 20-30 minutes

You’ll Need:

• R52087 Tropical Fish Stained Glass Frames R52070 Stained Glass Frames /R52074 Junior Stained Glass Frames / R52093 Stained Glass Lantern

• Unlabeled crayon sticks

• Pencil sharpener

• Black marker

• Wax paper

• Paper towel

• Iron (CAUTION: Use adult supervision!)

• Scissors

• Glue

Line-15

Stack the sheets of wax paper and staple them together if they aren’t already attached. Place several sheets of the paper towel on top of and below the wax paper sheets to minimize mess. Lift the top sheet up and crease along the spine to hold it in place above the second sheet of wax paper. This second sheet of wax paper will be your workspace.

_B072118

Place the wax paper on an iron-safe surface, preferrably a craft table.

Use the pencil sharpener to sharpen the ends of the crayon. Hold the pencil sharpener and the crayon stick above the workspace so that the shavings fall onto the wax paper. Keep sharpening the crayon ends until you have just about covered the workspace area. Tip: Use different colors to make the best crayon shavings mix. In the next step after this one, I found that using fluorescent-colored crayons produced the best results. The colors were so bright and beautiful. If you never had a real use for fluorescent crayons (as the colors don’t show up so well on regular paper), save them instead for this project!

_B072122

Once you have just about covered the sheet of wax paper, replace the first sheet of wax paper over top to cover. Make sure that the top and bottom of the wax paper sandwich is covered with paper towel. This is crucial for this next step. CAUTION: Using an iron requires adult supervision. Make sure you do not use any hot appliances without proper protection (oven mitts, for instance!).

_B072128

Set the iron between the LOW and MEDIUM settings. Place the iron on top of the paper towel. Gradually push the iron across the paper towel in a zig-zagging motion. This will help to heat up the crayon wax to a liquid. While you push the iron across the sheet of paper, the crayon colors will converge and blend to create a wonderful stained glass look.

_B072134

When you have run the iron several times over the sheet of paper, remove the iron and have a look between the layers of wax paper to see how the crayon melt is forming. If it looks like it needs a little more work, fold the wax paper down and cover with the paper towel, then run over it with the iron.

_B072135

Place the stained glass design onto the crayon wax paper and adjust so that all the gaps are mostly covered by the color underneath. Use a black marker to trace around the outside edge of the stained glass design. This is a step that students will enjoy trying out for themselves as they can get to see how their finished art piece will look like.

_B072140

When you have finished tracing, cut out the crayon wax melt from the resulting outline. Hint: Make sure you keep track of what side of the stained glass design goes on top of the crayon wax melt. Use tape to secure the edges of the crayon wax melt and the stained glass design together.

_B072147

Flip the design over to make sure none of the wax paper shows outside of the edges. Trim any excess off with your scissors or reapply and tape the wax melt onto the stained glass design.

_B072148

Experiment with different colors and our other stained glass designs (the product numbers are available above in the materials list). The colors really are gorgeous! Hang the stained glass designs against a window to catch the light. When sunlight shines through the wax, the color will bounce off and reflect into the room. Enjoy the view. Talk to your students about the properties of light and color while creating the stained glass designs.

_B072156

If you have a large window in your classroom, make an entire theme of stained glass designs to hang up! The view looks great both inside and out!

Line-15

Thanks for stopping by! Give us your input or send us photos of your own projects to subscriber@roylco.ca. We’d love to hear from you!

Craft Spotlight: Masquerade Glasses

Feature-Image-masqueradeglassesBring out your inner drama buff! R52023 Masquerade Glasses are a great way to encourage students to express their performance skills while exploring decorative art techniques.There are several different types of Masquerade Glasses to choose from. For example, some of the glasses are well-rounded, others are cat-like frames, and yet other frames are shaped like stars, hearts or flowers.  You’ll notice the various types in our Art Camp photos. The Art Campers loved to try on the different styles first and see which ones suited them best.

IMG_2192Some of our Art Campers decided to start decorating right away with collage materials and other nifty craft bits we could find. It would be a good idea to encourage students to first color in their Masquerade Glasses before proceeding to decorate them.

IMG_2182

We used materials from the R75419 Sensory Collage Kit to provide our Art Campers with inspiration to decorate their dramatic glasses.

IMG_2185Some larger pieces helped to add color to the glasses! We attached all of the collage pieces onto the glasses with white glue.

R52023

You can color in the Masquerade Glasses with crayons, markers or paint. Cut out fun little shapes from construction paper or add on beautiful details with colorful pasta pieces or buttons.

To see more inspirational ideas, visit our PDF guide HERE!

Line-17

Thanks for stopping by! Give us some of your feedback on projects you’ve made. Send us photos and your thoughts to subscriber@roylco.ca! We’d love to hear from you!

Craft Spotlight: Color-In Chinese Lanterns

2014-02-10-FeatureImageWe combined two of our products into one project with the Chinese Lantern craft posted on Wednesday. Learn more about this colorful craft using our video and description below!

The Color-In Lanterns can be used with our rubbing plates to decorate the various pieces. Simply slide any of our available patterned rubbing plates underneath the lantern pieces. Rub the side of a crayon onto the top of the lantern piece and watch as the patterns pop through! Combining colors together is half the fun with this project. While rubbing the pattern onto the lantern pieces with one crayon color, switch into a different color to create new effects!

The interior lantern tube can be embellished with stickers or other rubbing plate designs.

Hang your students’ lanterns together on a length of string. Tie the string across a classroom wall.

To see some of these ideas in action, view the video below!

Line-17Thanks for stopping by! We’d love to hear your input or receive photos of your work! Drop us a line at subscriber@roylco.ca.

Valentine’s Day Pop Up Cards

2014-02-05-FeatureImageGive your Valentine’s Day wishes a personal touch with R22052 Double Color Card Sheets! We’ll show you how to make your card pop out in a meaningful way!

Age: 5+

Duration: 10-15 minutes

You’ll Need:

R22052 Double Color Card Sheets

• White paper 8.5 x 11″

• Staple

• Pencil

• Pencil Crayon

• Scissors

Line-14

2014-02-05-Step01Assemble all the materials you’ll need. Start choosing colors for the hands, flowers, flower stems and flower petal centers.

2014-02-05-Step02Trace the outline of your hand onto the matte side of a Double Color Card.

2014-02-05-Step03Now, cut it out!

2014-02-05-Step04Select the colors for the flower stems and leaves.

2014-02-05-Step05Cut out basic stem and leaf shapes. Make as many as you wish! There’s no need to make the leaves or stems perfect; as long as you can cut long thin, tapered rectangles, and elongated teardrop shapes, you’ll have what you need to decorate the Valentine’s flowers.

2014-02-05-Step07Next, choose your flower colors! Once you’ve made your decision, randomly cut up the Double Color Card sheets into big or small square sections.

2014-02-05-Step08

Give the random square sizes to students so they can make different sizes of flowers. Let them draw the petals of the flowers any way they like! Cut out the flowers once they are all drawn. I recommend making about 3-5 flowers per bouquet.

2014-02-05-Step09Find the spot between each flower petal. Cut a straight line into the flower, stopping about ½” to 1″ away from the center.

2014-02-05-Step10

These cuts will be important for making the flower “pop!” Fold the petals up from the center of the flower. Pull some petals in front of others to make the flower look a bit dimensional.

2014-02-05-Step11

Glue a small circle into the center of each flower.

2014-02-05-Step12Here are some other flower ideas! You can see how the flowers are all made into different sizes. I decided to make the petals on the yellow flower different from the rest. Your students can experiment in the same way. Use scrapbook scissors to make a variety of decorative fringes on the edges of the flower petals.

2014-02-05-Flower-Animation

Glue each flower to the top of each flower stem. About halfway down the stem, glue on the petals.

2014-02-05-Step13

Loosely bunch the flower stems together. Spread a few of the flowers apart while keeping their stems together to make the combination look like a real bouquet. Once you are satisfied with the position of the flowers, staple the centers together.

2014-02-05-Step14

Place the stems between the forefinger and thumb of your handprint cutout.

2014-02-05-Step15Next, carefully bend or curve the four upright fingers over the flower stems. Dab glue to the underside of the fingertips. Press the fingertips onto the flower stems.

2014-02-05-Step16

Spread a bit of glue onto your white paper card. Paste the hand cutout onto the card.

2014-02-05-Step17

Finally, write in your personal message to your special someone!

Line-14

If you made a related project, send photos of what you or your students made to subscriber@roylco.ca! We’d love to hear from you!

Craft Spotlight: Bouquet Paper

Feature-Image-bouquetpaperNo need to pick flowers! Make your own decorative bouquets with our realistic R24560 Bouquet Paper! The ingenious flower designs allow students to overlap the different flower images to make their own three-dimensional flowers!

IMG_00000396Sheets of Bouquet Paper line one of the art tables at our Summer Art Camp. Each of the flower images can be popped out from the backing and combined with other flower images. To see more information on our R24560 Bouquet Paper click the following link!

IMG_00000423

Simply overlap the flower designs. Each flower image is marked with a center hole to allow students to thread a pipe cleaner through and secure the flowers together. The pipe cleaner acts like the flower’s stem! Make sure the flowers all align at the center hole before you secure them with the pipe cleaner.

IMG_2353You can add leaves to the flowers as well. The hole for the pipe cleaner is located at the base of each leaf. Adjust the position of the leaves along the pipe cleaner ‘flower stem.’

IMG_00000432Each of the Bouquet Flower petals and leaves can be carefully folded along the center to add a realistic touch to your designs. Here, one of the Art Campers adjusts her flower bouquet!

IMG_2364The flowers were placed inside of clean and empty water bottles. The inside of the bottles were decorated with our 15203 Decorative Hues Paper located HERE. Students selected their favorite paper design, rolled it up into a tight tube and slipped it through the top of the bottle. Now it looks like a vase!

IMG_2369Perfect for adding a happy touch to your crafting table tops!

Line-11Thanks for stopping by! If you have used this craft in the past, send us photos of your work to subscriber@roylco.ca and we will feature them in an upcoming post!

Craft Spotlight: Stained Glass Paper

Feature-Image-StainedGlassPaperVibrant colors and intriguing designs bring a pop of authenticity to your students’ stained glass designs! Our post features a video as well as a sneak peek at our new My Garden Stained Glass Frames!

Stained Glass Paper can be easily cut into shapes that fit underneath black border stained glass images. Cut bits of Stained Glass Paper and add to your scrapbooking pages, too!

Have a look through our PDF guide for more details on projects using the Stained Glass Paper HERE!

The video below shows techniques on how to measure and cut the Stained Glass Paper into sections. Apply a bit of glue around the inside edges of the frame, then stick the Stained Glass Paper piece on. When you flip over the stained glass frame, the piece will add color and vibrancy to your project!


We used some of the Stained Glass Paper to put together our newest My Garden Stained Glass Frames.

_DSC0312

Above is a sneak peek preview of the Stained Glass Frames our art campers put together this past summer. Notice how brilliantly the colors of the Stained Glass Paper stand out!

Line-15Thanks for viewing this post! If you would like to have your projects featured on one of our posts, please send photos of your work to subscriber@roylco.ca and we will write up something in the near future!

Valentine’s Day Tree

2014-01-29-FeatureImageCreate your own Valentine’s Day artwork with Heart Mosaics! Use a tracing of your hand to form the tree trunk and branches, then fill in the gaps with Heart Mosaic leaves. Follow the complete tutorial below!

Age: 4+

Duration: 10-15 minutes

You’ll Need:

R15367 Heart Mosaics

R15233 Skin Tone Craft Paper

• Scissors

• Glue

• Pencil

Line-12

This is a fun and simple craft to make with basic materials. You could even adapt the project artwork and use it to create the front cover of a large-sized Valentine’s Day card!

2014-01-29-Step01You can use any color of Skintone Paper to make your handprint tree. For this project, I used a specific color of Heart Mosaic leaves to fill in the tree gaps, but your students can use whichever colors they like best.

2014-01-29-Step02Turn the Skintone Paper vertically facing you and place your hand in the center of the page. Trace the outline of your hand with a pencil.

2014-01-29-Step03Cut out the traced outline. This will form the base of the tree (the tree trunk and branches).

2014-01-29-Tree-AnimationNext, paste your handprint tree onto a sheet of white paper. Align the bottom edge of the handprint with the bottom edge of the paper.

You can start laying out the Heart Mosaic leaves around the “branches” of the handprint. Angle the direction of the Heart Mosaics outwards from the center handprint.

2014-01-29-Step04Once you have worked out the colors of your Heart Mosaic leaves, or where you want to place them on the page, start pasting them down.

Overlap various sizes of Heart Mosaics to get a fuller look for your tree.

Line-12

Thanks for checking out this project post! If you’d like to share some of your projects with us, send your photos to subscriber@roylco.ca and we’ll write up a post for our viewers!

Craft Spotlight: Heart Mosaics

2014-01-27-FeatureImage

Available in a multitude of colors, sizes and designs, these Heart Mosaics will give your students’ projects a ‘lovely’ pop of personality! Watch a video at the cut to see the leafy tree art project we made with the Heart Mosaics!

Since Valentine’s Day is just around the corner, we’ve got several projects using the R15367 Heart Mosaics coming right up! Stay tuned for some more great ideas.

The package of Heart Mosaics contains over 2000 pieces to use. Glue down the Heart Mosaics as you would with regular mosaics. The Heart Mosaics guide is chockful of project ideas that will entertain your students. Assemble various sizes of Heart Mosaics together to make animals such as a rooster, seal, lion, peacock, bumblebee, fish, bird, dolphin, crab and more!

View the PDF guide HERE for more project ideas!

The best way to use the mosaics is to first design a project. Illustrate your basic artwork on a sheet of paper. Use the Heart Mosaics to fill the image in with color. You can also incorporate the shapes of the hearts into your illustration.

R15367

In the video below, you can make your own handprint tree using the Heart Mosaics as leaves!

Line-09

Thanks for viewing this project activity! We would love to hear from you! If you have photos of projects your students have made, send us an email to subscriber@roylco.ca.