Craft Spotlight: Paint Bellows

_DSC0071

Explore a new painting technique with Paint Bellows! These neat little painting tools feature an accordion-style chamber to help push paint out in a splatter-like design. 

A few drops of tempera paint go a long way with this painting tool! First, press out all the air from the Paint Bellows chamber. To do this, squeeze the spout in between your pointer and third finger, and place your thumb on the flat back of the bellow chamber. Press your thumb down onto the chamber. Press towards the spout. This will make all the air in the Paint Bellow escape from the chamber.

Hold the Paint Bellow in this position and lower the spout into a small amount of paint. Release your thumb from the back of the chamber while holding the Paint Bellow in place. You want to make sure you have just a little amount of paint. A little is a lot with Paint Bellows!

NOTE: Use only thicker tempera paint with the Paint Bellows. Watercolor paints or watered-down paints tend to “leak” across the page rather than create the dotted splatter effect.

R5419

The splatter effect is created when an empty Paint Bellow chamber is suppressed then quickly released onto a sheet of paper. The video below shows some artwork that can be made with Paint Bellows. It’s all in the technique!

Line-13

Thanks for viewing this post! Subscribe to us for updates every Monday, Wednesday and Friday or drop a line at subscriber@roylco.ca! We’d love to hear from you.

Craft Spotlight: Sensory Collage Kit

Feature-Image-SensoryCollageWELCOME BACK TO 2014! We are ecstatic to begin the New Year with a plethora of craft ideas, guest posts and so much more! To start off, I’ve decided to post on our Sensory Collage Kit–filled with a variety of colorful materials to add brilliance, texture and fun to your students’ collage projects!

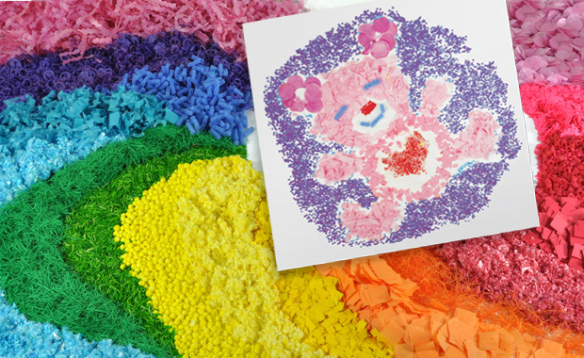
The Sensory Collage Kit features 20 sensory art packs with a variety of different textures to explore. Some materials are soft and pliable while others are bumpy or rough. Sort the materials by texture type or color.

R75419

In the video below, Cathy shows you how to put together a simple illustration of a shooting star using the collage materials.

One tip for using the collage materials is to dip our R5725 Goo Spreaders into a bowl of glue and have the students ‘draw’ out their illustration using the glue. Note: Use colorful glue (such as glitter glue or craft store colored glue) so that students can see their illustration. Draw one section at a time, then drop a handful of collage material on top. Shake off the excess and voila! You have started your first sensory collage illustration!

View the complete guide HERE! View the pdf to discover project ideas, material descriptions and more.

To build sensory awareness and develop fine motor skills, ask your students to describe the various textures while covering their eyes. Get them to think about the type of texture they are feeling. What would the material best represent? For example, the scratchy, thin green material could be used as grass while the fluffy blue material could be used for the sky. There are endless possibilities with the Sensory Collage Kit that you can discover for yourself NOW!

Our tip is to first draw the illustration in clear lines using black marker. Once this is done, your students can fill in the individual sections with the collage materials as they see fit.

DSCF7141

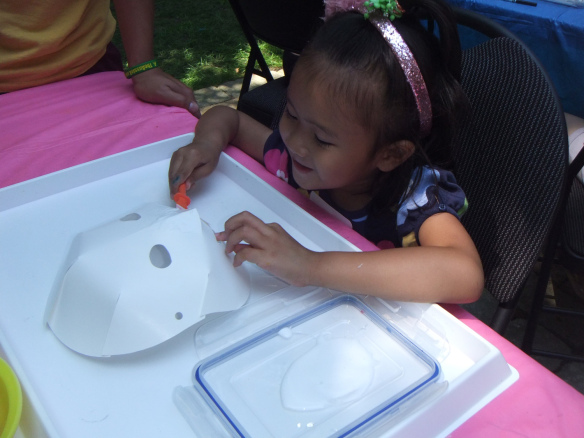
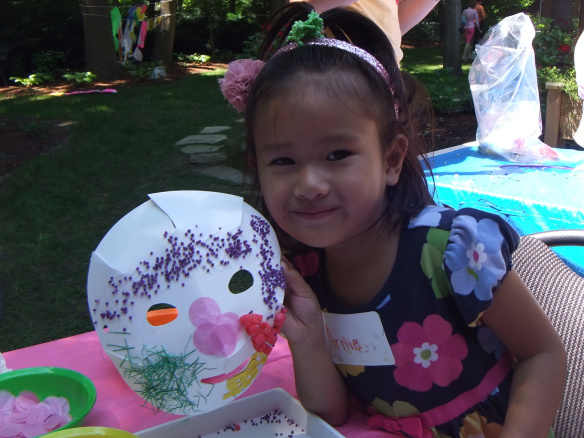
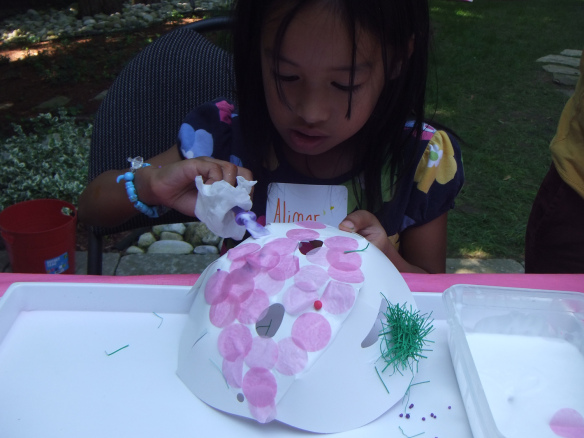
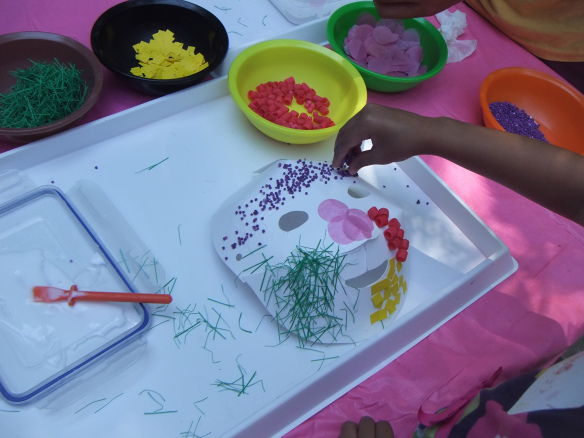
Our Art Campers took their sensory collage experience one step further and applied the materials to our R52076 Folding Fun Masks! With Goo Spreaders, a bit of glue and a lot of imagination, these little artists created a series of decorative masks for fun drama play!

DSCF7169While making their masks, the art campers were asked to describe their favorite textures and why they used these particular textures on the masks.

DSCF7162Some of the responses had to do with the colors chosen mostly, but others responded with what they were reminded of when holding and handling the materials. Some art campers described one of the materials as ‘bead-like’ while others identified others as ‘grassy’ or ‘fluffy.’

DSCF7165Line-19Thanks for stopping by! We wish you all a Happy New Year here at Roylco and look forward to working with teachers, educators and parents in the coming weeks to improve our commitment to early childhood education with our products. Contact us for more information if you are interested in working with us, or would like to showcase your own craft projects. Email us at subscriber@roylco.ca!

Christmas Tree Flourish Ornaments

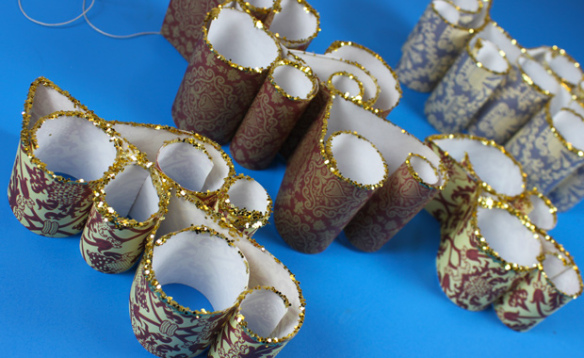
Feature-Image-CurlDecorationsAdd a fancy touch to your Christmas tree or include it in your holiday classroom decorations. The glitter can be a bit messy to work with, but in this craft, your students won’t have to get their hands in it! Super simple and stunning–that’s what we like!

Age: 5+

Duration: 15-20 minutes

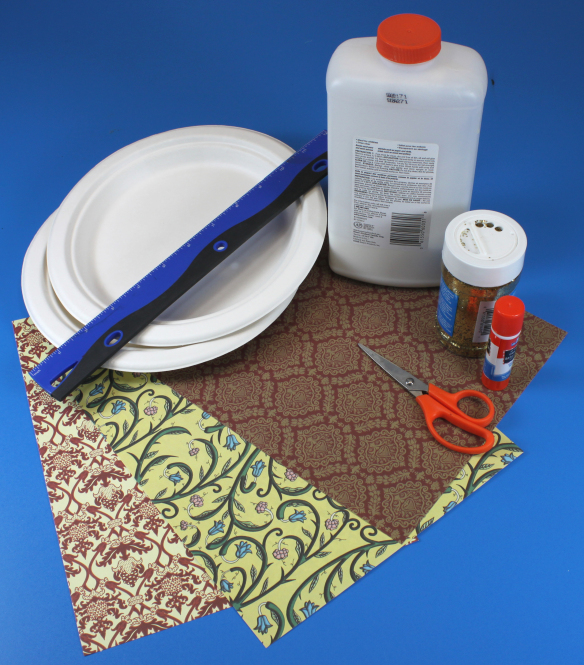
You’ll Need:

R15305 Renaissance Era Paper

• Glitter

• Scissors

• Glue

• Paper plates

• Ruler

Line-07

You can use any one of our decorative papers to customize your own flourish ornament. When you’re done making the ornaments, send us a picture of how they look like on your Christmas tree!

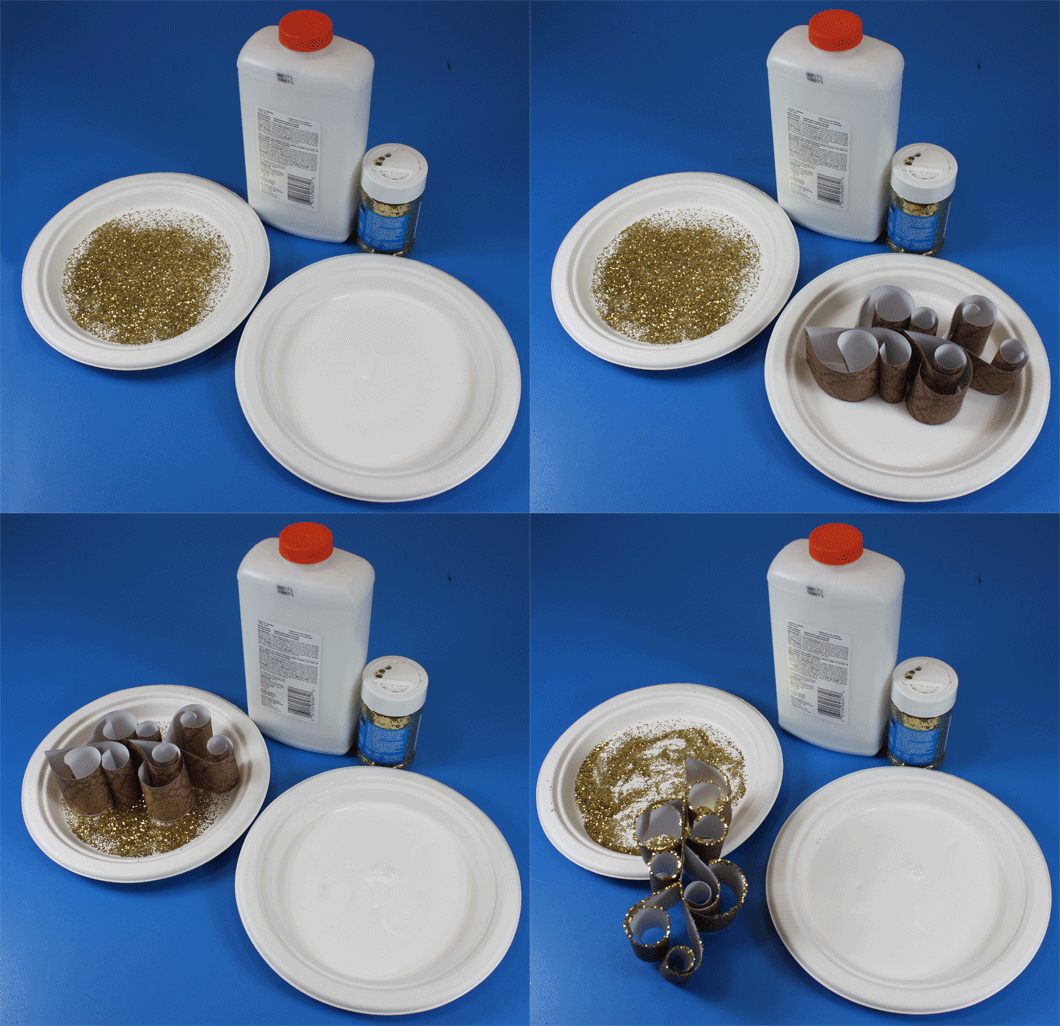
IMG_7925Paper plates will come in handy when adding glitter to your flourish ornament!

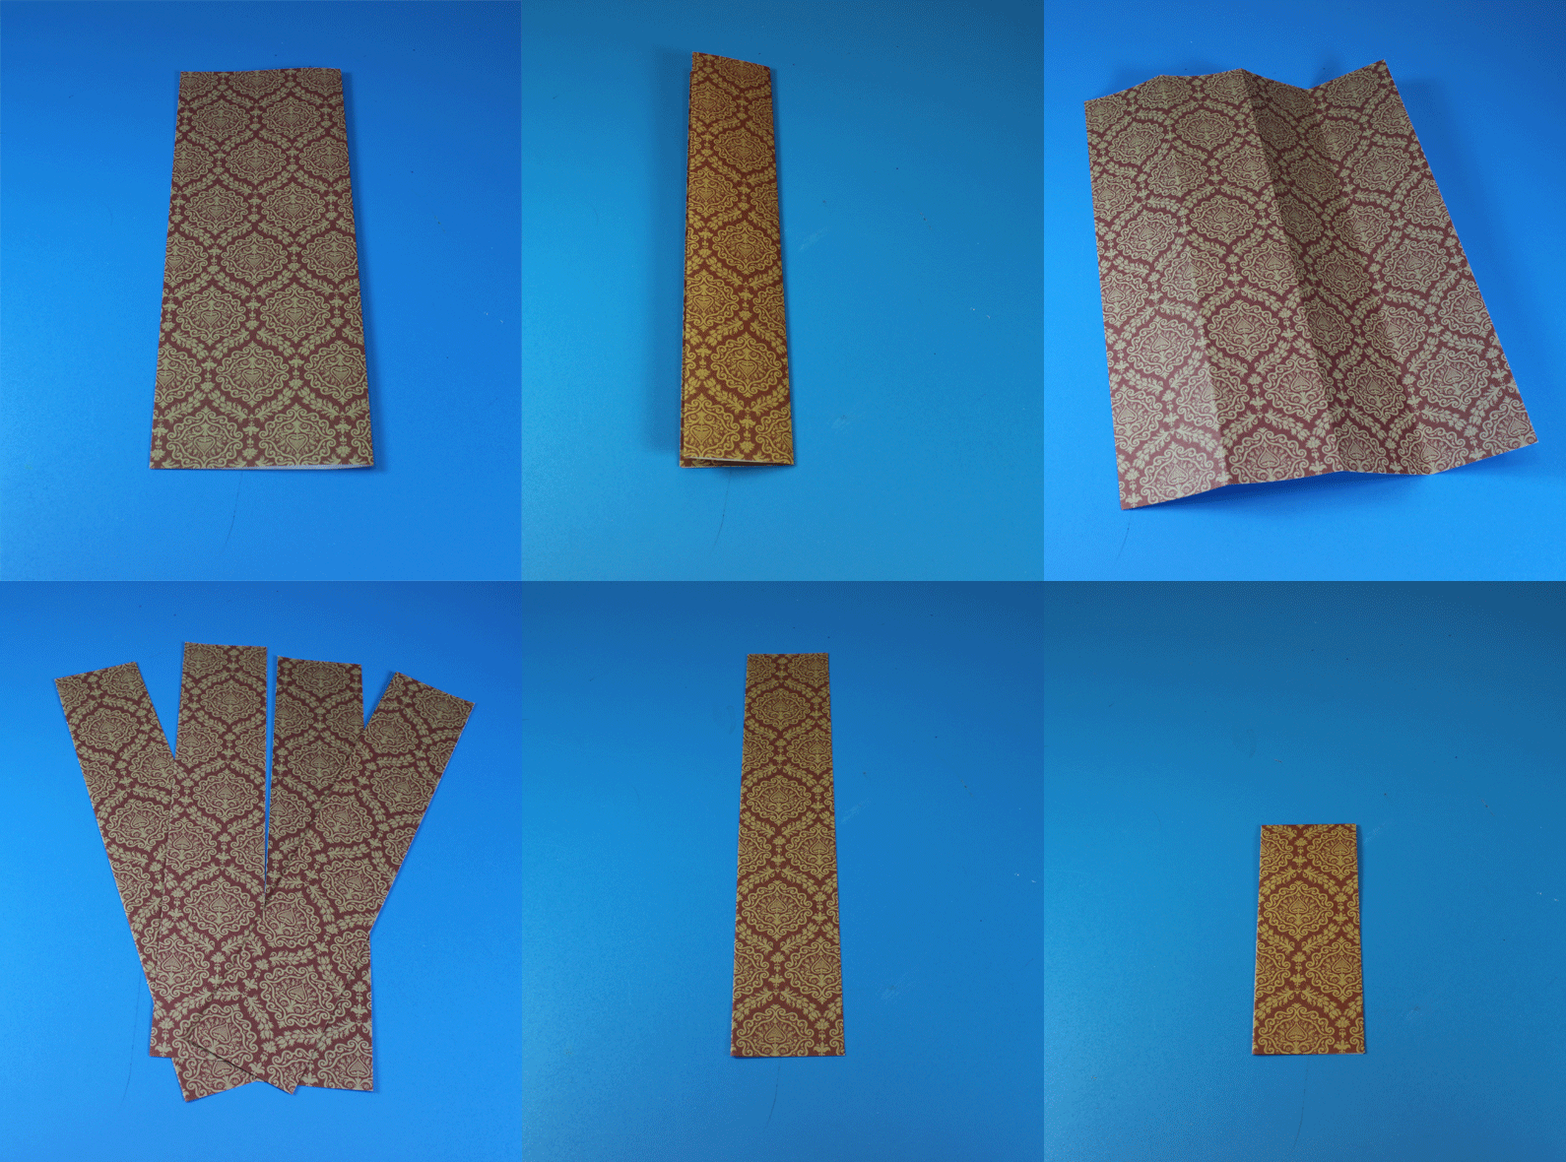
CurlDecoFoldCut-AnimationFirst, fold your paper lengthwise in half, then fold once again. Unfold your paper, to reveal three fold lines in total. Cut along the fold lines to separate the paper into four equal strips.

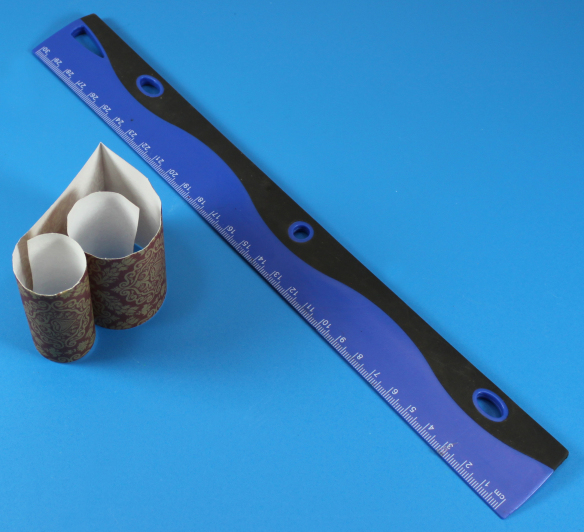
IMG_7933To make the curls on your flourish ornament, fold one strip of paper in half. Press the edge of a ruler to the underside (unprinted part) of one half of the paper strip. Stabilize the top of the paper with your thumb and pull the ruler with your thumb over the remaining length of the paper strip. This will curl the paper inwards.

Repeat for the opposite side of the paper strip.

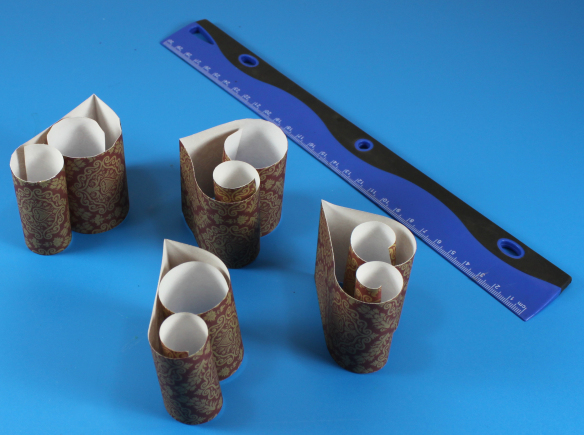
IMG_7934Do the same for the remainder of the paper strips.

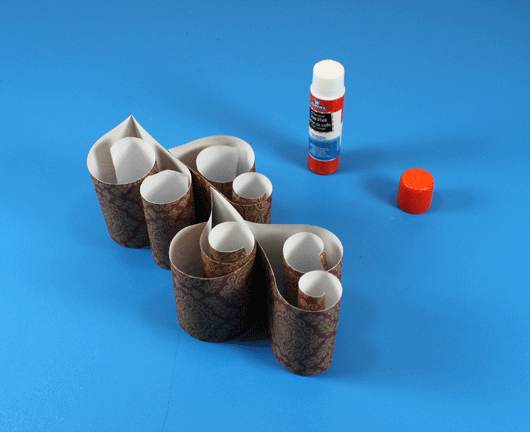
CurlDecoGluing-AnimationNext, glue the edges of your paper curls together. Join the edges together and fan the curls outwards from the center.

CurlDecoGlitter-AnimationFill the bottom of one paper plate with glue. Fill the bottom of a second paper plate with glitter. Dip one side of the flourish ornament in the glue. Lift, then dip the same side down into the glitter. Remove and set aside to dry.

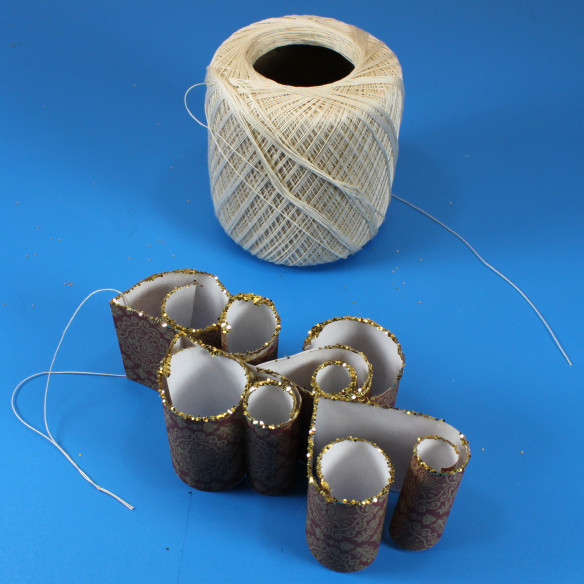
IMG_7948Thread a length of string through the top of the flourish ornament and tie a knot at the opposite end. Now it’s ready to hang!

Line-07

Thanks for checking out our Christmas countdown posts for this week! Stay tuned next week for more crafty holiday projects! Email us your projects to subscriber@roylco.ca. Looking forward to hearing from you!

Christmas Twist Stars

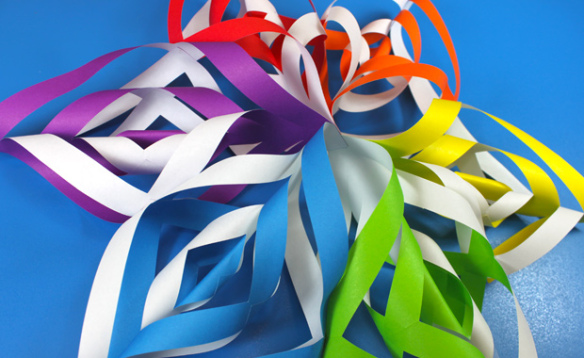
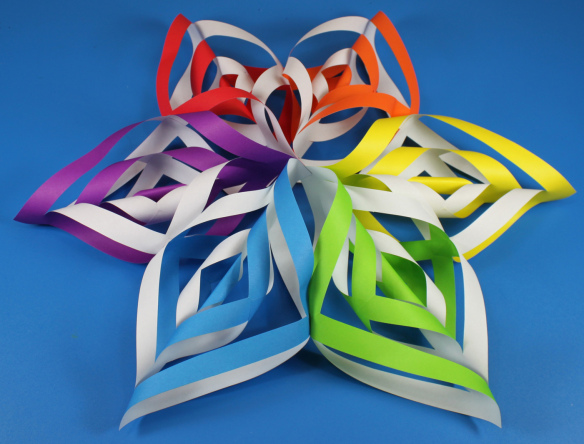
Feature-Image-CutFoldStarA whimsical star design hung in your classroom is sure to turn heads! Use our R15350 Cut & Fold Squares for brilliant color.

Age: 6+

Duration: 20-30 minutes

You’ll Need:

• R15350 Cut & Fold Squares

• Tape

• Scissors

• Hole punch

Line-07The great thing about this craft is that it looks complicated, but is actually super-easy to make! All you require is square-cut paper, a simple folding technique and a few snips with scissors. I’ll walk you through the process step-by-step, but I’ve also made a few detailed animations to help you through each step.
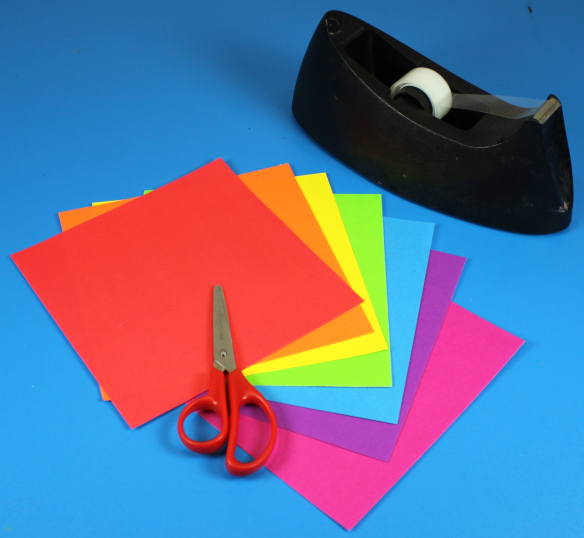
IMG_7854Choose your selection of colors. A rainbow-colored star will stand out just as nicely as a red and green arrangement!
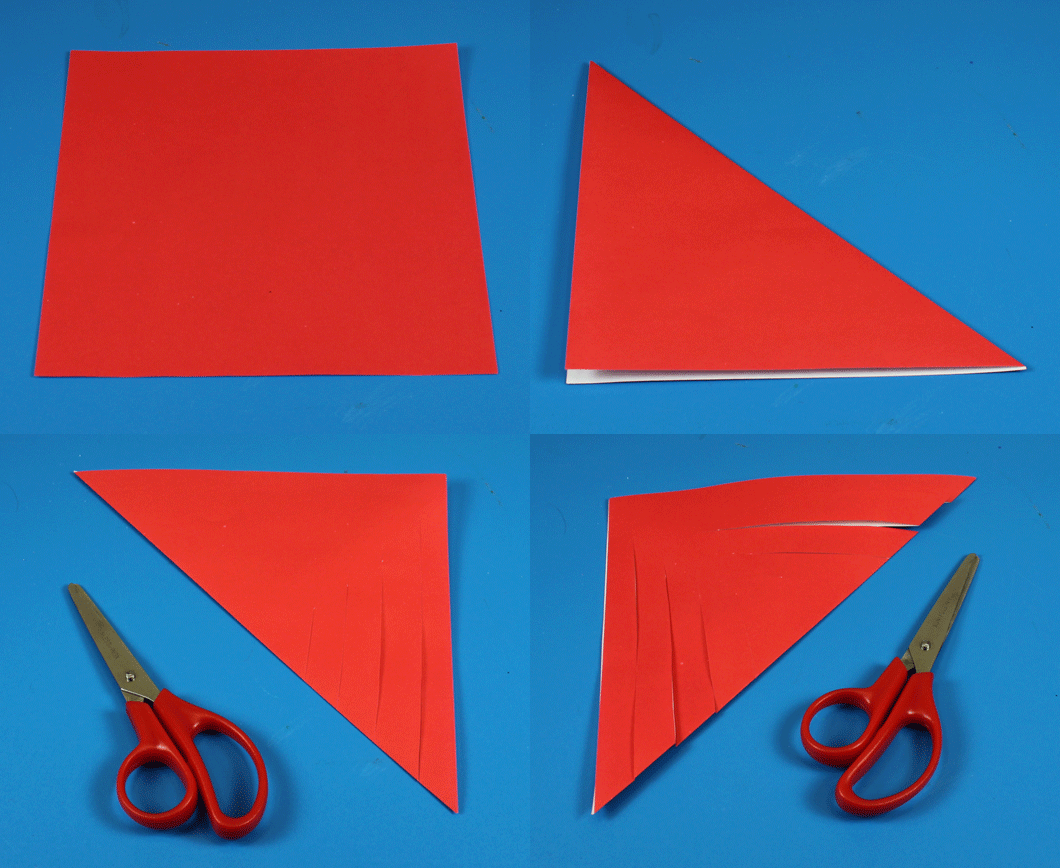
StarFoldCutAnimationThe Christmas Star is divided into several parts. Each part can be made simply with one Cut & Fold Square and a few cuts with scissors. First fold your square into a triangle.

From the fold line, close to the edge of the triangle, cut 1 long line towards the point of the triangle. Do not cut all the way across the triangle, but stop about 1/2″ below the edge. Make another cut just beside the first. Stop the cut about 1/2″ below the first cut. Make a third cut beside the second cut. Stop the cut about 1/2″ below the second cut. Mirror the same cuts on the other side of the triangle.
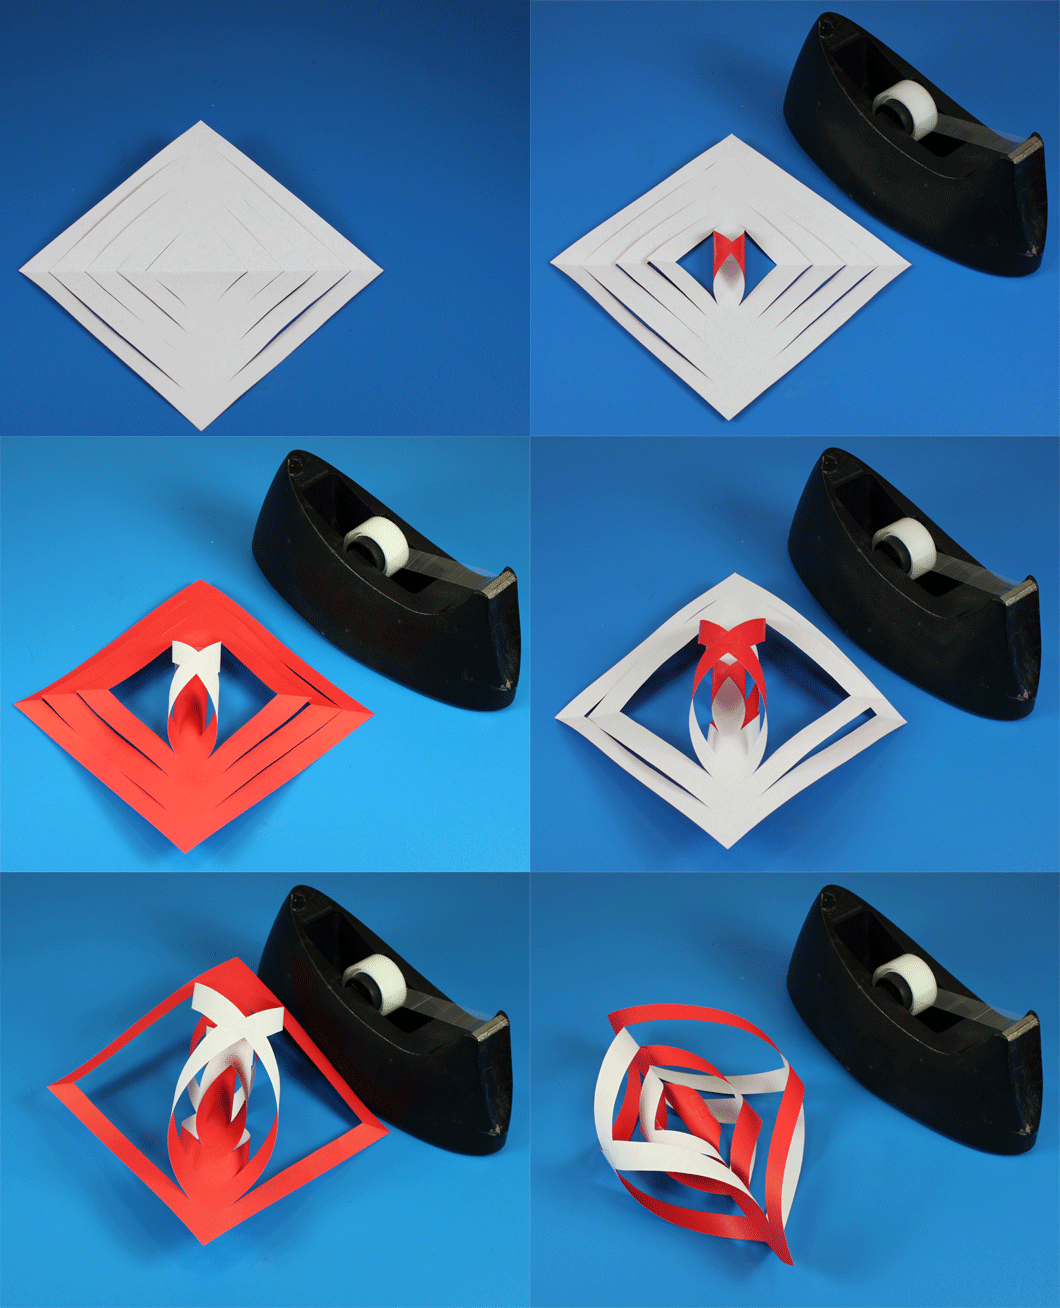
StarFoldTapeAnimationUnfold the triangle back into a square. Turn the square so that it makes a diamond shape. You’ll notice that the cuts make little triangle strips on either side of the diamond shape. Start with the uncolored side facing up. Join the corners of the center together. Use tape to secure.

Next, flip the shape over and join the next two corners together with tape. Flip the shape over again to the uncolored side and join the next two corners. Continue flipping the shape over and joining the next set of corners until you get something like a spiral, which you can see in the last image in the animation.
StarFoldAttachAnimation

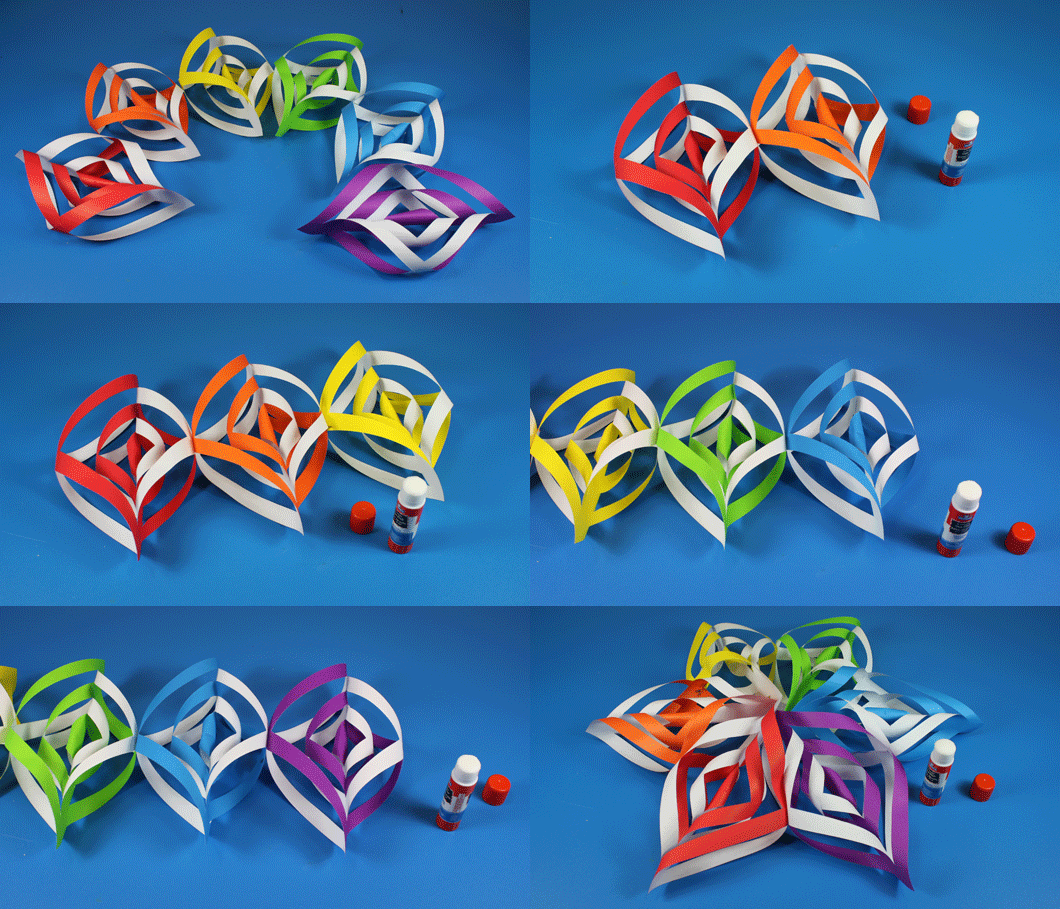
In order to make a Christmas Twist Star, you will need 6 of the colorful spirals. Alternate the colors of the spirals (such as red, green, red, green, etc) or make one of each color available in the Cut & Fold Squares pack.

To join the spirals, glue the sides together. You should have all 6 spirals glued side by side in a row. Wait for the glue to dry before bending the whole line of spirals into a circle. Glue the sides of the last two spirals together. The spirals will all angle out from the center to look like a large star!
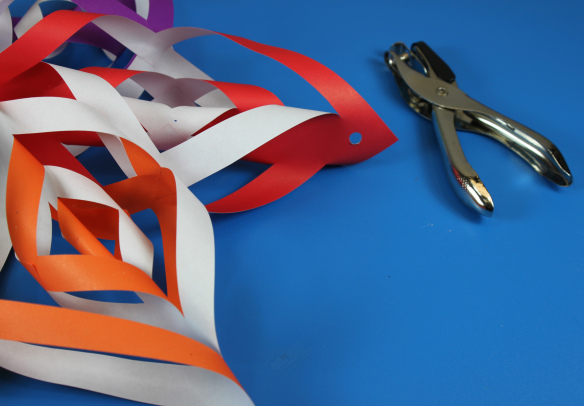
IMG_7877Punch a hole through the top of one of the spiral points.
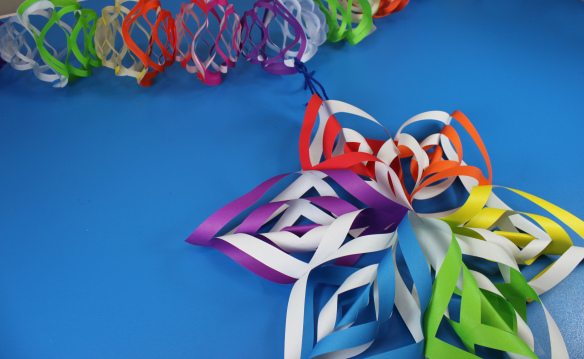
IMG_7880Tie a length of string from the hole to hang the star!
IMG_7876Line-07

Show us your beautiful Christmas Twist Stars! Send us photos of your students’ work to subscriber@roylco.ca. Wishing you a wonderful winter vacation!

Special Feature this week:

We’ll be updating every day of this week and next week with fantastic holiday crafts you can use in your classroom!

Please note:

LittleFingersBigArt won’t be posting anything between December 18th, 2013 and January 6th, 2014! Have a wonderful winter vacation!

Craft Spotlight: Color Diffusing Snowflakes

Feature-Image-coldiffsnowflakesThe winter season is fast approaching but you can do your decorating now! Our easy-to-use Color Diffusing Snowflakes give children the opportunity to explore their painting skills while experimenting with a few neat effects!

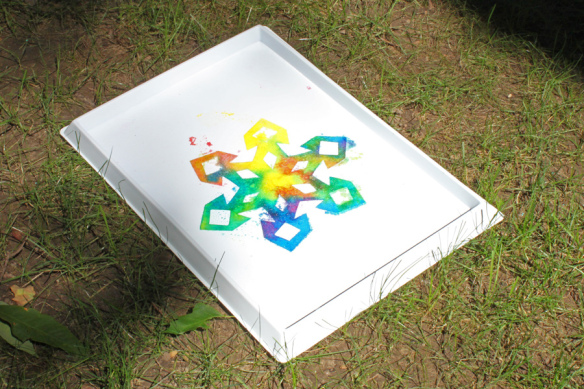
The Color Diffusing Snowflakes are cut into a variety of different snowflake shapes. Since every student will color their snowflakes differently, you can talk about how no two snowflakes are alike, even within art!
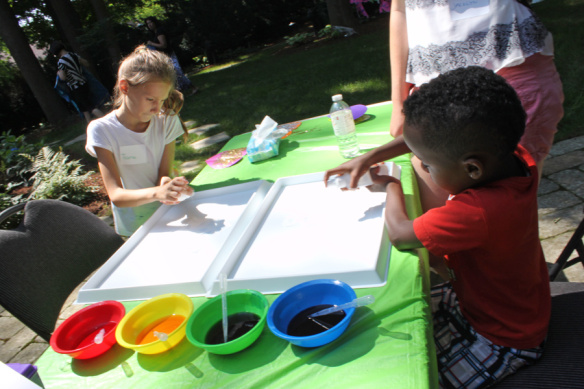
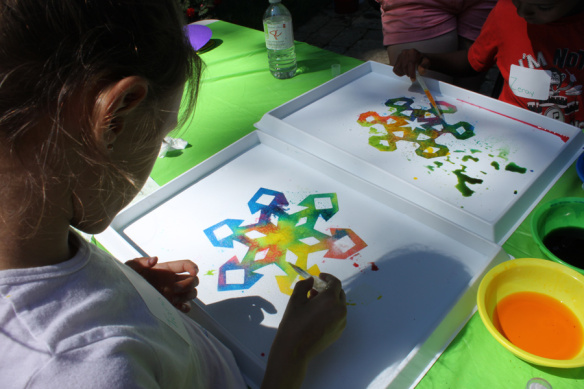
IMG_2079We worked on our snowflakes in the sun and it helped to speed up the drying process while we painted! So no matter where you live, this will be a great activity for your students to try.

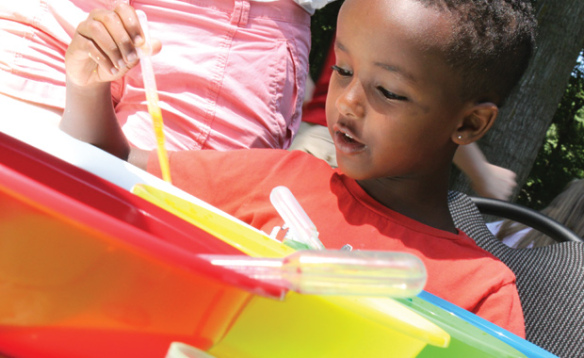
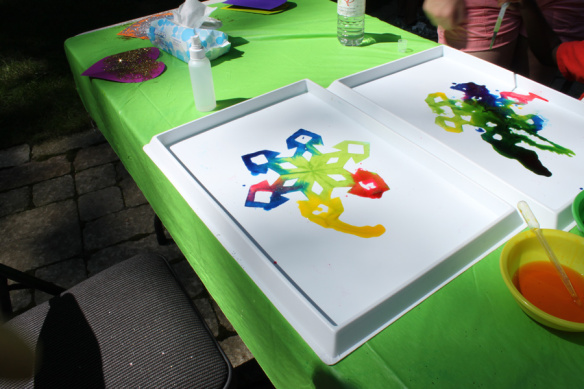
Notice that we provided pipettes at each of the bowls for each color of watercolor paint. This helped to make sure that students placed the pipette back to its original bowl before using another color. In addition, we placed paint trays beneath the Color Diffusing Snowflakes to help keep paint off the workstations.

IMG_2087

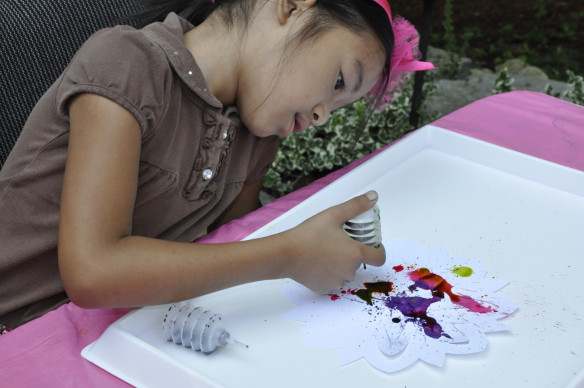
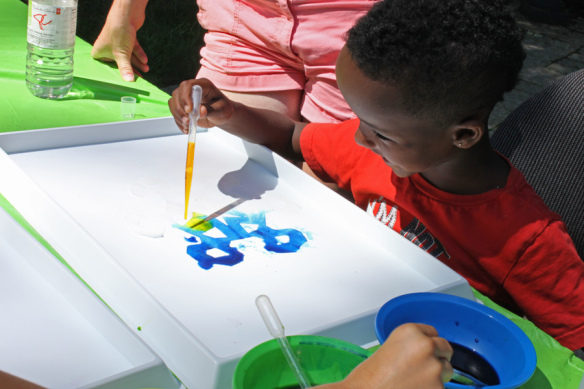
Place the pipette above the Color Diffusing Snowflake and gently release some of the paint. Our crafters enjoyed watching the colors spread throughout the paper; it showed the entire shape of the snowflake against the white of the plastic paint tray.

IMG_2109Our crafters combined some of the colors to make some of the coolest-looking snowflakes around!

IMG_2095To really add interest to the project, spread a pinch of Epsom salts or regular table salt over the drying snowflakes. As the snowflakes dry, the salt will stick to the paper and appear sparkly like real snowflakes!

IMG_2112Line-03Thanks for hanging out with us today! Have you tried this project? Send us photos of your work if you have! We’d love to feature your work in our next post! Send all emails to subscriber@roylco.ca!

Special Feature this week:

We’ll be updating every day of this week and next week with fantastic holiday crafts you can use in your classroom!

Please note:

LittleFingersBigArt won’t be posting anything between December 18th, 2013 and January 6th, 2014! Have a wonderful winter vacation!

Tot School uses our Rubbing Plates!
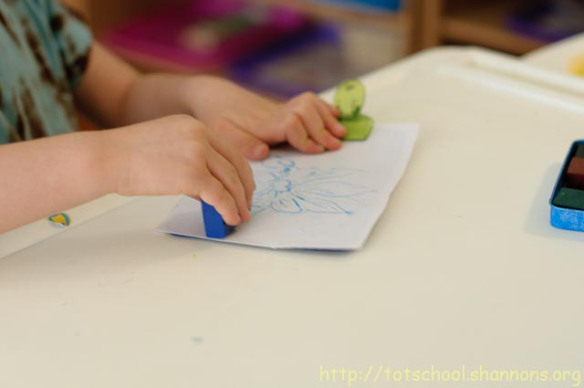
FlowerPlateRubbings-5793-1Tot School made an assortment of rubbing plate prints using our R5804 Flowers Rubbing Plates! Check out Sweet Pea’s review on how well the prints turned out!


The post, called “Rubbing Plates” was published on July 23rd 2010 and can be viewed at this link.

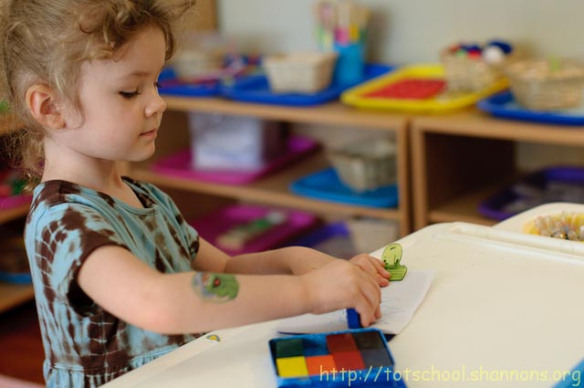
Sweet Pea’s technique for using the rubbing plates is a great start for early learners with developing fine motor muscles. Using the non-dominant hand to hold the rubbing plate and paper in place, rub crayon across the surface of the paper with the dominant hand. This helps to reinforce muscle control and encourages patience and timing while making rubbing plate prints.

FlowerPlateRubbings-5798-1

And the flowers turned out lovely! Sweet Pea found that using block crayons helps to create an even image all throughout. If you are using regular crayons, be sure to use the side of the crayon rather than the point. The point will spread too much of the crayon over the paper and will blend the rubbing plate image in with the rest of the color.

Another important tip that Shannon wrote was that the images themselves could be used for botanical lessons: Use the provided identification sheet to connect the images to real existing flowers. Learn about flowers by name and match them to the rubbing plate images!

Thanks to Shannon for this post!

Images and original post © Tot School.

This post was not sponsored for a review. At LittleFingersBigArt, our mission is to present to our readers and viewers the newest and most creative craft ideas that fans of Roylco have made on their own. Our goal is to allow you and other educators and parents to reuse our products in fun ways so that children always get the best educational experience from them!

We’d love to see more ideas like this one! If you’ve got a brilliant craft idea or have made a version of one of our crafts that you would like to share with us, send an email to subscriber@roylco.ca with photos, descriptions or a link to your work. We will create a feature post and link back to you with full credit. We’d love to hear from you!


Craft Spotlight: Winter Classroom Mobile

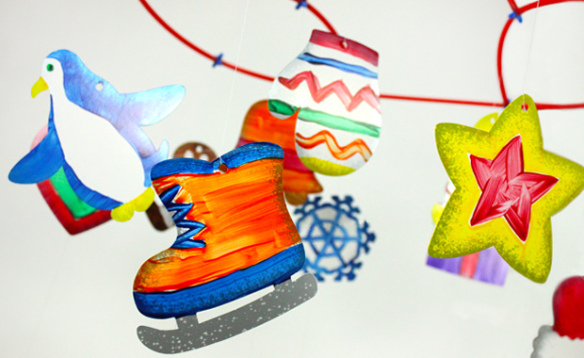
Feature-Image-WinterClassMobileNeed a festive decoration for your classroom? How about a decoration that every student can partake in making? Try the wonderful R51301 Winter Classroom Mobile! Divide your classroom into groups to each decorate their own mobile–then hang it above their desks!

The Winter Mobile features 36 winter-themed ornaments that can be hung from the frame. Use crayons, paint, markers or collage materials to decorate the shapes! There are enough ornaments in the Winter Mobile pack for each student to decorate at least one!
First make the mobile frame. We’ve included a detailed guide with pictures to help you construct the mobile frame. Use the provided Straws and Connectors to assemble the frame. Watch the video below for details!

Decorate the frosted-look ornaments and thread some string through the holes in the top to hang them from the mobile.

R51301

Building a mobile opens up plenty of opportunities to learn some interesting lessons. Talk about the science of air movement (how air particles bounce off the ornaments to always keep them in motion). Encourage teamwork and individual development through decorating and assembling the mobile. You can even incorporate a lesson on learning about multicultural winter celebrations.

Note: The ornaments included in the mobile kit are meant to be universal for all winter celebrations. If children would like to add their own ornaments to the mobile, encourage them to do so!

Line-07Thanks for checking out this Monday post! If you’d like to be featured in one of our posts, send us photos of your students’ work to subscriber@roylco.ca! Looking forward to hearing from you!

Mrs. Knight uses our Retro Pop Paper!

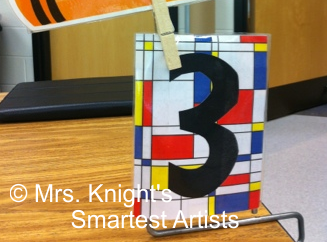
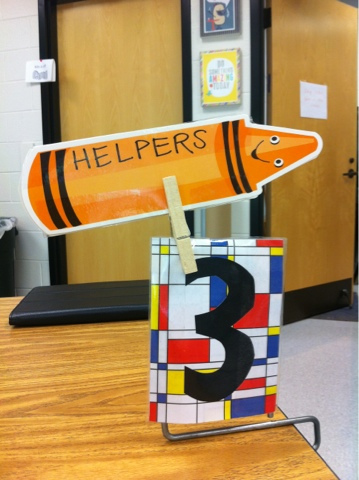
blogger-image--2079829474 scsMrs. Knight shows us her beautiful classroom with her detailed photo gallery! One of the photographs shows Mrs. Knight’s take on table numbers!

Mrs. Knight published “Inspiration to Fruition… Thank you!” on August 9, 2013 where she talks about her various inspirations for her classroom.

The table numbers she made were made from our R15303 Retro Pop Paper. Cover a metal table clamp with a folded sheet of Retro Pop Paper! Tape the edges of the paper together to secure. Decorate the front and back of the Retro Pop Paper with black marker–write a letter or a number to organize your students into groups!

blogger-image--2079829474Thanks to Mrs. Knight for her post!

Images and original post © Mrs. Knight’s Smartest Artists.

This post was not sponsored for a review. At LittleFingersBigArt, our mission is to present to our readers and viewers the newest and most creative craft ideas that fans of Roylco have made on their own. Our goal is to allow you and other educators and parents to reuse our products in fun ways so that children always get the best educational experience from them!

We’d love to see more ideas like this one! If you’ve got a brilliant craft idea or have made a version of one of our crafts that you would like to share with us, send an email to subscriber@roylco.ca with photos, descriptions or a link to your work. We will create a feature post and link back to you with full credit. We’d love to hear from you!

Line-14

Craft Spotlight: Alphabet Pasting Pieces

Feature-Image-alphapastingpiecesThis week’s Craft Spotlight highlights our Alphabet Pasting Pieces as we get set for literacy activities! Use this literacy tool as an introduction to letter recognition, letter order and to help students construct new words.

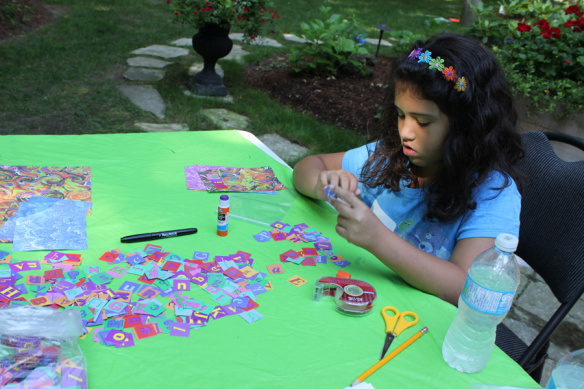
The Alphabet Pasting Pieces are small cutouts of letters in different fonts and colors to help students get used to the variable appearance of the alphabet. Add the pasting pieces to any of your scrapbooking projects or use in conjunction with scrap pieces of paper to make interesting collage artwork!

_DSC0069

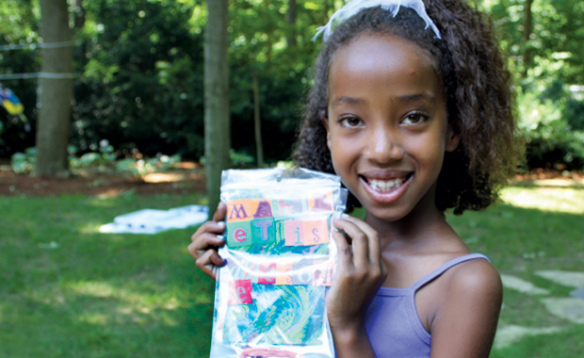
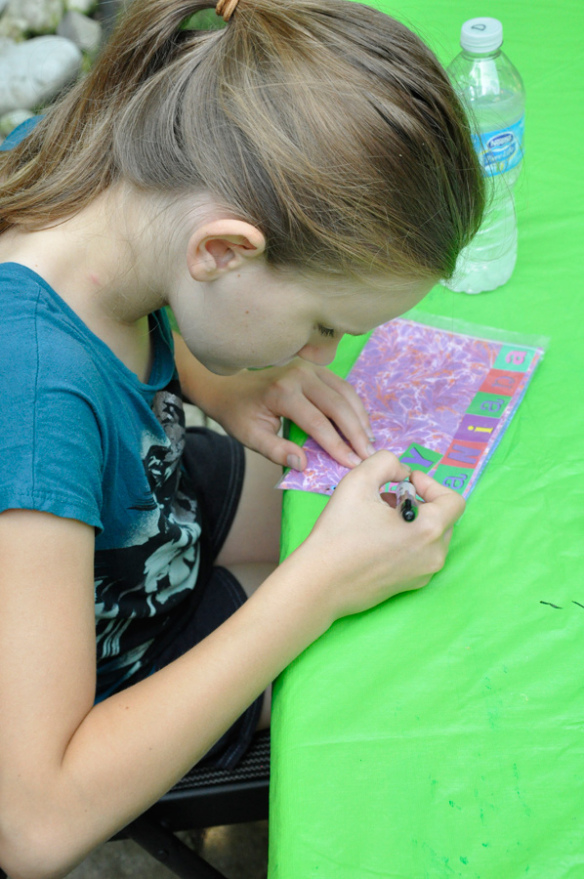
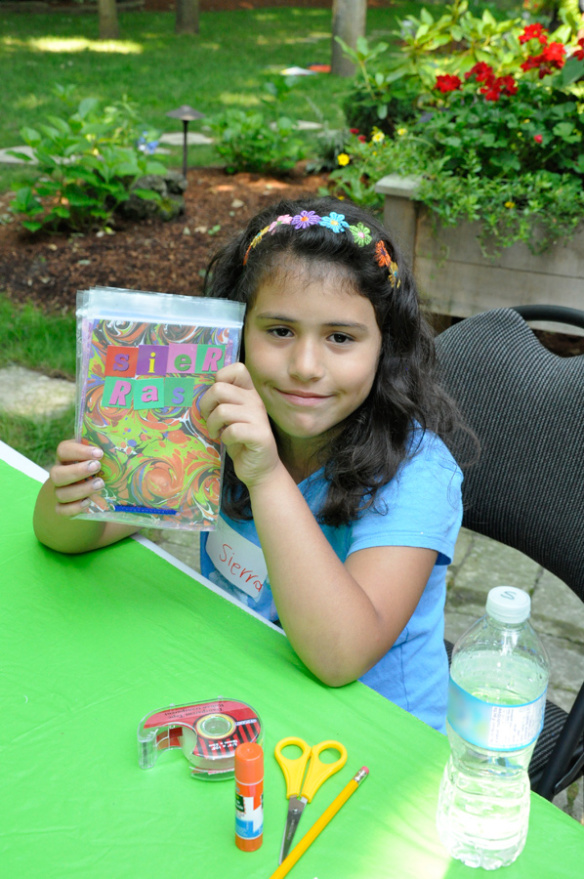
The letters are printed on both sides of the card, so they can also be used for literacy mobiles! In this activity, our crafters used the pasting pieces to spell out their names.

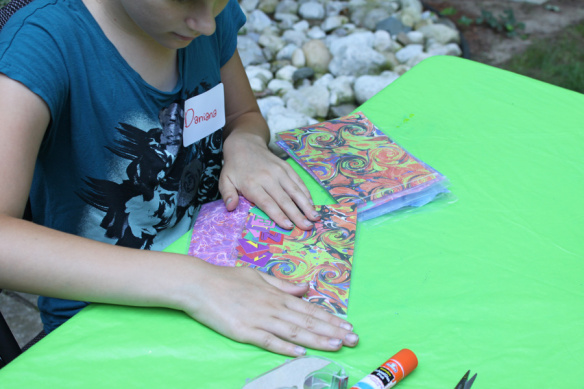
IMG_2347One of the projects they made was a homemade scrapbook from zip-lock bags and decorative paper. The pasting pieces were then used to spell out words such as, “My Book” or “Art Book.” Each zip-lock bag was attached together at one end with a hole punch and pipe cleaner to make it look like a miniature art portfolio!

IMG_2340Use the colorful letters for sorting and counting activities! Give students a handful of the pasting pieces and ask them to sort the letters by vowels or consonants. Then sort by color! Finally, count how many individual pasting pieces are in each pile.

_DSC0073The pasting pieces are a great way to decorate scrapbooks, journals, collage art and more!

Line-09Show us your literacy activities or artwork with photos! Contact us at subscriber@roylco.ca for a chance to be featured in one of our upcoming posts!