Jack O’ Lantern Weaving Mats

jack o lantern weaving mats

Weave beautiful bright patterned strips through lovely weaving mat pumpkins, pre-cut for a ready-to-use fine motor activity!

Weaving mats are a great way to encourage fine motor development in young children. It’s a skill that’s inherent to finger work as tying the laces on one’s shoe or learning to use a writing tool.

jack o lantern weaving mats

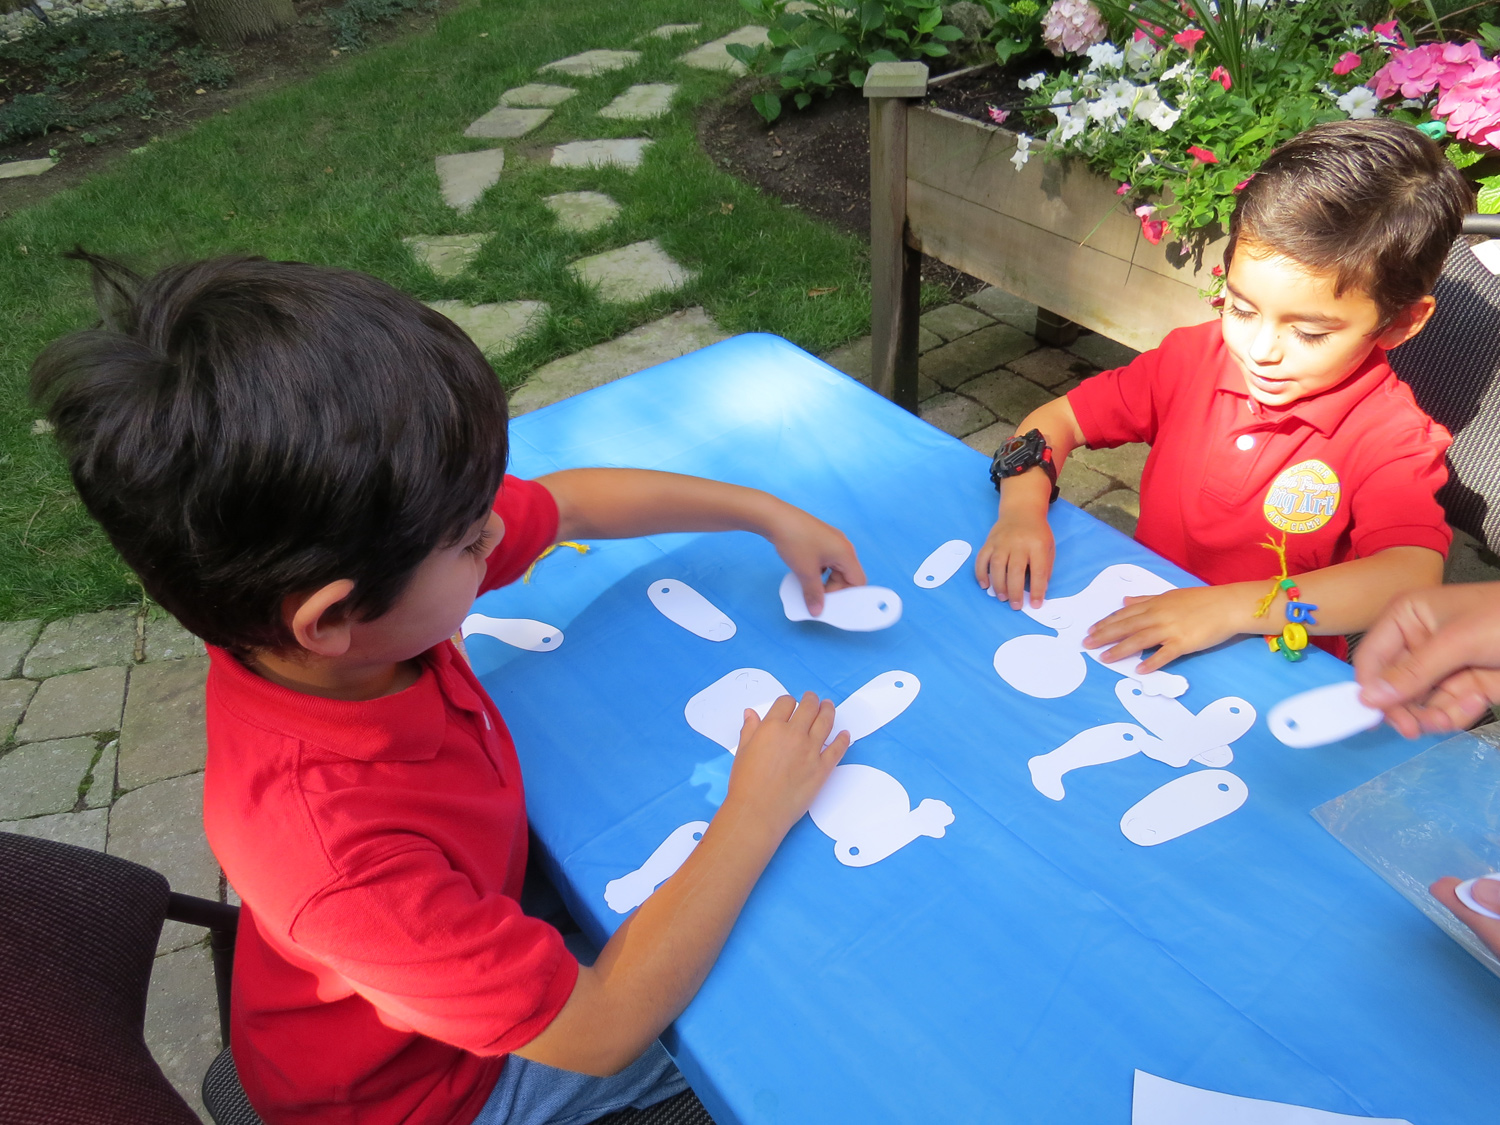
The Jack-O’Lantern Weaving Mat kits come with 24 pumpkin weaving mats, and several different patterned strips.

jack o lantern weaving mats

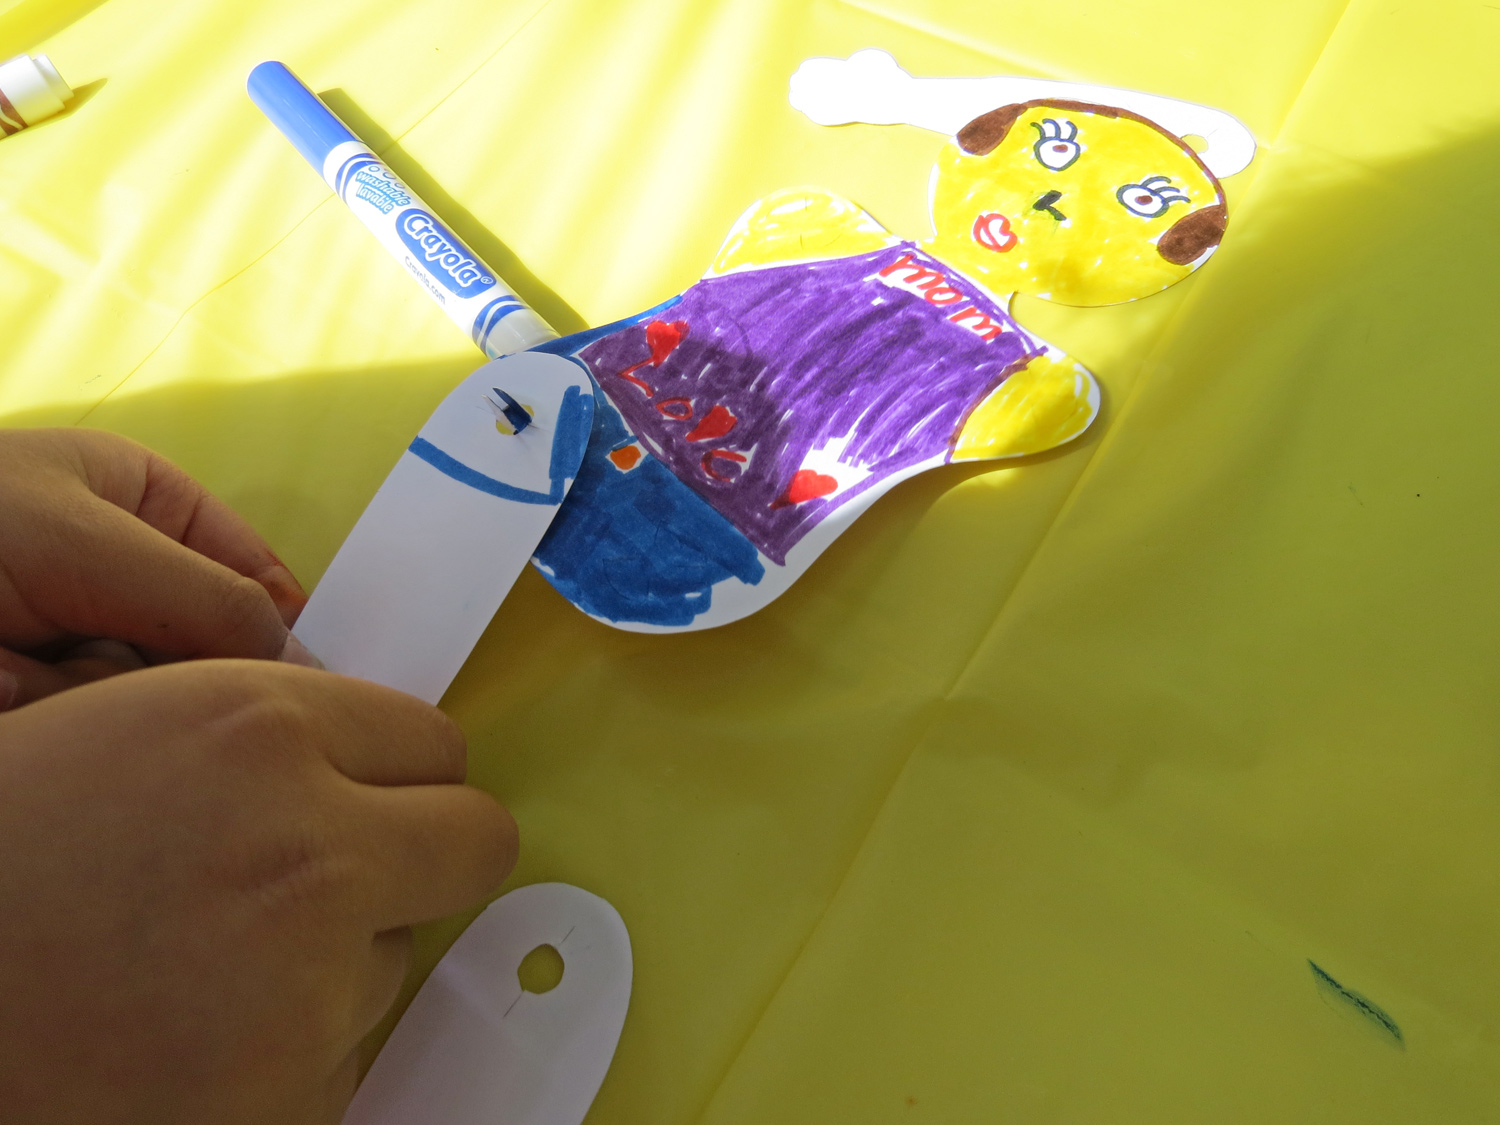
Weave the strips horizontally across the mat, going over and under each progressive slot. As you start the next row, be sure to begin weaving the opposite way that was done in the row prior. So for instance, if you started the row by first weaving under, start the next row by weaving over.

jack o lantern weaving mats

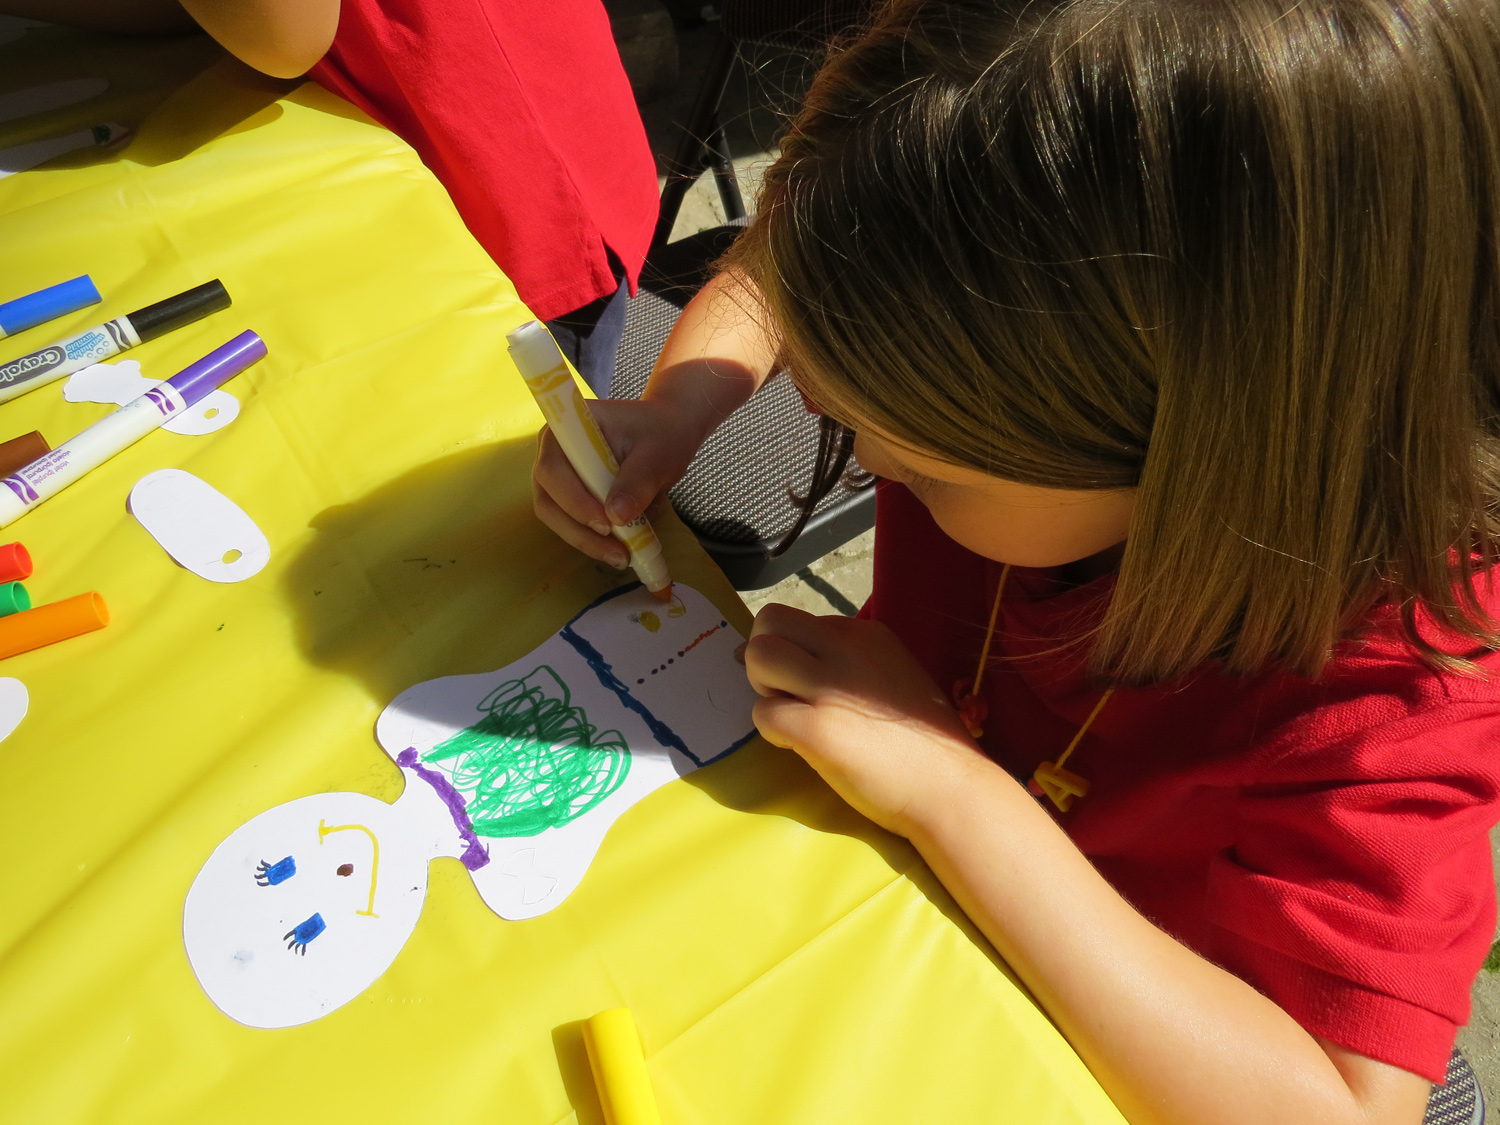
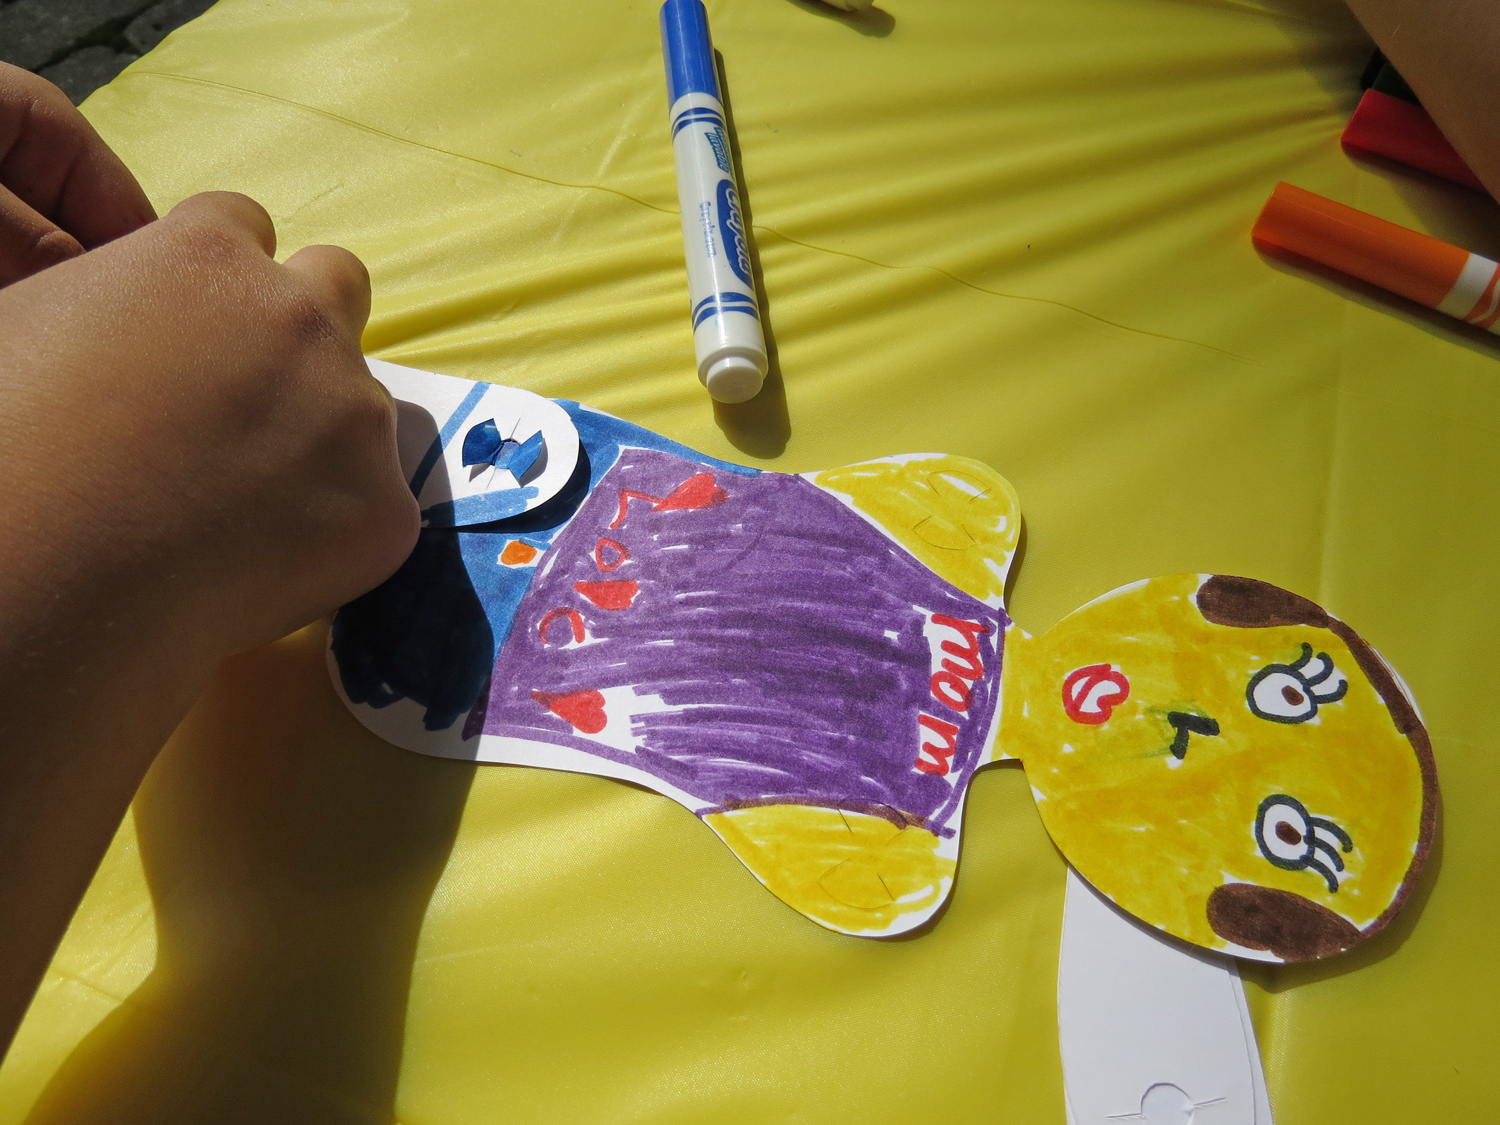
Here is a close-up of the process as one of our art campers finishes up her pumpkin weaving mat.

jack o lantern weaving mats

You can choose several different patterns of weaving strips that are all thematically printed to accentuate the pumpkin weaving mat.

jack o lantern weaving mats

Each weaving mat is accompanied with glowing Jack-O’-Lantern features in various shapes and designs. Mix and match the features to make a unique Jack-O’-Lantern!

jack o lantern weaving mats

The last step is to decorate the pumpkin faces with two additional leaf graphics. Paste them directly onto the pumpkin face.

jack o lantern weaving mats

Paste the green vines to the tops of the pumpkins. Use the blunt edge of a pair of scissors to curl the vines. You can paste the pumpkin weaving mats onto a length of ribbon to use as a classroom decoration!

Line-13

Like us on FacebookShare this post with your friends, or Subscribe to this blog today to receive original craft project updates every Monday, Wednesday and Thursday!

Constructa Clips Neighborhood

constructa clips house neighborhood

Constructa Clips are our versatile building toys–combine recyclable materials using the handy clips, and create anything from vehicles to robots, buildings and more! In this project, we got our campers to contribute to the development of a model neighborhood using simple materials. 

Age: 4+

Duration: 10-15 minutes

Learning Objectives: Open discussion with students about communities, neighborhoods and city planning. Discover all the various aspects of running and maintaining a community, including building up city centers and living spaces. Talk about the different types of living structures (condominums, bungalows, two-storey houses, semi-attached or townhomes, etc). Move your discussion towards an “All About Me” lesson. Ask students to picture their own homes and build them using the card materials and Constructa Clips. Alternatively, get students to brainstorm what their “dream homes” would look like/include.

constructa clips house neighborhood

You’ll Need:

R60160 Constructa Clips

• Card paper

• Scissors

• Pencil crayons/crayons/markers

• Stickers or collage embellishments

Line-20

constructa clips house neighborhood

Cut out angular shapes such as rectangles, squares and triangles from the card paper. Students can design their own buildings or mix and match the shapes to create new and interesting sculptures.

constructa clips house neighborhood

Use crayons, markers or pencil crayons to decorate your card houses! Create a garden, or focus on showing the exterior brickwork of the house. Make cutouts for doors and windows. You may even illustrate the occupants of the house as if they are proudly standing right beside their living area. Don’t forget: you will need to make 2 large size card house shapes and two smaller ones on either side, depending on the type of structure you are designing. Since you are making a 3D model, you will need all 4 sides of your building structure to complete it.

constructa clips house neighborhood

To attach the card sides together, slide an edge into a slot on either end of a Constructa Clip. The plastic “teeth” on the inside will grip the material as it slides in. Make sure you complete all four sides of the structure.

constructa clips house neighborhood

Ready, set… build! This activity can be expanded to children building an entire city using simple materials such as card paper and our Constructa Clips!

Line-17

Like us on FacebookShare this post with your friends, or Subscribe to this blog today to receive original craft project updates every Monday, Wednesday and Thursday!

French/English Manuscript Alphabet Train

alphabet train poster

Use these classroom resources as simultaneous wall decorations! Teach kids the letters of the alphabet with clever illustrations. 

The Alphabet Train pieces are designed to be placed horizontally side-by-side across the top of your wall. Each card shows two letters of the alphabet, in both upper and lowercase. Above each letter, we’ve made an illustration of the word that begins with that letter. All illustrations are applicable in both English AND French, which does double-duty for your classroom!

Every day, you can focus on one letter at a time with your students and help them identify the illustration. You can also talk about other words that begin with the letter of the day. Perhaps you could start with names; ask who in the class has a name that starts with the letter of the day. That’s a great technique for getting the conversation started!

Once you have identified the illustration, write the accompanying word onto your wallboard or brainstorming sheet.

Start with placing the locomotive engine at the front of the train. Place the next piece (the beginning of the alphabet) up against the first. When you are ready to progress to the next set of letters, add one more train car to the row. Continue in this way until you have completely filled up the board with the Alphabet Train!

Line-14

Like us on FacebookShare this post with your friends, or Subscribe to this blog today to receive original craft project updates every Monday, Wednesday and Thursday!

Striped Stained Glass Frames

striped stained glass frames

Take your stained glass images to a whole new level! Instead of cutting out larger pieces of transparent paper, use a more economical approach that helps students develop their fine motor skills.

Age: 5+

Duration: 15-20 minutes

Learning Objectives: 

You’ll Need: 

R52074 Junior Stained Glass Frames

R15257 Stained Glass Paper

• Scissors

• Glue

• Pencil

• Ruler

Line-07

striped stained glass frames

You can choose any stained glass frames from our collection, but the Junior Frames have larger surfaces to cover, making this striped technique much more effective.

striped stained glass frames

Choose a sheet of transparency paper. Our Stained Glass Paper is designed to illuminate its colors when near a light source. Normally, stained glass frames are hung on windows so that sunlight can illuminate the colors in the artwork.

striped stained glass frames

Our Junior Stained Glass Frames feature a bit of background space around the sides of the subject. To fill up the space, flip the Stained Glass Frames upside down. Cover one of the openings with a sheet of transparency paper (flip the frame over to double-check the appearance of the sheet), then trace around the opening, leaving a bit of a space to allow you to glue it down.

striped stained glass frames

Cut out and glue down the background sheets. Next, take a few assorted sheets of transparency paper and cut them into strips that run along the longer side of the sheets. You can mix and match as many sheets as you like. This is a great exercise for building scissor skills as students have to exercise patience and carefulness as they cut out each of the strips. You can even get them to draw ruler guidelines so they can visualize where they need to cut along.

striped stained glass frames

Rub a bit of glue around the border of the stained glass image. Lay the strips of transparency paper across the frame, pressing down to adhere the strips to the glue. You can position the strips horizontally, vertically or diagonally. Just be sure to follow the same pattern all the way through the entire frame.

striped stained glass frames

To finish your designs, cut off any excess strips that overlap with other parts of the stained glass frame. When you flip the Stained Glass Frames right side up, you will see that the main parts of the frame have been striped, while the background is a solid color. This produces a neat effect that students will love to see!

striped stained glass frames

Check it out! Although this exercise is a little complex, it gives students the chance to see how an alternative technique to regular stained glass projects produces a really cool end result!

Line-04

Like us on FacebookShare this post with your friends, or Subscribe to this blog today to receive original craft project updates every Monday, Wednesday and Thursday!

Action Shapes

2015-08-31-FeatureImage

These poseable, personalized action figures are great for setting up easy puppet theatre-style plays or making a stop motion animation movie! Learn more below!

IMG_0252

Each Action Shape comes in separate parts laid onto sheets. Before popping out all the pieces, ask students to identify the different parts of the body and label them if possible. That way you can keep track of where each piece attaches. The Action Shapes are great for teaching students about proportions, poses or turning projects into All About Me activities!

IMG_0296

Help students orient their Action Shape person according to proper proportions.

IMG_0304

As they are putting their figures together, they can start coloring in details. Use markers, crayons or pencil crayons.

IMG_8638

Make sure to completely cover the Action Shapes body with color!

IMG_0317

The pieces attach together with small fins and slots to keep the fins in place.

IMG_0318

Simply pinch the fins together, and slide them through the slots.

IMG_0320

Fan out the fins to keep the attachments in place.

IMG_0335

This Action Shape was completely colored in before assembly, so the attachments appear seamless!

IMG_0352

Now strike a pose!

IMG_0360

We even had some of the campers pose in our makeshift puppet theatre!

IMG_0371

Everyone else got in on the fun too! To make a stop-motion animation, first think about the kind of action you want your character to perform. This is a great chance for you to discuss the different types of action words or verbs with your students. You can have your students pick one action verb to illustrate through their stop motion video.

IMG_0378

Stop motion animation is made up of multiple single frames or “shots.” These shots are strung together to make up a video. The best way to achieve this is to set up any standard camera you own to take a shot every time your students adjust the poses of their Action Shapes people. Once the action is complete, upload your pictures to your computer. Use software that can easily convert your pictures into a GIF animation or equivalent.

Here’s a look at what we made with stop-motion animation!

Animation

She kicks, she scores!

Your students will have lots of fun preparing their own stop-motion animations. For the background, use a large sheet of Bristol board or have your students create their own backgrounds with sheets of paper and markers or crayons!

Line-12

Like us on FacebookShare this post with your friends, or Subscribe to this blog today to receive original craft project updates every Monday, Wednesday and Thursday!

Double Color Card City

paper card city

Let your little engineers create and build a city all their own using simple materials!

Age: 4+

Duration: 10 minutes

Learning Objectives: Fold unique sculptures to look like buildings using only card paper. Create colorful arrangements with the Double Color Card. Explore structural supports and designs through folded card shapes.

paper card city

You’ll Need:

R22052 Double Color Sheets

• Optional: R60160 Constructa Clips Creative Building Kit

• Flat surface, such as a table or a play center area

• Postal wrap paper (brown recycled paper)

• Tape

• Markers or crayons

Line-16

paper card city

Lay all your materials out onto the flat surface. Cut the various sheets of Double Color Card into several large or smaller rectangle shapes. Crease the shapes at various points. You have to make at least 2 creases in the card. Older students can help crease the cards for the final activity.

paper card city

Creasing the cards at different points allows your students to make interesting shapes, from tall rectangles to cubes, triangular prisms and more!

engineering art

This exercise will allow students to explore ways to align the shapes together and make building sculptures. The objective is to create a little city using all of the shapes provided.

engineering art

Some students stacked multiple shapes together to give their structure more strength.

engineering art

Others figured out how to stack on top of one another to create unique building shapes.

engineering art

As the children aligned all their buildings into a coherent “neighborhood,” we encouraged them to draw streets and small markers onto the paper roll beneath. Make sure the secure the paper roll onto the table with tape!

engineering art

The exercise encouraged ongoing collaboration as students often would turn away from one section of the cityscape to work on another. Meanwhile, another student would modify the look of the previous building arrangements.

double color card sheet

It was an “organized chaos” as the sculptures were shifted around the table surface.

double color card sheet

There was some compromise that needed to be made when arranging the card buildings into different configurations. Some campers felt that the buildings each represented important municipal landmarks such as city hall, the library, museum, art gallery, fire station, subway, bank or hospital, and needed to be placed in certain areas rather than others.

double color card sheet

Here is a look at the finished city, although we still saw “development” in some parts!

Line-04

Like us on FacebookShare this post with your friends, or Subscribe to this blog today to receive original craft project updates every Monday, Wednesday and Thursday!

Big Alphabet Picture Stencils

big alphabet picture stencils

Teach literacy while exercising fine motor skills through tracing! Our specially designed Big Alphabet Pictures Stencils are the perfect compliment to early art and literacy learning.

The stencils feature an uppercase and lowercase letter along with an accompanying image that phonetically represents the letters. Place the letters down onto a sheet of paper. Show developing students how to hold the stencil down with one hand while using a pencil to trace the inner edges of the stencil.

Young students can use the resulting tracing to color in with markers or crayons. The stencils are intended to teach students about uppercase and lowercase letters. Uppercase letters are typically used at the beginnings of sentences, or to begin a person or city name. Lowercase letters are all the rest of the letters that come afterwards.

Older students can use multiple stencils to spell out their names. To help students develop their fine motor skills even further, place the stencils onto a bed of sand in your sensory tray. Ask students to trace the letters out with their fingers.

Line-03

Like us on FacebookShare this post with your friends, or Subscribe to this blog today to receive original craft project updates every Monday, Wednesday and Thursday!

Paint Pad Leaf Prints

paint pad leaf printing

Make delightful, colorful prints on the Paint Pad. The Paint Pad allows you to create multiple prints using combinations of textures and color on a unique gel-like surface!

Age: 4+

Duration: 10+ minutes

Learning Objectives: Learn to use multiple media to produce interesting colorful effects. Use fine motor skills to press down printing paper and to apply paint and materials to the pad. Discover the visual differences between positive and negative space. Discuss how certain materials affect the prints being made.

DSC06886

You’ll Need:

R54480 Paint Pad

• Tempera or acrylic paint

• Paint brush

• Printing sheets

Stencils, textured paper

Line-20

The Paint Pad provides students with hours of fun and play! The gel-like surface is soft on hands and great for tactile exploration. Students can fingerpaint on it if they wish, but paint tends to glob up on the surface. In case of this happening, use thicker card sheets to draw up the paint better.

The Paint Pad comes with a tray for stability and easy cleanup, as well as a protective cover that can be overlain on the surface of the pad to be stored until another activity.

DSC06888

We recommend spreading the paint with a sponge brayer or a thick bristle paintbrush. Cover the entire gel surface of the pad with paint.

DSC06898

Add a second color to the first. In this canvas, we mixed in a bit of yellow to match the red background. Don’t completely mix the two colors, however. You will want to keep the streaks of paint that show up in between, as this adds more interesting effects to your prints later on.

DSC06907

Place a stencil-like shape on top of the paint. You can use a found shape, such as the leaf we found above.

DSC06909

Place a sheet of paper on top of the Paint Pad to cover the entire surface. Use the palms of your hands to smooth the paper out and pick up as much of the paint as possible.

DSC06914

Grab the sheet of paper by the corners and slowly pull it up off the Paint Pad. You’ll feel it slightly stick to the paint as you peel it back. Just remember to go slowly and gently.

You can already see that the area around the leaf has been colored in while the center of the leaf is not. This created a negative space in the print, or an area of no color that exposes the background.

DSC06921

At this point, you can make a second print! Carefully remove your stencil off the Paint Pad. Press another sheet of paper down onto the pad and smooth it out. Peel the paper back to reveal your second print.

As you can see in the image above, the leaf stencil left behind some markings that were picked up in the second print. You can see the edges of the leaf and the leaf veins that strike out from the center of the leaf imprint.

DSC06931

We finished off with a third print like this one. Making multiple prints also helps to lift up most of the paint so you are in fact cleaning it as you go!

Tip: To clean any stains, use baby wipes or a bit of hand sanitizer and a paper towel for any dried-up paint.

Line-16

Like us on FacebookShare this post with your friends, or Subscribe to this blog today to receive original craft project updates every Monday, Wednesday and Thursday!

Kid Puzzle Pieces

puzzle kids

Kid Puzzle Pieces bring your whole class together! Every student can decorate their own card character to reflect themselves or they can decorate their friends. Turn the activity into an All About Me project while making the end result all about the classroom!

The Kid Pieces are a great medium for coloring with markers, crayons, pencil crayons or paint. You can use Decorative Paper (such as this) to cut out clothes for the characters. Color in the face, arms and legs, then place the Puzzle Kid facedown onto the sheet of decorative paper. Trace around the outer edge of the Puzzle Kid, then cut out the resulting shape. Paste the decorative paper clothes onto the card character.

The best part about the Puzzle Kids is that their arms and legs are designed to fit into each other like a connected chain. You can arrange the characters in this way when you are decorating a theme wall for multiculturalism, “We Day,” “All About Me” and more!

Check out the full process below!

[youtube https://www.youtube.com/watch?v=0IWE072fYtQ]

Line-17

Like us on FacebookShare this post with your friends, or Subscribe to this blog today to receive original craft project updates every Monday, Wednesday and Thursday!